How to work with Lumion View in SketchUp
Visualize while you model in SketchUp with these simple steps
Let's get started
Got Lumion View installed? Then you’re ready to start using it in SketchUp!
We’ve put together a quick guide showing how to do exactly that—so watch the video below and read on for the steps. We’ll run through the main features and tools you need to know to help keep your early-stage designs moving forward.
Getting set up
Lumion View is ideal for fast-paced, early-stage workflows, providing real-time visual feedback on every decision you make. If you’re already familiar with SketchUp, then using it’s a breeze.
Start by opening SketchUp and launching Lumion View by clicking the lightning icon⚡in the Lumion View toolbar. Log in using your Lumion Account credentials, and you’re ready to go.
When it’s open, you’ll see your viewport, which will sync to your SketchUp view and display your model in a fully ray-traced environment. Let’s start by getting to know the UI.
Navigate with ease
On the top-right, you have the Account button with your license information.
The pin allows you to keep the rendered viewport on top of your other windows. You can resize it and position it wherever you want it on the screen.
The View cube is clickable and allows you to quickly shuffle between angles, elevations, or a plan view.
Next to that, you’ll see two buttons: the camera sync toggle, which stops or starts the connection to the SketchUp camera, and the perspective/orthographic switch, which is handy for blueprints, scaling, or technical drawings.
You can also navigate the Lumion View model space. You’ll find a Help button at the bottom of the screen that displays the controls and explains the UI layout.
Control the sun settings
So, that’s the functional part covered—now, let’s take a look at some of the rendering settings available in Lumion View.
On the left, the Environment button sets the atmosphere and has some familiar controls for changing the sun direction, height, cloudiness and sky brightness.
Quick diagrams
If you want to isolate your model from the environment, you can also toggle the background to a solid color. Either pick from a color preset or find the exact shade you’re looking for with the color picker.
You’ll also find a choice of visual styles, which are helpful during the iterative design process to assess the lighting conditions, volumetrics, or spatial quality of a space. Choose between the clay, styrofoam, maquette, or glossy styles—you can also use the color picker and enable edges.
Adjust lights
You can place point lights, spot lights, and area lights in your SketchUp project and view them in sync.
When copied and pasted, they act as instances of each other—this means that if you modify the brightness or any other setting in the Lumion View light panel, it will be applied to all your lights. Holding down Shift will give you more precision when adjusting the settings.
Lights can also be assigned a different color from the SketchUp material panel. Just select the lights and apply a solid color using the paint bucket tool.
Test materials
When it comes to materials, SketchUp 2025 now supports PBR maps. Modify the color, opacity, metalness, roughness, and normal settings and see them reflected in Lumion View.
You also set the Emissive strength from the Lumion View panel.
Enhance glass and water
Assigning a material from the Glass category in SketchUp will automatically set the surface to glass in Lumion View. You can then easily adjust the Reflectivity or make it Volumetric.
Using “water” in the naming of a material will automatically set it to water in Lumion View, allowing the Wave scale and Reflectivity to be tweaked.
Render on the fly
When you’re happy with your settings and style, you can easily generate renders from the Render to file tab.
Simply select your desired resolution and aspect ratio, click Render to file, give it a name, select the file type, and hit Save.
Your renders will be ready in no time—open the folder to view them or copy to your clipboard for easy sharing.
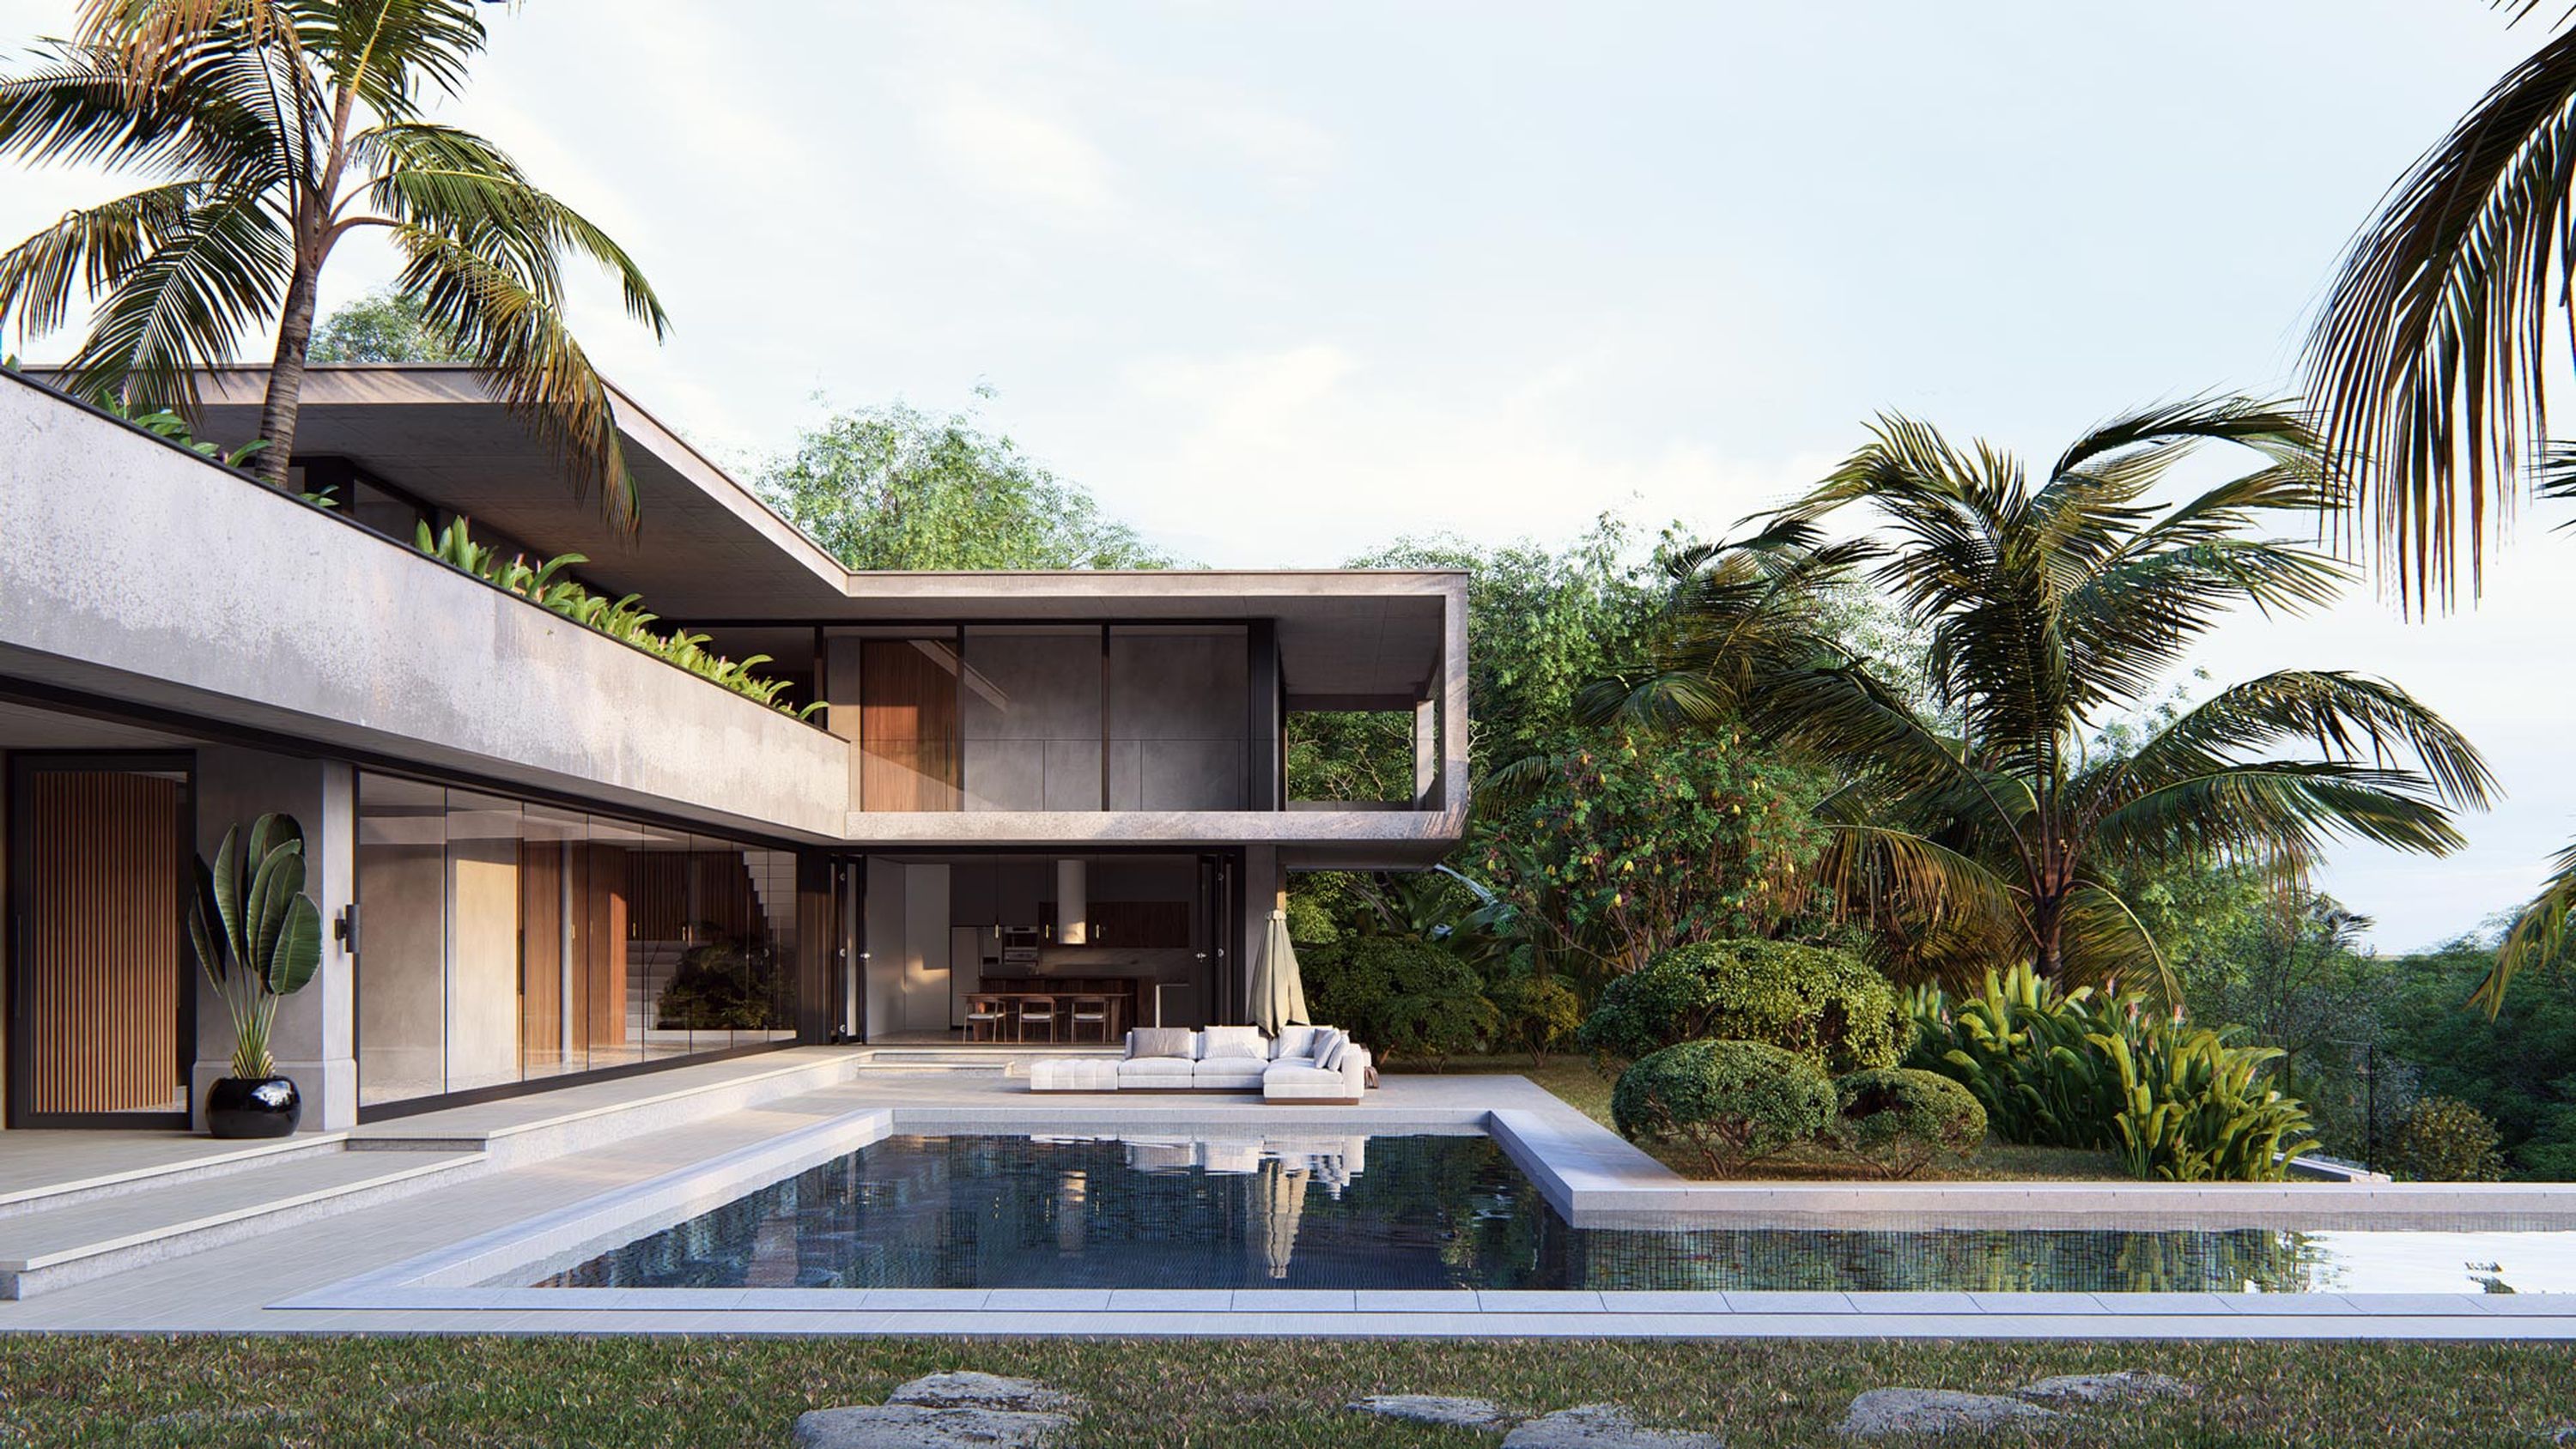
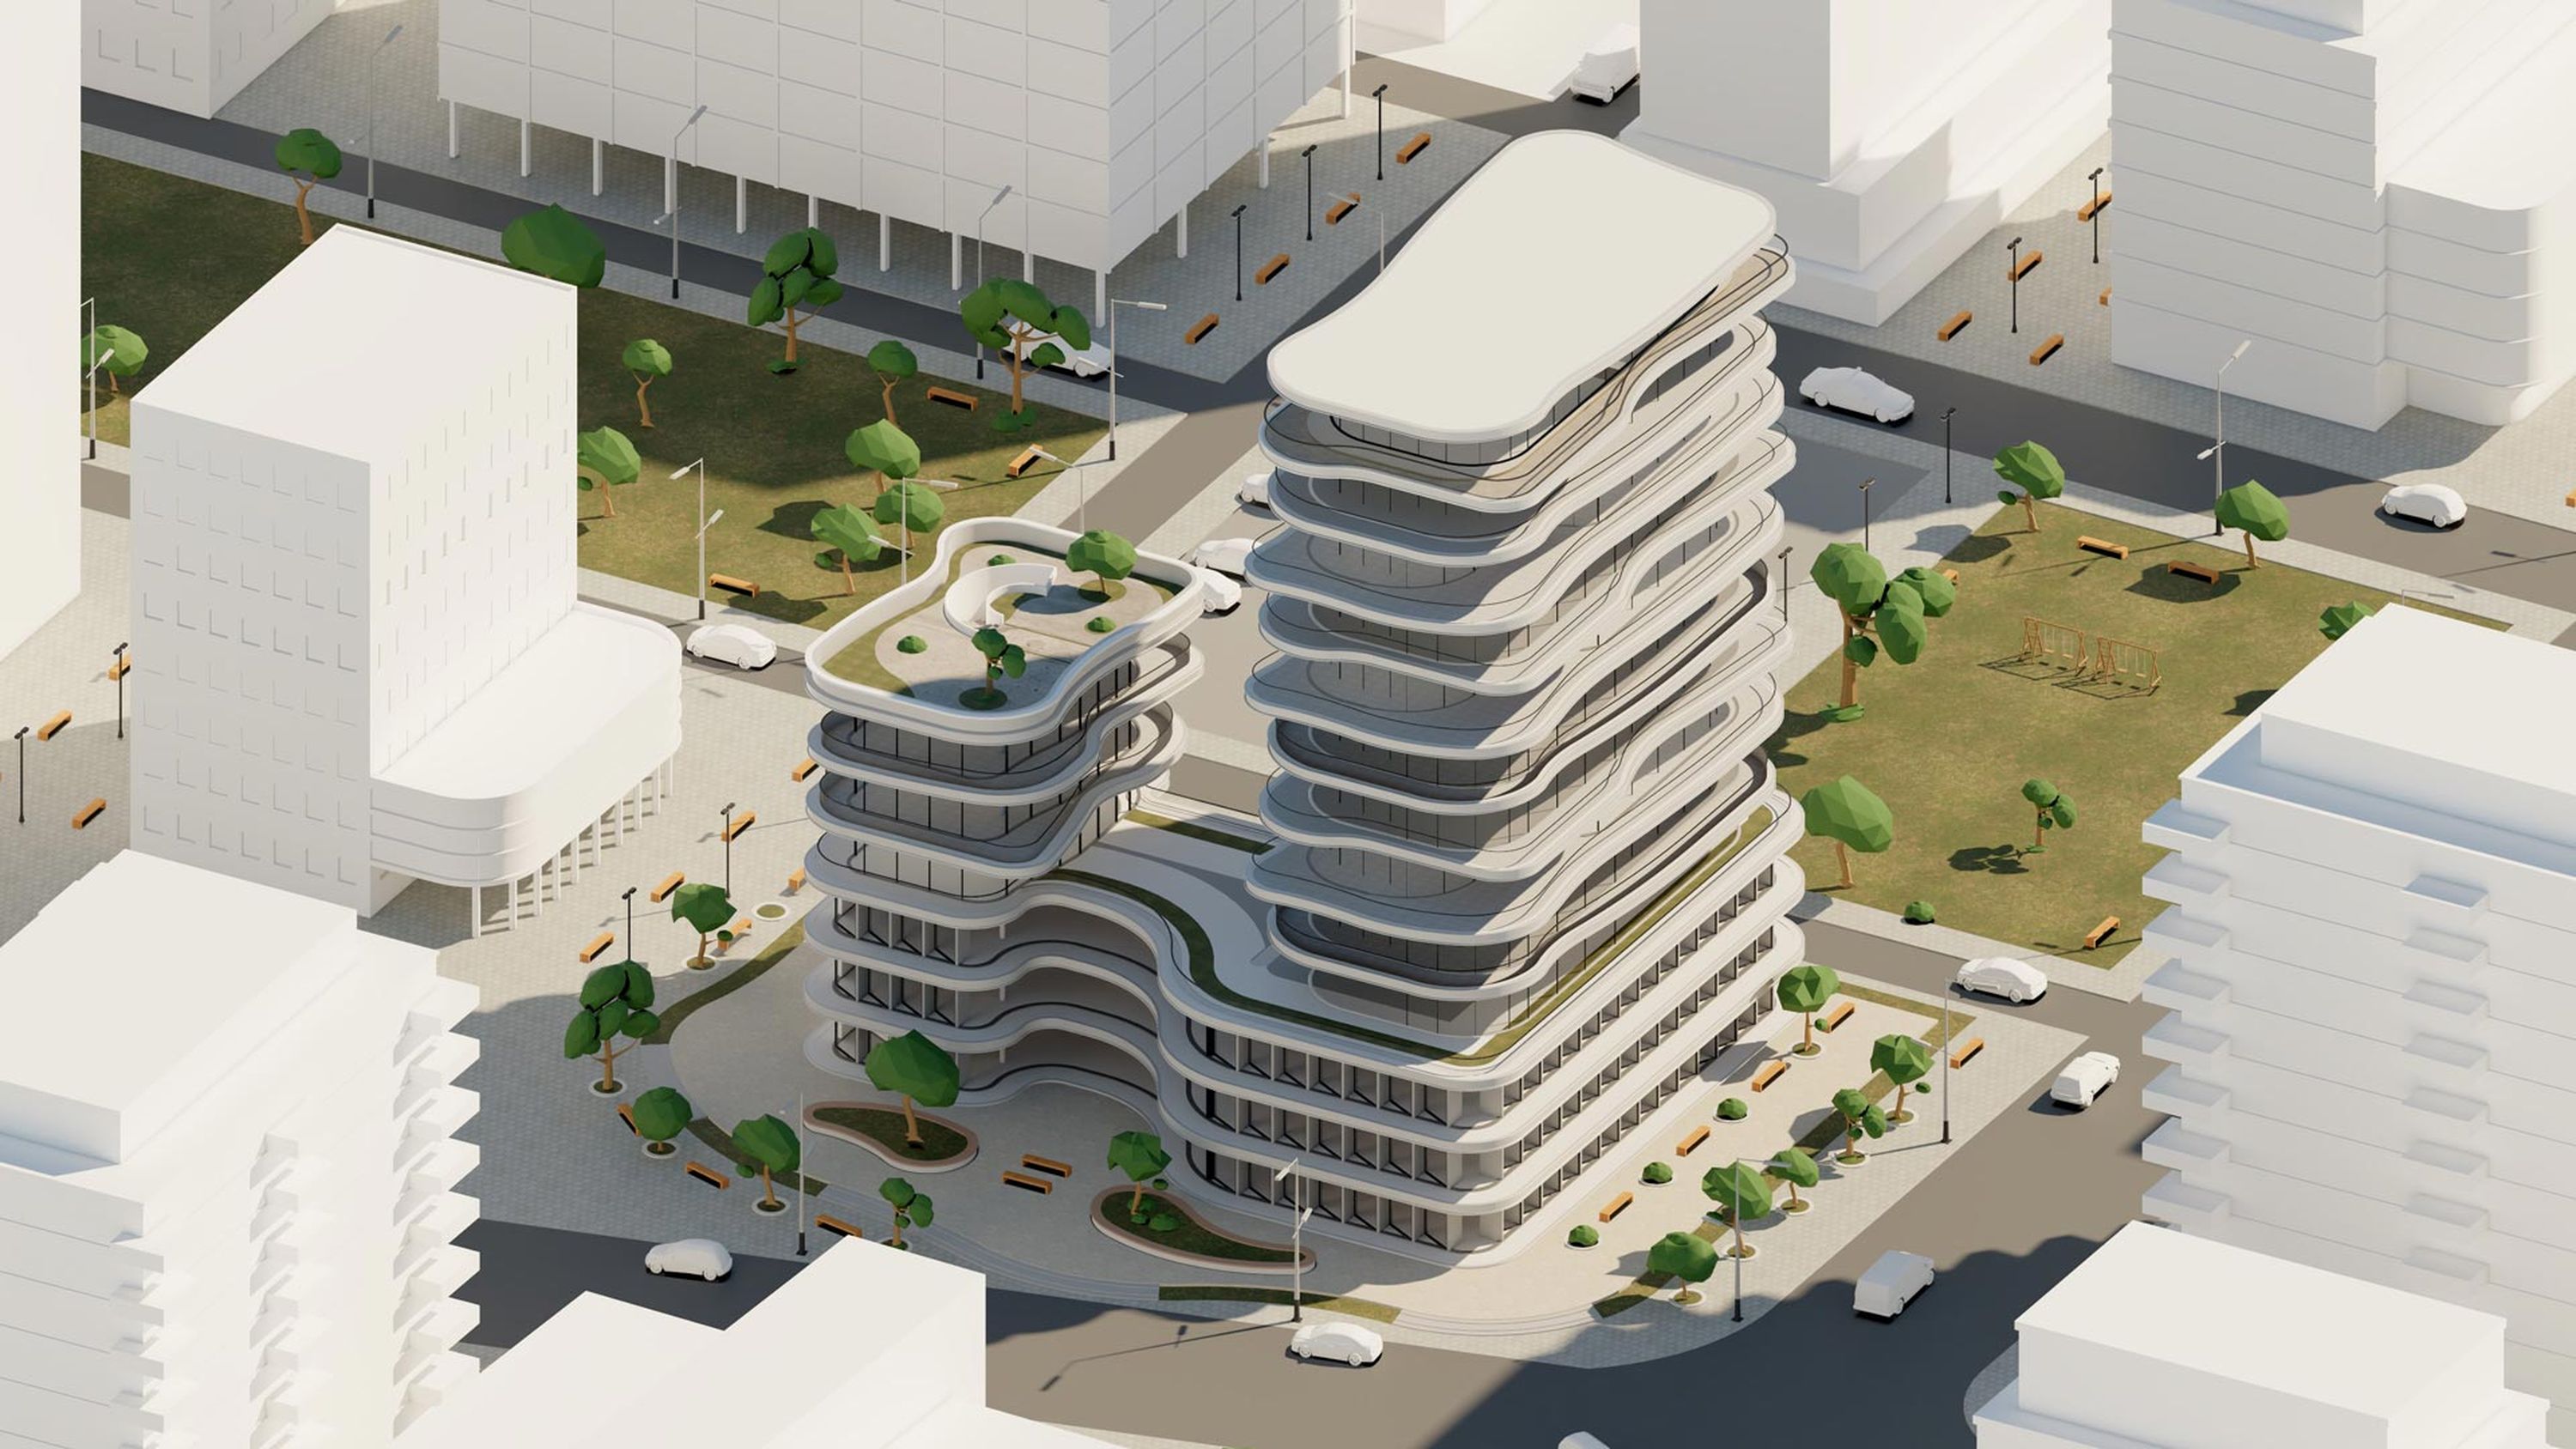
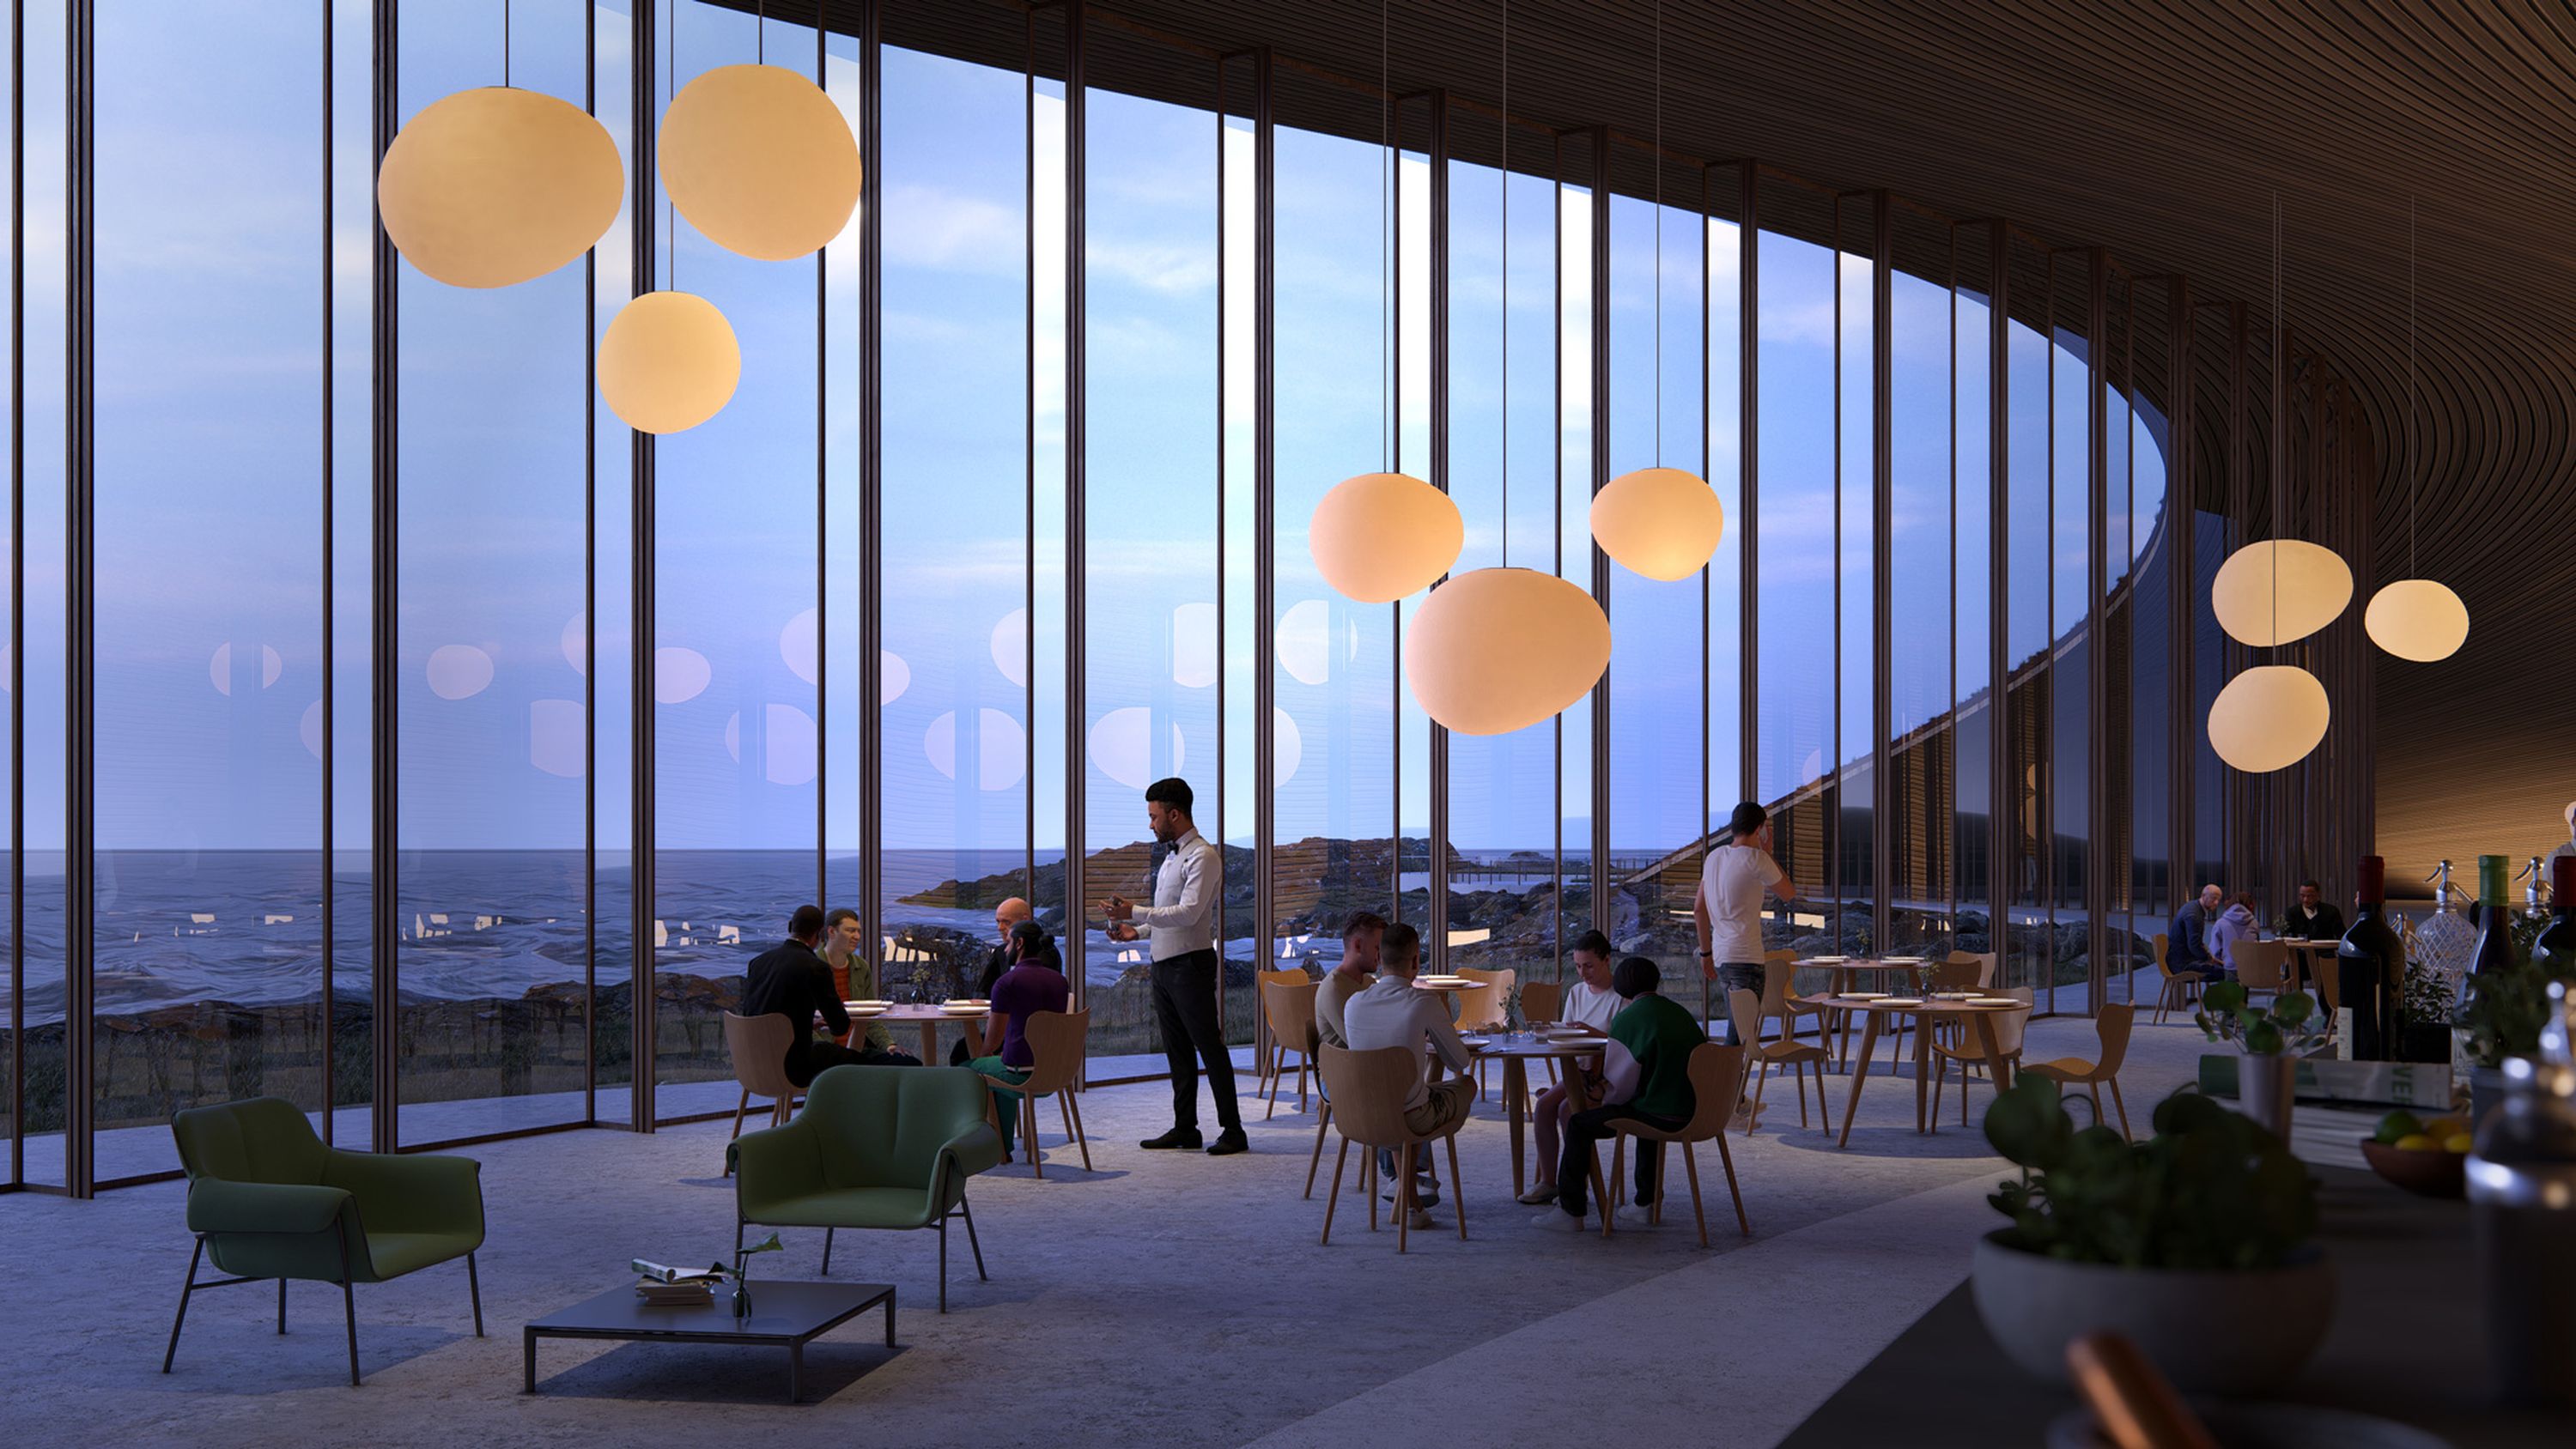
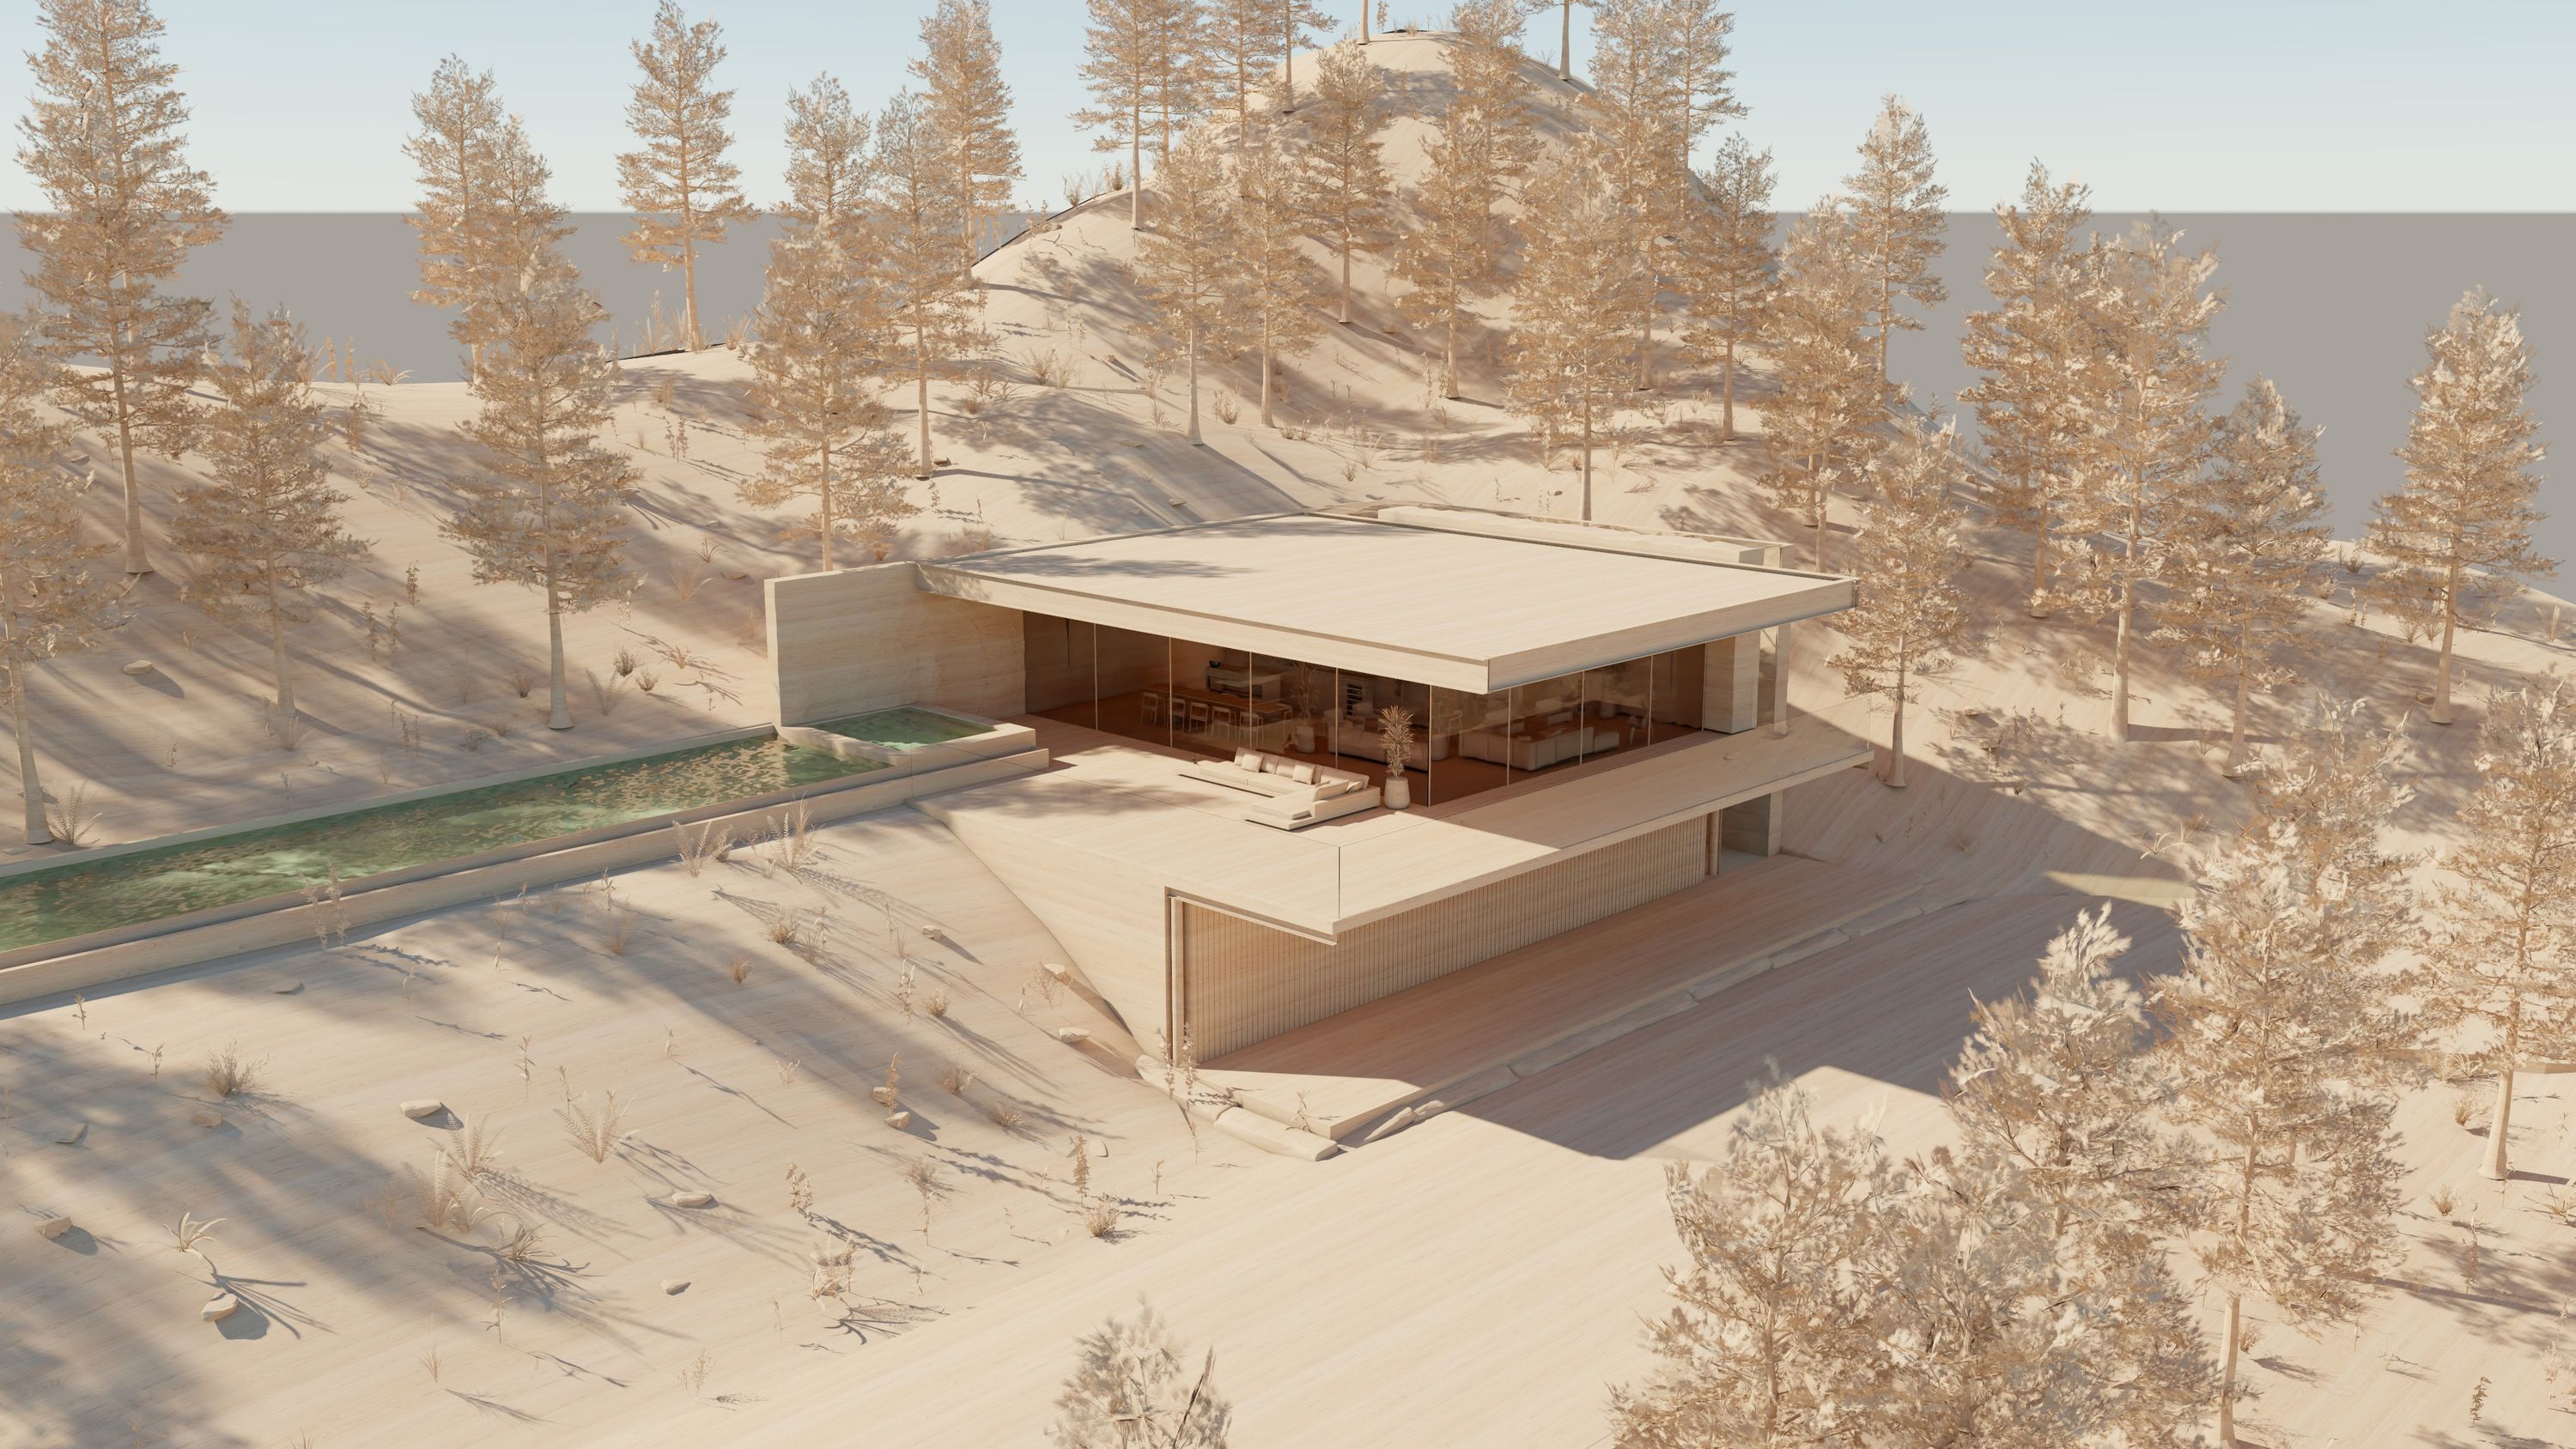
And that’s it—quick, easy, and impressive renders, perfect for your iterative design process.
Now available for SketchUp
Lumion View is now available for download from the SketchUp Extension Warehouse and free to try for 14 days.
You can get Lumion View as a standalone subscription or included with the Lumion Studio plan.
With Lumion Studio, you also get Lumion Pro as a floating license plus, for a limited time, you can invite up to 10 team members to use Lumion View for free per Lumion Studio seat—now until October 31, 2025.
Treten Sie der Warteliste bei
Lumion View ist jetzt kostenlos im Early Access für alle Lumion Pro-Abonnenten verfügbar.
Seien Sie der Erste, der erfährt, wann es für den breiteren Markt startet—treten Sie der Warteliste bei und bereiten Sie sich darauf vor, es in Ihren Design-Workflow zu integrieren.