From dawn to dusk: tips for lighting a scene in Lumion
How to effectively harness lighting across the whole design process

Lighting the way
Lighting is integral to every stage of design. It shapes how spaces are perceived, guiding design decisions and enhancing visual storytelling.
From testing natural light interactions in the early concept phase to adding realism and atmosphere in the final presentation, effective lighting transforms how we see and feel a design.
With Lumion’s versatile visualization tools, you can fine-tune and experiment with both natural and artificial lighting—right from the modelling stage. Let us walk you through it.
Build your model
To kick things off, start building your model in SketchUp. At the same time, open up Lumion View by clicking the lightning icon. Once that’s up and running, you’ll see your viewport, which will sync to your SketchUp view and display your model in a fully ray-traced environment.
Check out this guide to getting started with Lumion View if you’re new to it, then we can start playing with light.
Don’t use SketchUp? Stay tuned for more CAD integrations coming to Lumion View very soon! Join the waitlist to make sure you don’t miss them.
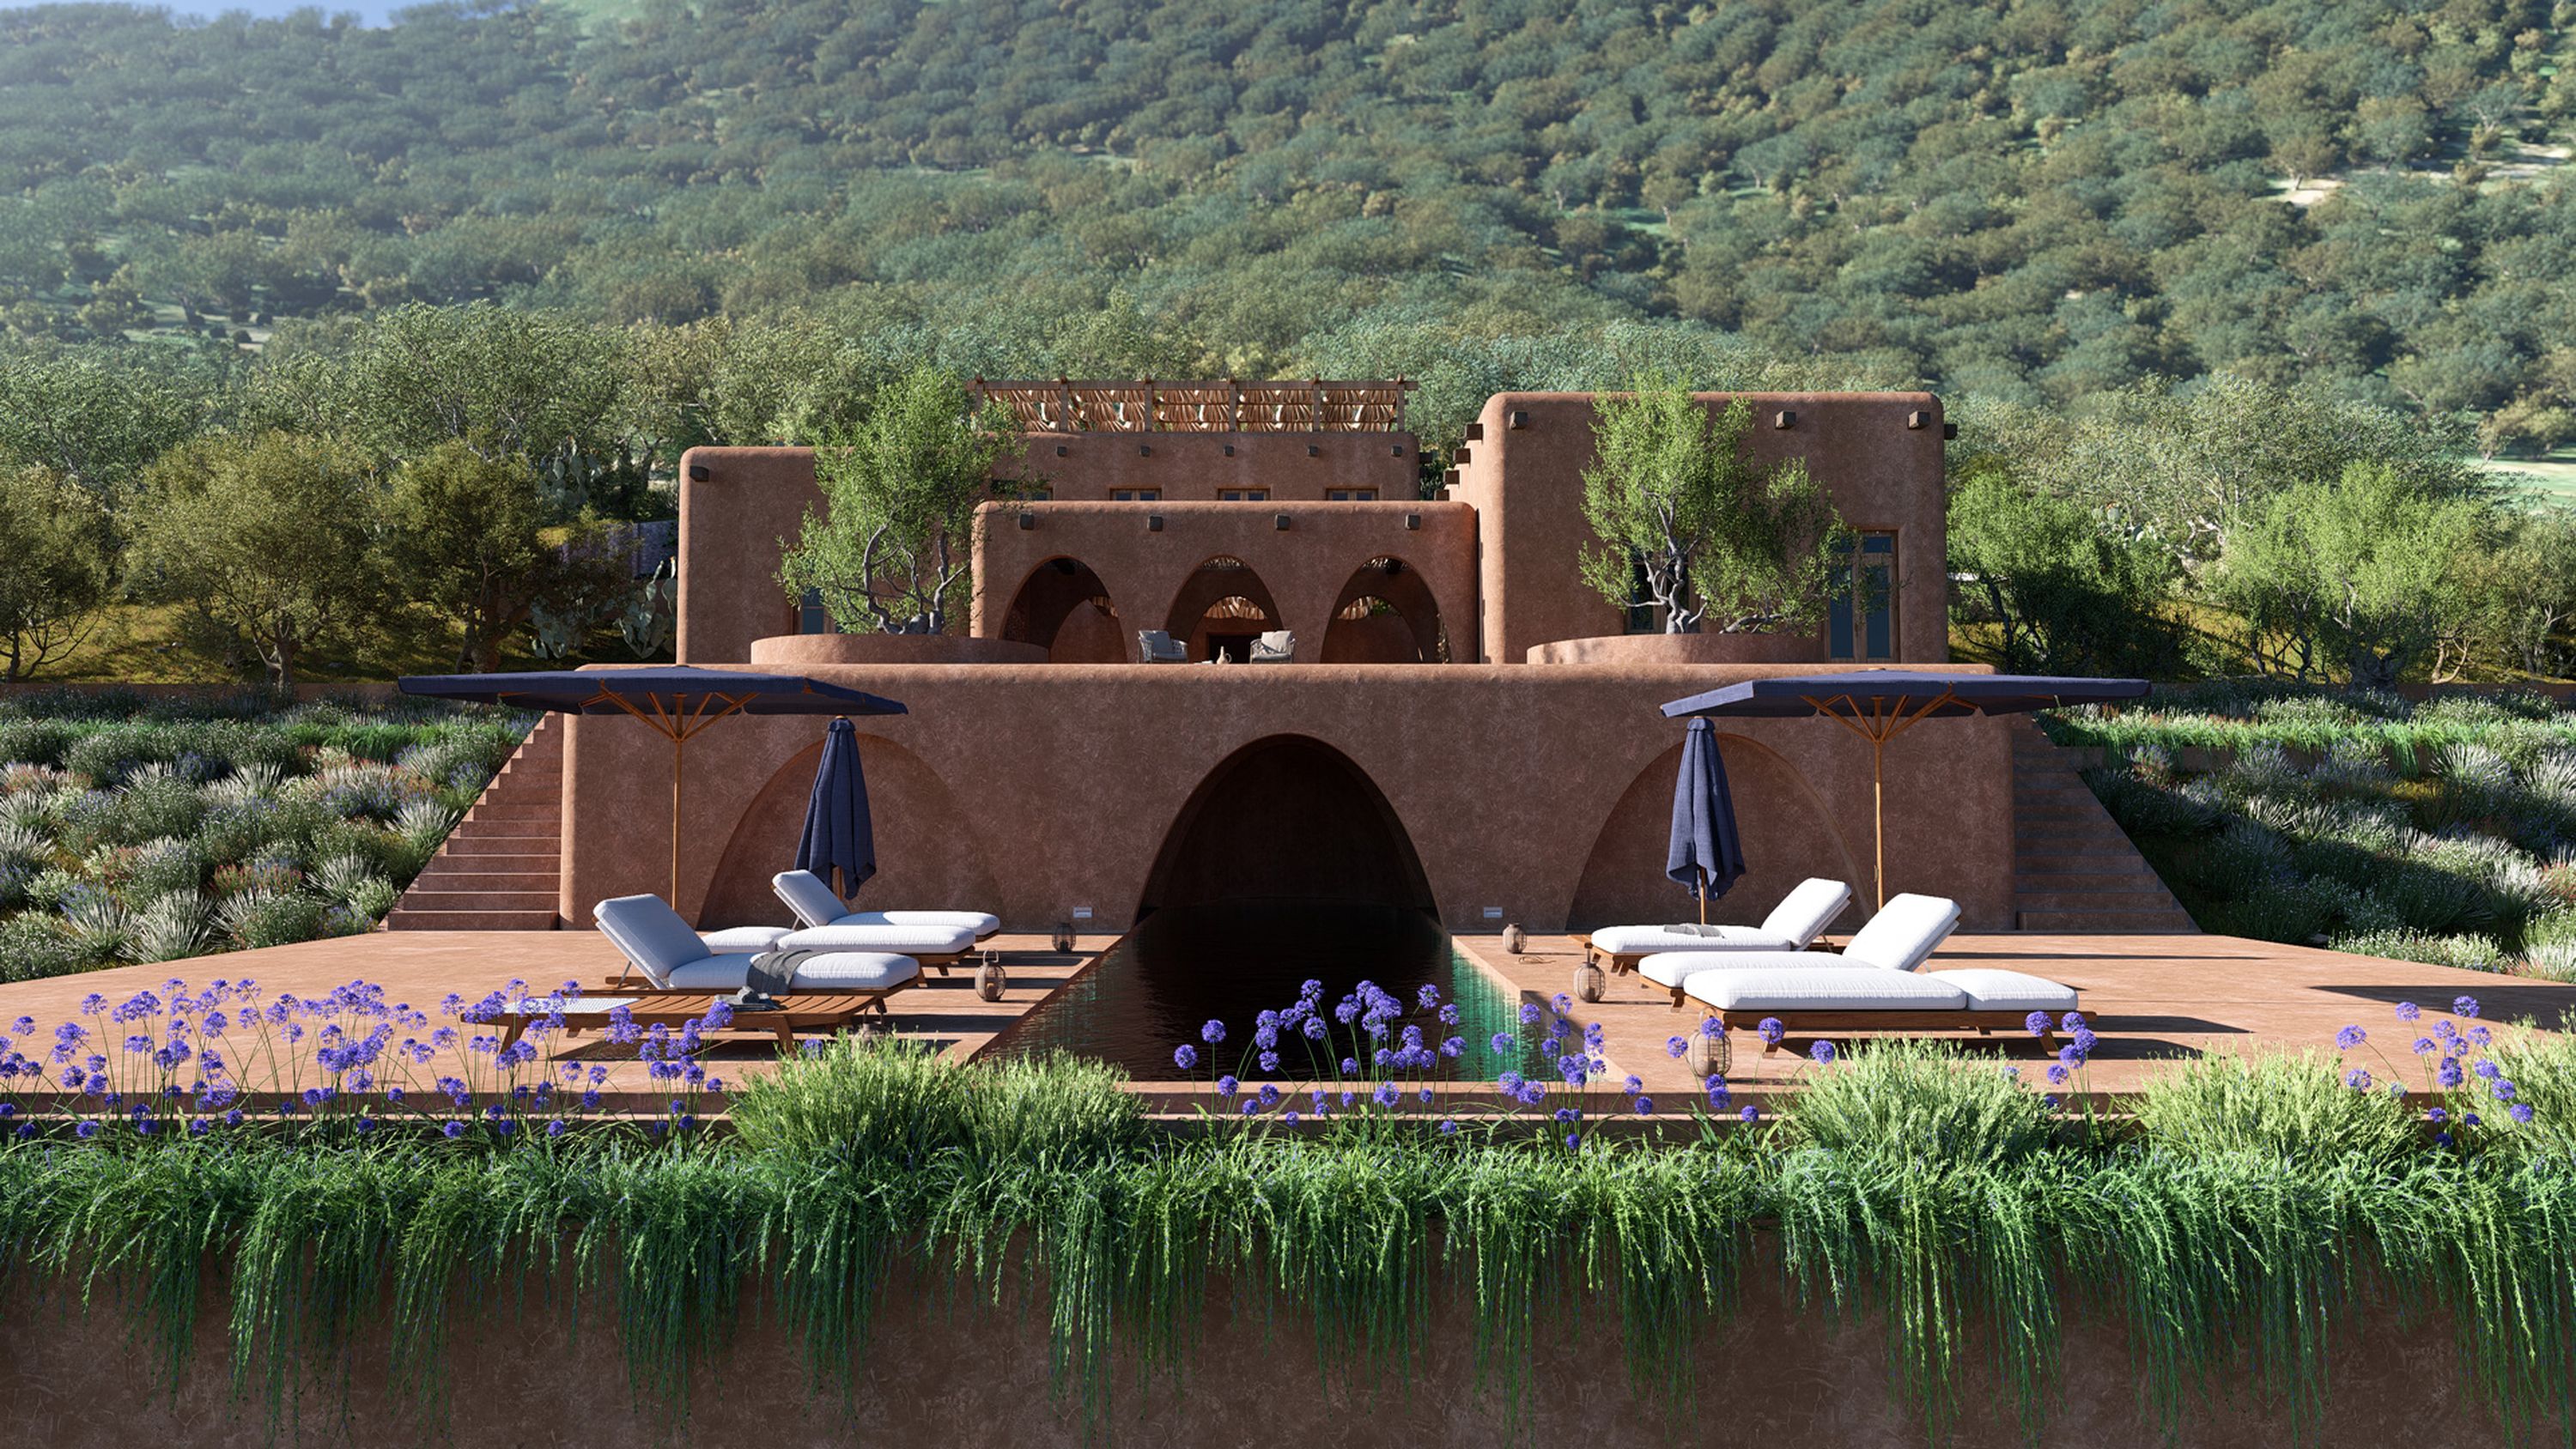
Tweak the weather
Adjusting the weather in the early stages of design is an important step in assessing how your building will interact with its environment.
In Lumion View, the Environment button on the left lets you tweak the weather however you choose, with controls for changing the sun direction, height, cloudiness, and sky brightness.
Effortlessly see how sunlight, shadows, clouds, and more affect your space, enabling confident early design choices.
Add artificial lighting
Lumion View also allows you to place and assess artificial lighting in your model. You can add point lights, spot lights, and area lights in your SketchUp project and see how they look in their real-life settings in Lumion View.
Any light settings you tweak in Lumion View will be applied to all of them at once, and you can access even more precise settings by holding down the Shift key.
In SketchUp, you can assign your lights colors of your choice from the material panel. Simply select the lights and apply a solid color using the paint bucket tool.

Import settings into Lumion Pro
Ready to get into the details? It’s time to transfer your project over to Lumion Pro.
Lumion View works seamlessly with Lumion Pro 2025. So, when your model is ready, you can easily import all model, material, and lighting settings from Lumion View and SketchUp straight into Lumion Pro. From there, you can just pick up where you left off—no reworks required.

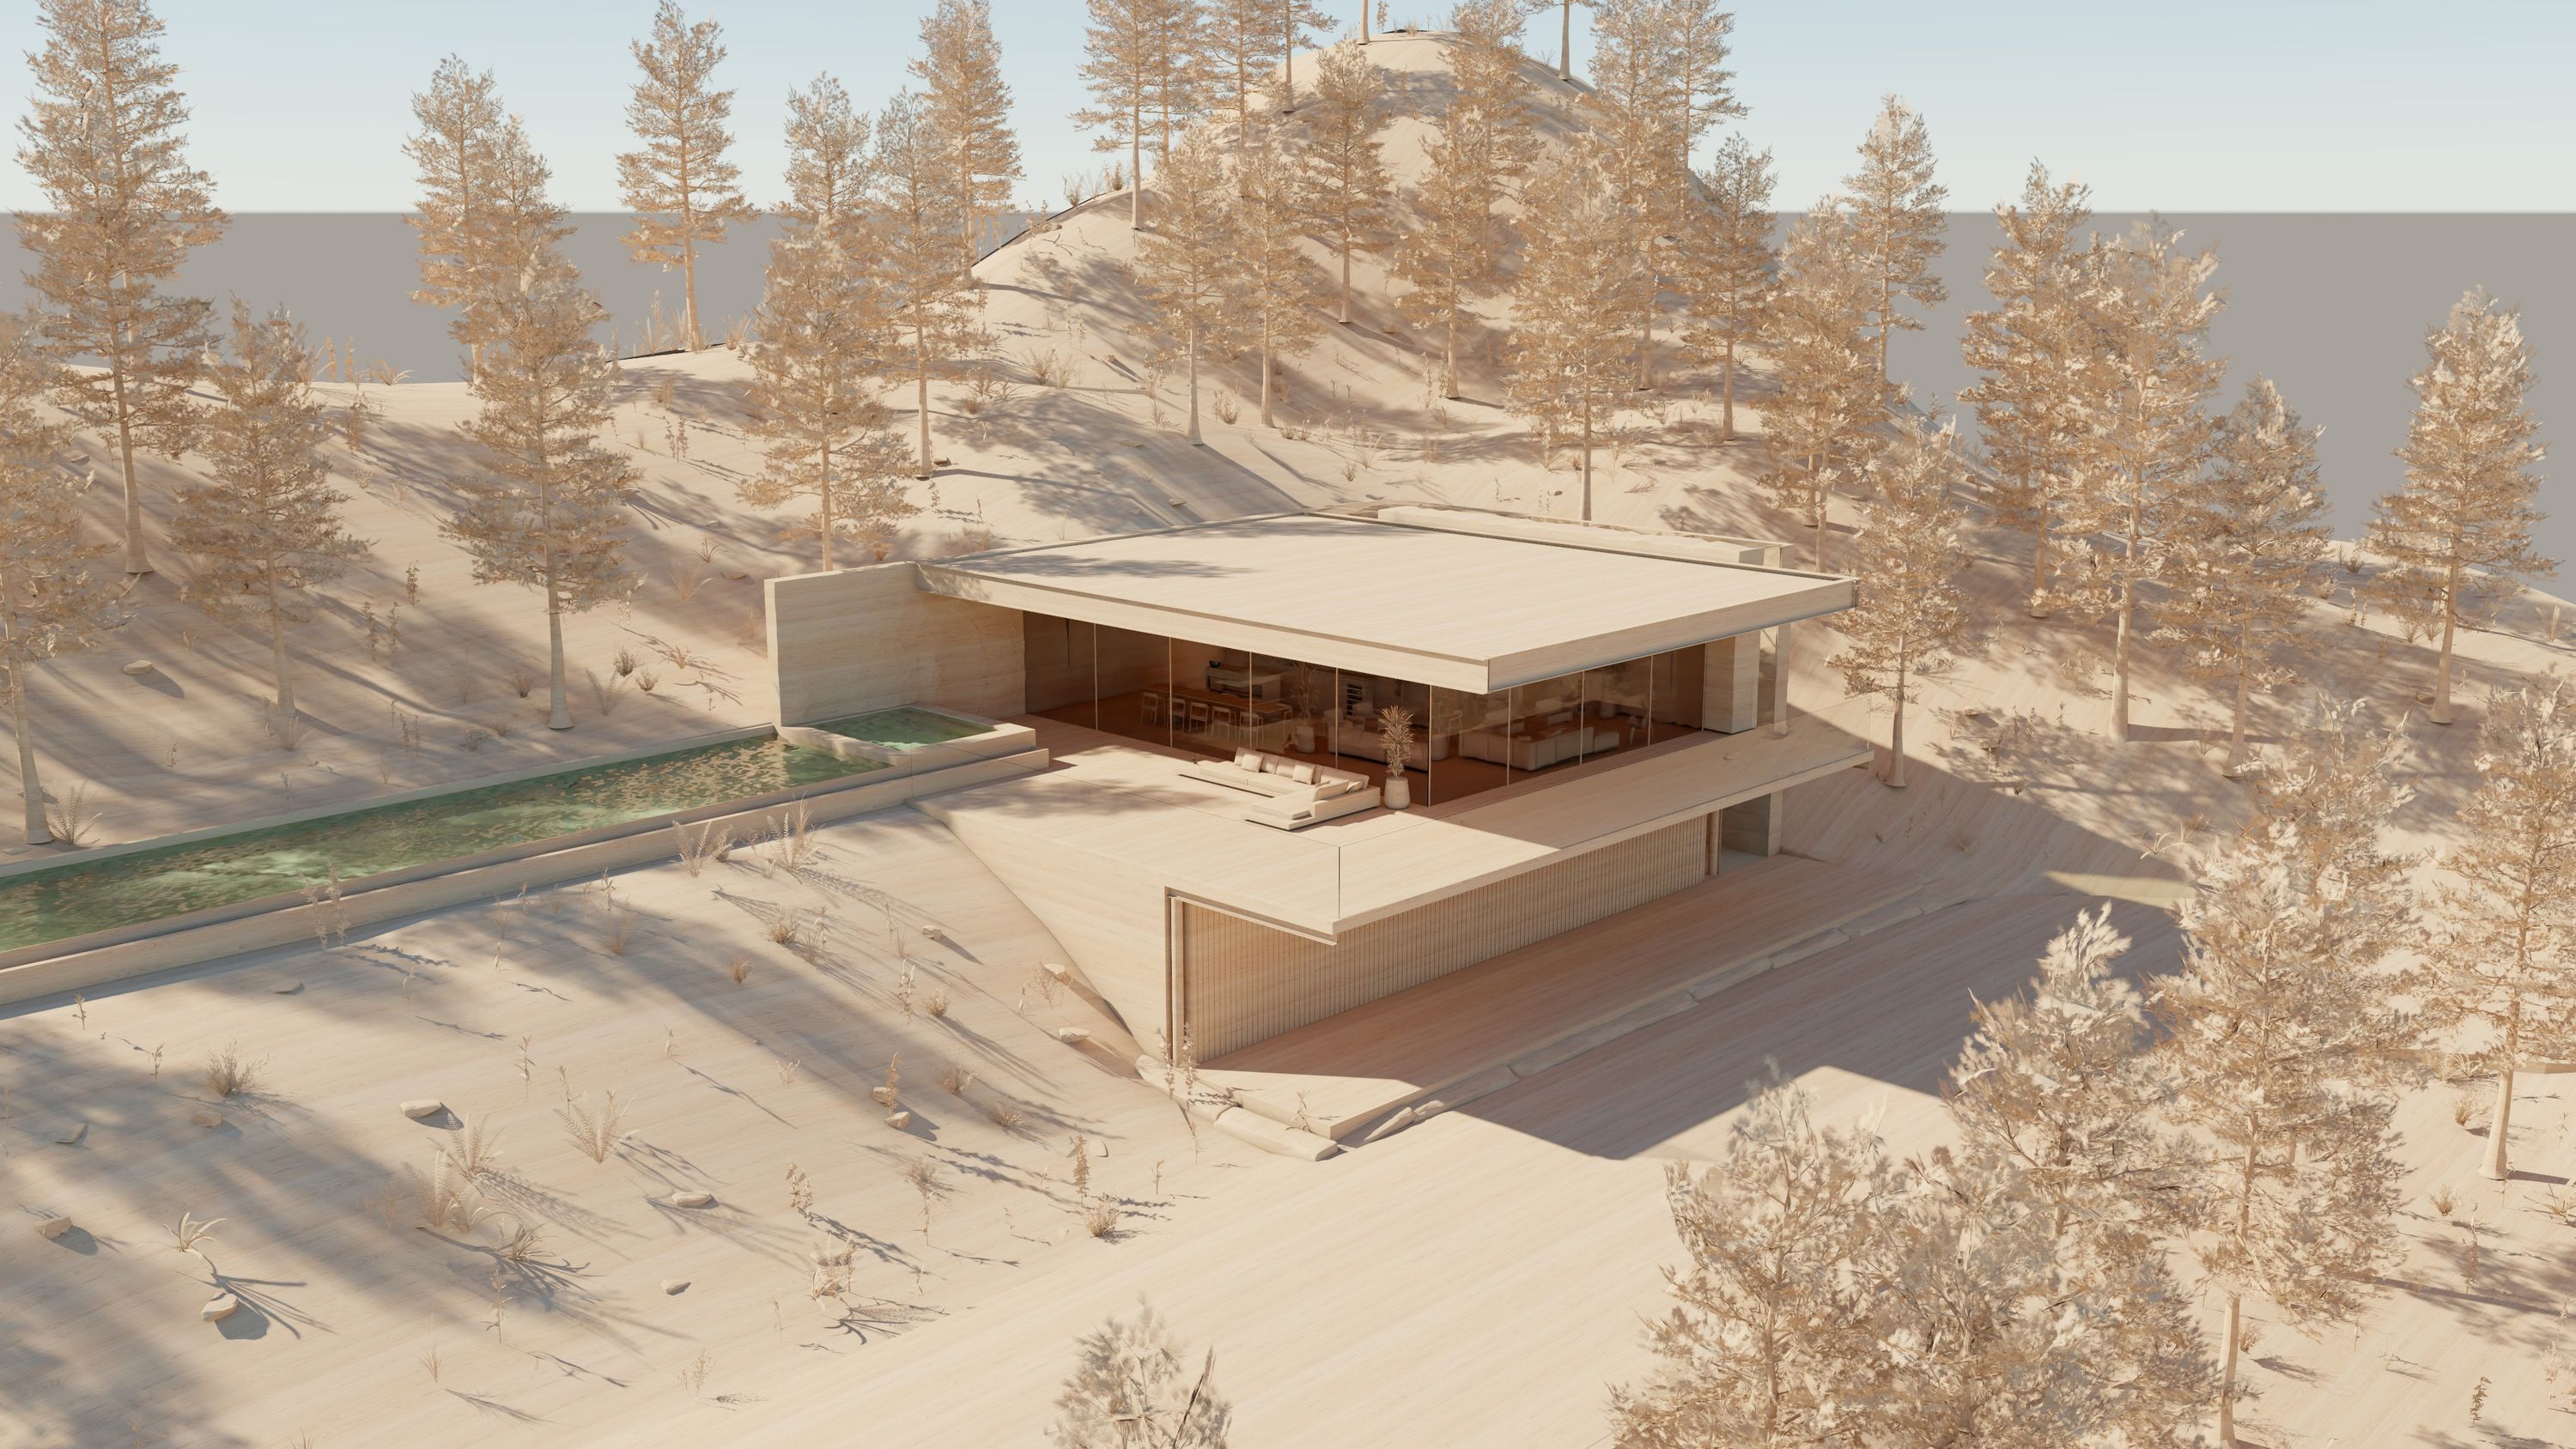
Work with the sun
Once your project’s set up and ready to go in Lumion Pro, there are a number of tools and effects you can employ to help you simulate and analyze natural lighting in your design.
One of the most important is the sun effect—by setting the sun’s specific position in the sky, you can explore how light and shadow play across your design. Animating this can be an engaging way of showcasing its movement and effects over time.
To create a dynamic animation using the sun effect, go to movie mode, then find Sun in +FX. With the timeline slider set to frame 0, adjust the Sun height and Sun heading sliders to your desired amounts and click Create keyframe. Move the timeline slider to the last frame and repeat these steps.

You can also modify the Sun disk size, which affects the types of shadows cast. When ray tracing is enabled, increasing the disk size results in softer shadows, while decreasing it produces sharper ones.
In movie mode, you’ll also find the Sun study effect, which lets you simulate sunlight based on real-world location, date, and time. By understanding how lighting impacts your design, you can make clearer decisions about optimizing natural light in your design and ensuring it integrates smoothly into its surroundings.
Use the Edit button to pick a spot on the map or adjust latitude and longitude manually. You can then fine-tune the time, date, and timezone. To animate the sun’s movement, just add keyframes as you would with the Sun effect.
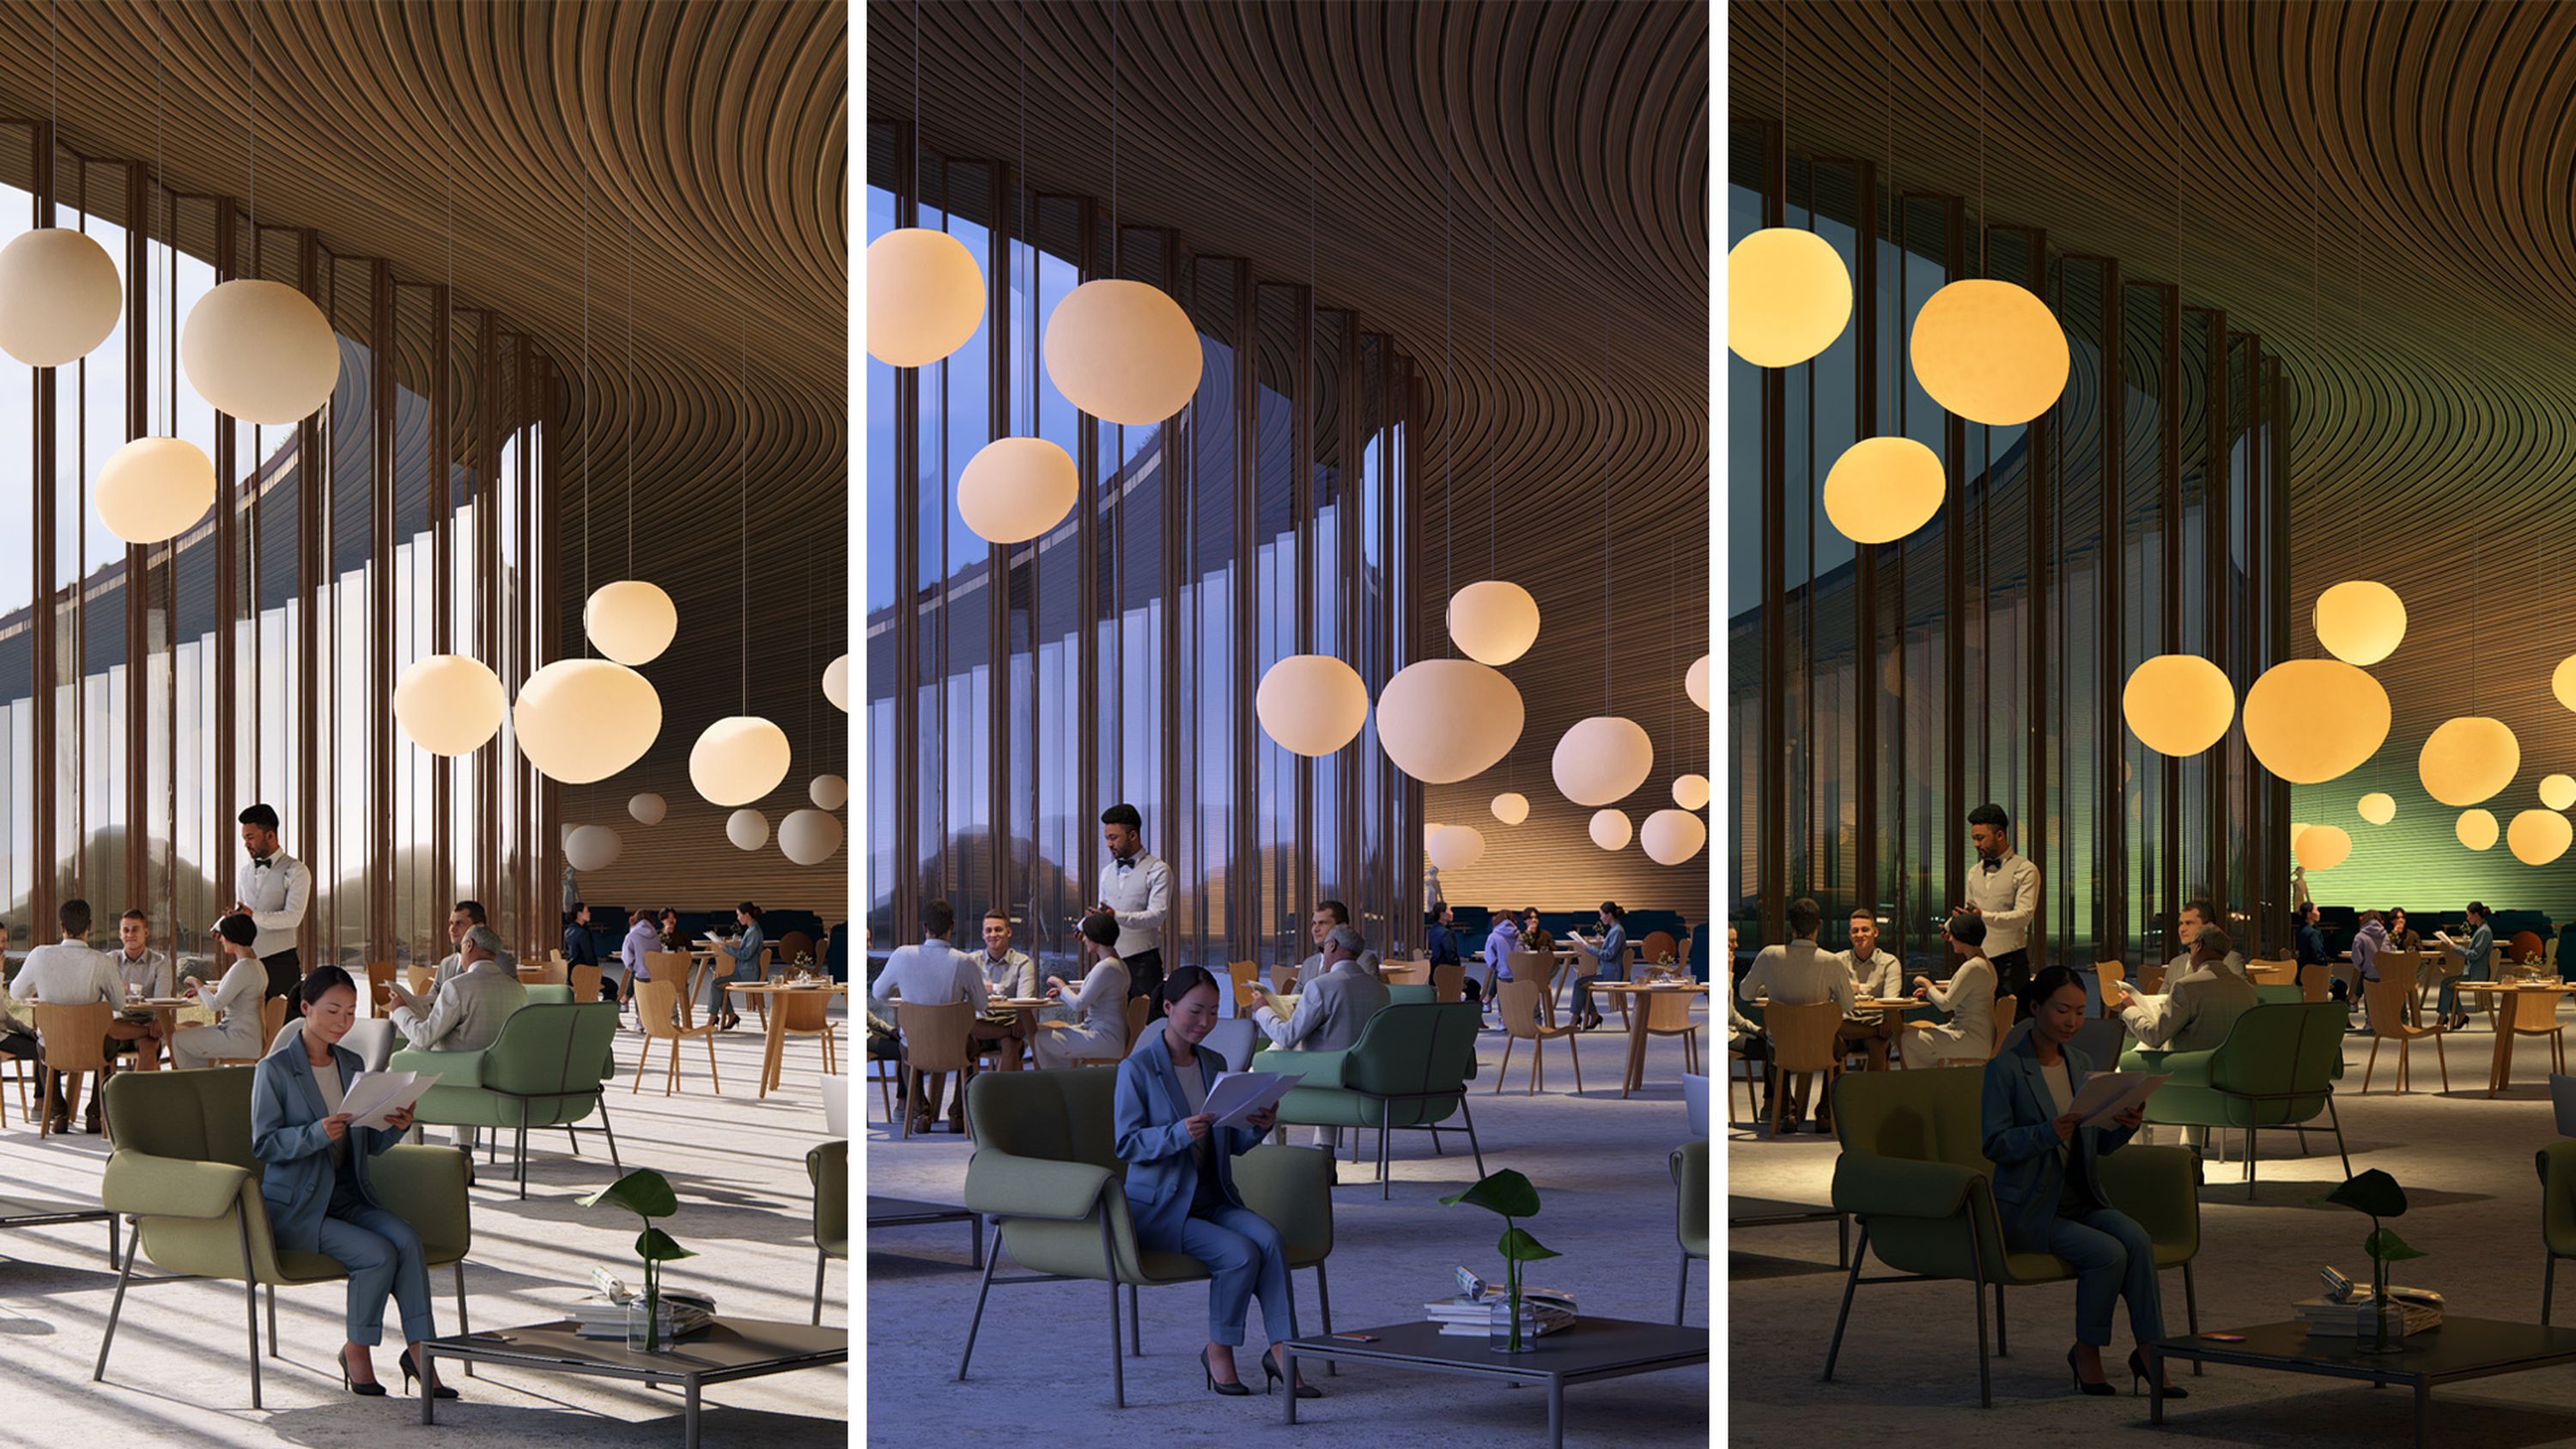
Switch up the sky
While the sun might be the most obvious natural light consideration, you can’t forget the sky. In Lumion Pro, you can also tweak the light emitted from the sky to your liking, using the settings in both the Real skies and Sky and clouds effects. With the Sky brightness slider, you can easily adjust the sky's light—increasing it will create a brighter, cooler image with smoother shading, reminiscent of a cloudy day. Reducing it will allow the sunlight to be more visible, resulting in a warmer image with more pronounced shadows.


Ray trace it
The ray tracing effect is the key to making lighting look as natural as possible. By accurately simulating its real-world behavior, it allows you to create scenes that feature stunningly realistic lighting, reflections, and shadows.
In Lumion, you’ll find it in +FX. Simply switch it on to boost the realism of your lighting.


Choose your lighting
When it comes to artificial lighting, Lumion Pro provides all the lighting types and customizable settings you need to create lifelike illuminated scenes.
You can also accurately replicate real-world lighting conditions by using standardized units like lumens and nits for brightness, and Kelvin for color temperature. Plus, you can import IES profiles to match the exact characteristics of actual lighting fixtures. Here are the different types of artificial lighting you can find in Lumion Pro:

Spotlights emit light in a directional cone, ideal for ceiling lights, streetlights, car headlamps, and more. Brightness is measured in lumens, and both cone angle and direction are adjustable in the spotlight settings. Lumion Pro comes with 30 spotlight IES profiles, with the option to import your own.

Omnilights emit light in all directions, making them ideal for bulbs, hanging lamps, fireplaces, and other omnidirectional light sources. Lumion Pro includes 10 omnilight IES profiles, and you can also import your own.

Area lights emit light across a broad surface in a single direction, with brightness measured in nits. Their width and length can be adjusted to simulate fixtures of various sizes, making them ideal for evenly lighting large spaces like ceilings, walls, screens, or LED strips. Area lights only cast shadows when using ray tracing.
Animate it
Animating your artificial lights is an engaging and captivating way of showcasing your design. In movie mode, there are some handy effects that let you change the color of your lights or turn them on in a dynamic sequence. It couldn’t be easier to put into practice—follow this short guide to give it a go.
Time to try it all out
We hope you’ve learned something new!
If you don’t have Lumion View or Pro yet, no problem. Why not see what they can do for your design workflow by trying them out for free?
You can try both Lumion Pro and Lumion View free for 14 days—no payment details required.
If you’re ready to take a look at our plans, make sure to check out our new all-in-one bundle, Lumion Studio, that includes both products. For a limited time only, you can invite up to 10 team members to Lumion View for free and save up to $550 on the total package price!