How to render custom architectural drawings
Effortlessly infuse life into your drawings with Lumion Pro
Beyond the technicalities
As an architect, you know that the success of any project depends on key drawings. These documents, including site plans, elevations, and sections, aren't just technicalities; they're the blueprints that help transform your vision into reality, guiding every step from concept to construction.
But did you know that you can produce, personalize, and stylize these all in Lumion Pro? That’s right, Lumion Pro isn’t just for final renders – it integrates into your entire workflow, right from the very first plans and sections, so you can rely on just one software from start to finish.
This guide will walk you through some simple ways of adding a touch of personality and life to your architectural drawings. Read on to discover the power of orthographic views, clipping planes, import topography and OpenStreetMap, and styles. And if you're new to Lumion, you can easily follow along these tips with a free Lumion Pro trial.
Transform your technical drawings
Orthographic projections allow you to illustrate true-to-scale representations of 3D designs in 2D, without the distortion caused by perspective. Often created for multiple different angles of the same structure, they’re essential for providing accurate dimensions, layouts, and details.
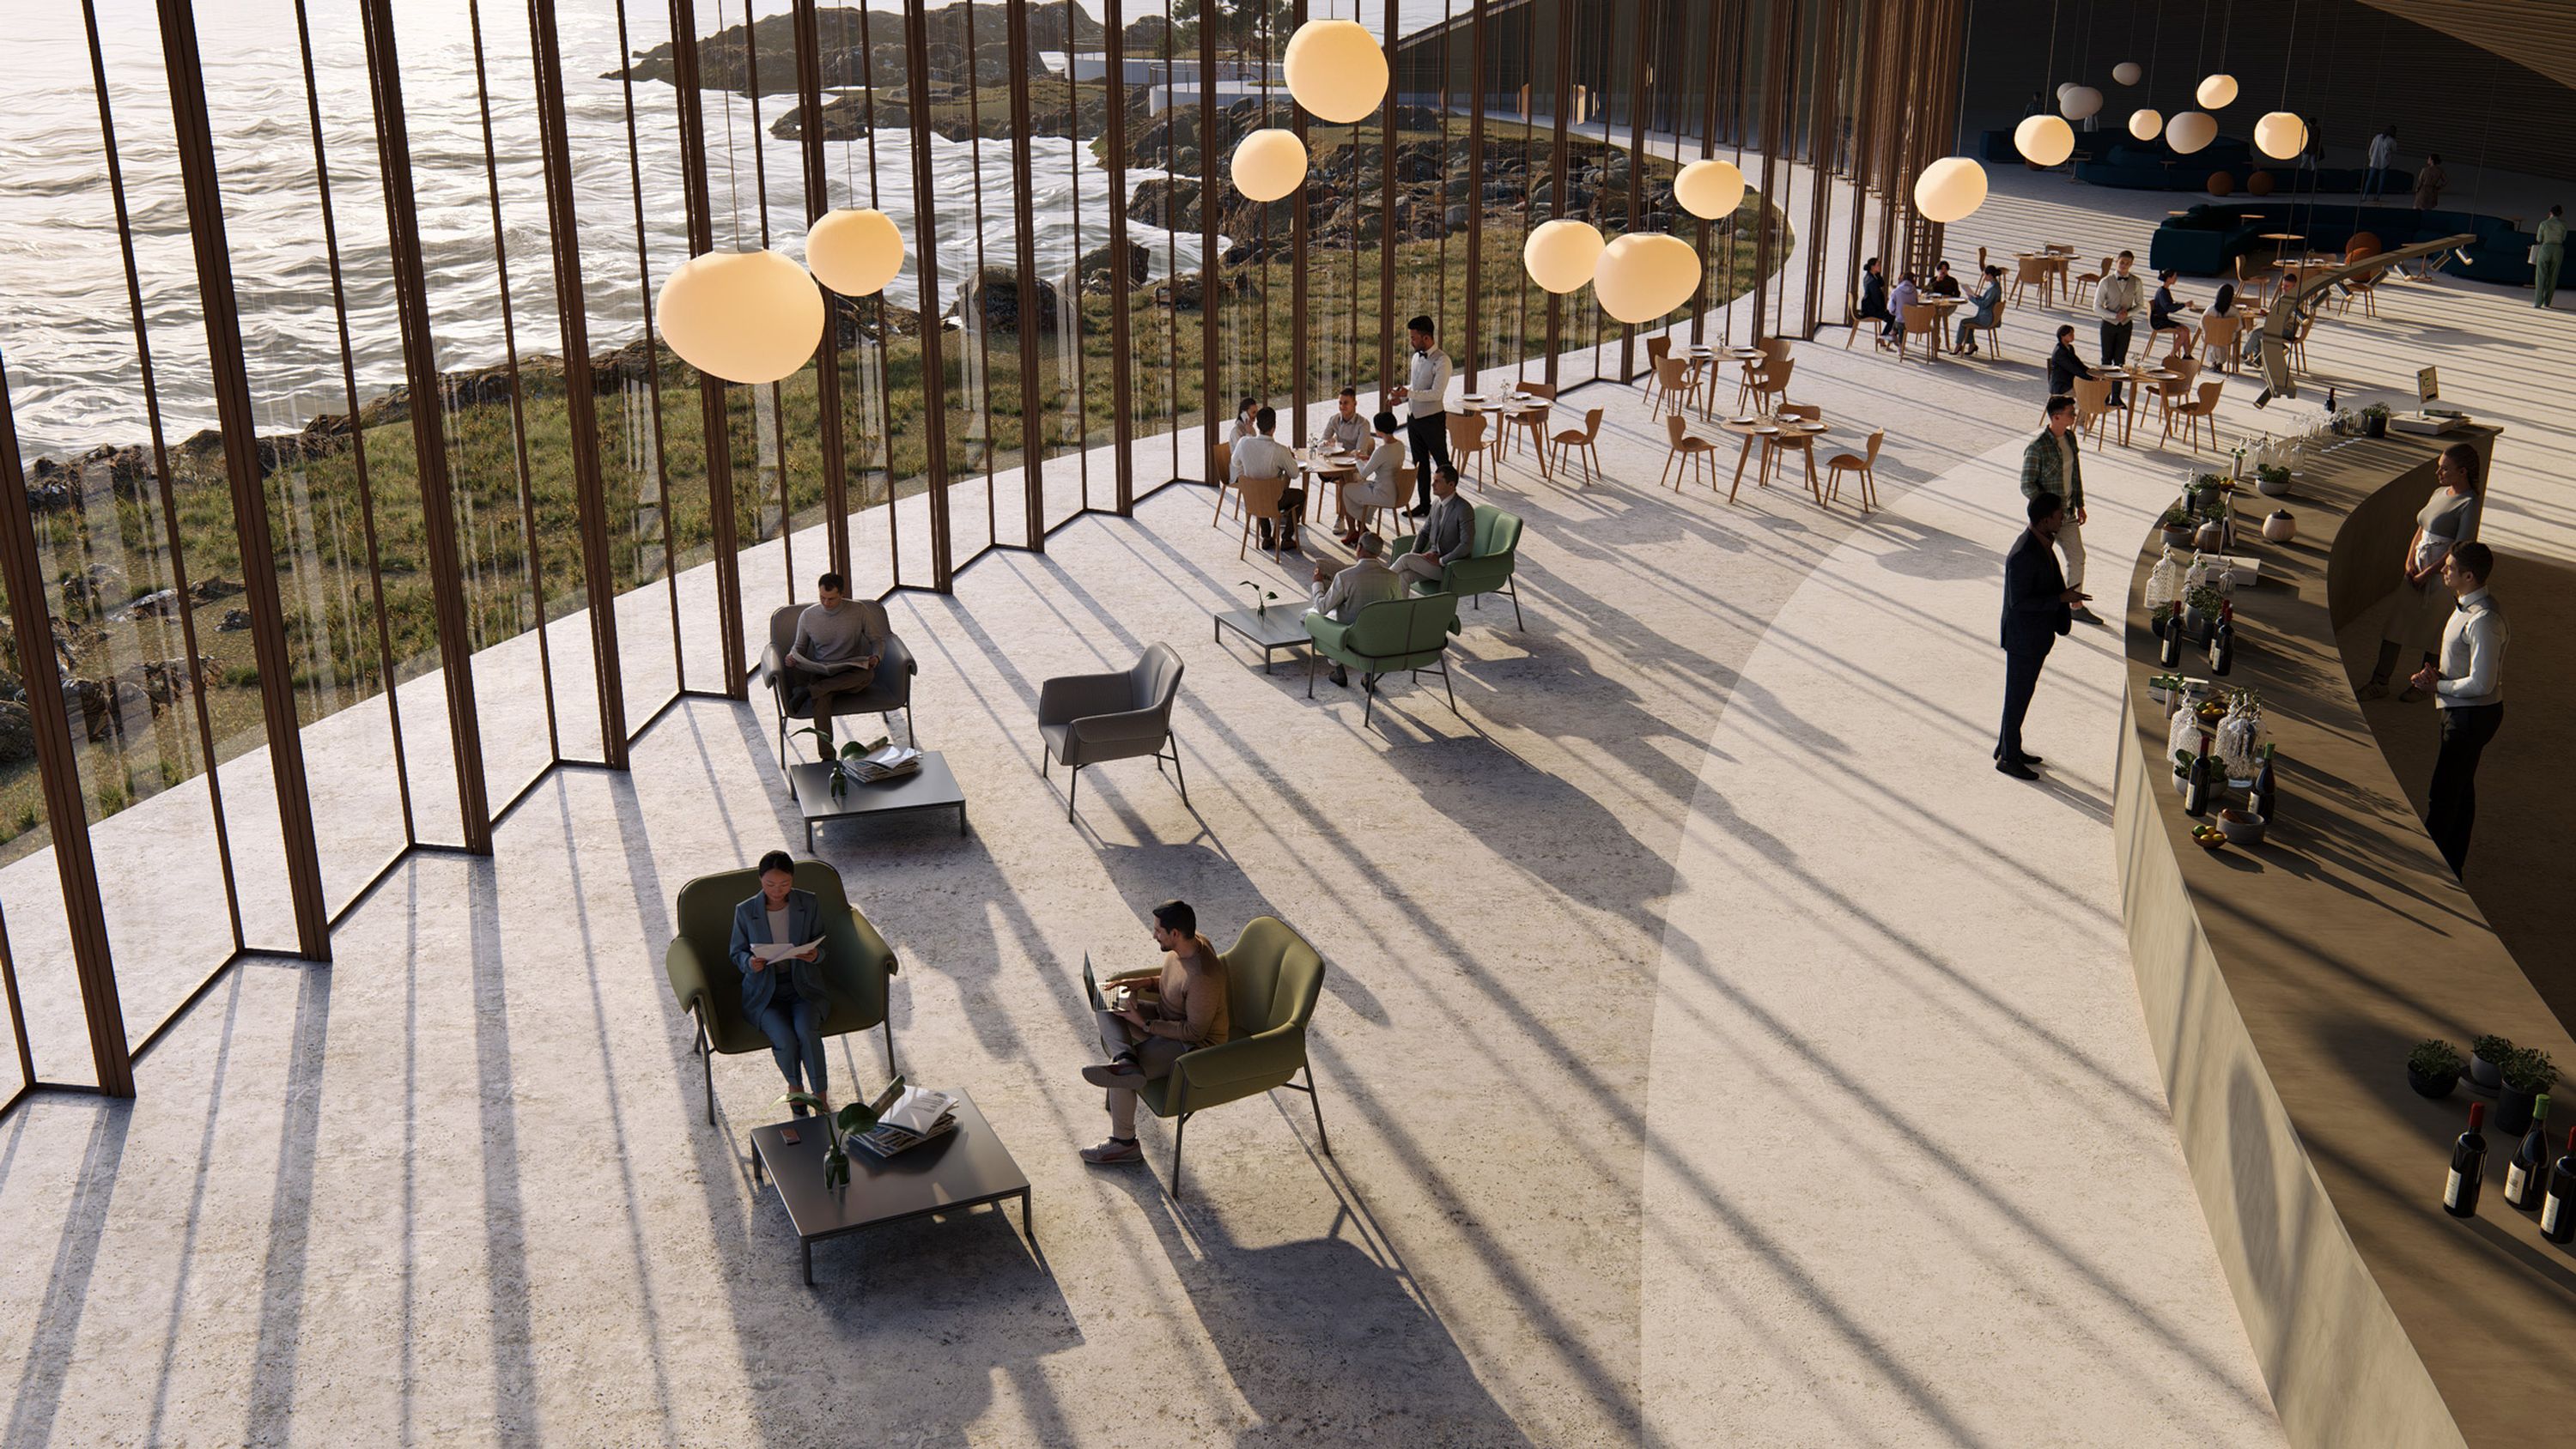
The orthographic view effect in Lumion Pro offers a refreshing way of livening up your technical drawings with the ability to add color, texture, and even animation. Sitting somewhere between traditional drawings and rendered images, orthographic views offer the best of both worlds: accuracy, simplicity, and visual appeal.
So, what can you create with the effect? Here are some of its main uses:
1. Site plans
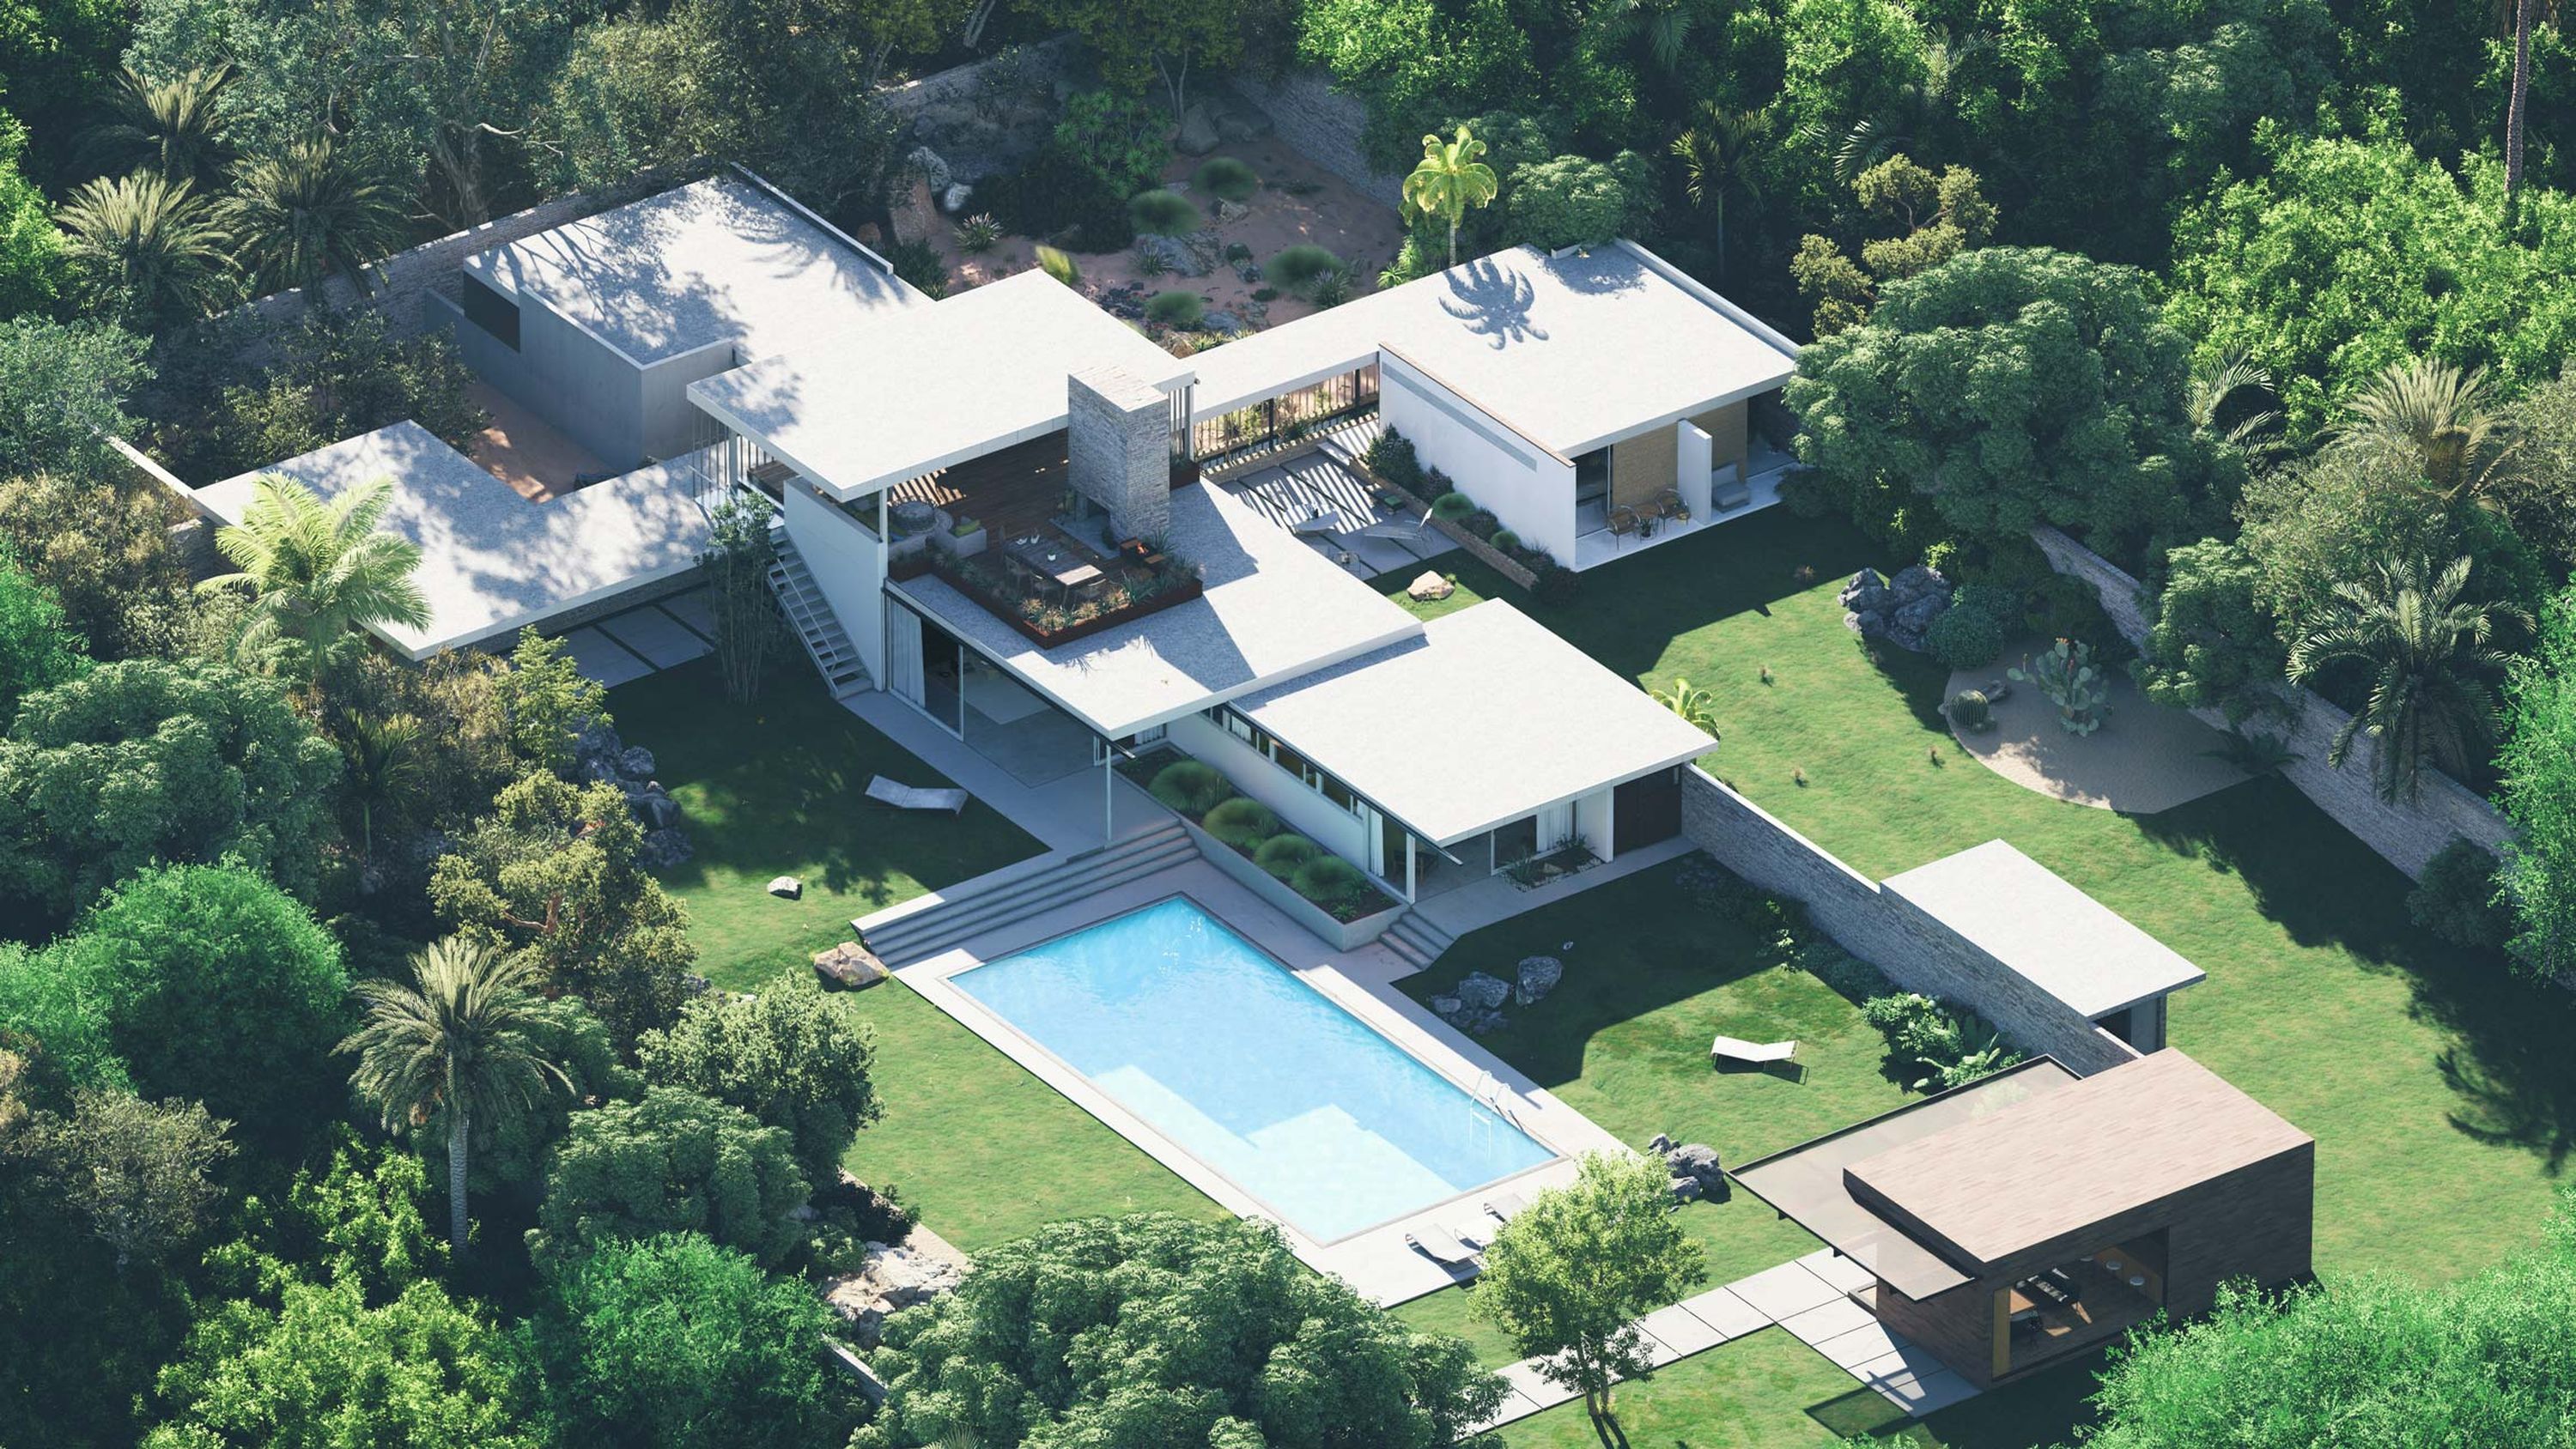
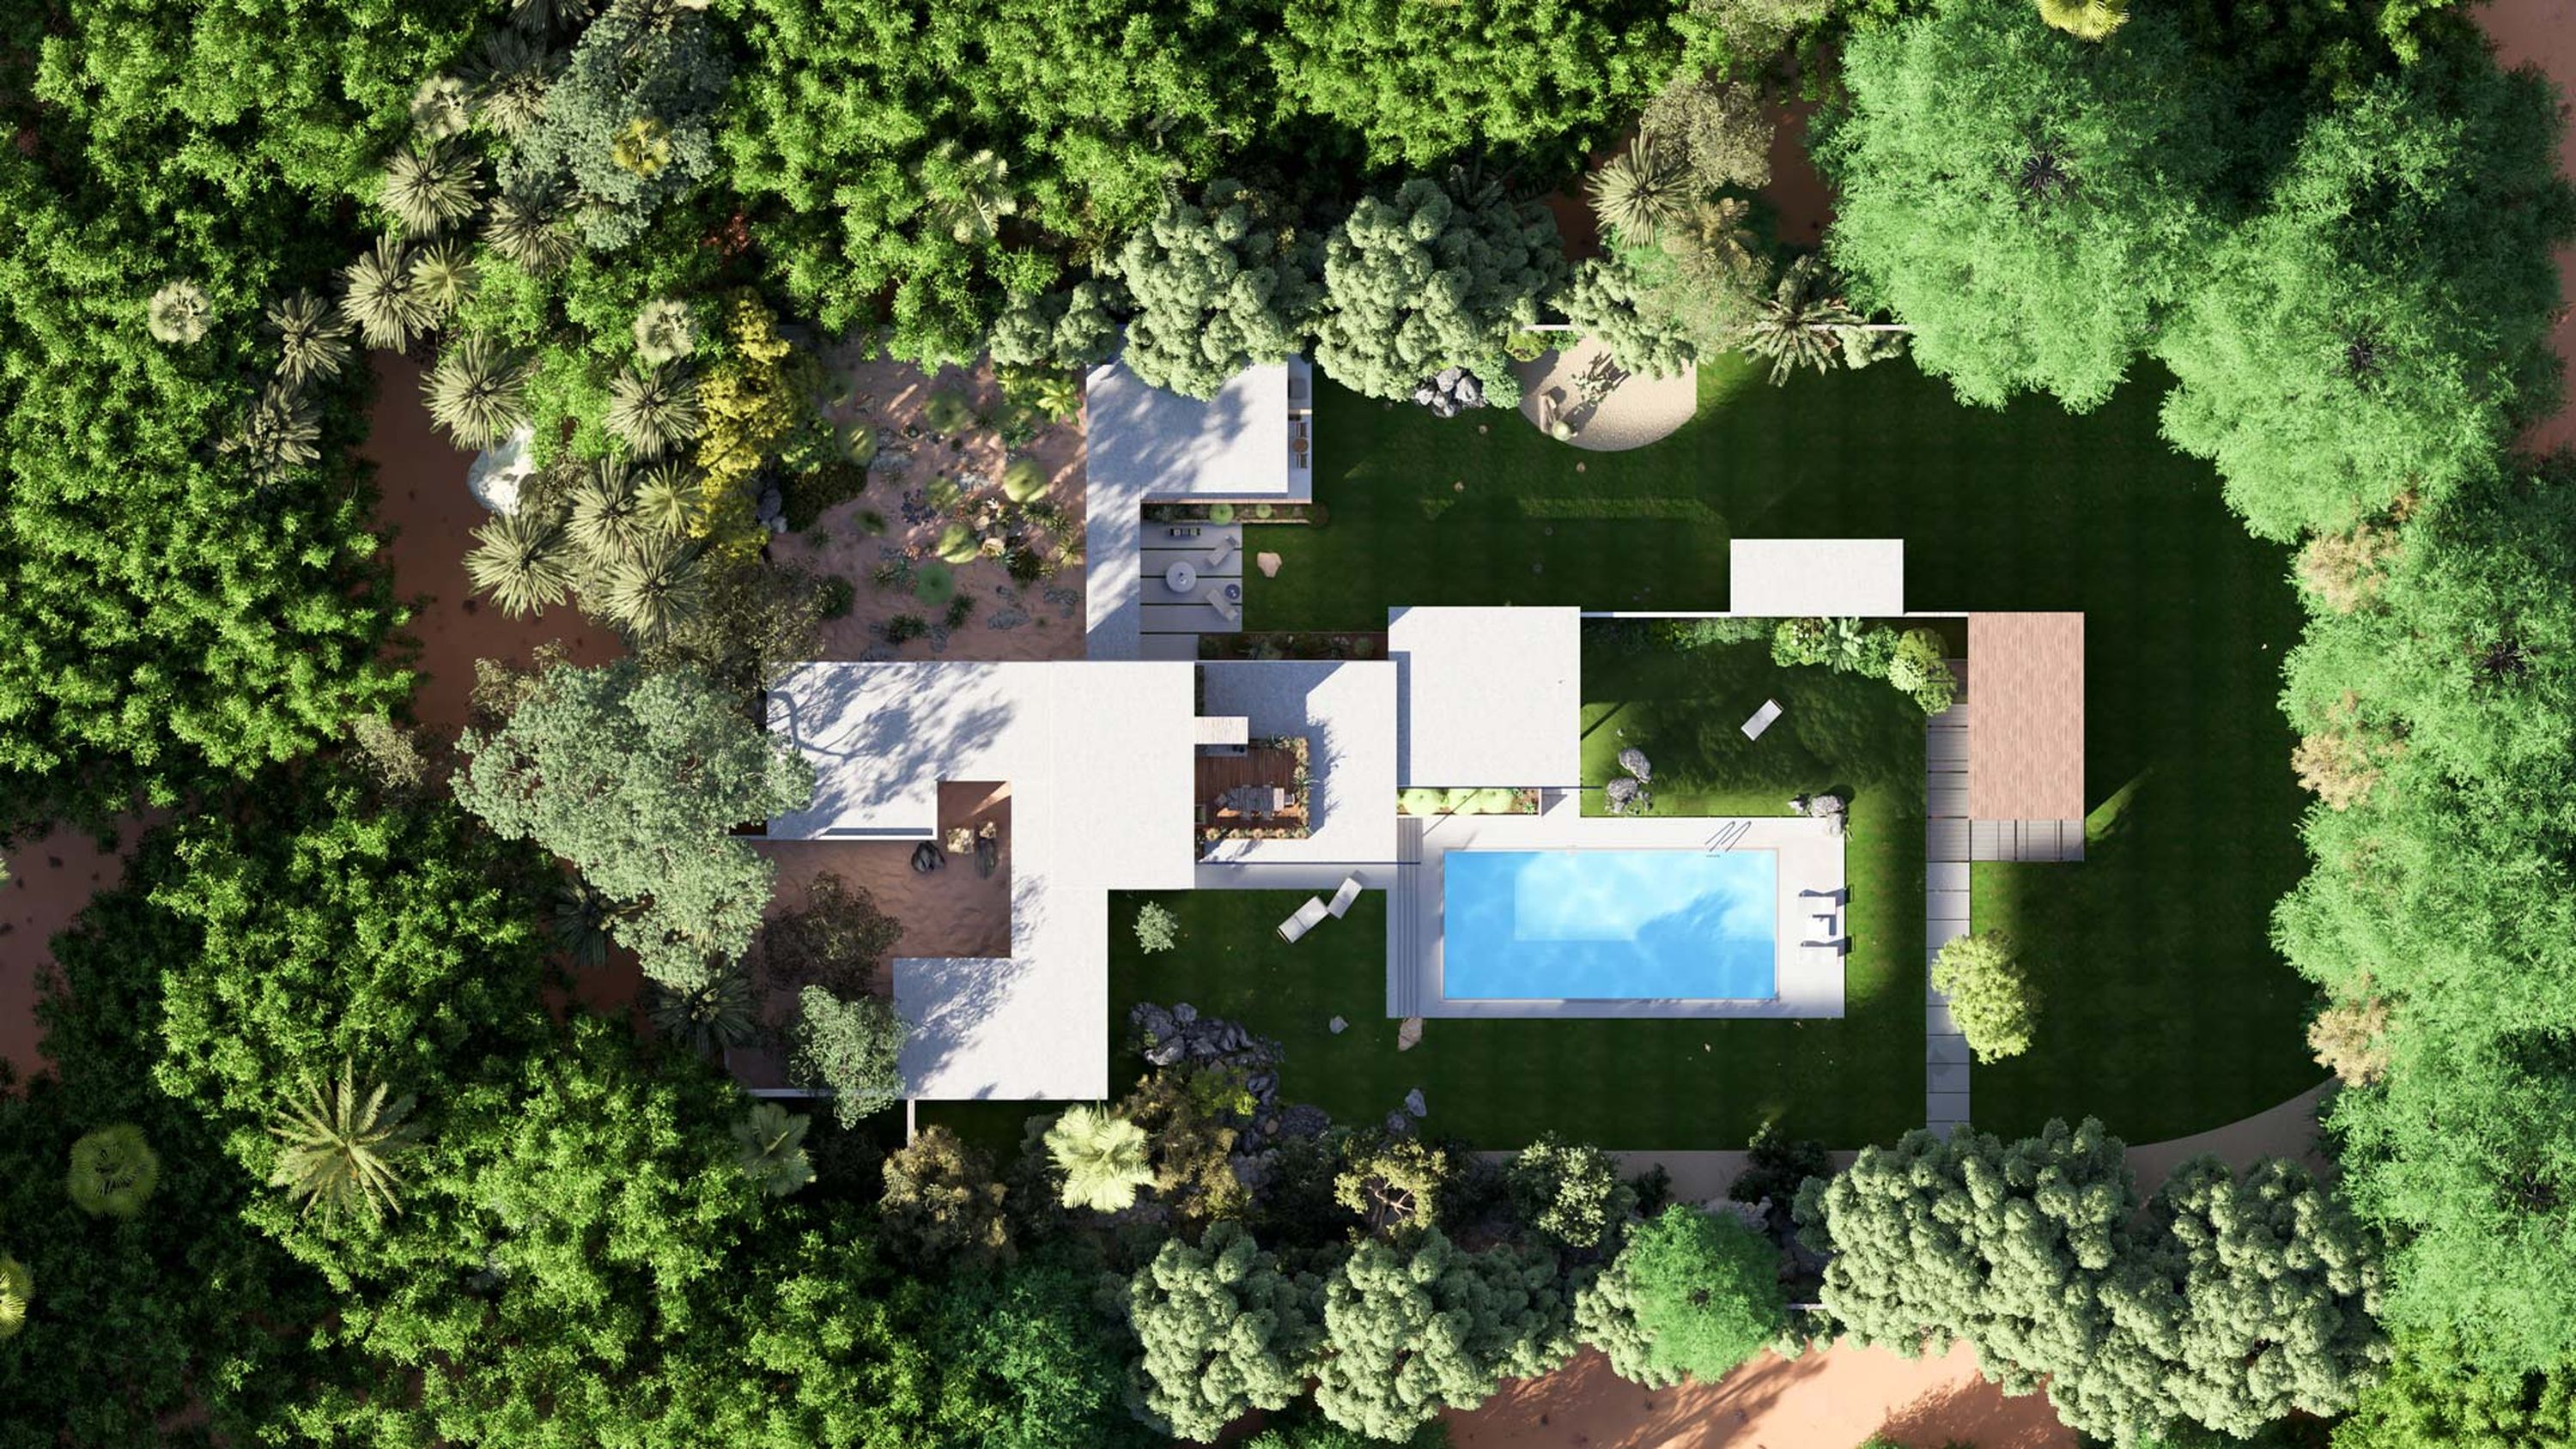
Create top-view images that allow you to effectively analyze how a building fits into its context. In Lumion Pro, you can take this one step further than your typical wireframe drawings. Combine it with the sun study effect to see precisely which shadows will be cast and where, getting a more vivid insight into how your design will affect its surroundings.
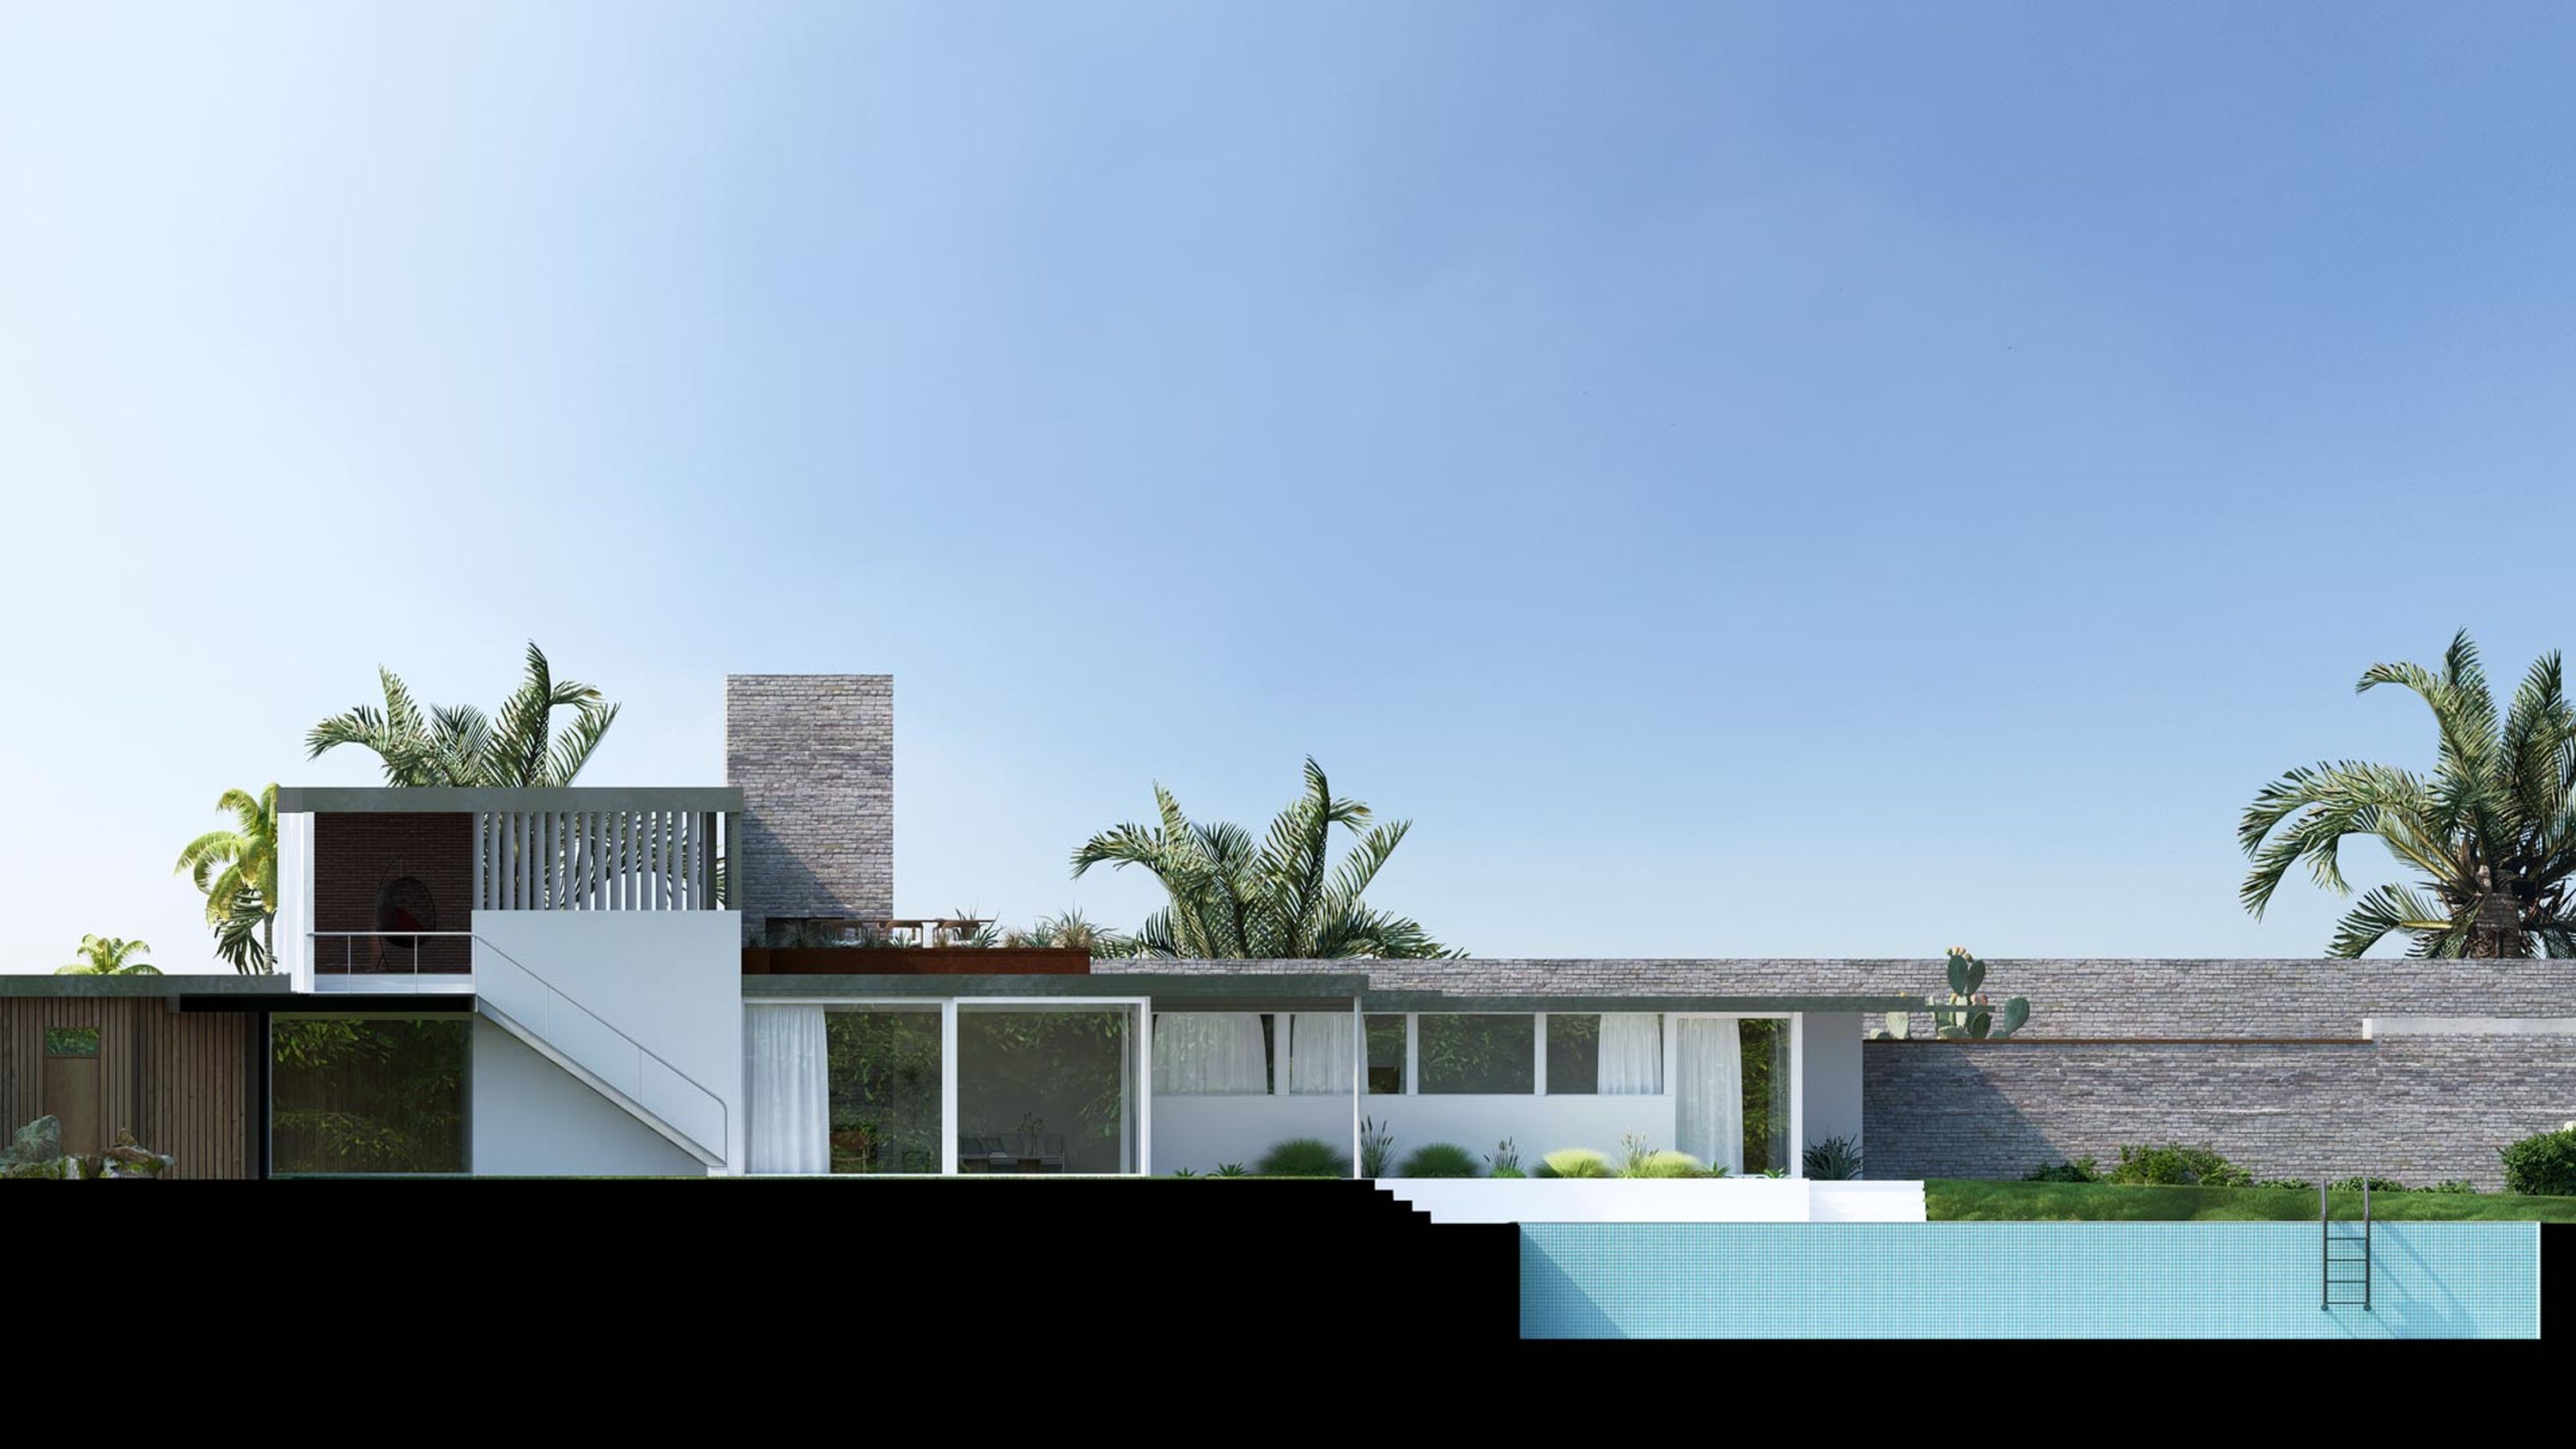
2. Elevations
Create side-views of each facade of your building to accurately portray proportions, massing, finishes, and more. The orthographic view effect lets you embellish surfaces with realistic materials and detail surroundings with nature, as well as animated vehicles and people.
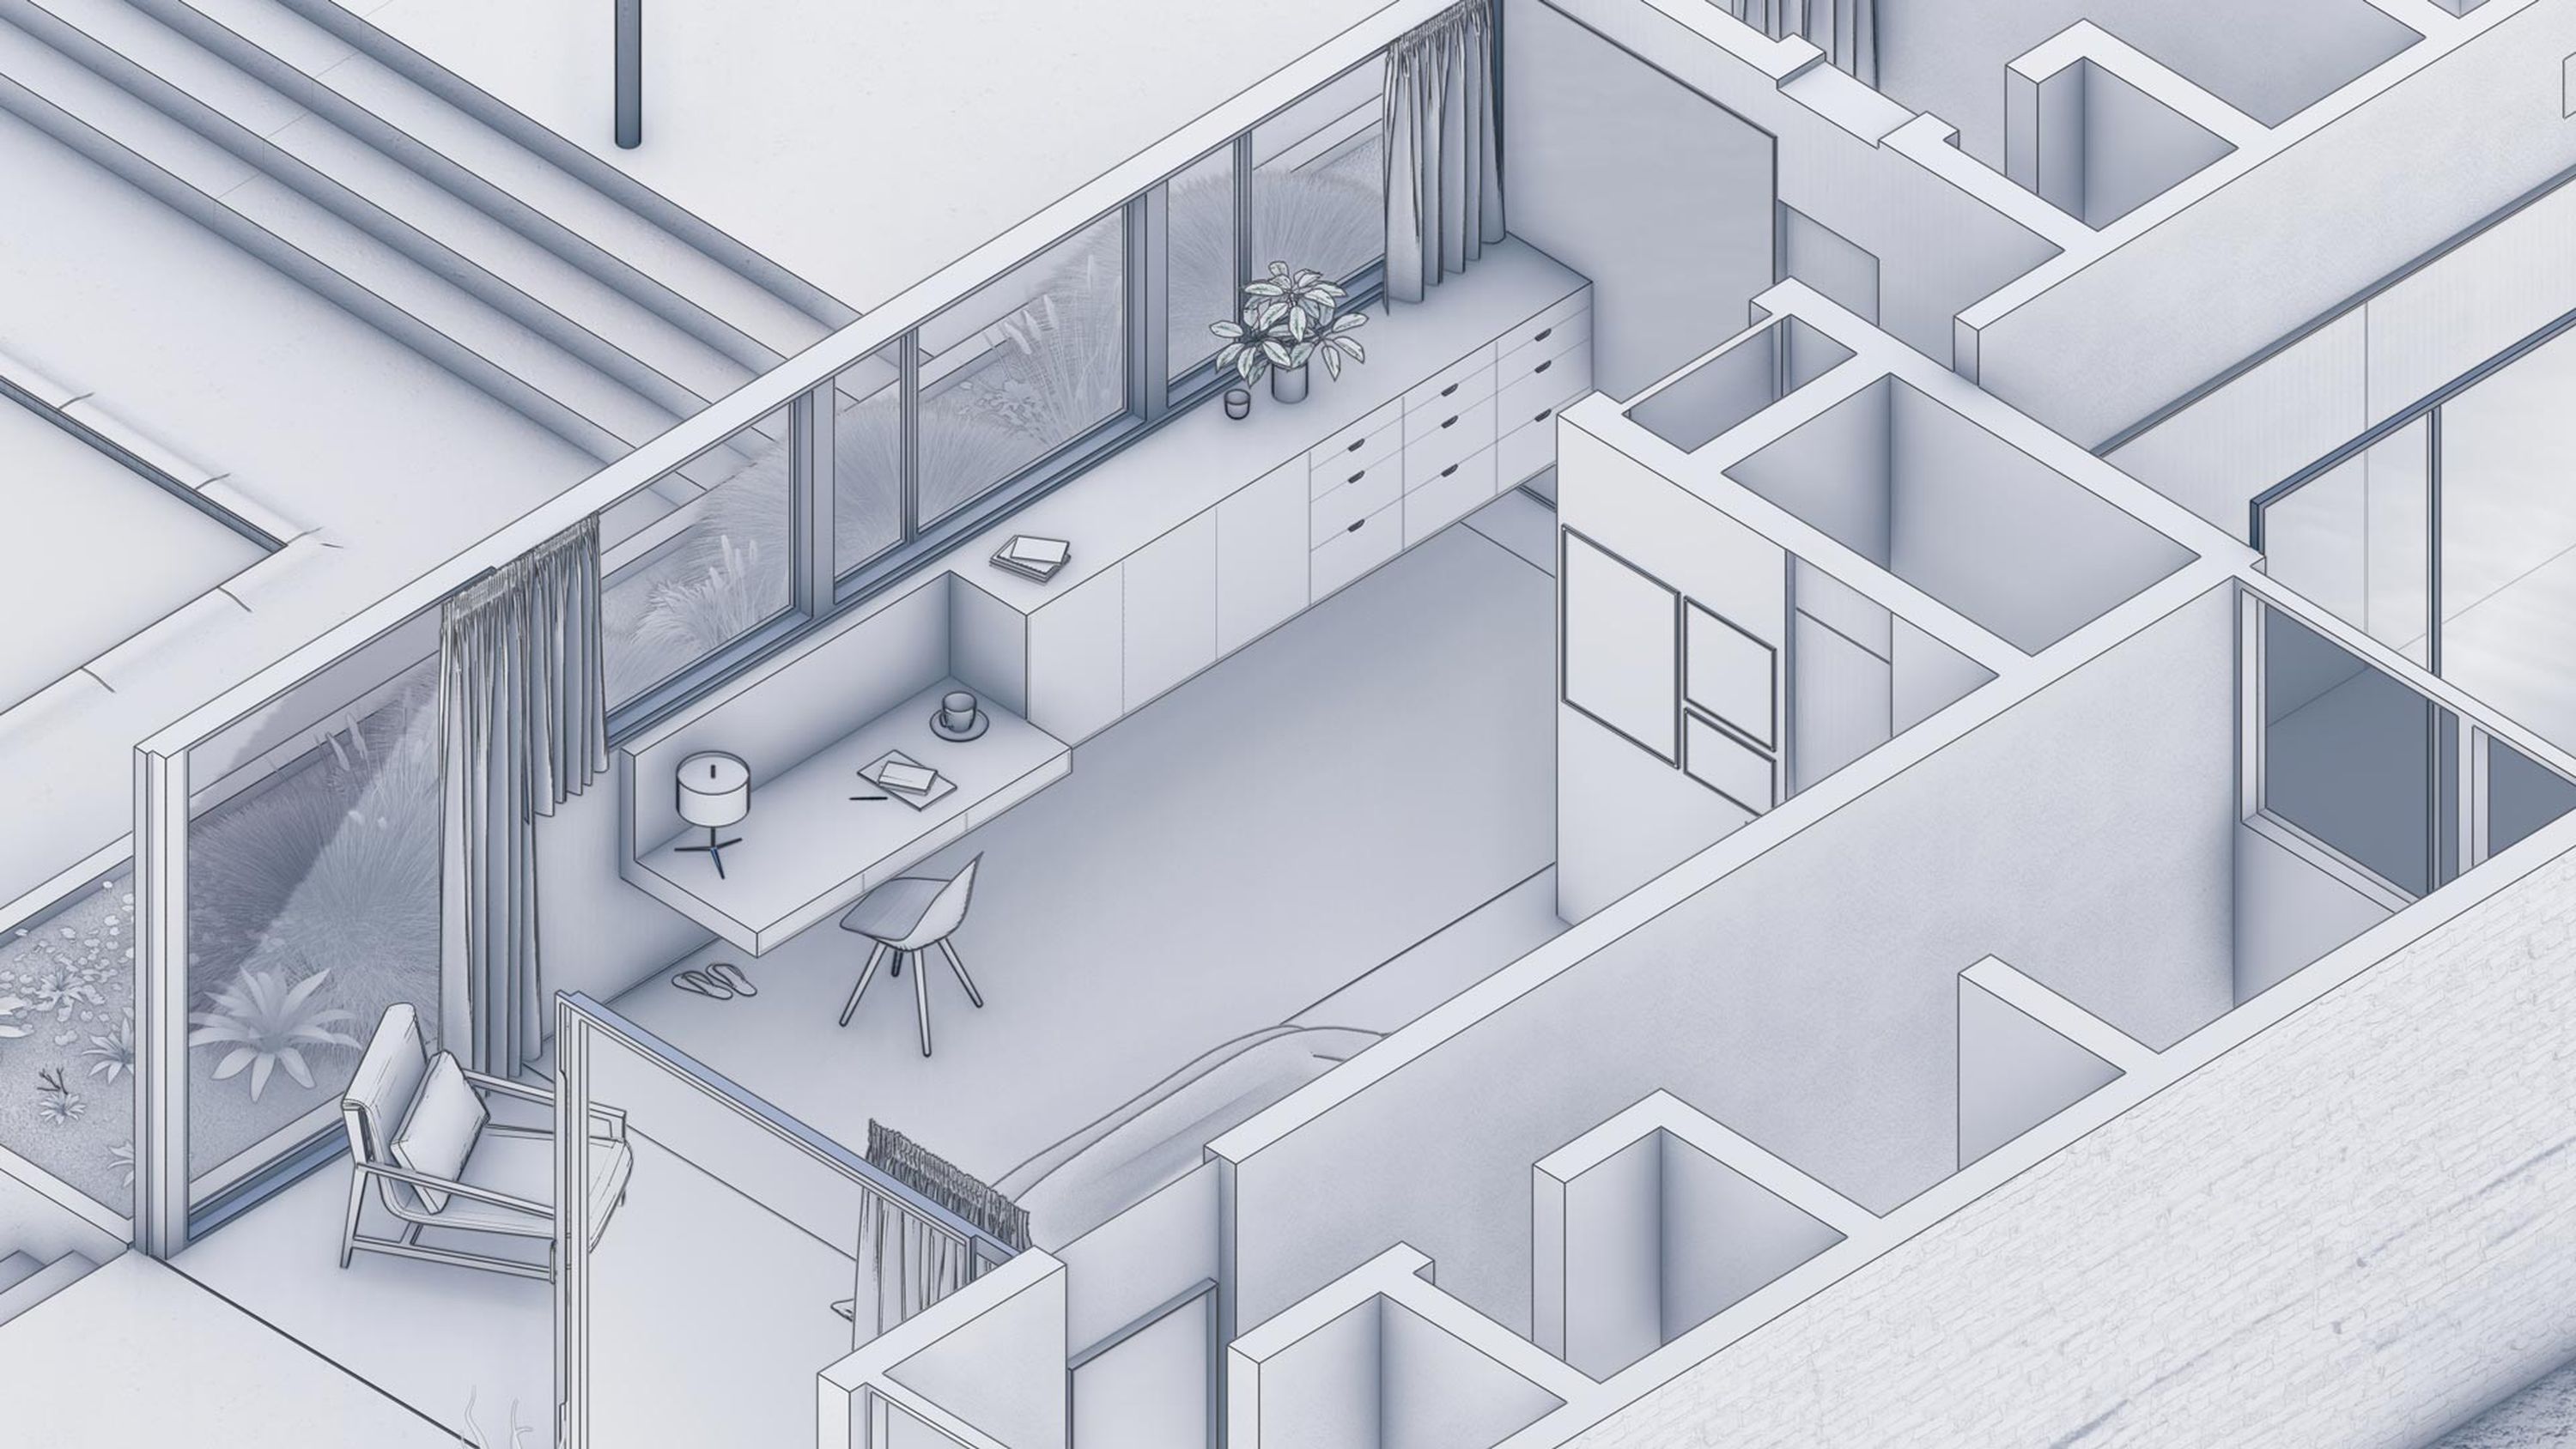
3. Isometric views
Create 3D drawings that illustrate exactly how different components fit together. Add surrounding landscape and set the lighting to present your design in a highly realistic setting.
Create your own
To produce an orthographic view image in Lumion Pro, start in photo mode and open +FX.
Find the Orthographic view effect, then enable it using the toggle. Turning this on and off lets you switch between parallel projections and perspective.
Control the visibility
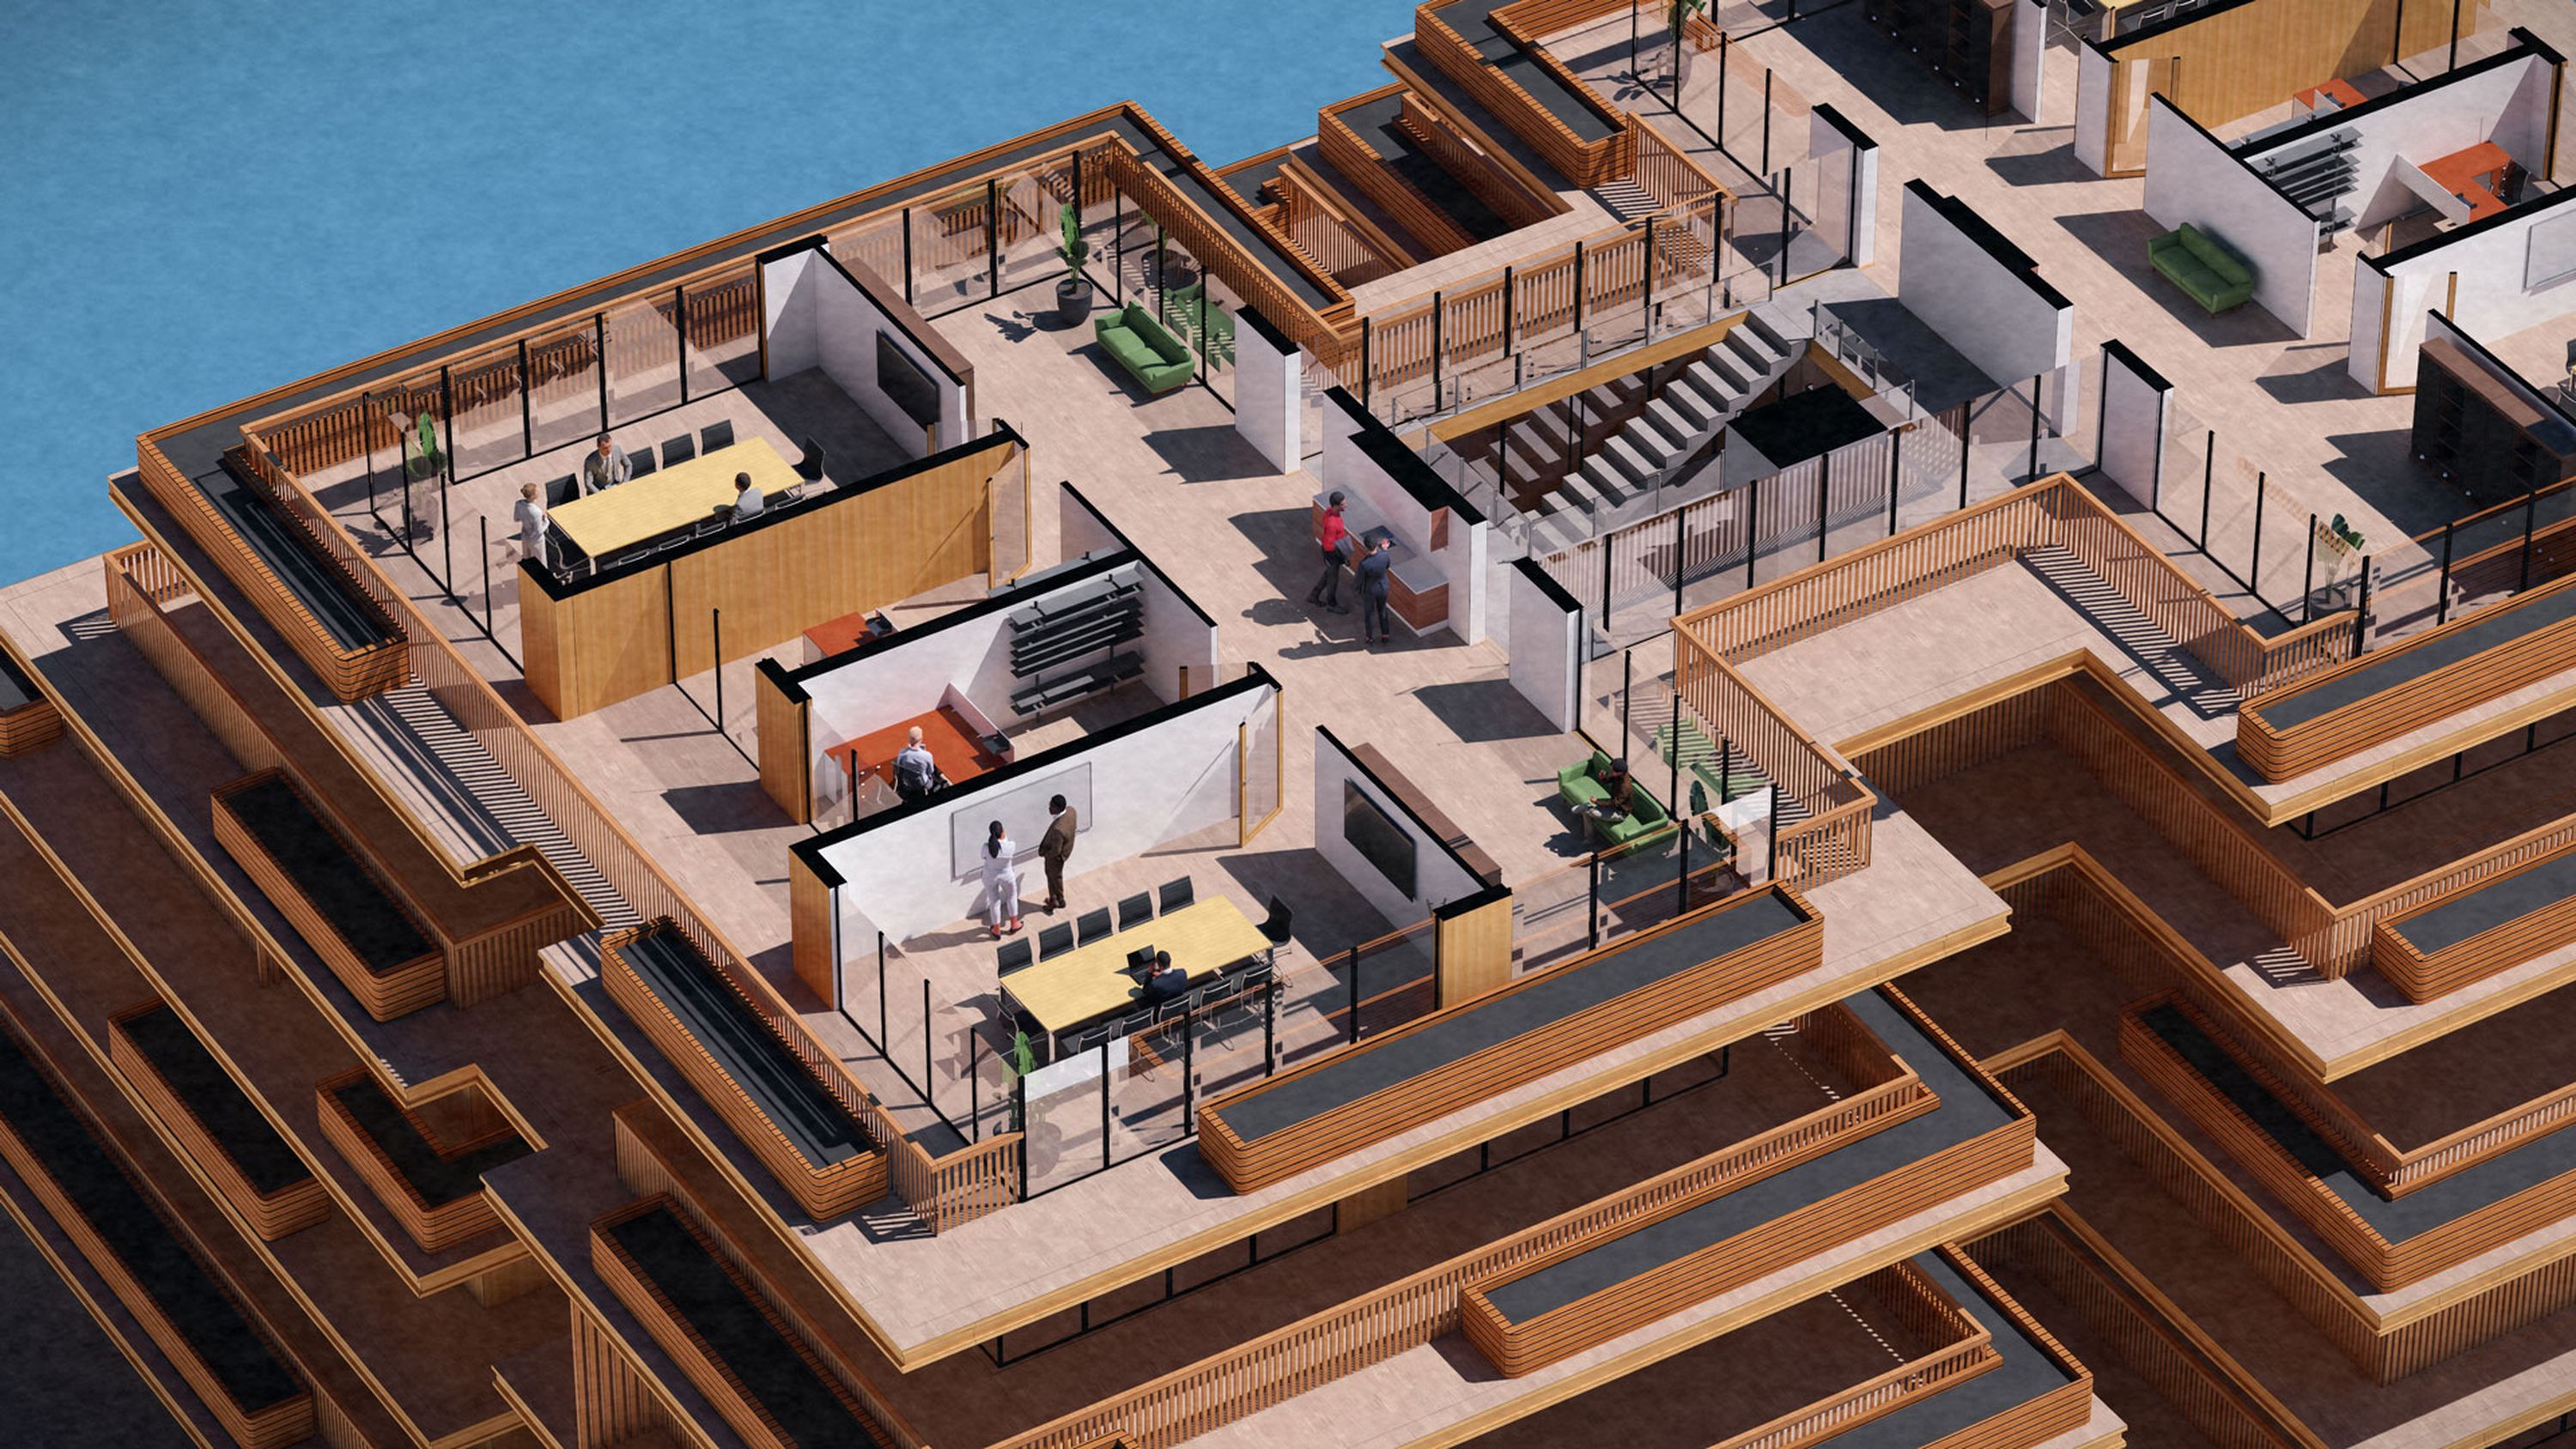
Clipping planes let you slice through a structure and inspect its interior, whilst also determining how much of a scene is visible to viewers. When combined with the orthographic view effect, this handy tool can be used to create precise plans and sections of a design.
Once you’ve enabled the orthographic view effect, you’ll see Near clip and Far clip sliders, which let you crop parts of your model as you adjust them. Anything closer to the camera than the near clip plane distance and further away from the camera than the far clip plane distance won’t be displayed.
You can also find the Clip plane functionality in the utilities tab in build mode. Turn it on and adjust the plane using the axes. By selecting the clip plane layer and switching to photo mode, you’ll see the plane view, which provides a new perspective on details like light and shadow.
This tool is useful for creating:
3D plans
If you hide the roof of a building, it will add depth to the plan and reveal both the layout and the materials used.
Section Views
To easily create a section-perspective, you can switch between the 2D planar view to the 3D orthographic view using the button beneath the preview window.
In the latest version of Lumion Pro, you can also fill in sectioned areas created by clipping planes with a color of your choice. This allows you to easily customize your architectural drawings and produce clean, presentation-ready section views without having to leave the software.
You can also assign a material from the Lumion Library, allowing you to hint at the materiality of the sectioned surface.
Add entire suburbs
Importing accurate topography into your scenes helps ensure your architectural drawings are both functional and aesthetically pleasing.
In the example shown below, the Palm Springs desert terrain was imported in just a few clicks to surround the Kaufmann House in the most realistic way possible. From Landscape mode, you can access OpenStreetMap, which allows you to view how your design will interact with the existing landscape and ensure it responds to it appropriately.
OpenStreetMap gives you the option of downloading the relevant topography using height maps and satellite textures. If you want to create more context to the surrounding, you can also download the buildings in the area.
For more details about all of the relevant settings, check out this guide.
Paint with nature
Want an even easier way to create environmental context? The paint placement tool lets you use your mouse as a brush and sweep hundreds of nature items across your scene.
To put this to use, start by clicking on the Nature icon in the content library. There you’ll find a choice of placement options on the right. Once you’ve selected Paint placement and your chosen nature item, you’ll be able to effortlessly brush them in place, choosing the perfect density as you go.
You’ll also see the Line placement option, for placing objects along a spline for easier control, Cluster placement, for selecting up to 20 different asset types and randomizing their placement, and Area placement, for populating large-scale areas with up to 5,000 nature items in one go.
New to Lumion?
Explore all this and more with a Lumion Pro trial. Get yours now and enjoy 14 full days of visualizing – completely free.
Select your style
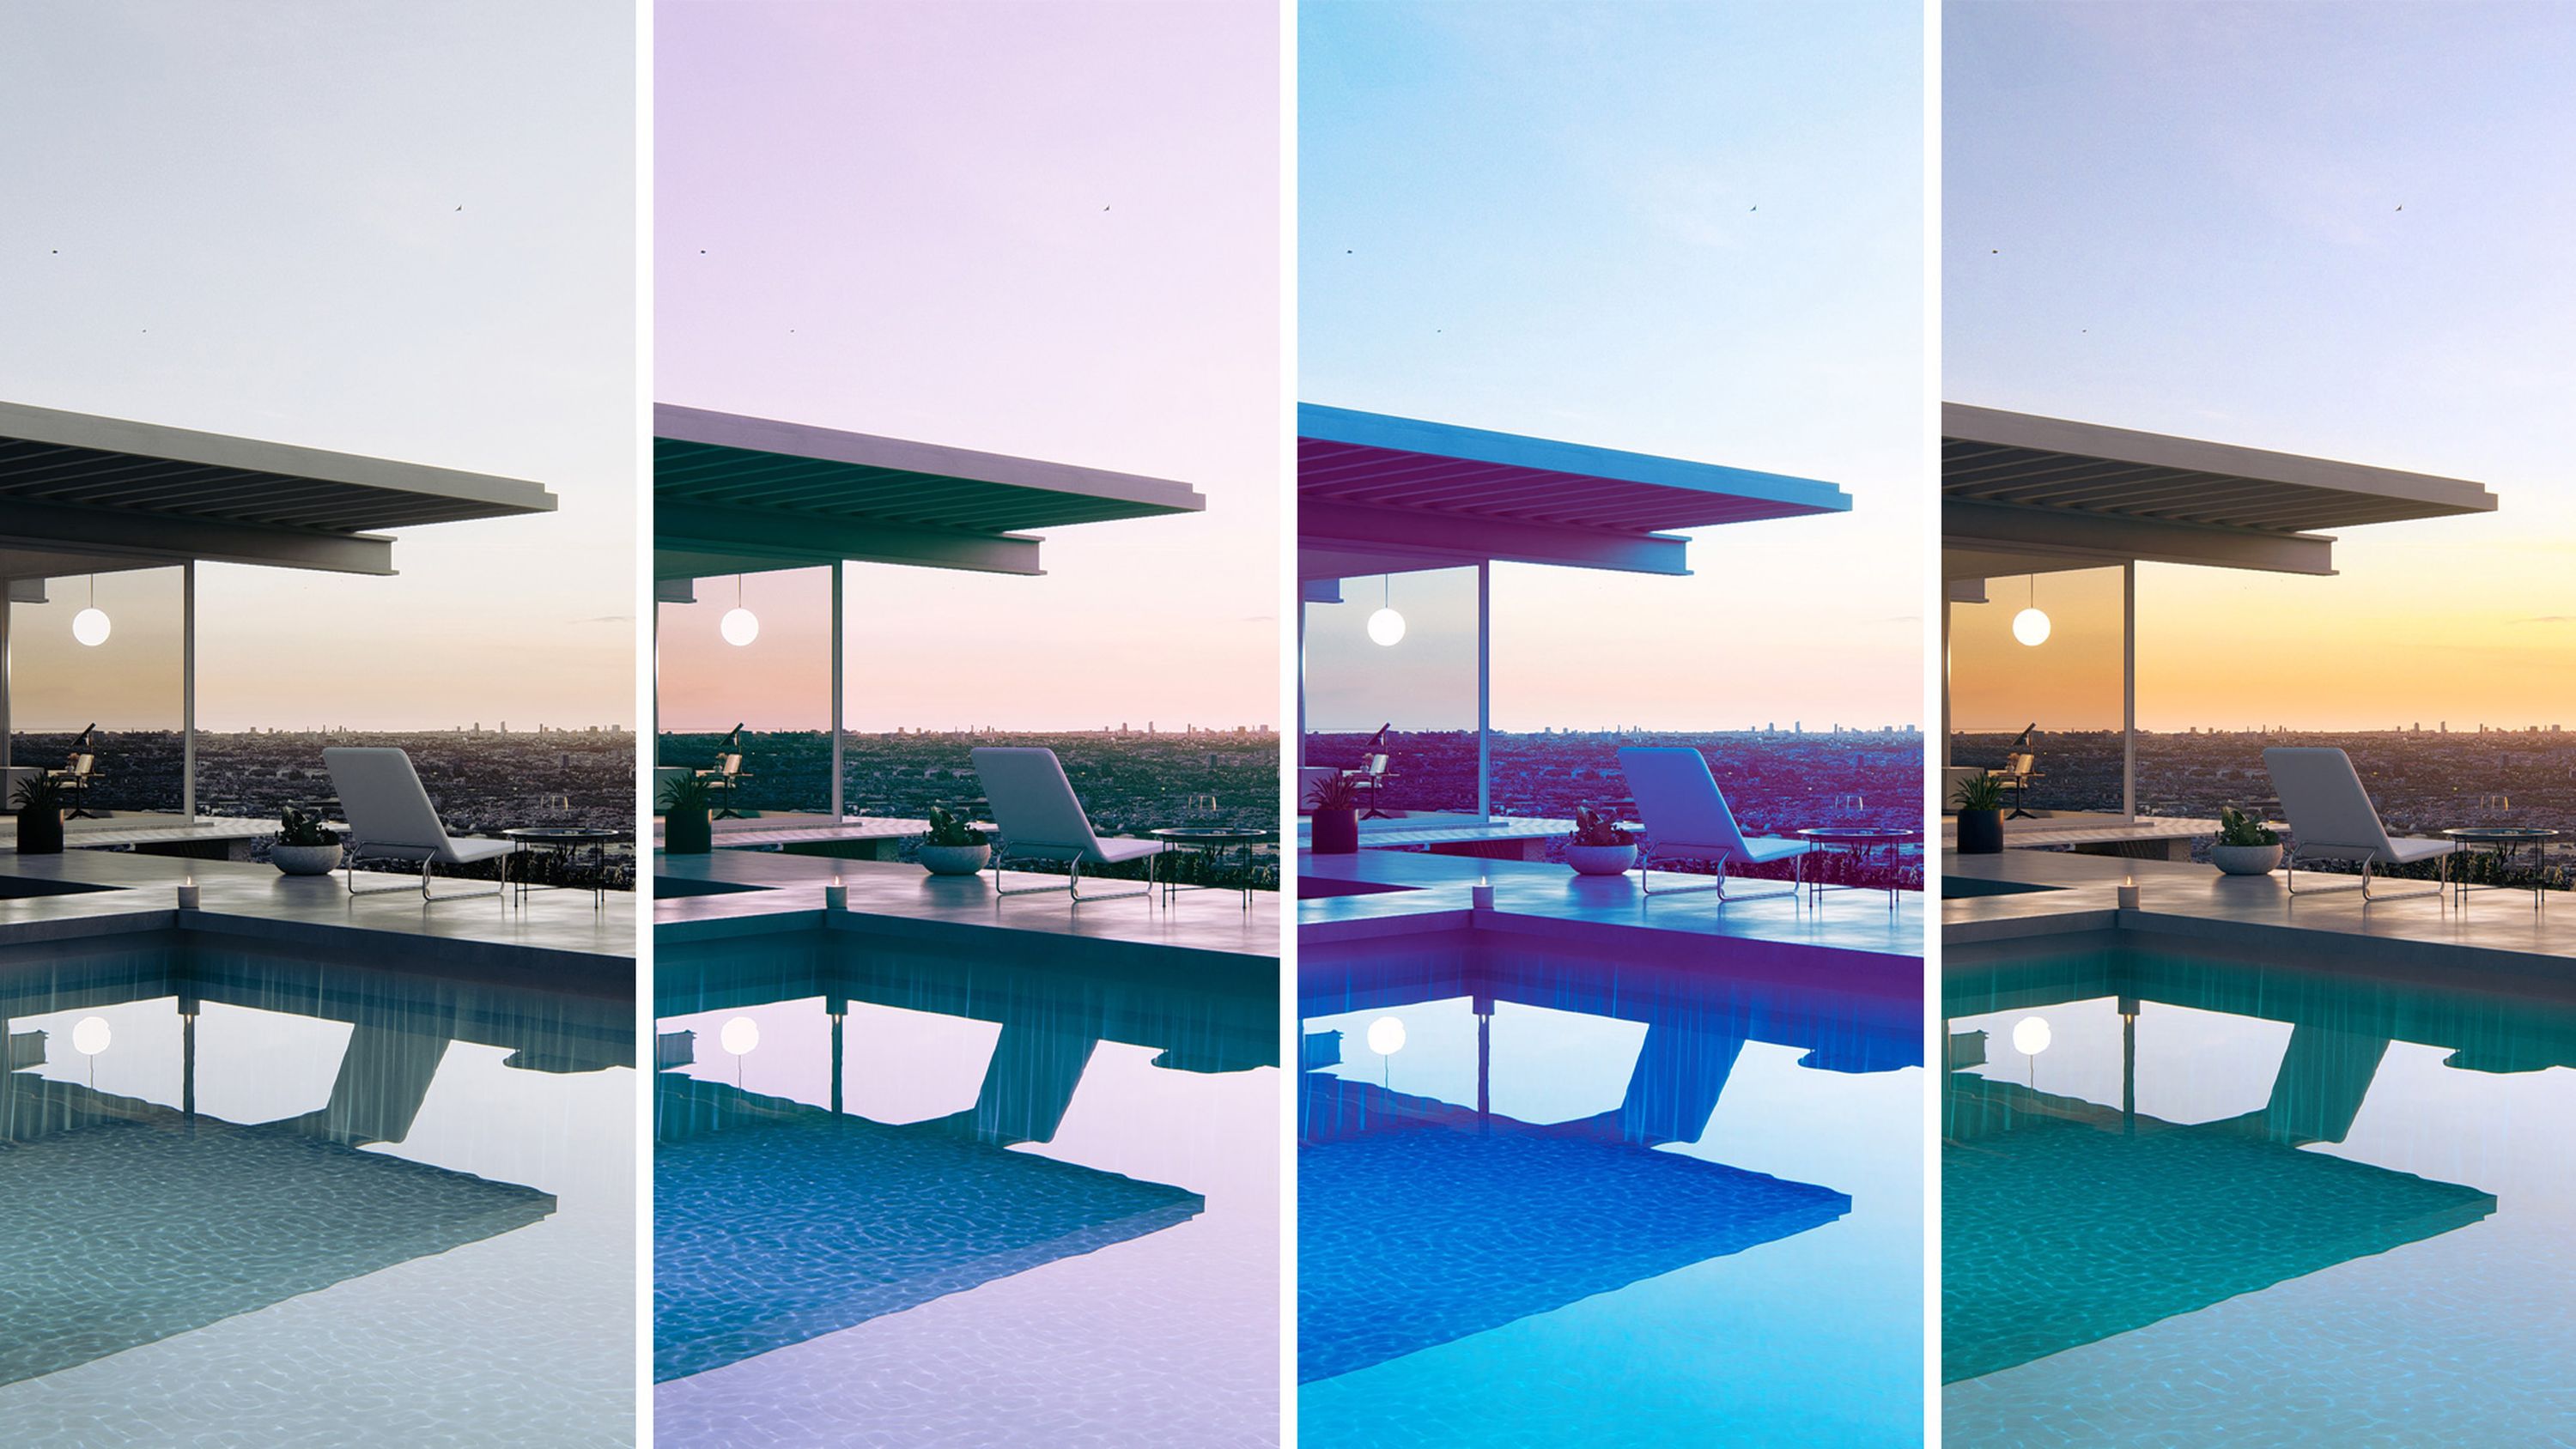
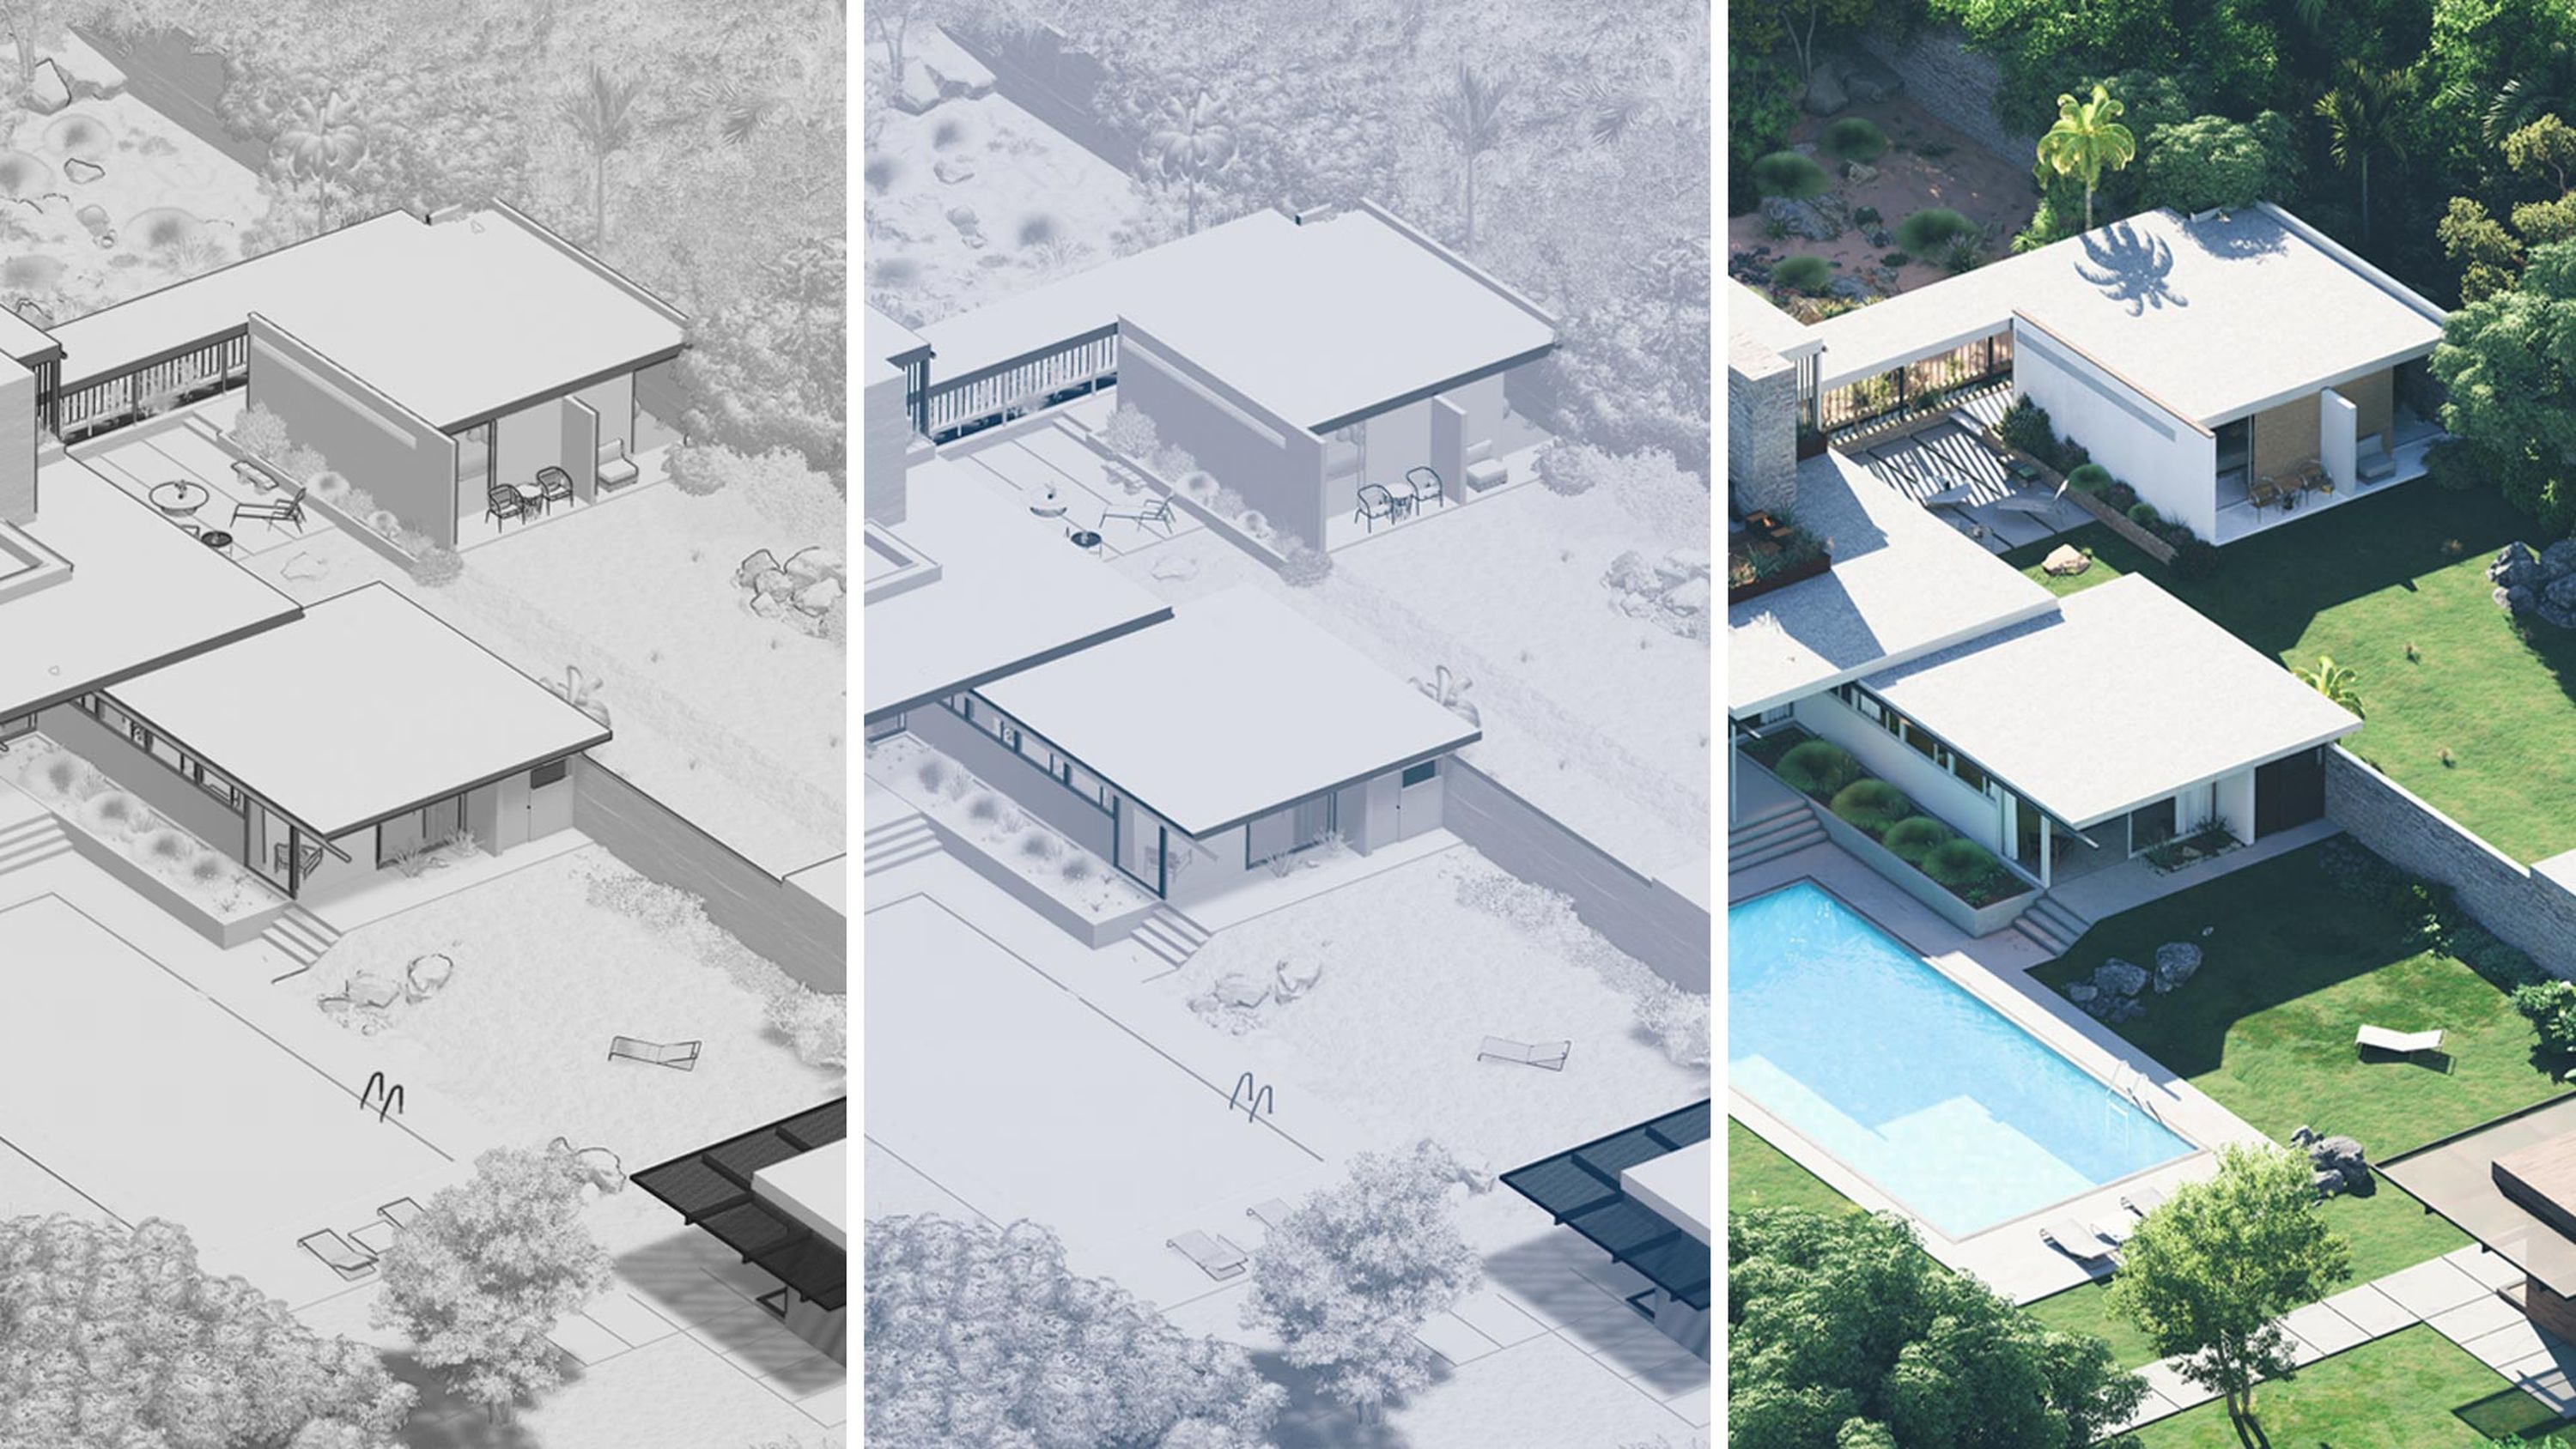
Once your drawings are in good shape, there’s one last step to making them completely your own. Combining a few effects can create a visual style that perfectly fits their purpose.
Head to photo or movie mode, then browse the range of effects under the relevant tabs in +FX. The styrofoam effect allows a clean classic clay render look, which works wonders for testing lighting. Adding Outlines makes for a sharper, 2D-looking drawing, which you can then personalize using the various color correction options.
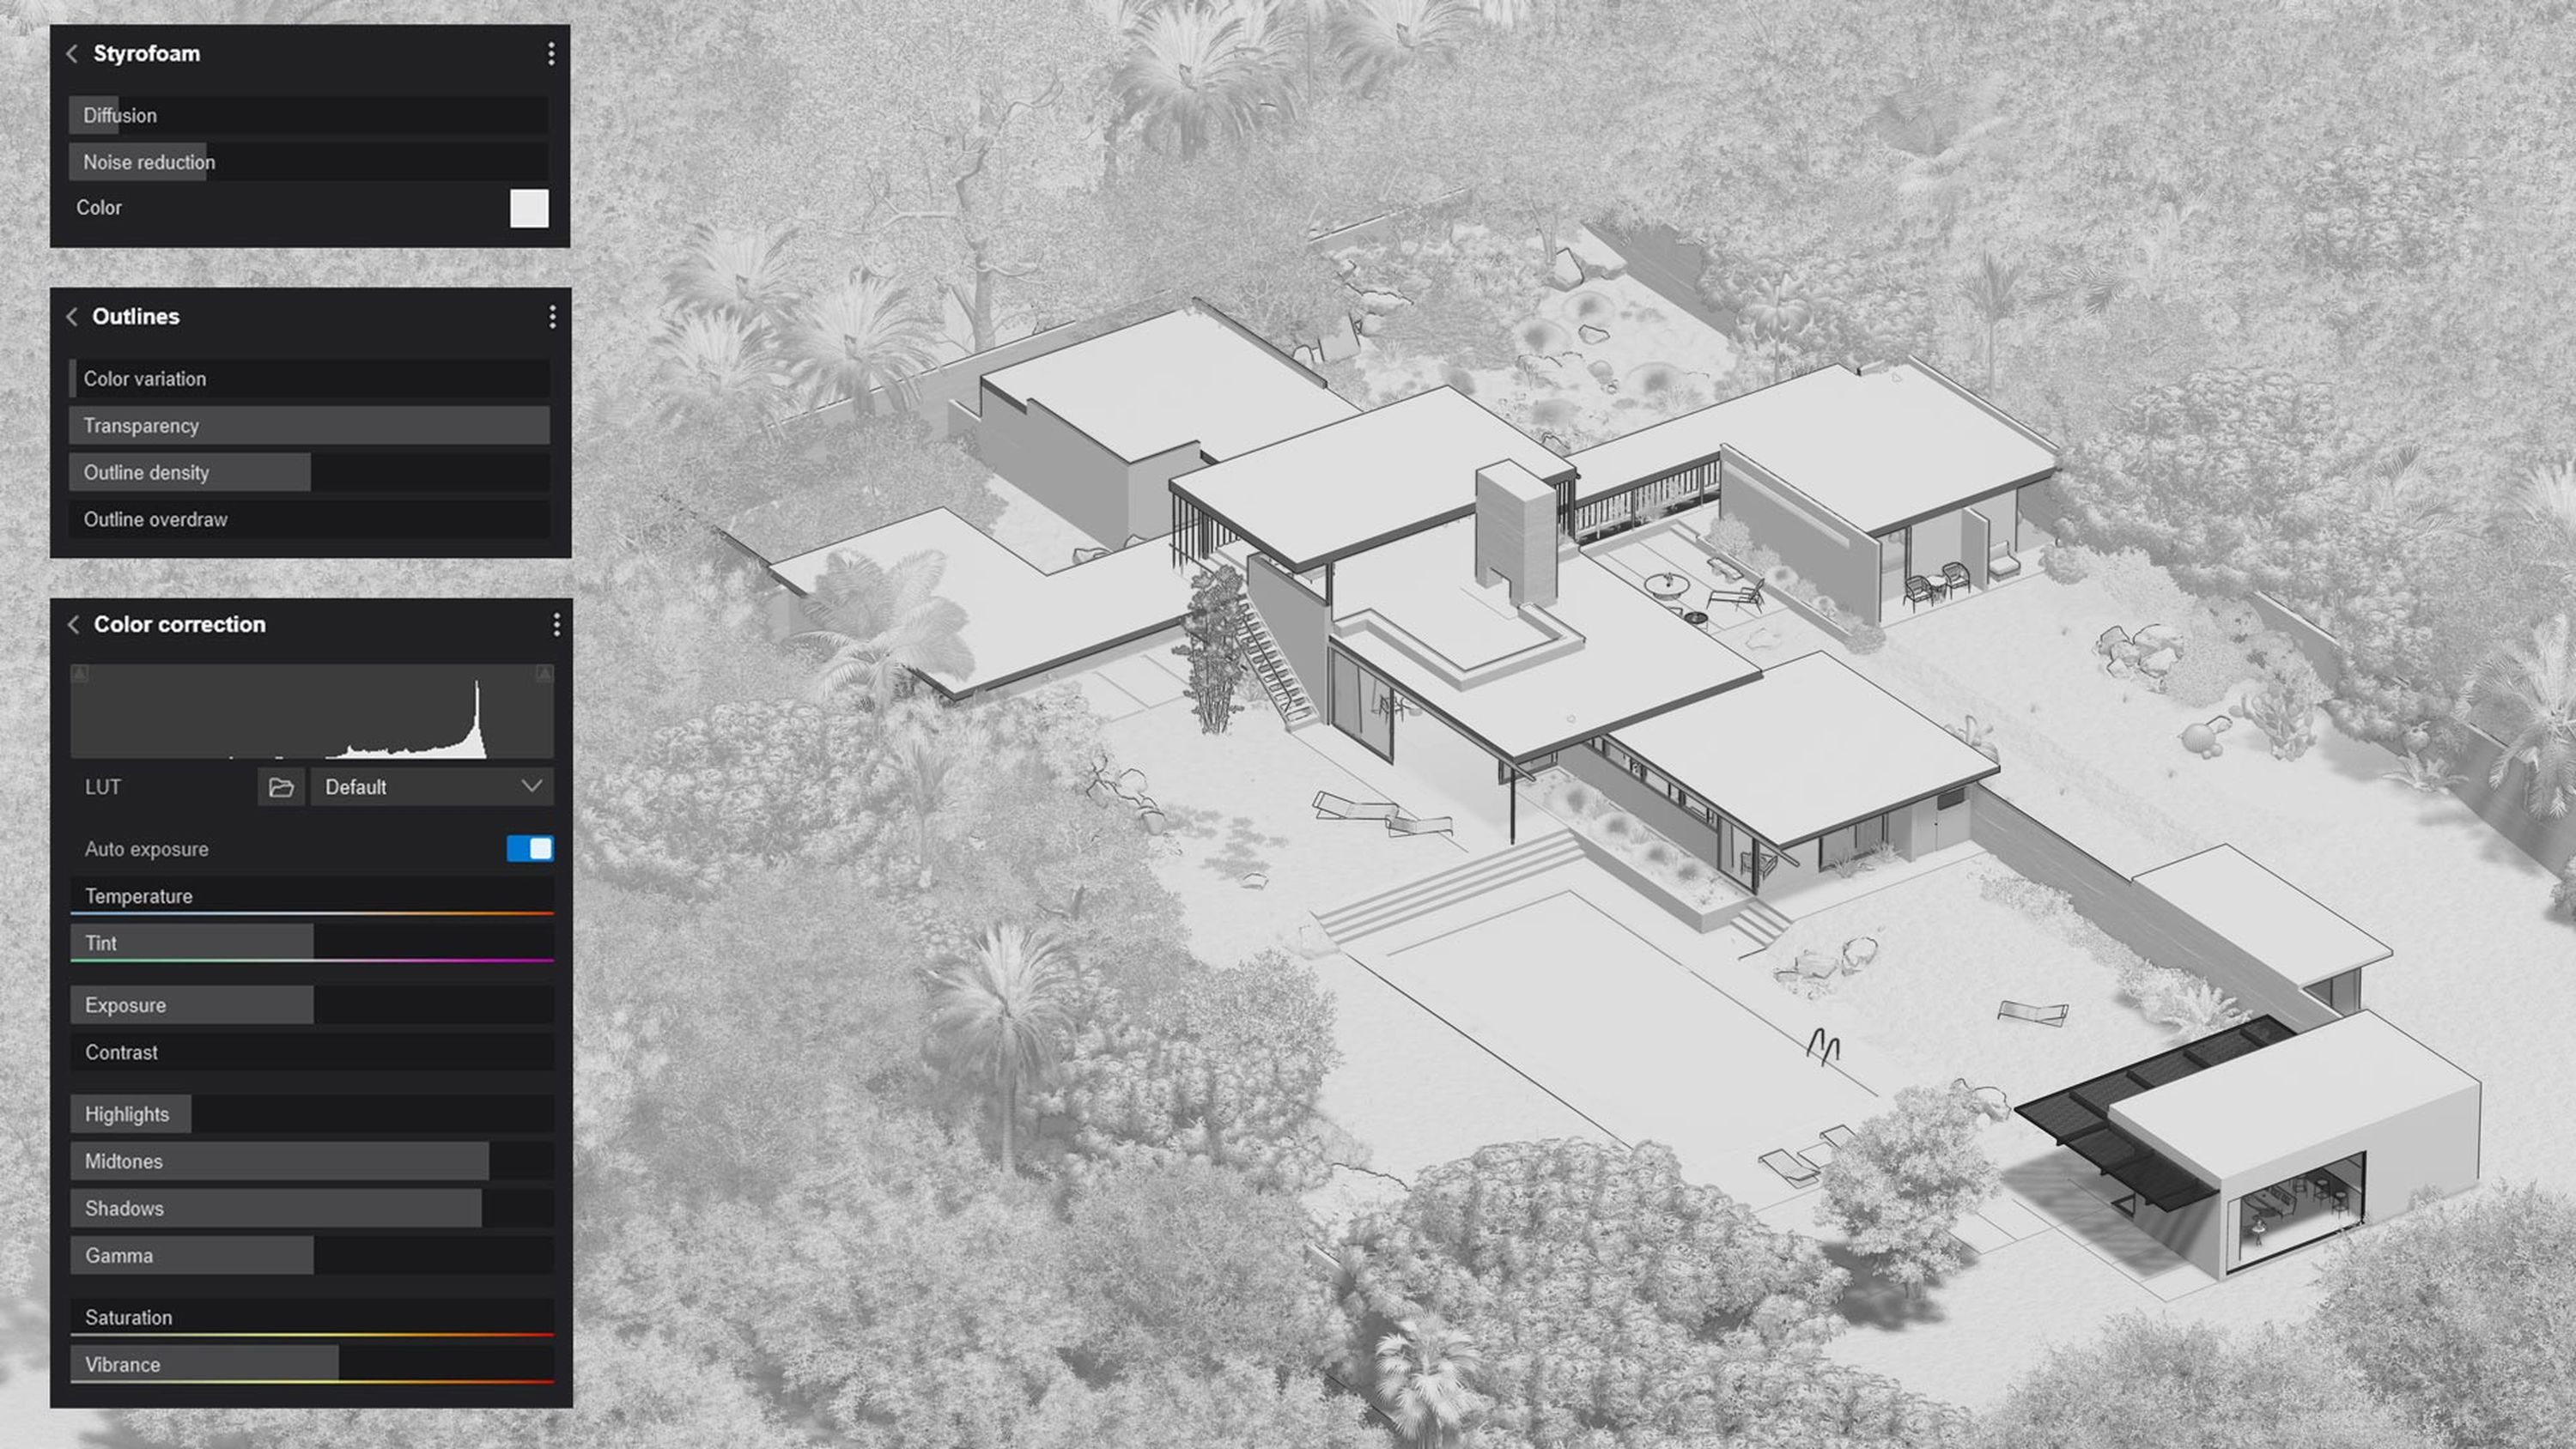
Using the styrofoam effect and adding a blue hue with color correction can create a style similar to traditional blueprint graphics.
Customize every render
Finding the perfect personalized style can make all your renders stand out – not just your technical drawings. This guide to creating a signature look shows you how you can put your own stamp on your images and videos – whether realistic, artistic, or conceptual – and effortlessly apply it across all your projects.
Using an earlier version of Lumion Pro? Try Lumion Pro 2026 for free with a 14-day trial or upgrade now in just a couple of clicks.