Render sharper, faster: using the AI upscaler in Lumion Cloud
How to boost visual quality at the touch of a button
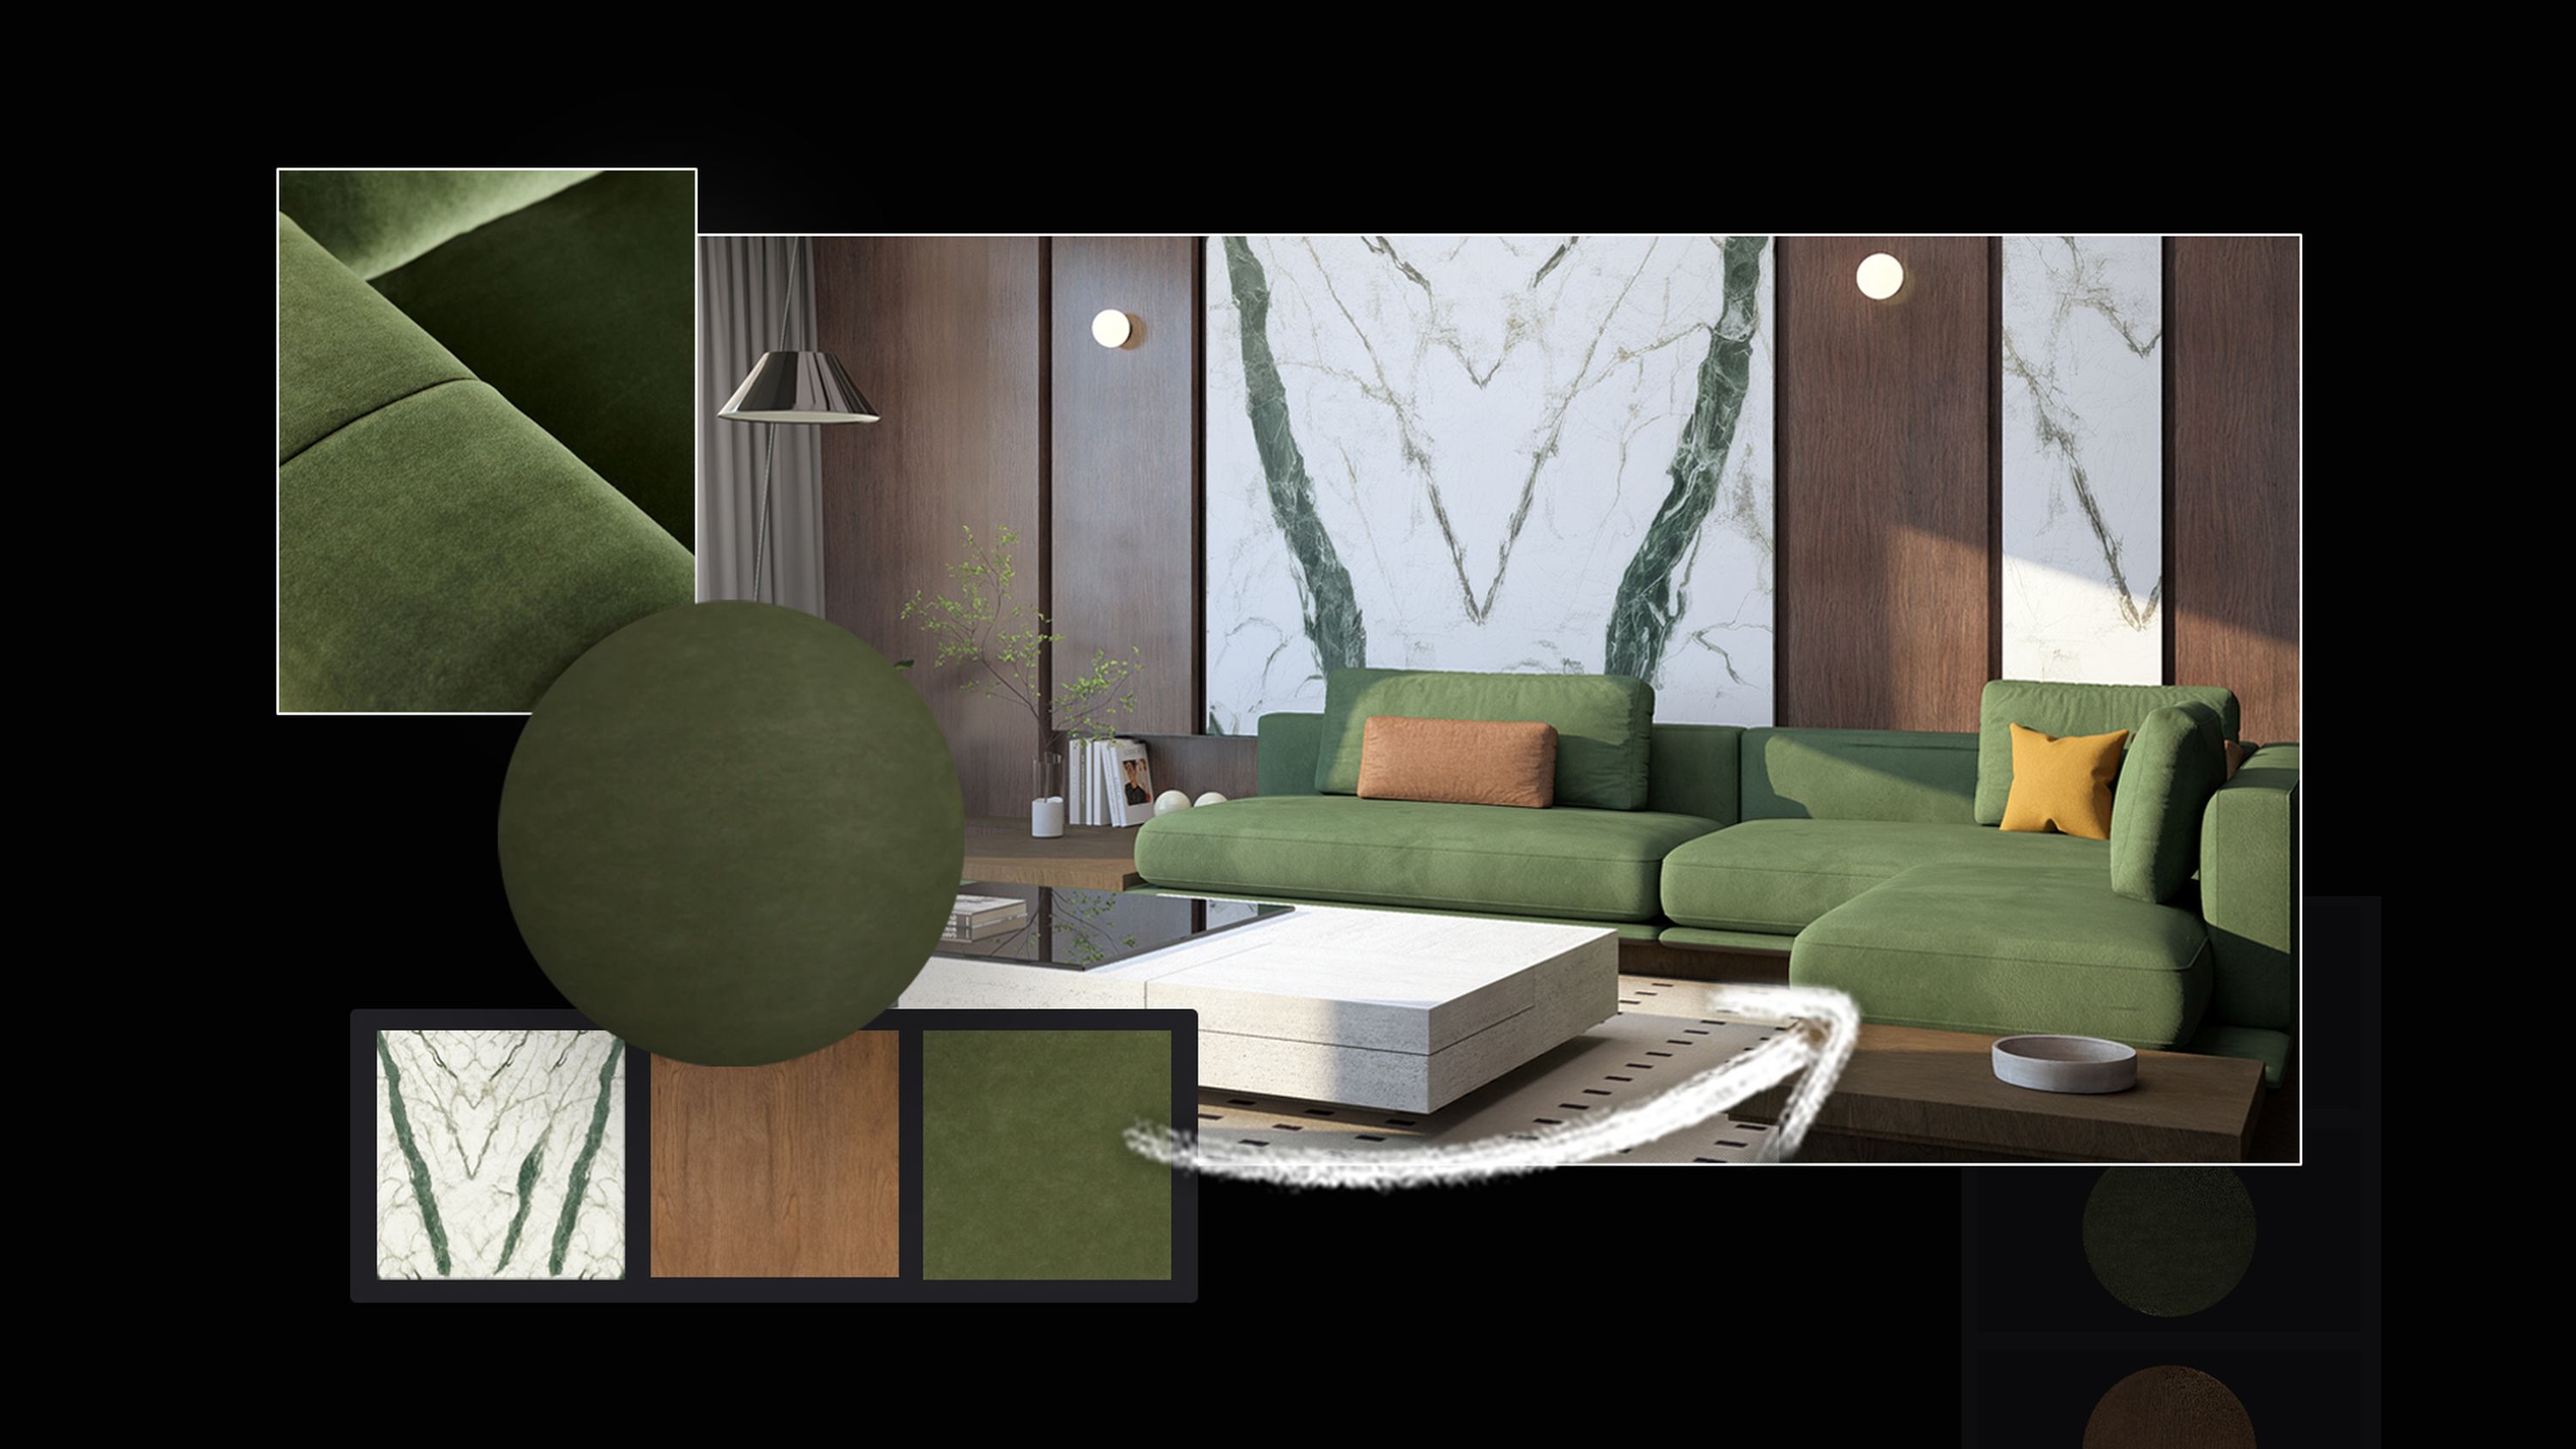
Upscale your renders’ impact
There’s a new addition in Lumion Cloud that’s designed to make your life easier—and your visuals sharper.
Introducing the AI upscaler. Built to improve rendering quality and optimize efficiency, this invaluable tool boosts the resolution of images in seconds, enabling ultra-fast, high-res outputs—without the need for any higher-end hardware.
In case you haven’t come across it yet, let us walk you through it—where you can find it, how to use it, and what it does best.

#1
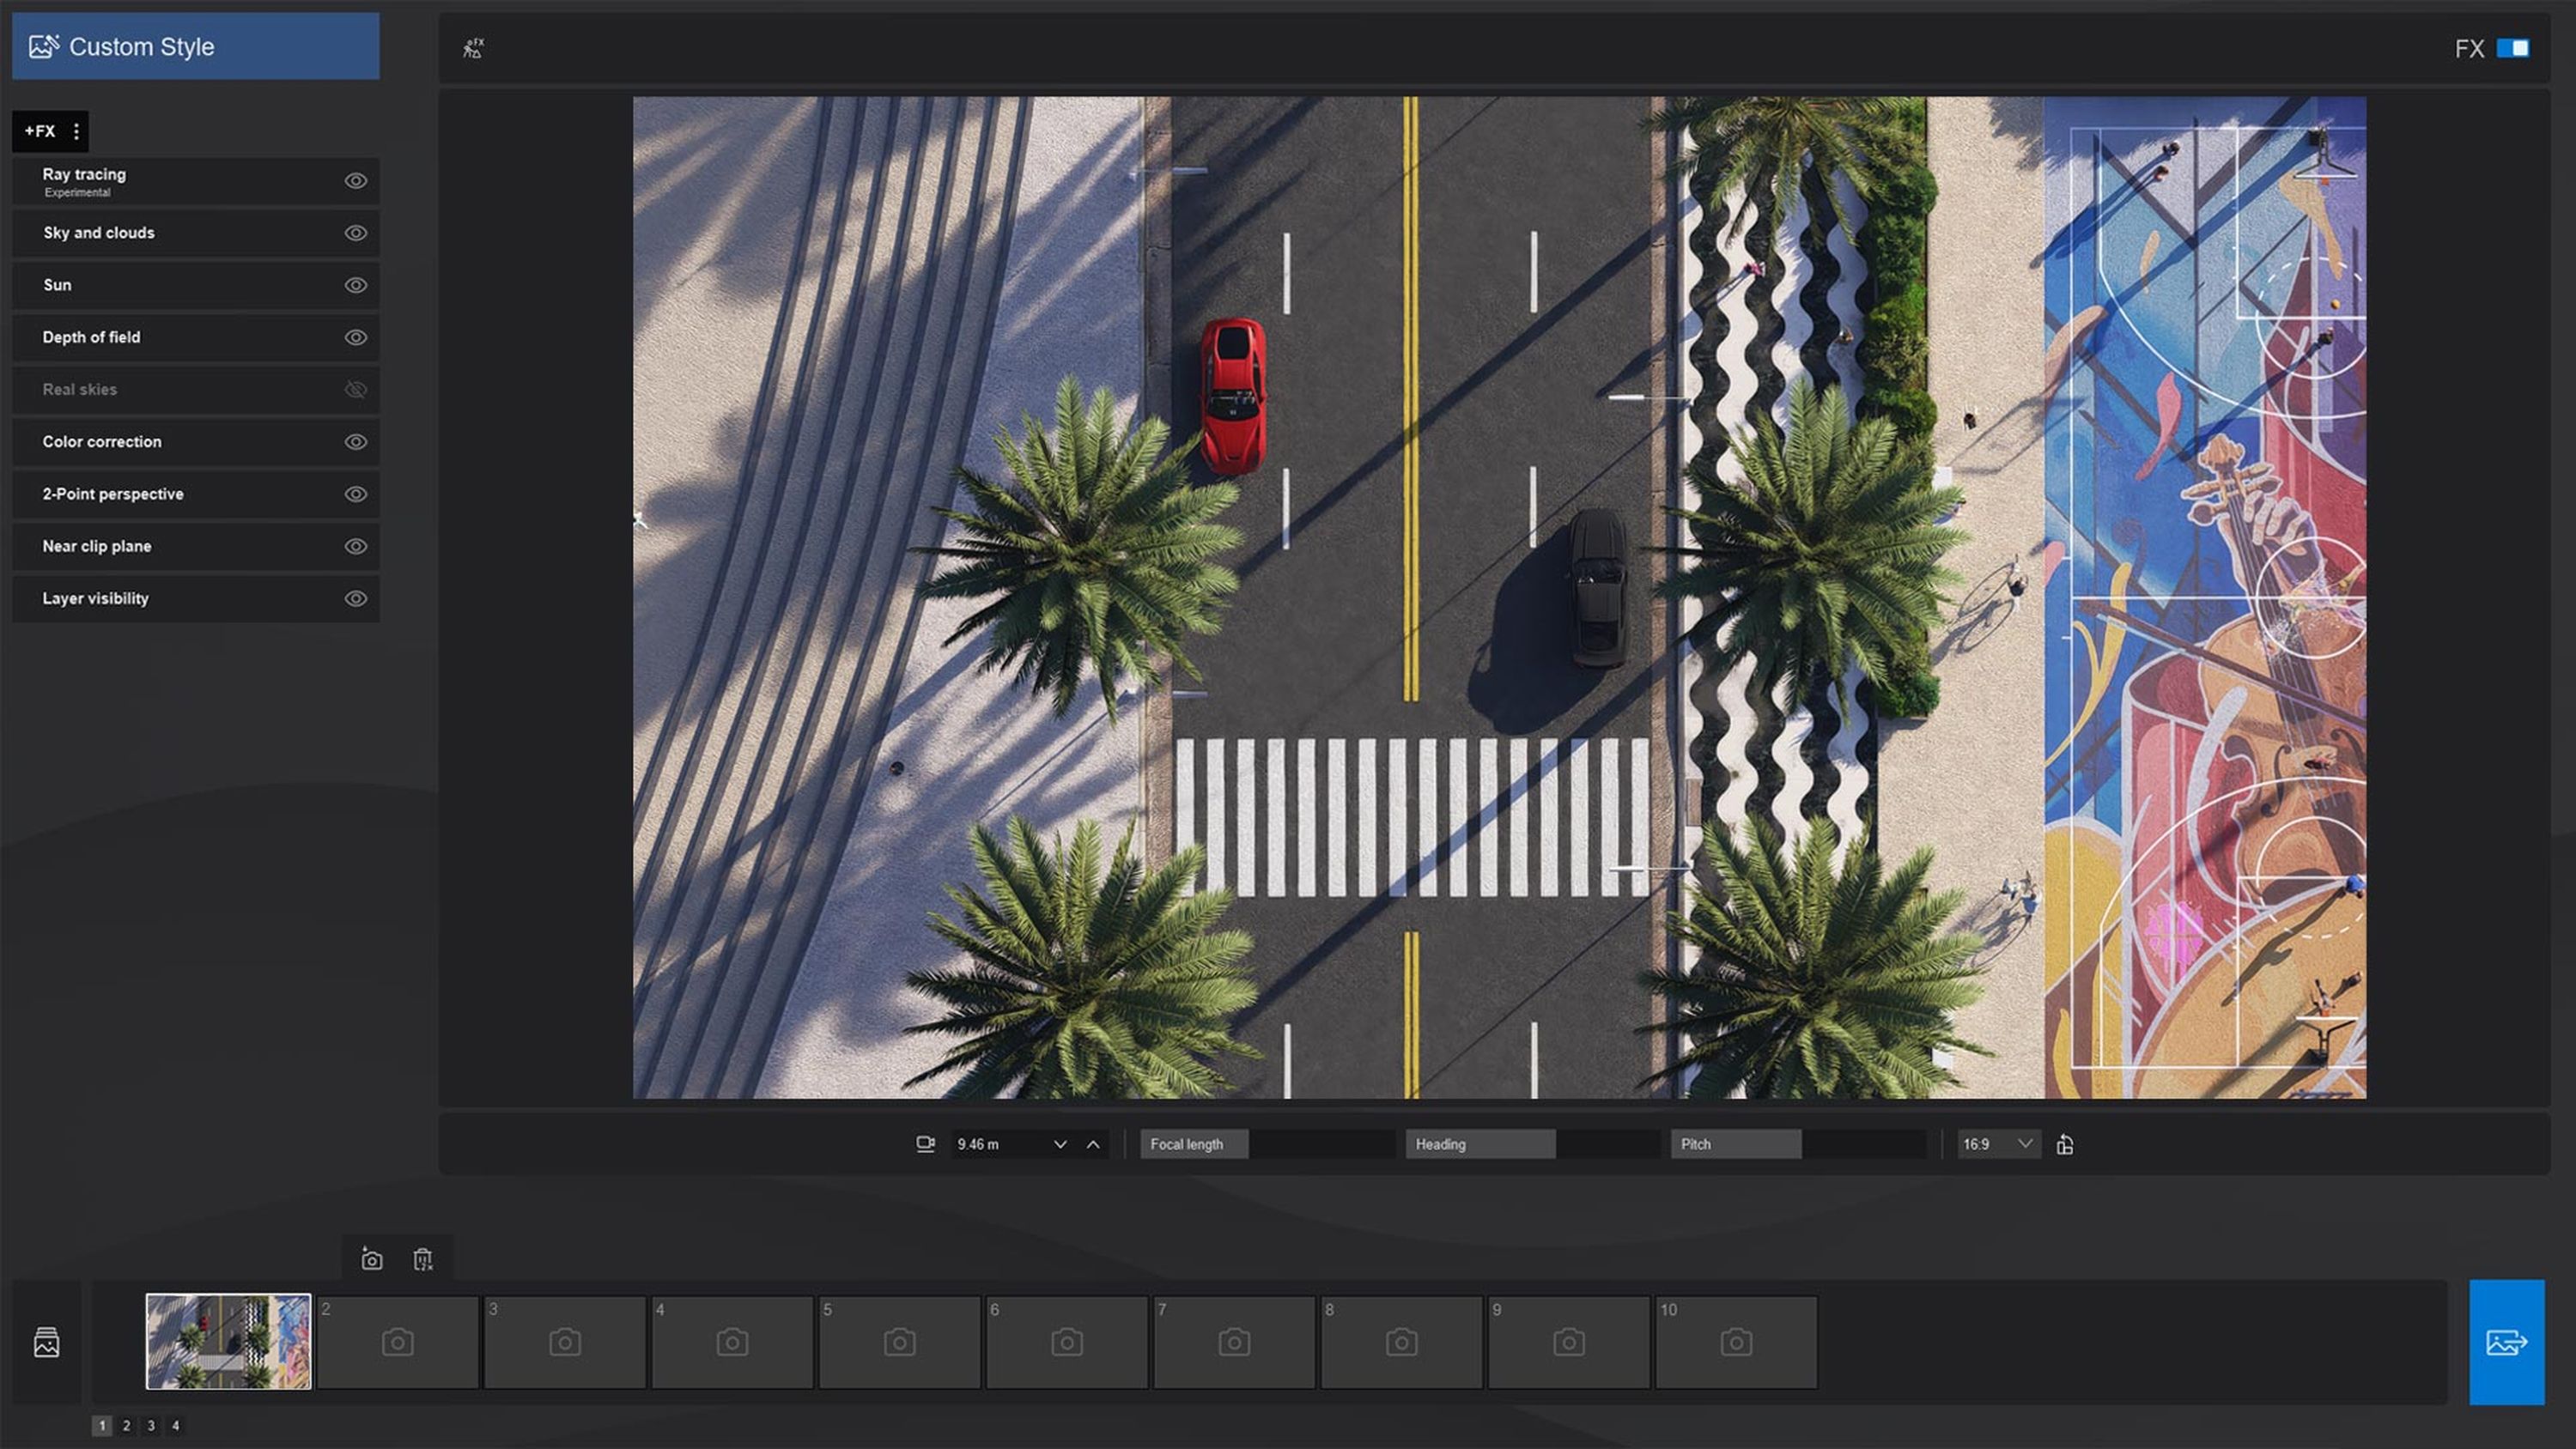
Prepare your render
First thing's first: start by completing your render—this can be in Lumion View or Pro, and an image of any resolution available.
#2
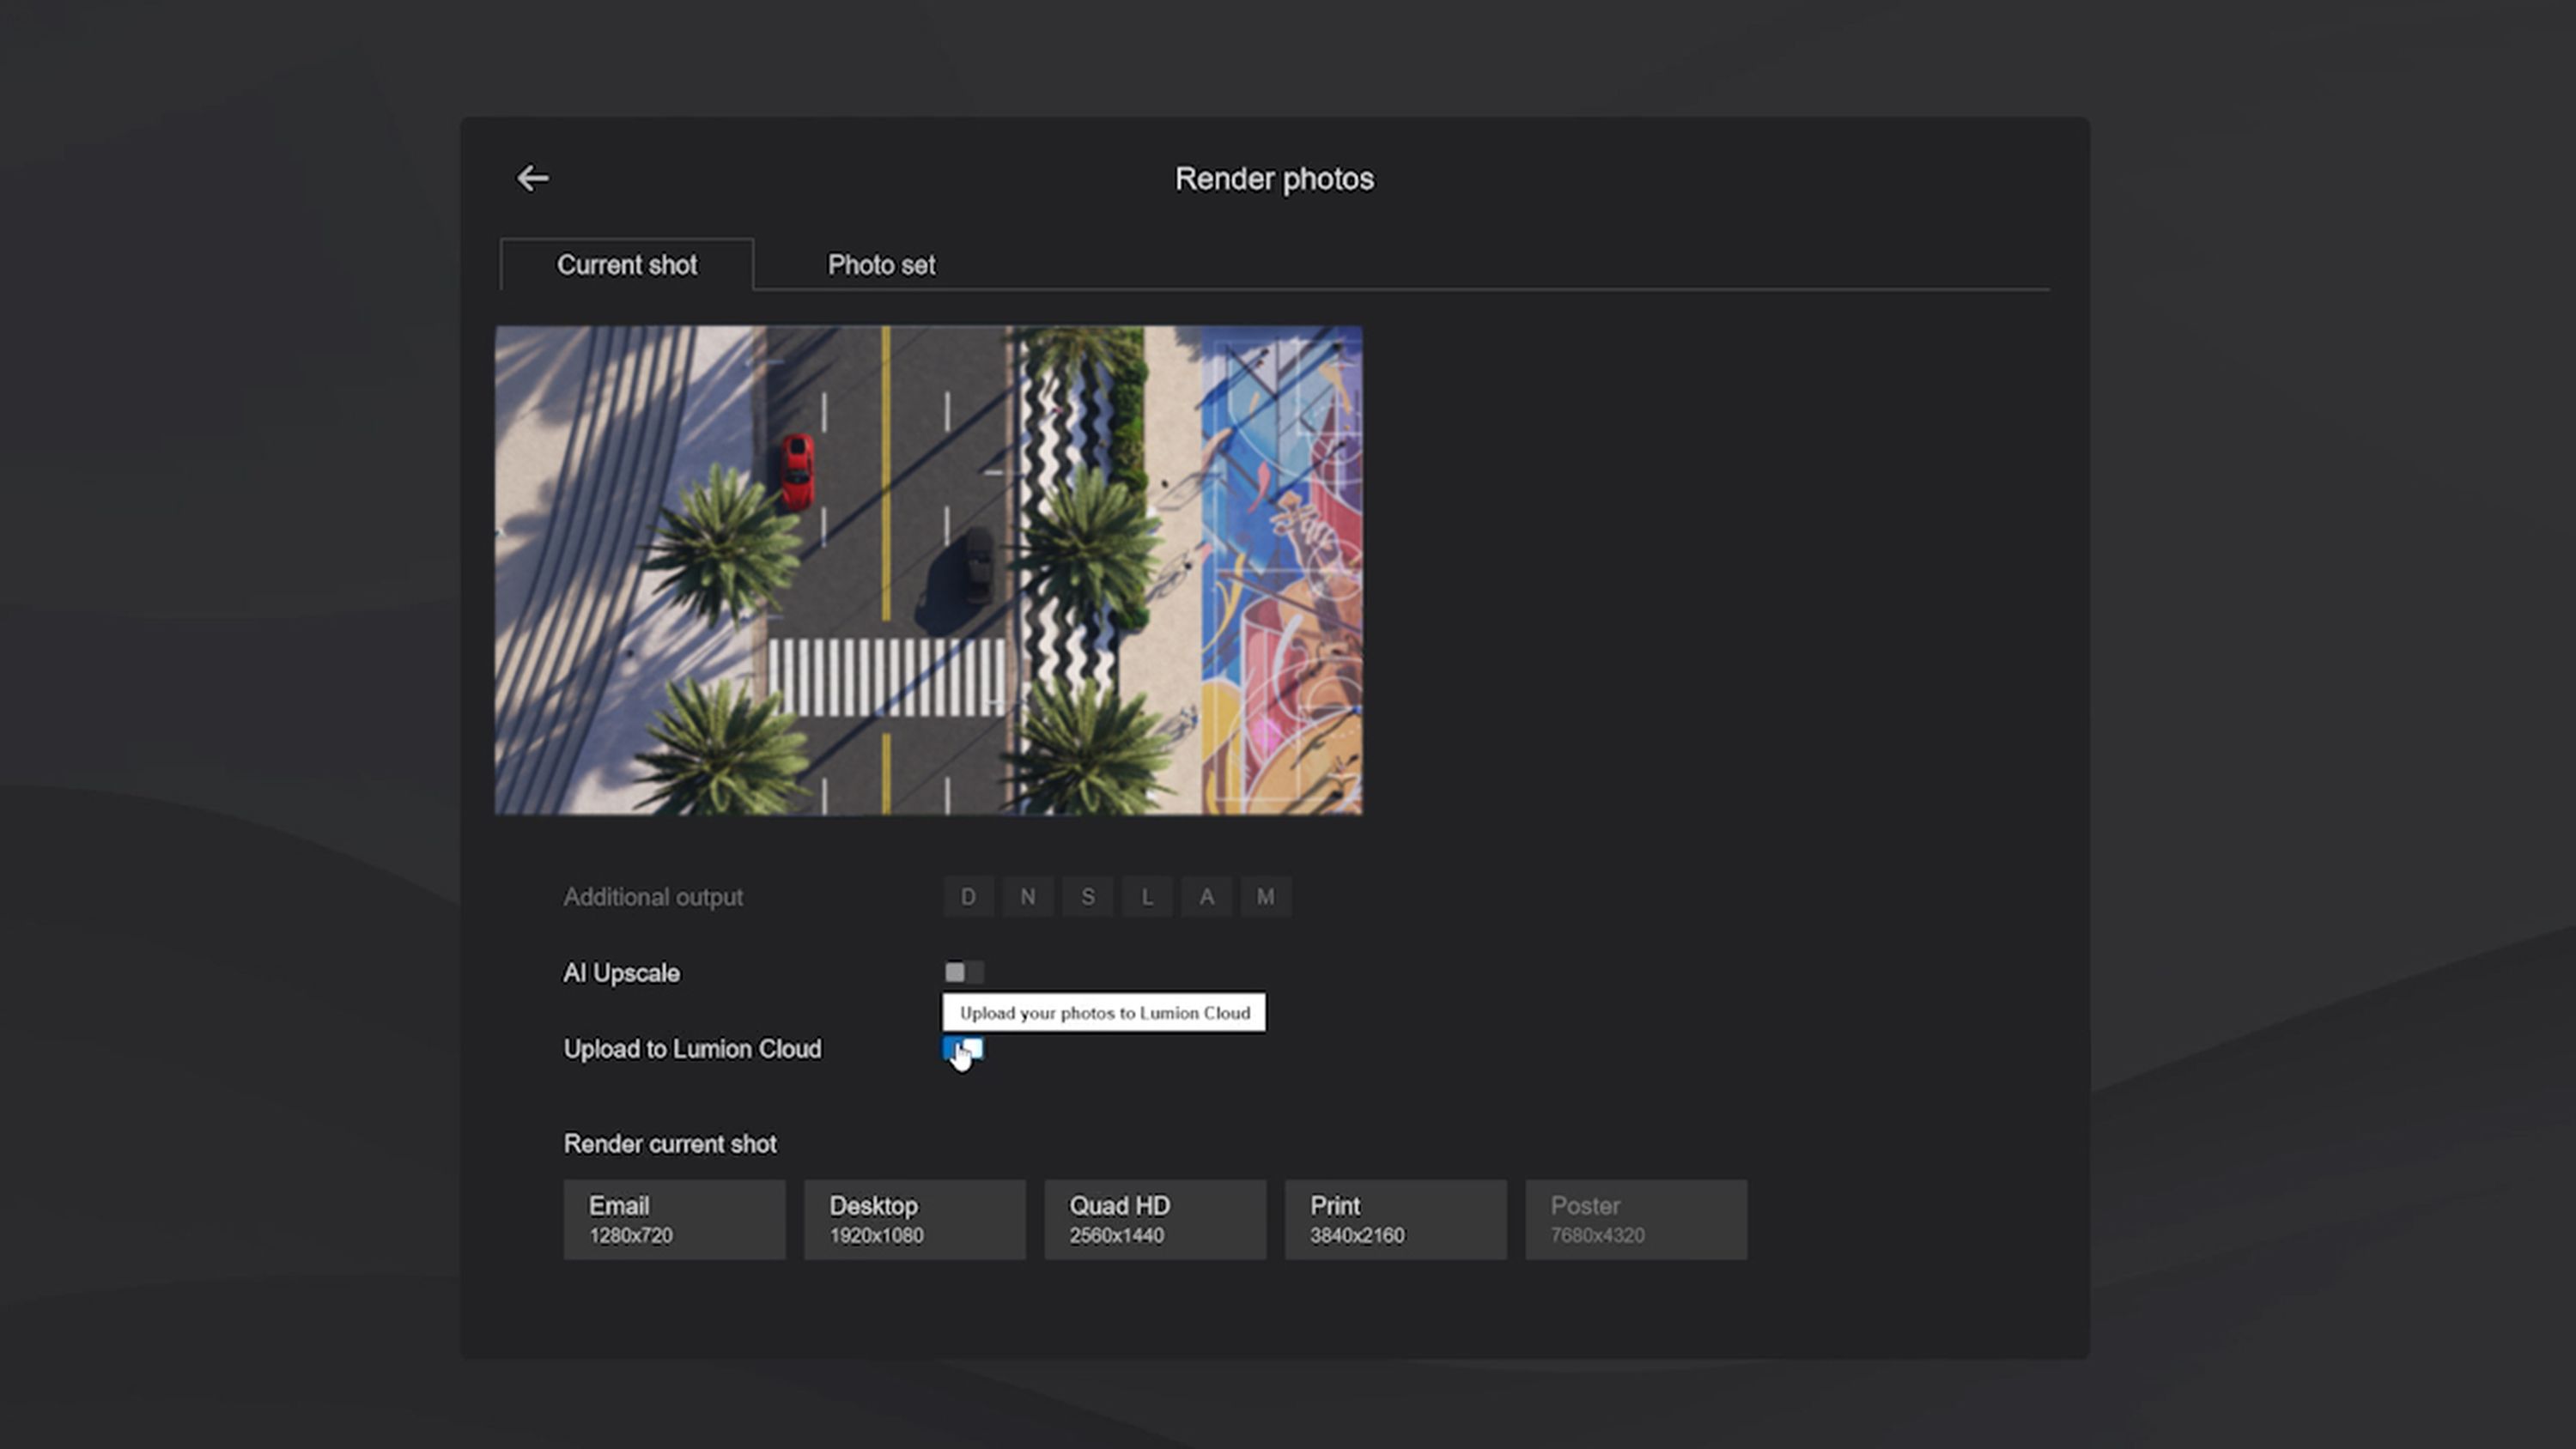
Send to Cloud
Once that’s done, flick on the Upload to Cloud toggle to send your image straight to the cloud.
#3
Upscale
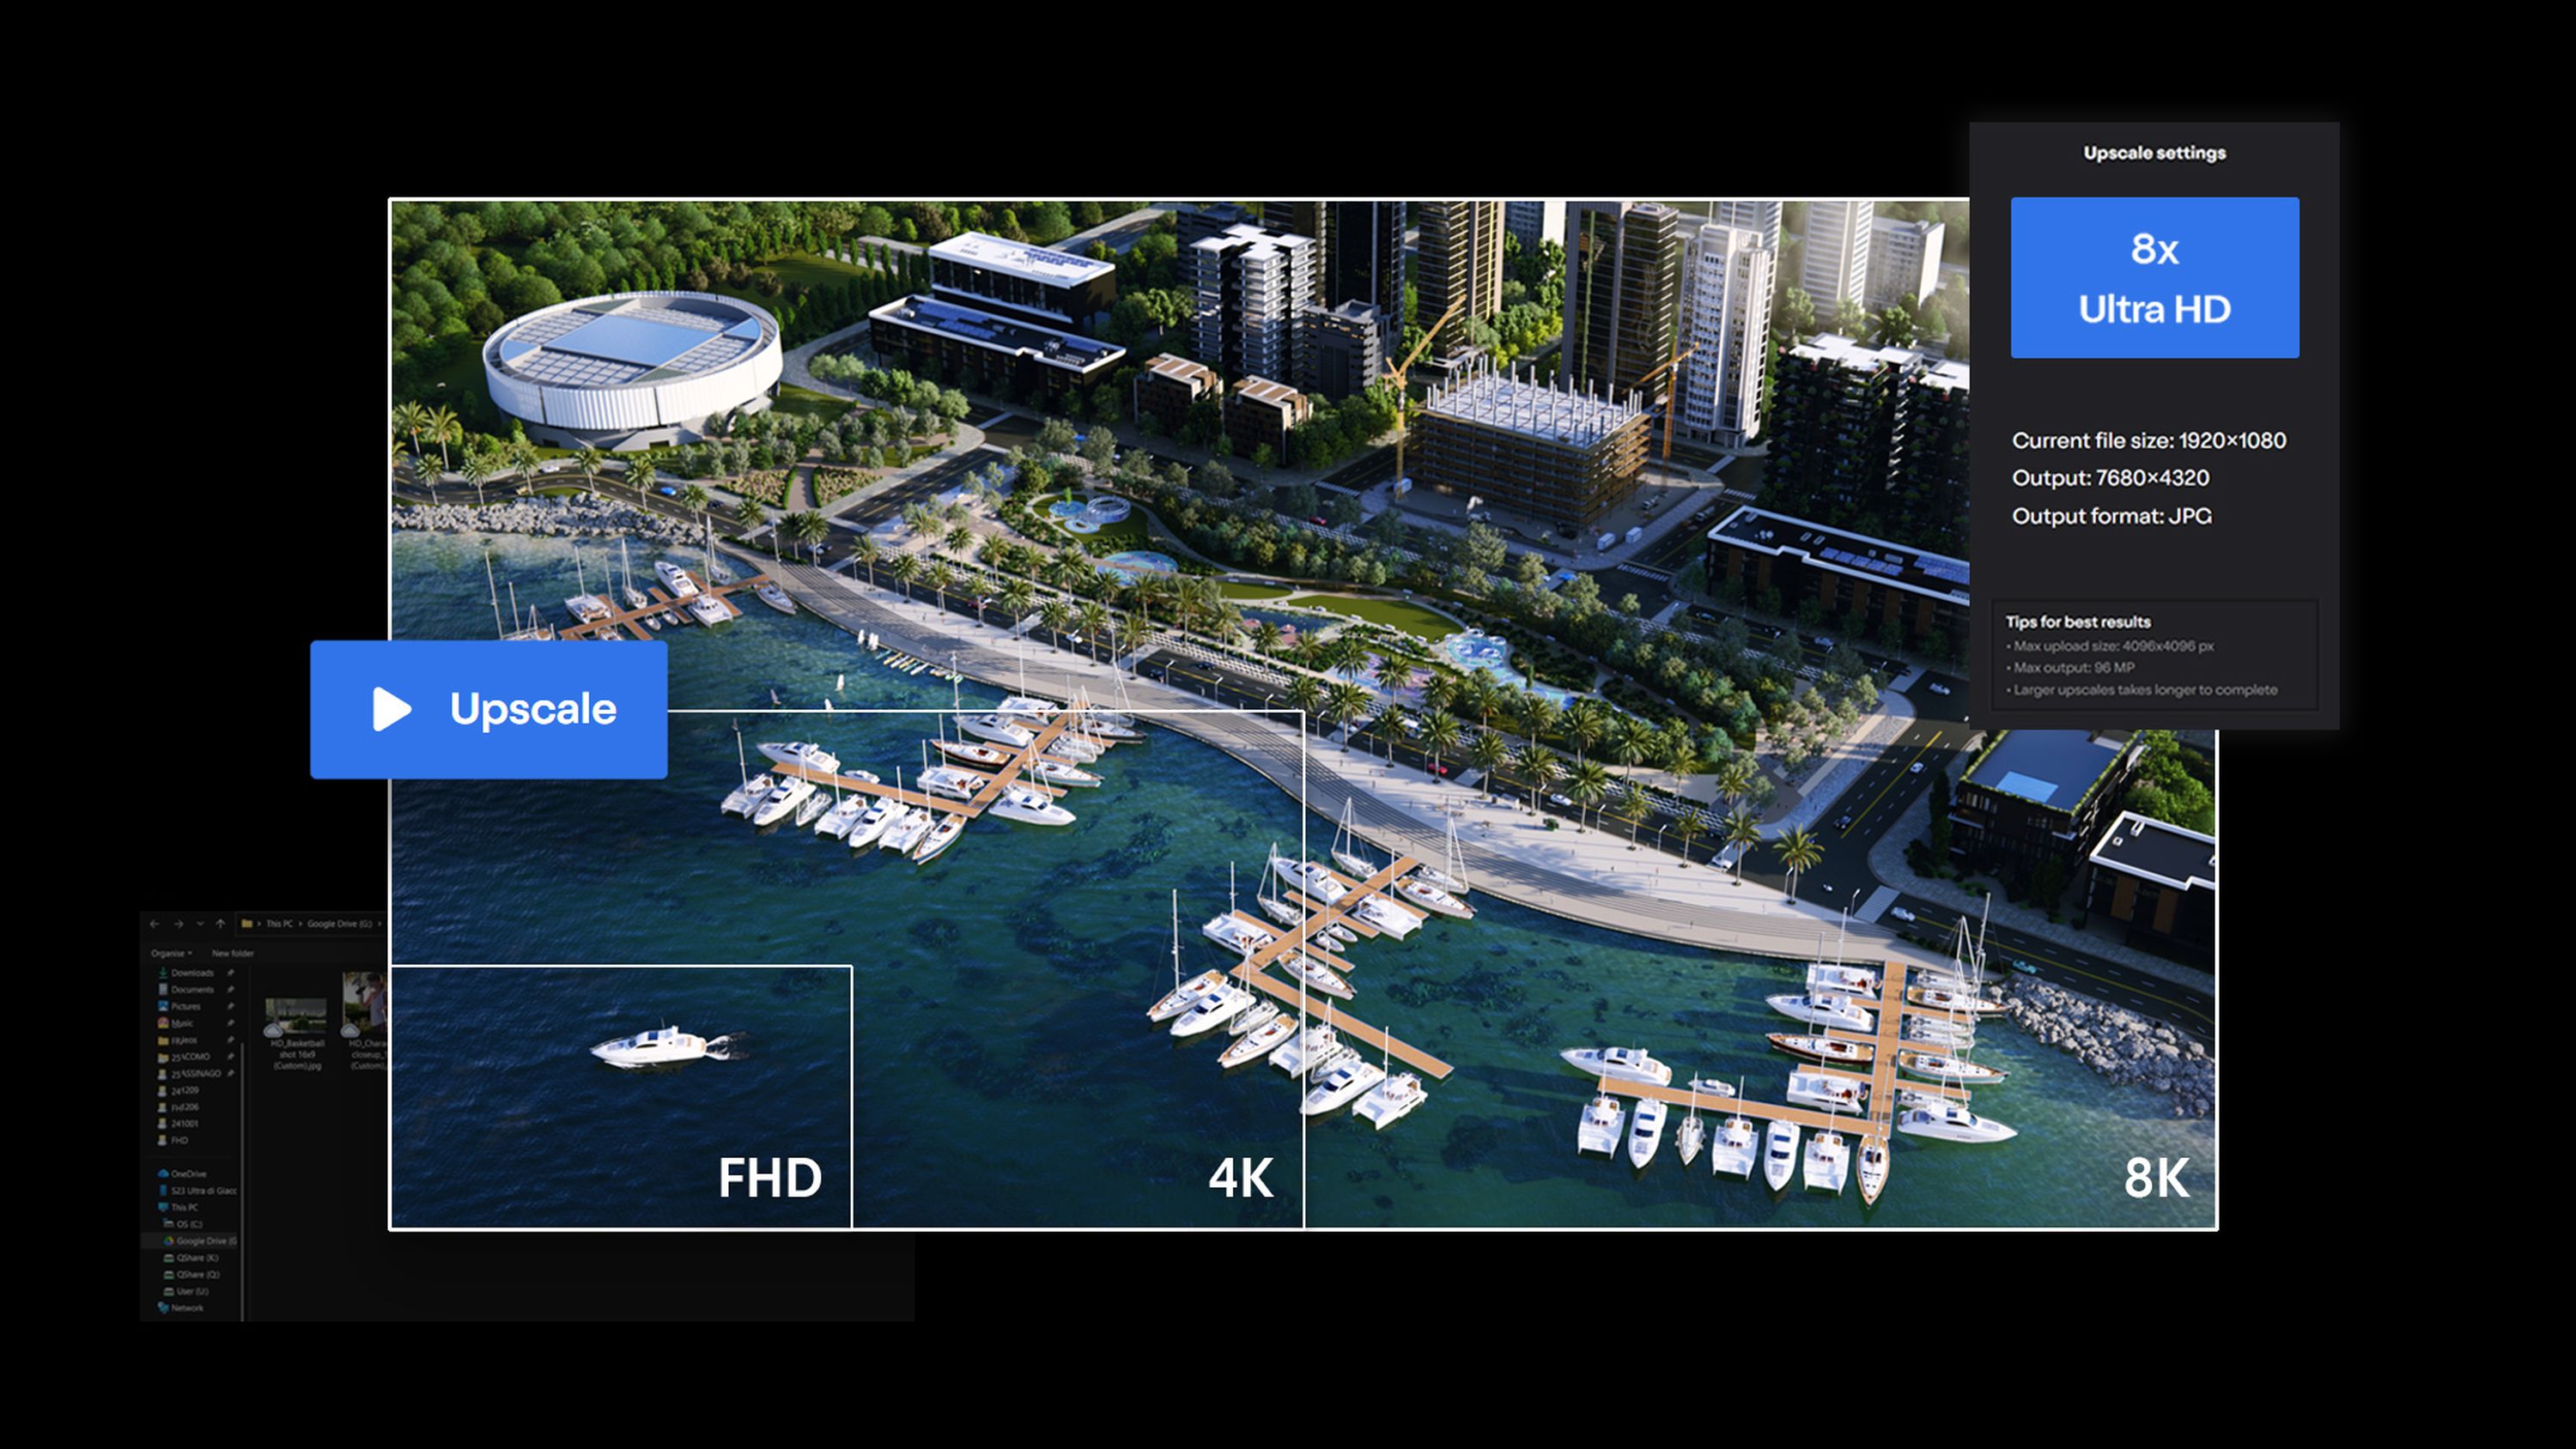
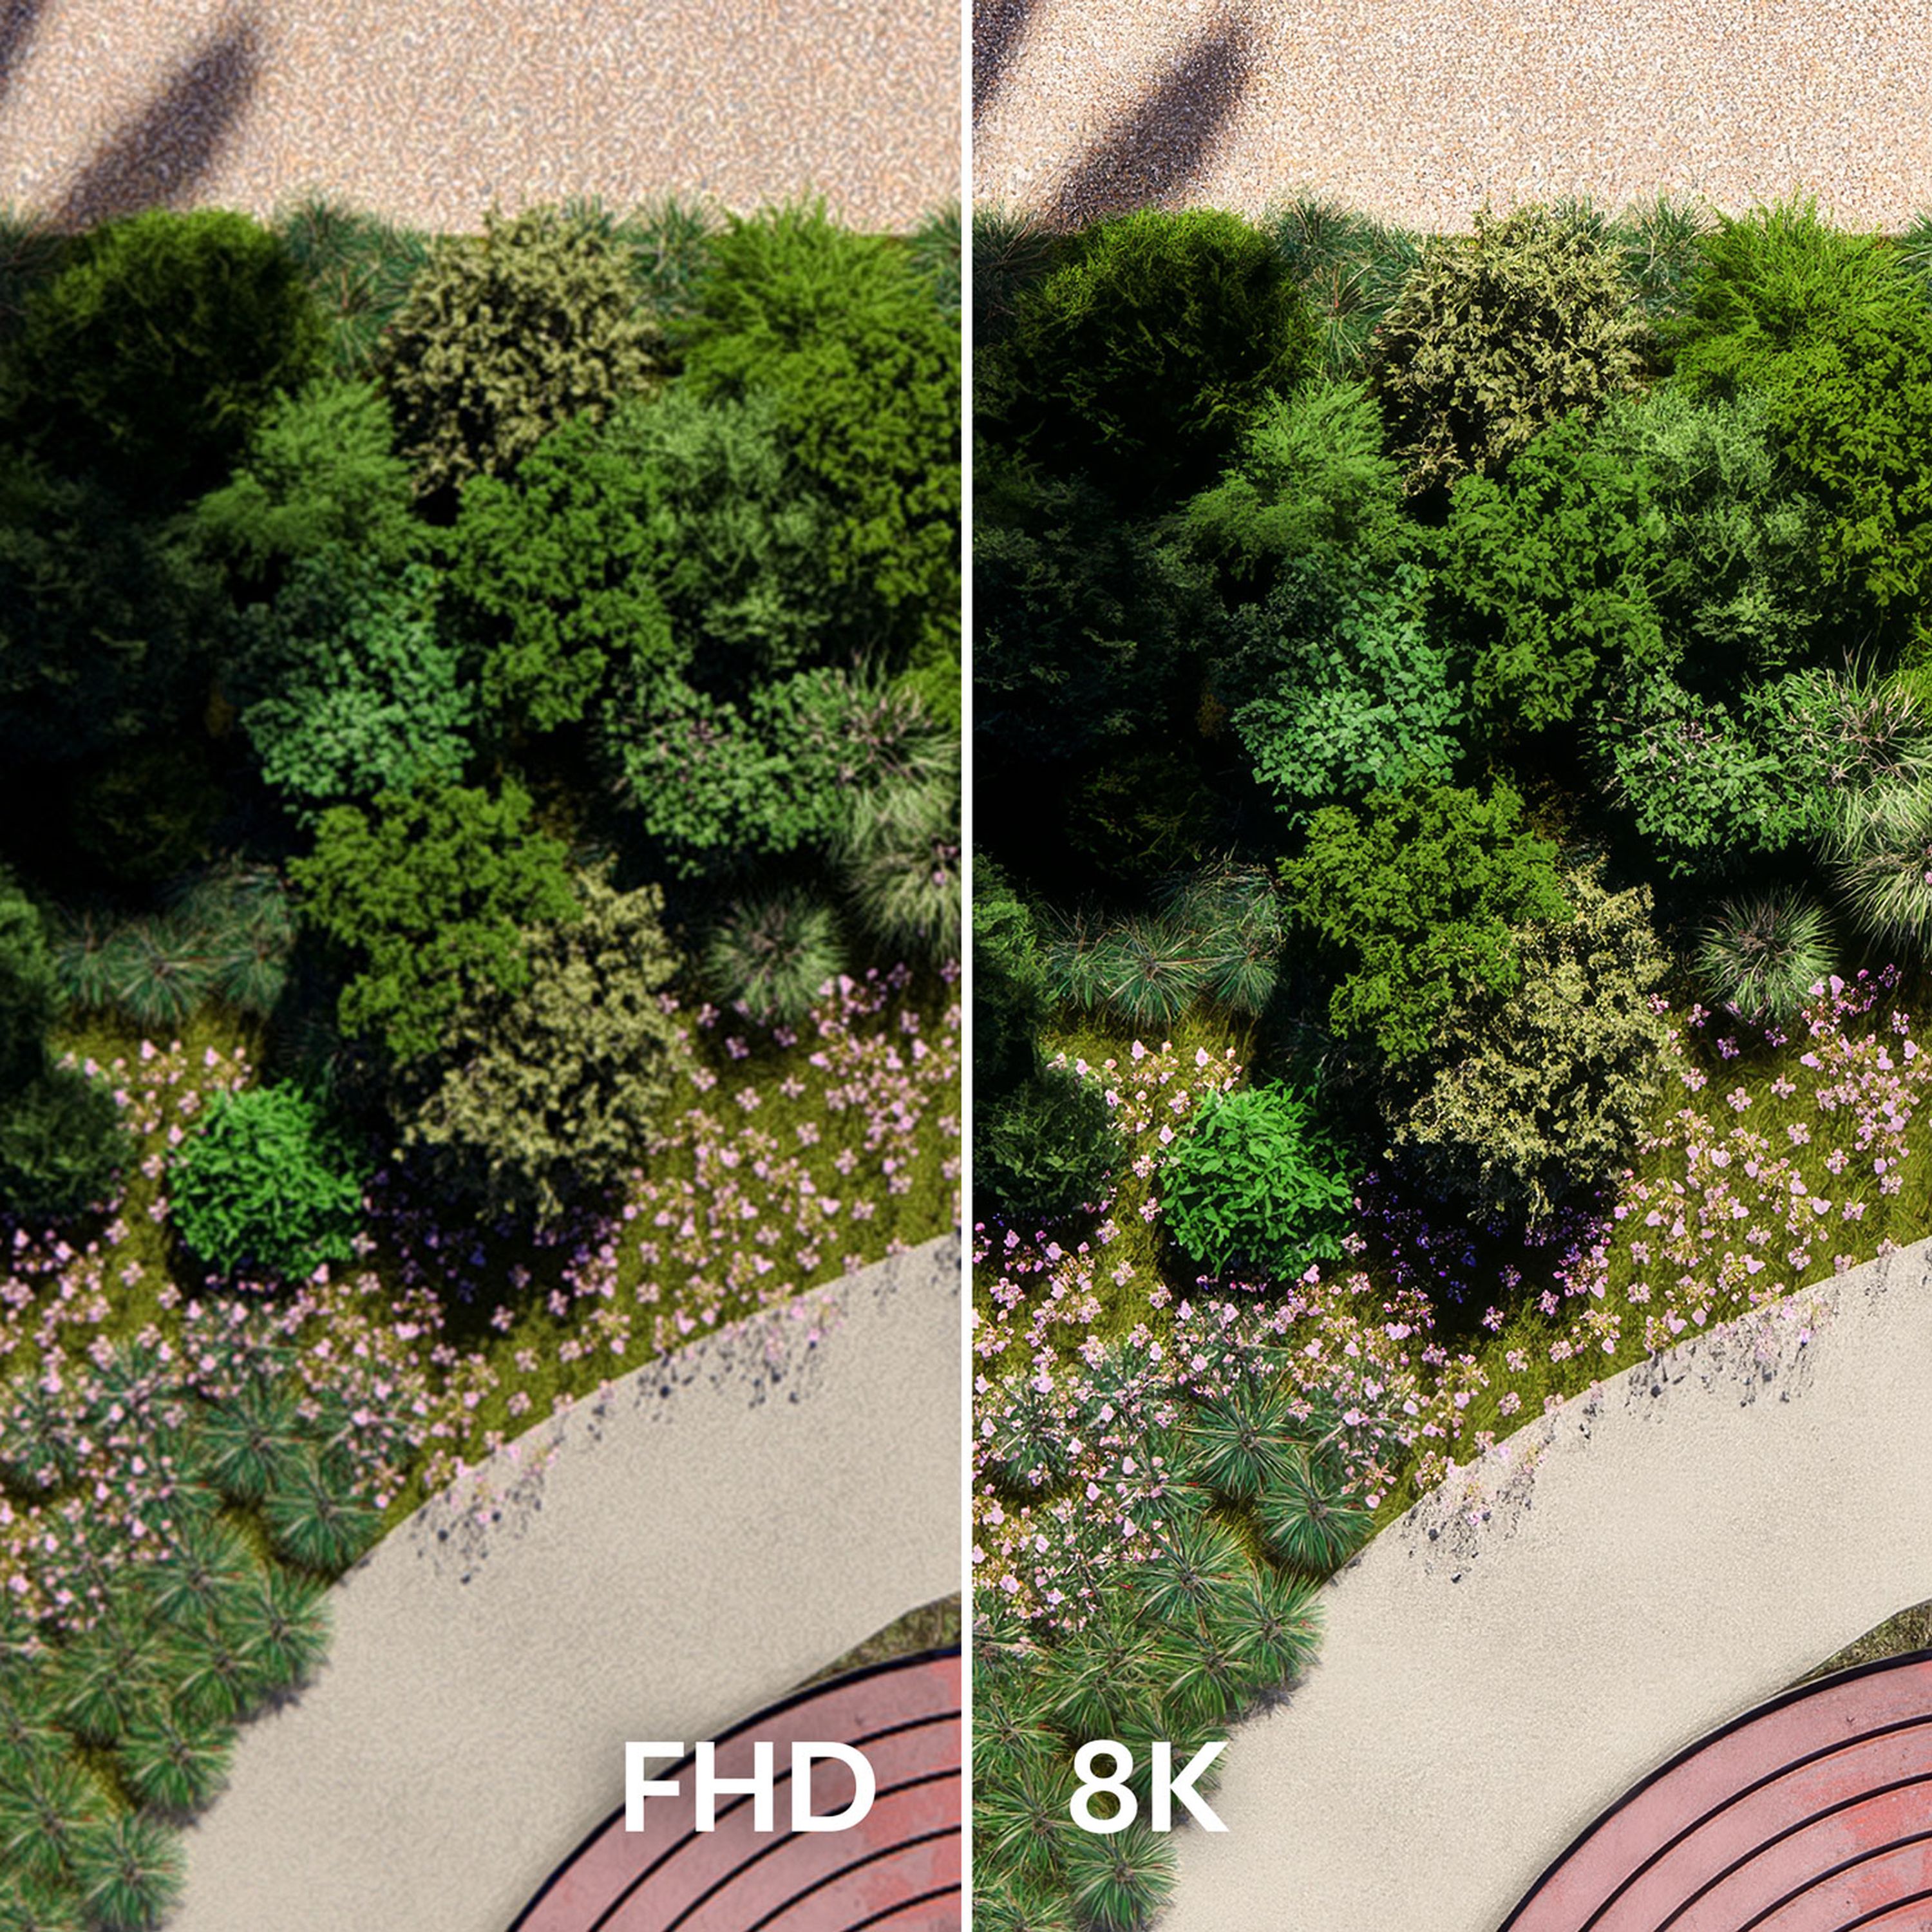
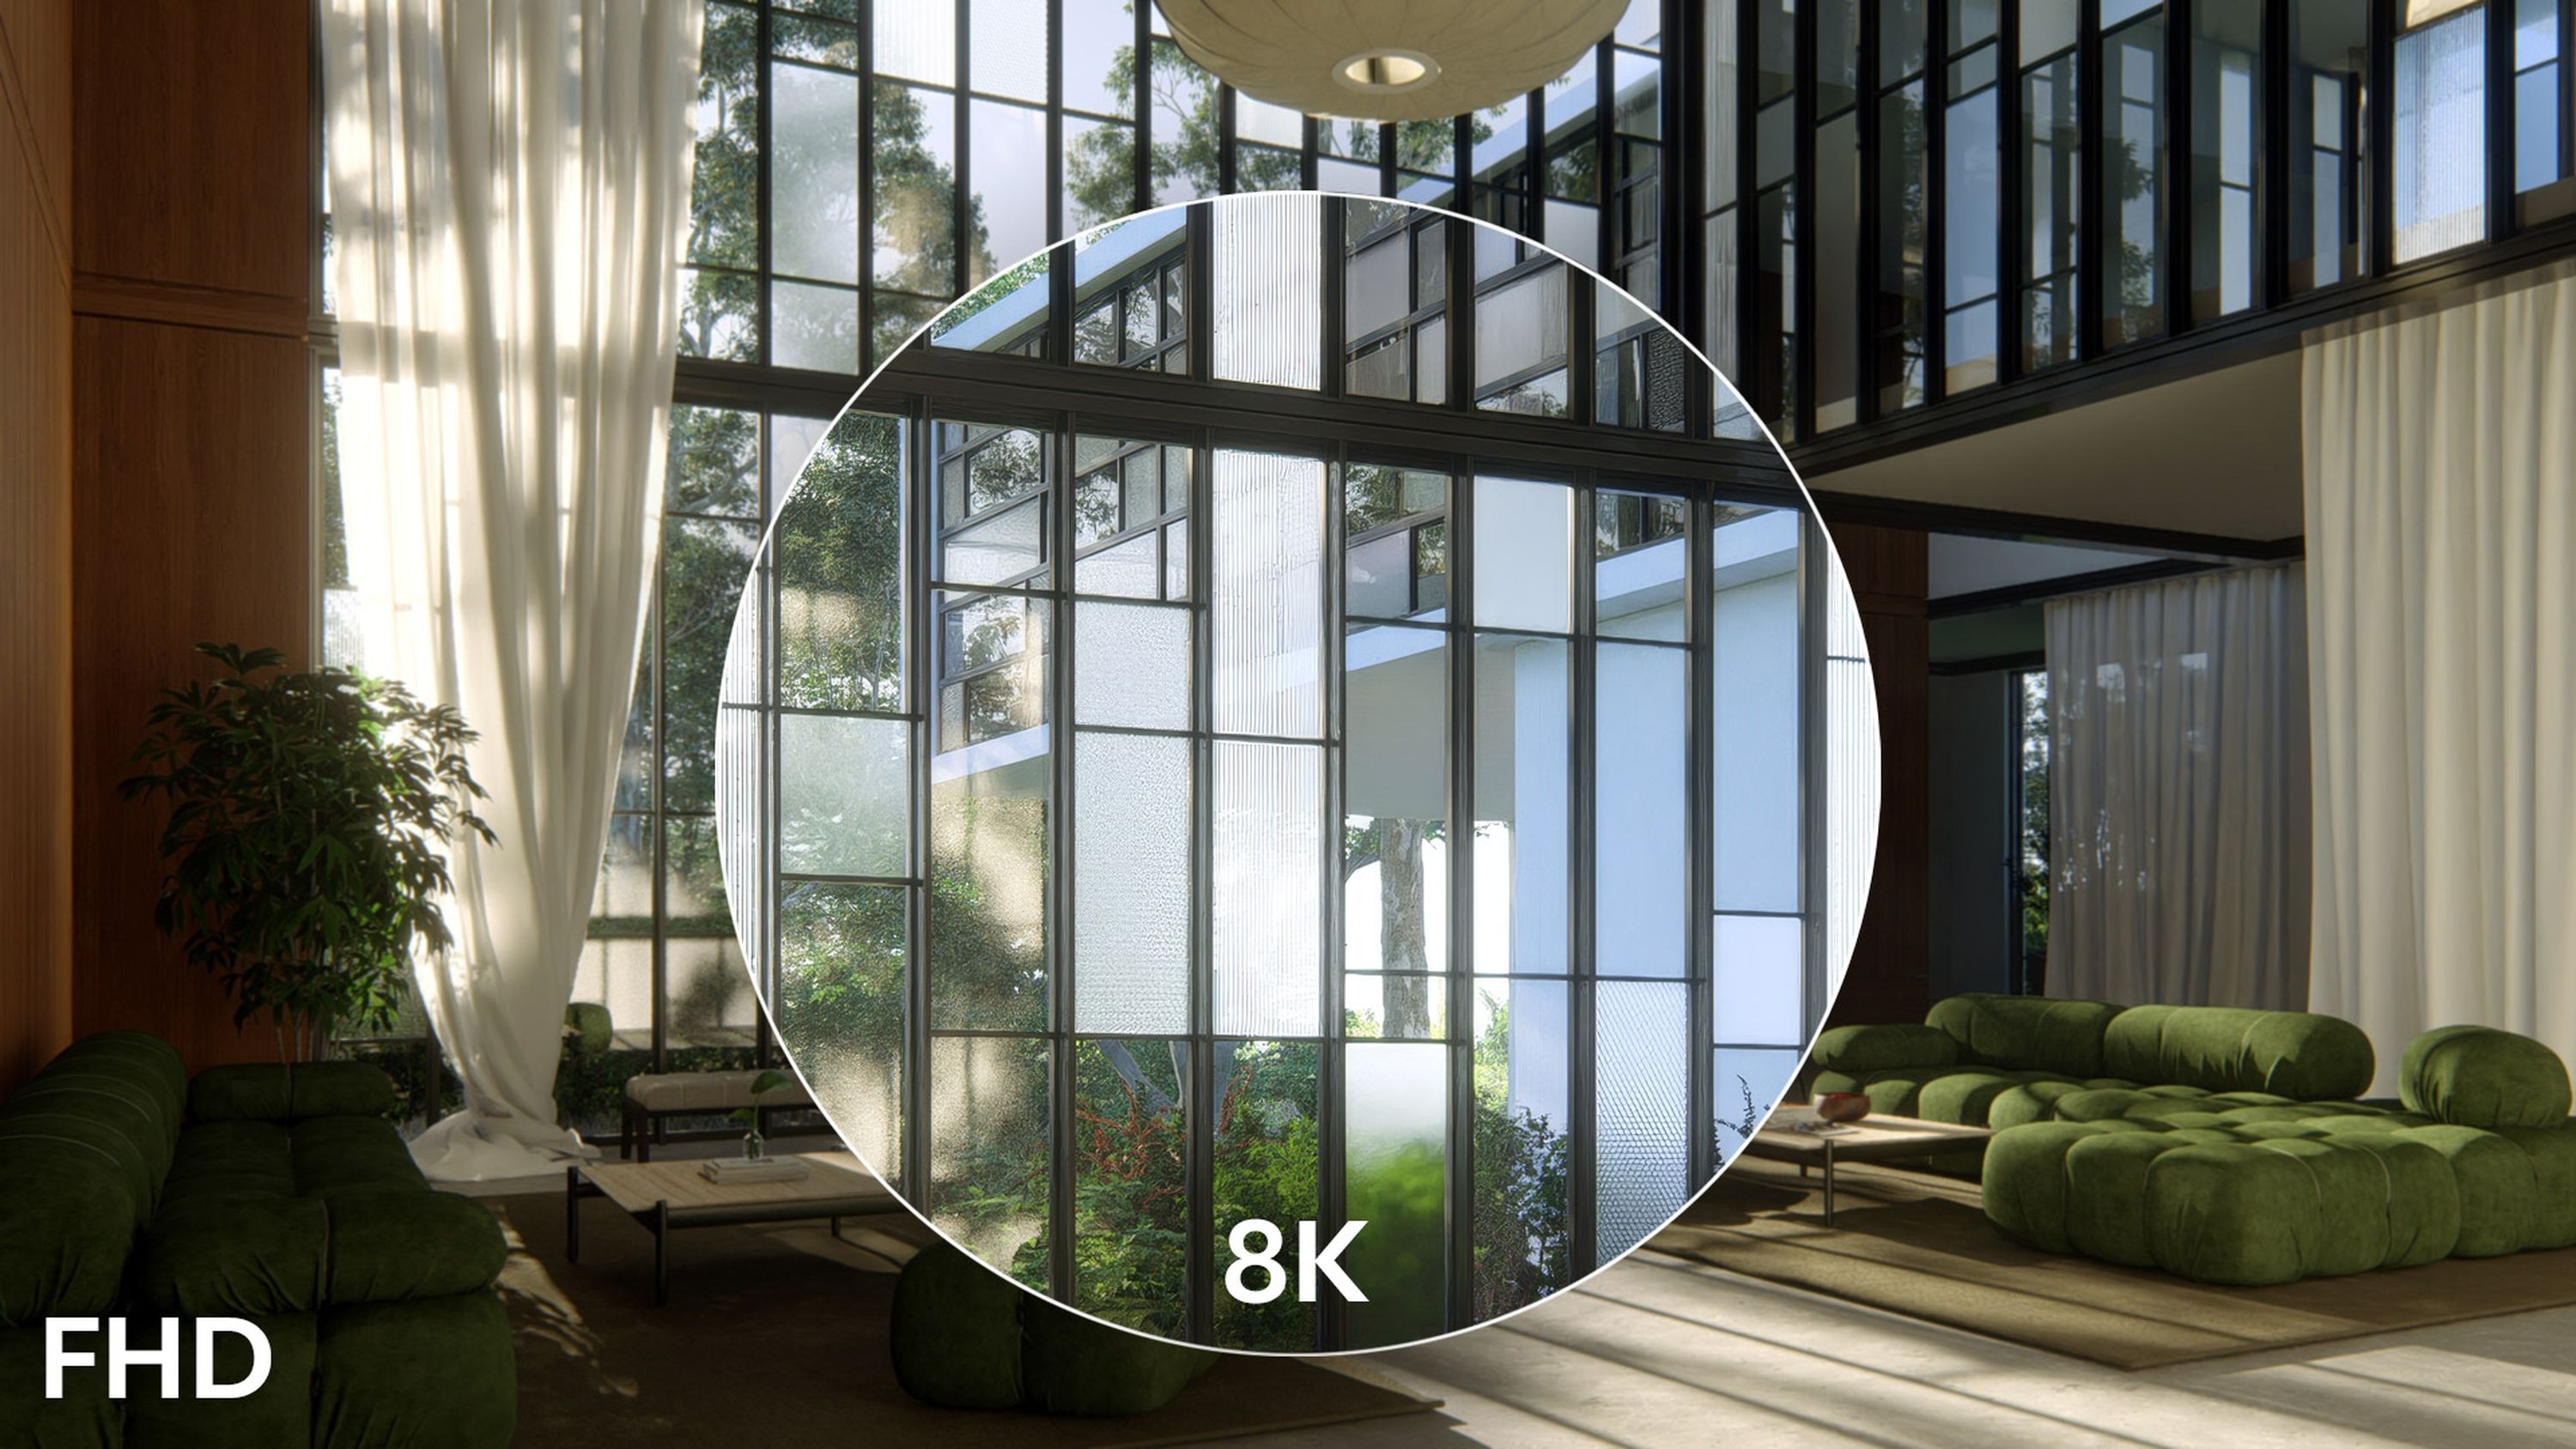
Time for the fun bit. The AI upscaler allows you to render still images at lower resolutions, using artificial intelligence to increase the final output resolution—significantly reducing rendering times and GPU load.
To take advantage, look for the new tab on the lefthand menu of Lumion Cloud: AI Upscaler.
Go there, then click Browse local files to upload an image. Select the image you want to upscale, then let the tool work its magic—that’s all there is to it.
What can it do?
Here’s what you need to know about the new Cloud upscaler:
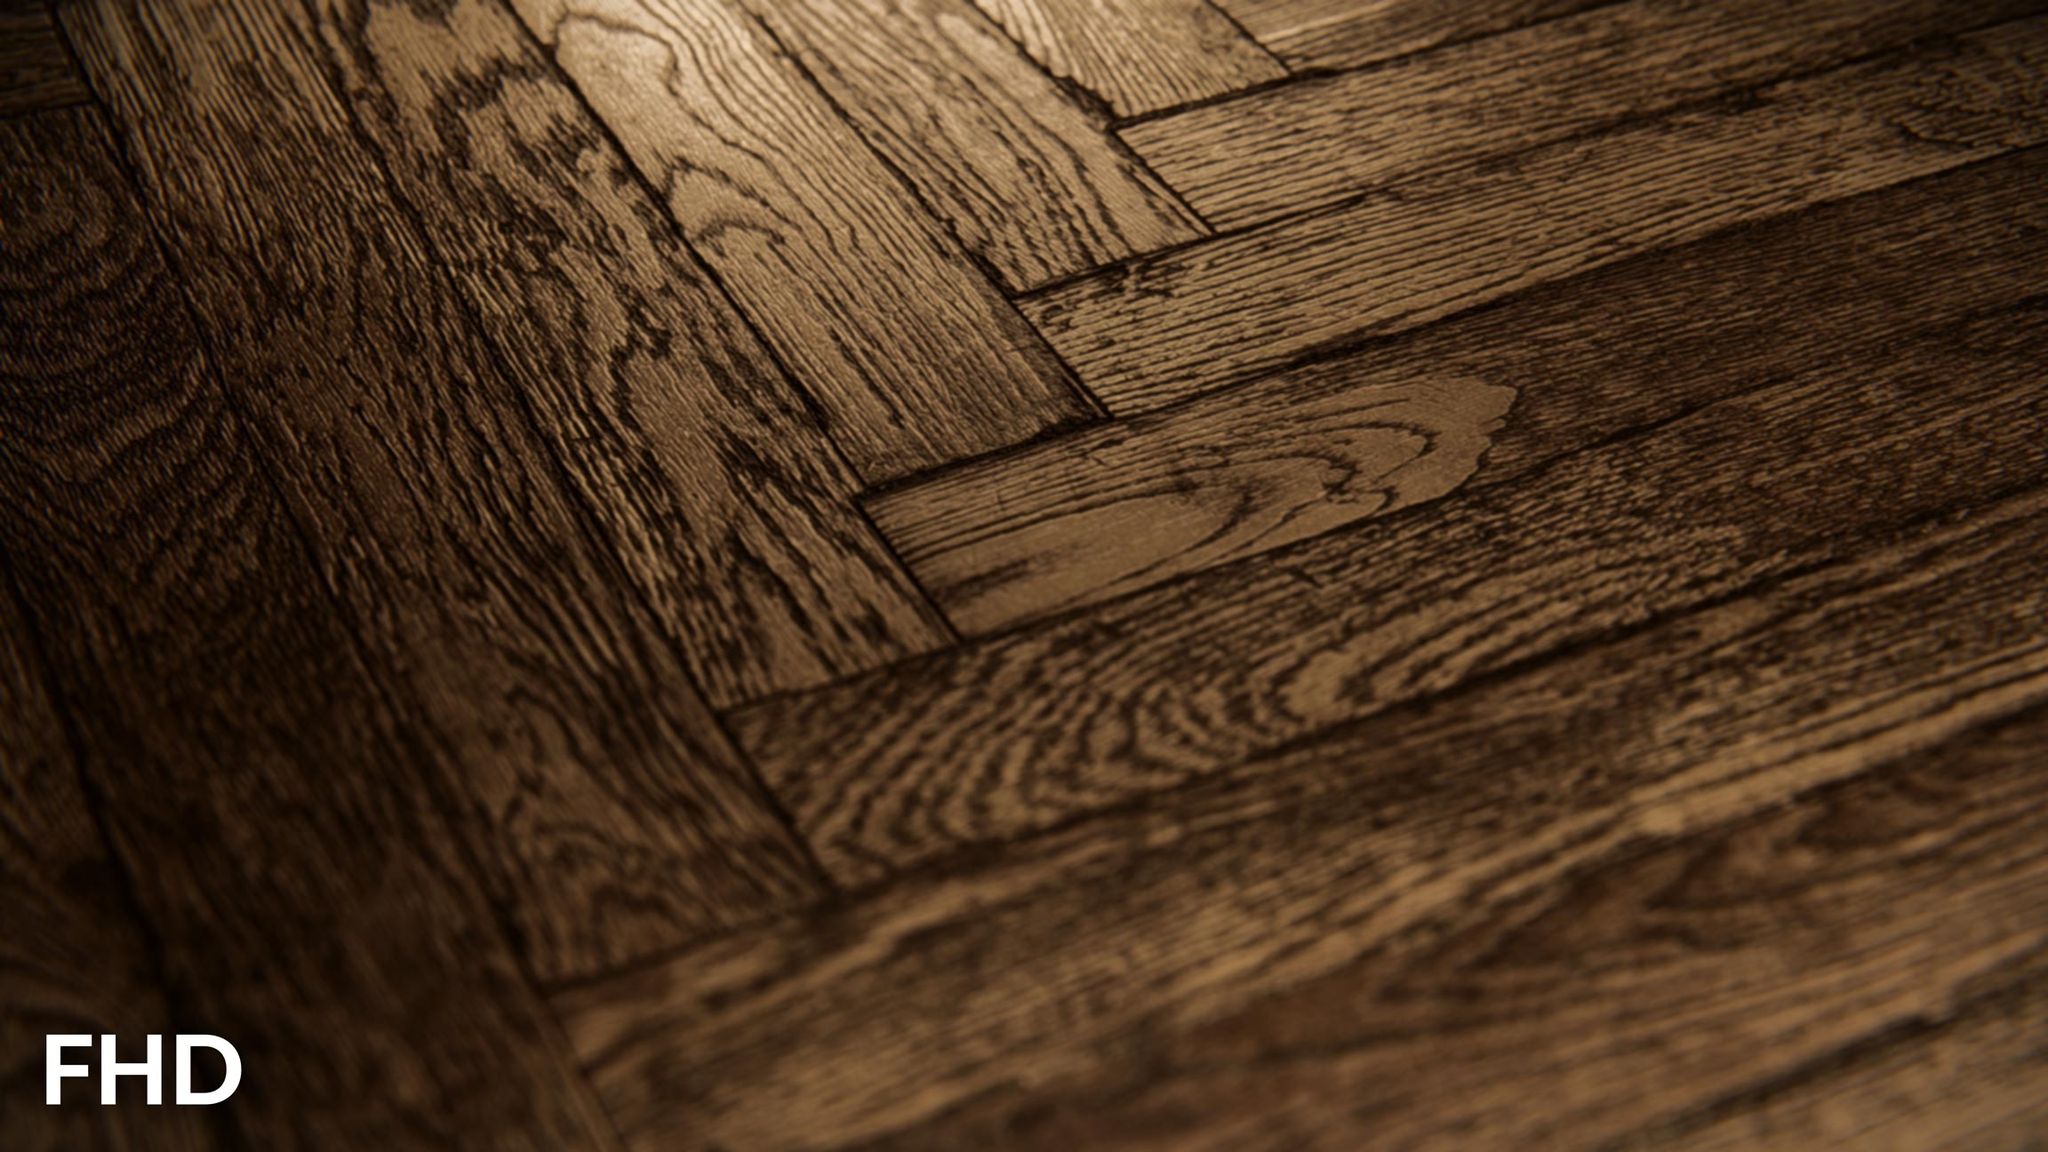
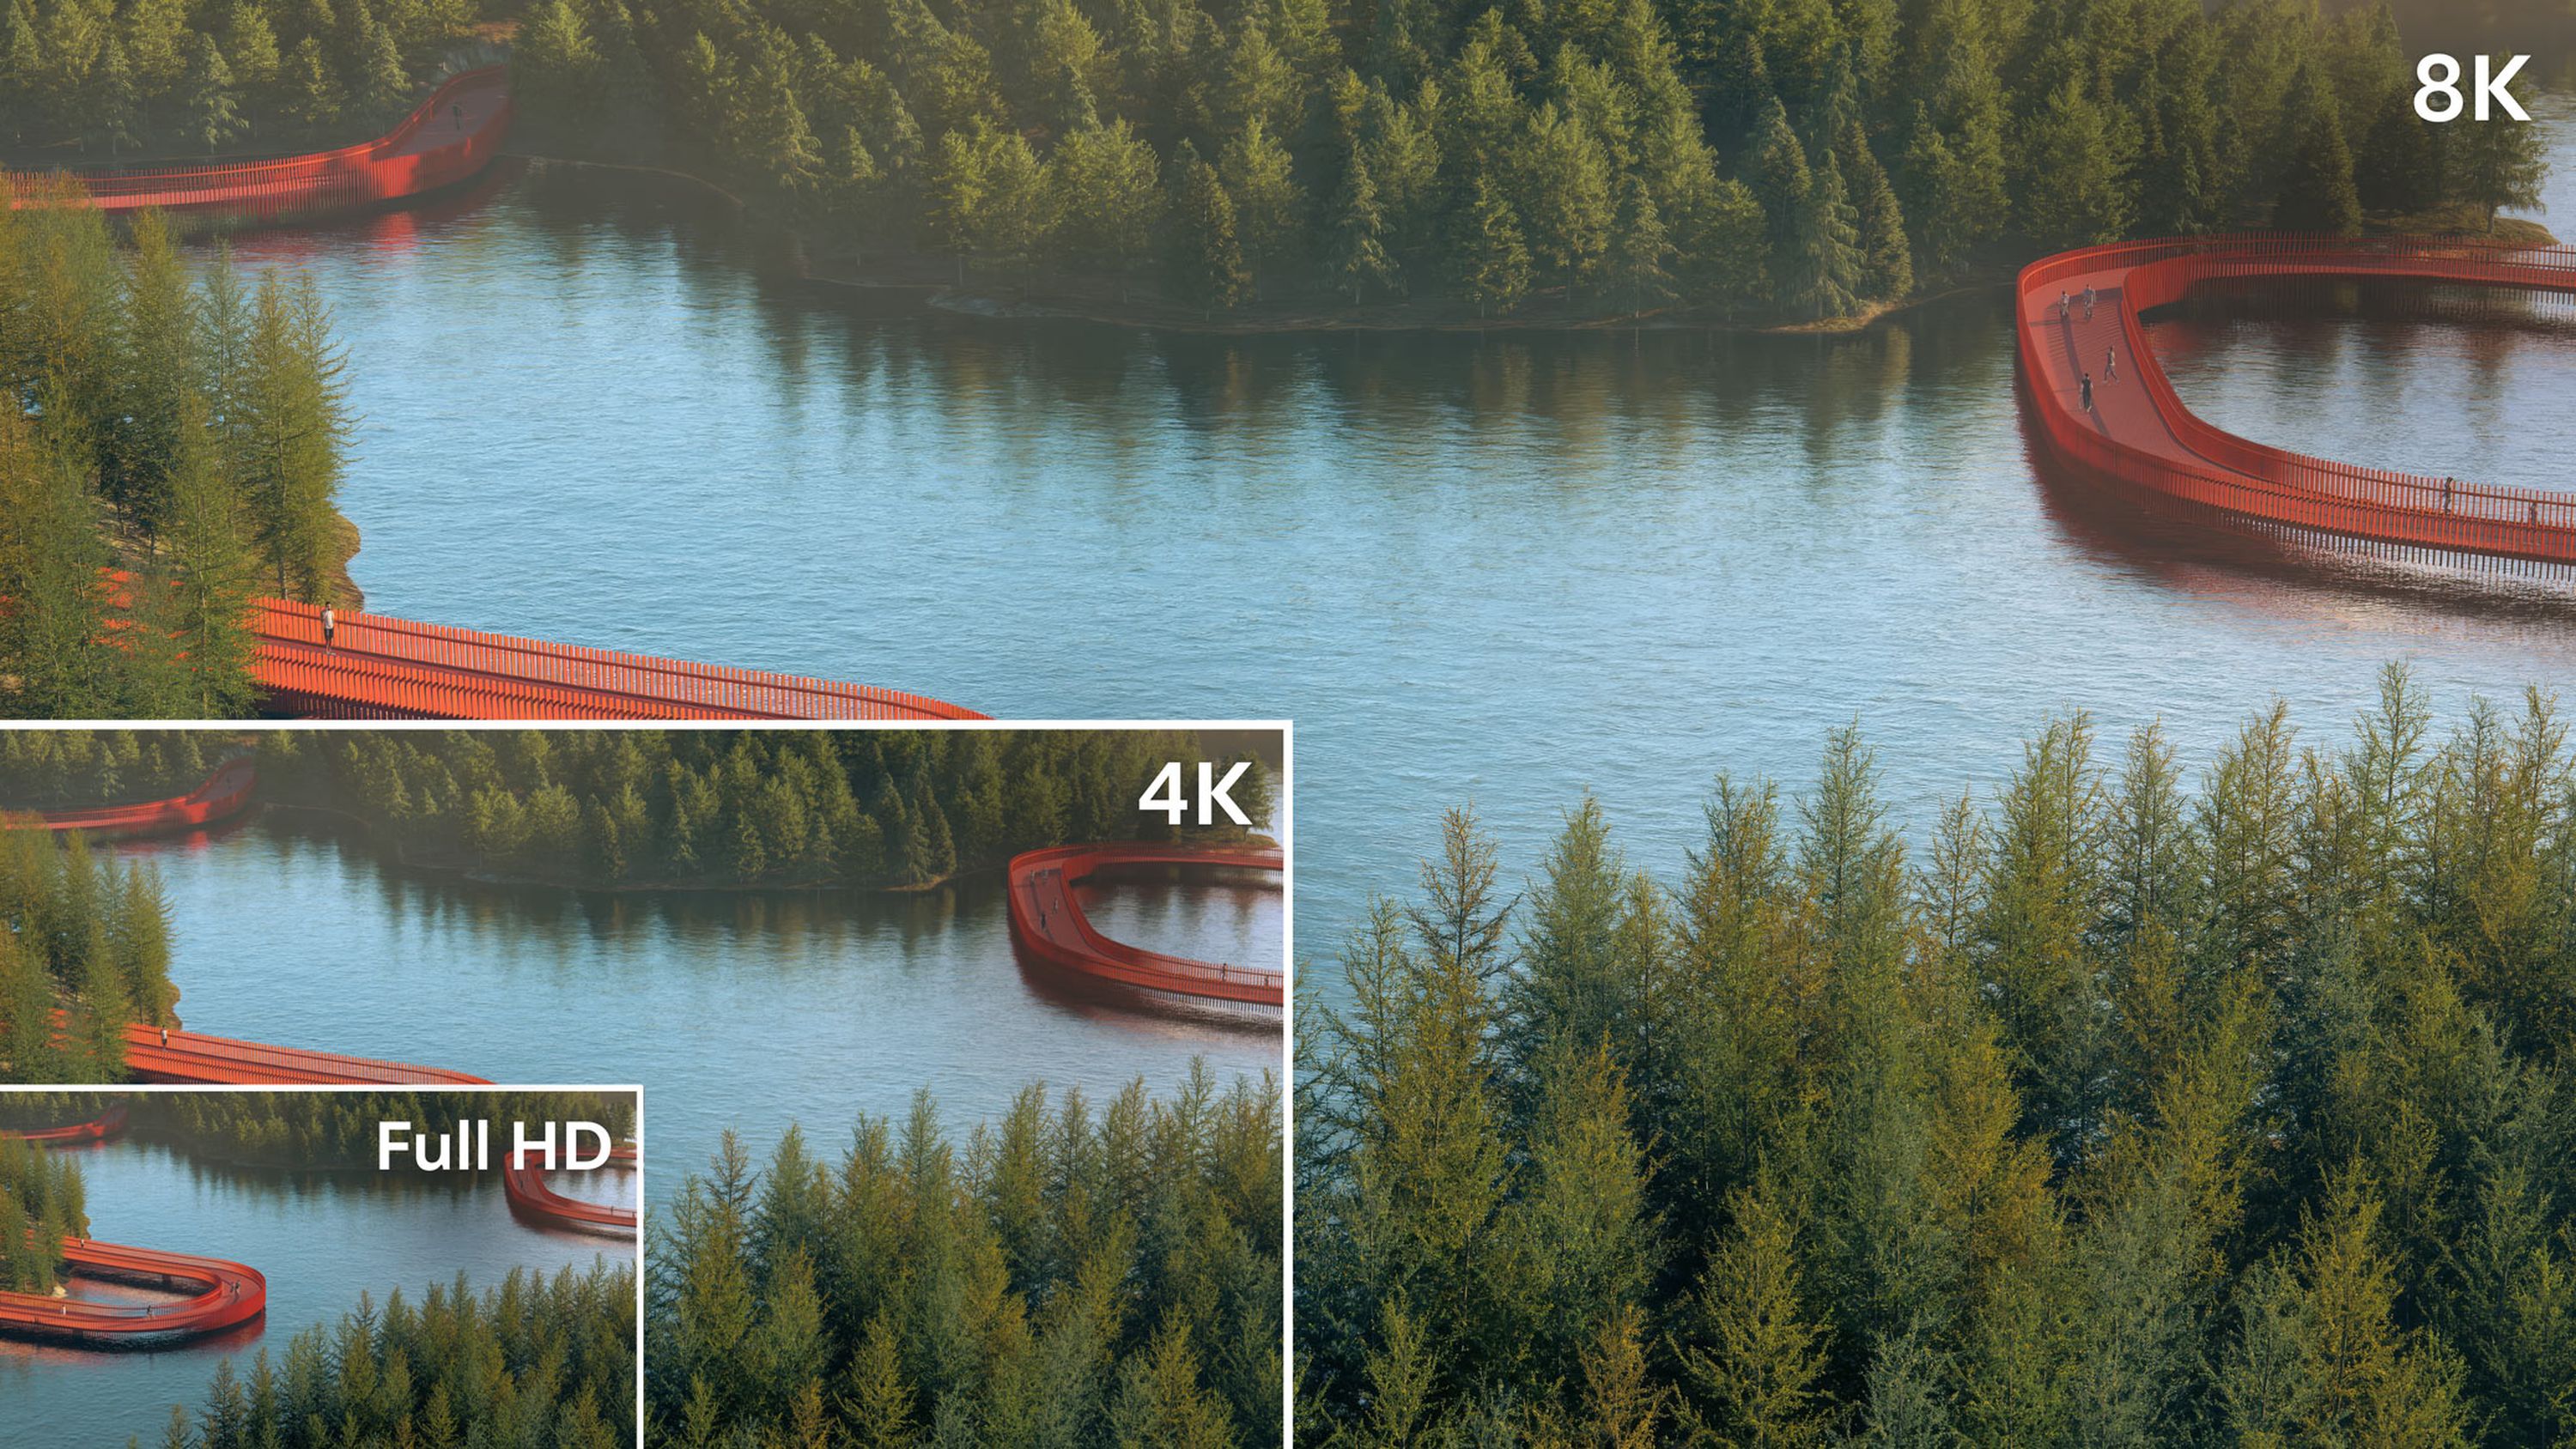
Fixed upscale options: 2×, 4×, 8×
Starting resolution: 1920×1080 (FHD)
Max output: 96 MP
Max upload size: 4096×4096 px
Why AI upscale?
AI upscaling is an ideal solution for the following reasons:
Improved performance: it’s especially useful on machines with less than 12GB of VRAM.
Higher resolution drafts: it allows faster iterations and testing in higher fidelity.
More efficient rendering: it’s significantly faster than native 4K ray-traced renders.
Better than traditional resizing: it prevents having to use third-party resizing methods.
Flexible output: it supports all of the available export resolutions.
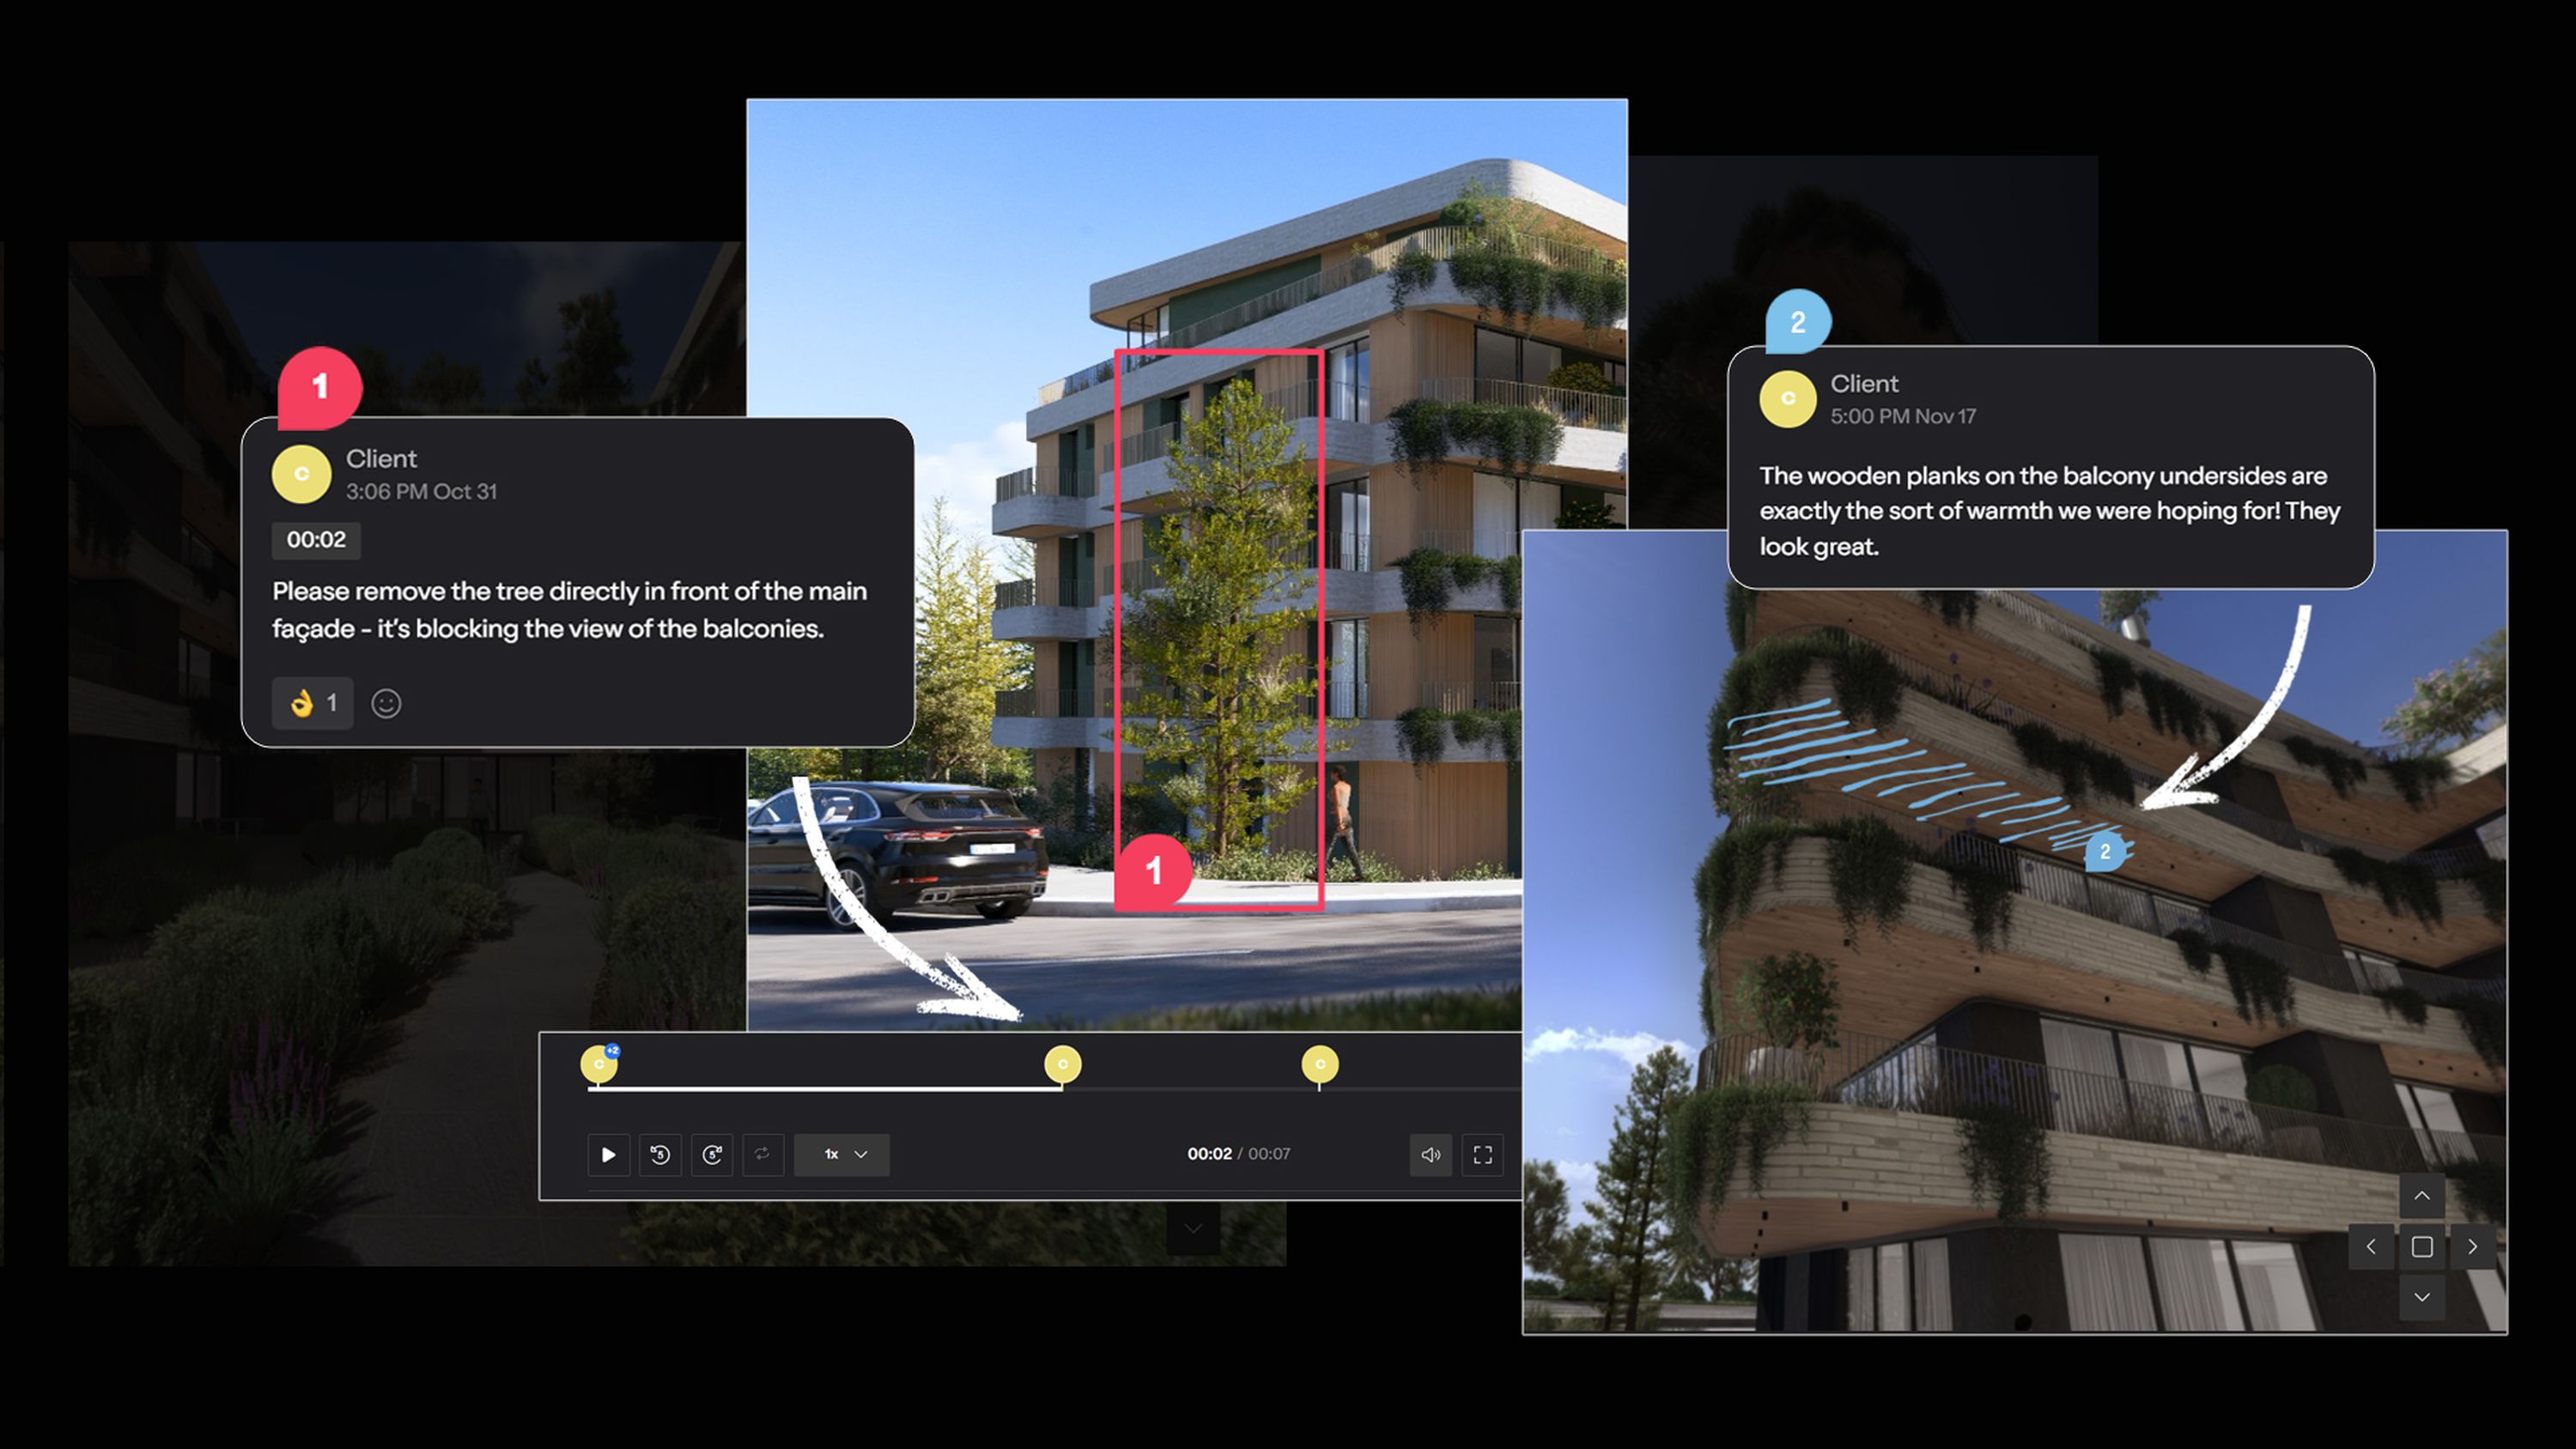
Upscale straight from any project
Looking for an easy shortcut to high-res visuals? You can also upscale directly from the images themselves when working in Cloud’s Projects tab.
Any image that qualifies for upscaling will also display a Use in AI Upscaler button in the top right-hand corner when viewing it from Projects.
Click that to go straight to the upscaler tool. You’ll see the same settings and upscale options, as well as a handy comparison view of both the original and upscaled versions of your image. Save a copy using the button below the image—as either a new variation of version—to jump straight back into your project and start collaborating on it.

Time to try it!
So, that’s everything you need to know about AI upscaling in Lumion Cloud. Give it a go next time you’re in the software!
Subscribed to Lumion? You get free access to Lumion Cloud—start streamlining visual collaboration across teams and clients today.