How to craft true-to-life, custom materials
Get to know Lumion’s physically based rendering (PBR) workflow
The power of PBR
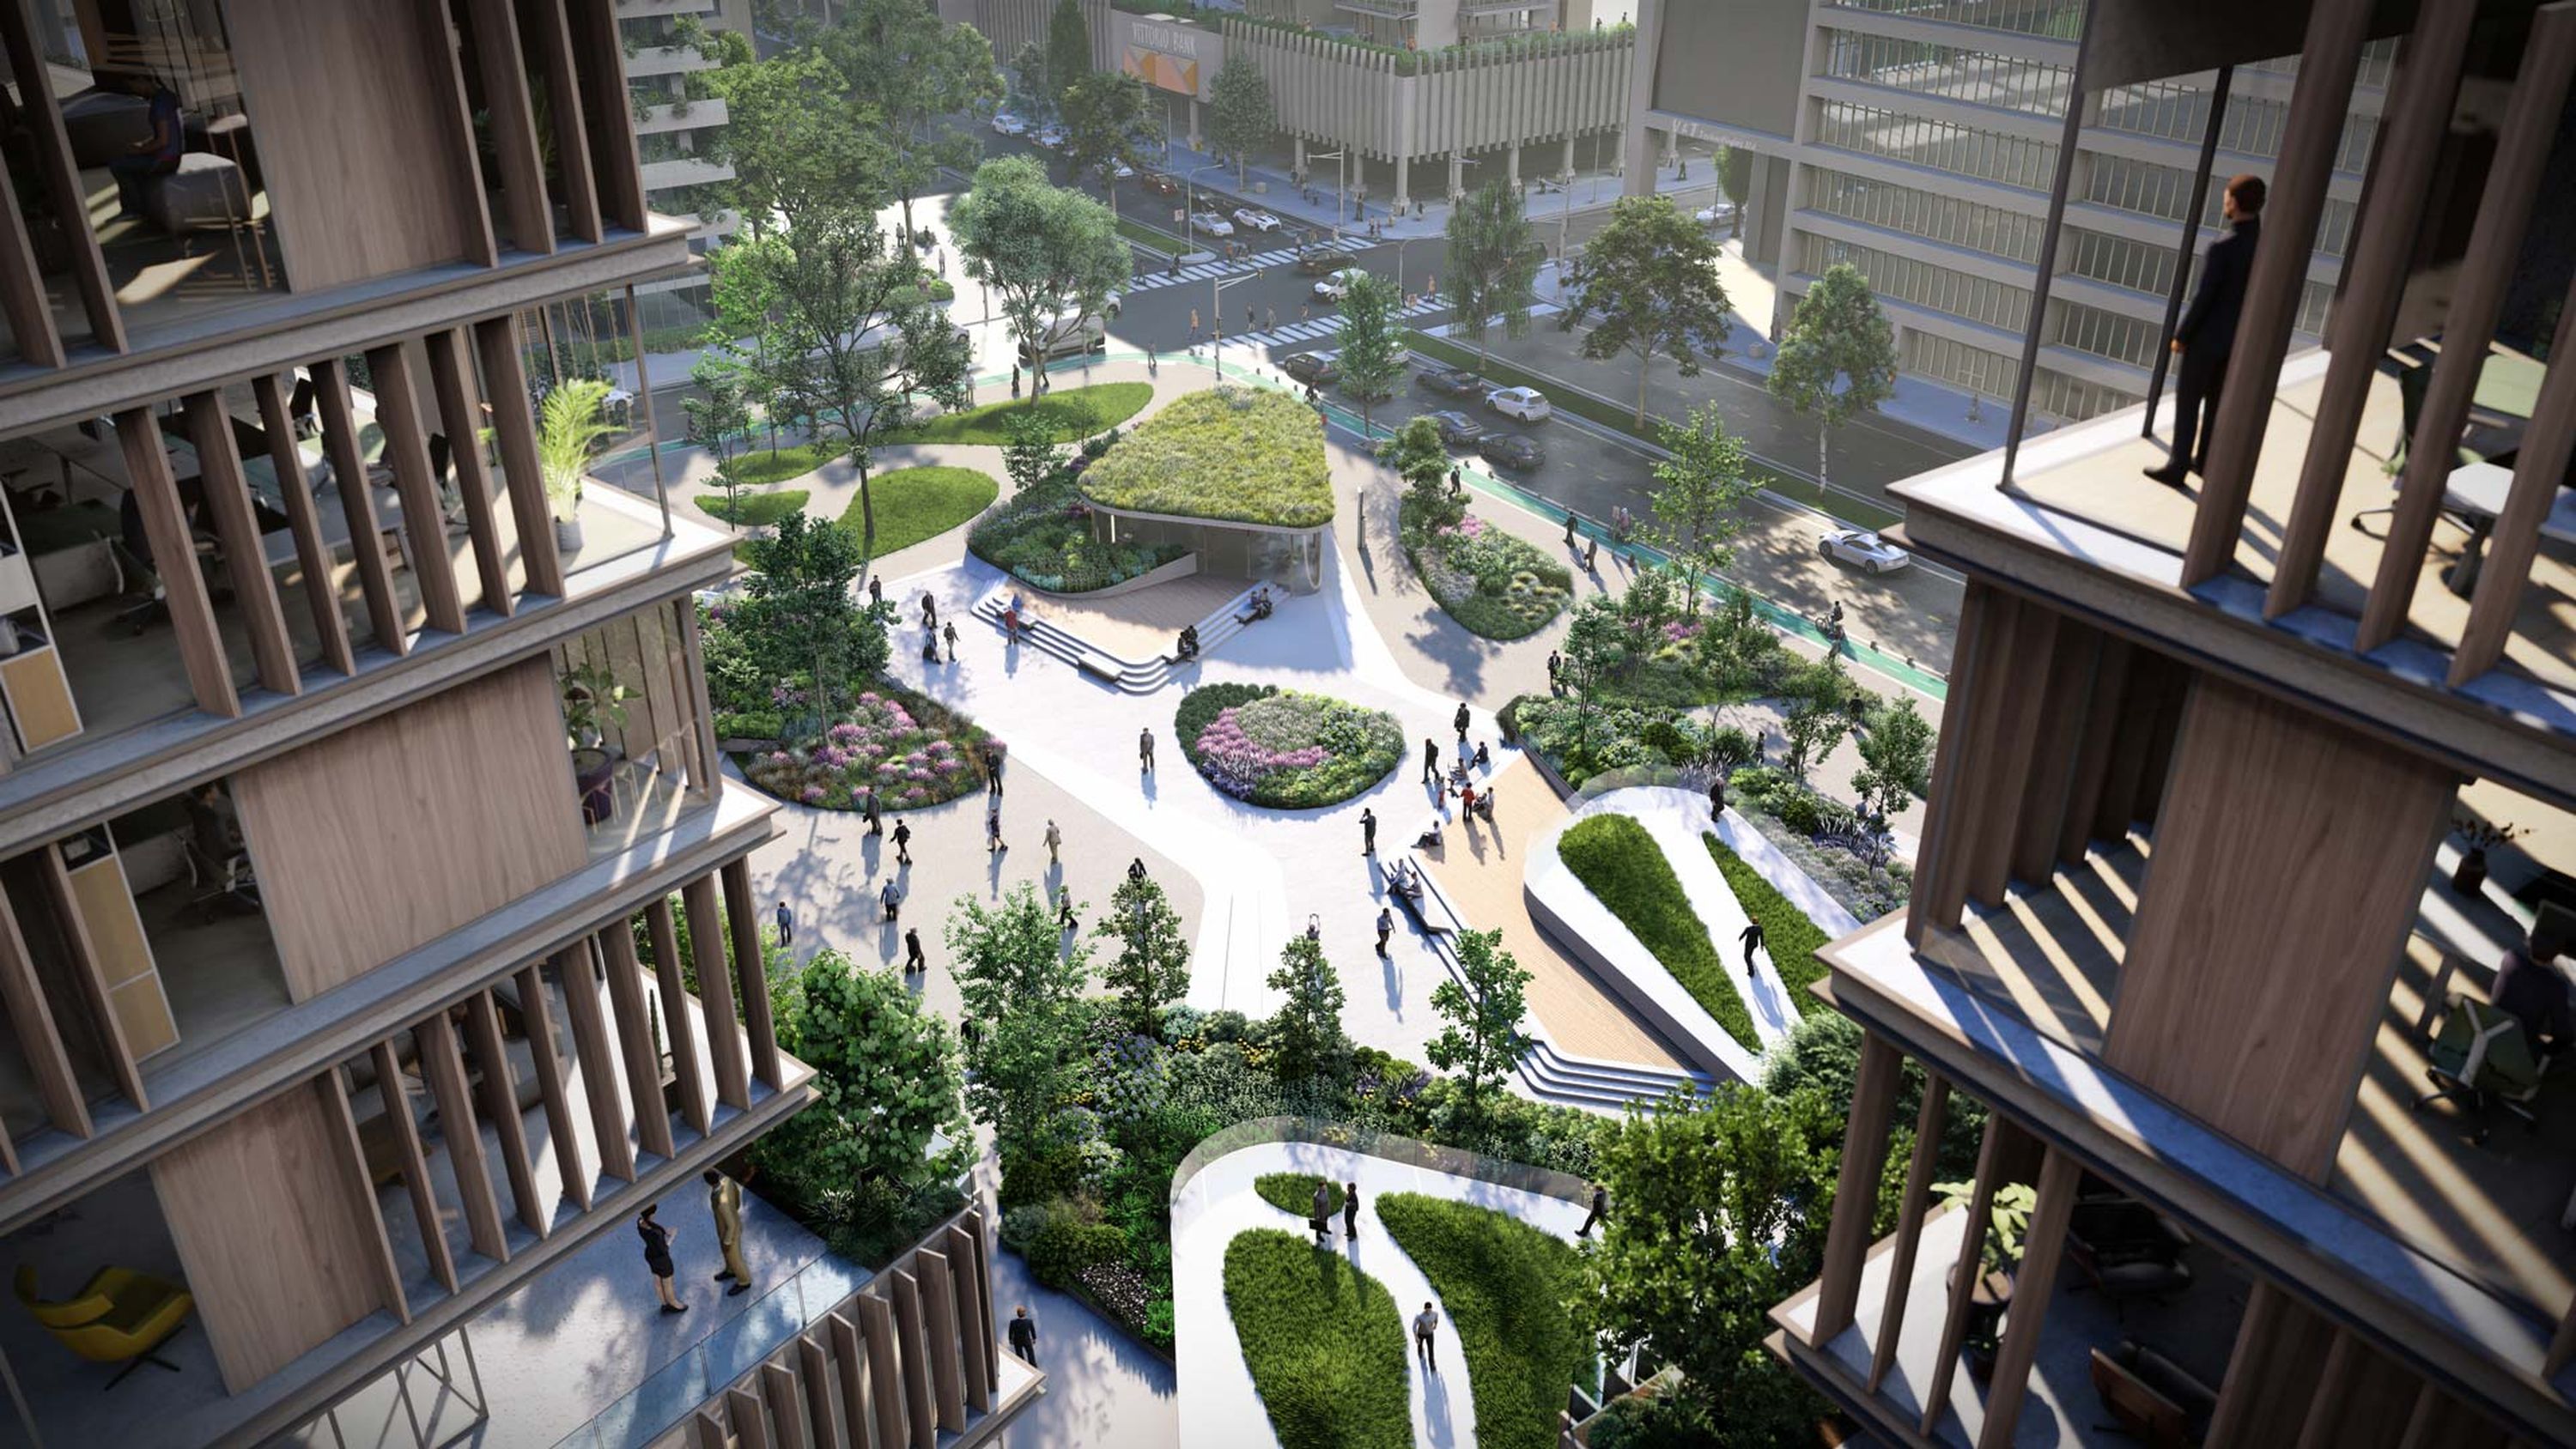
Lumion’s PBR material workflow gives you full creative freedom over how you dress your surfaces. You can choose from the thousands of high-quality materials on offer in the library, import your own, or personalize every aspect of your chosen textures.
By faithfully replicating real-world light interactions, PBR materials produce the most authentic renders imaginable. And with the seamless integration of the material library and editor in Lumion, you can focus on simply creating – and save valuable time in the process.
Load up Lumion and follow along
Try these tips for yourself with a free Lumion Pro trial.
Craft near-tangible textures in no time
With Lumion’s in-built material editor, you can create the perfect texture by customizing its properties. Let's zoom in and show you 6 simple steps for working with materials in Lumion.
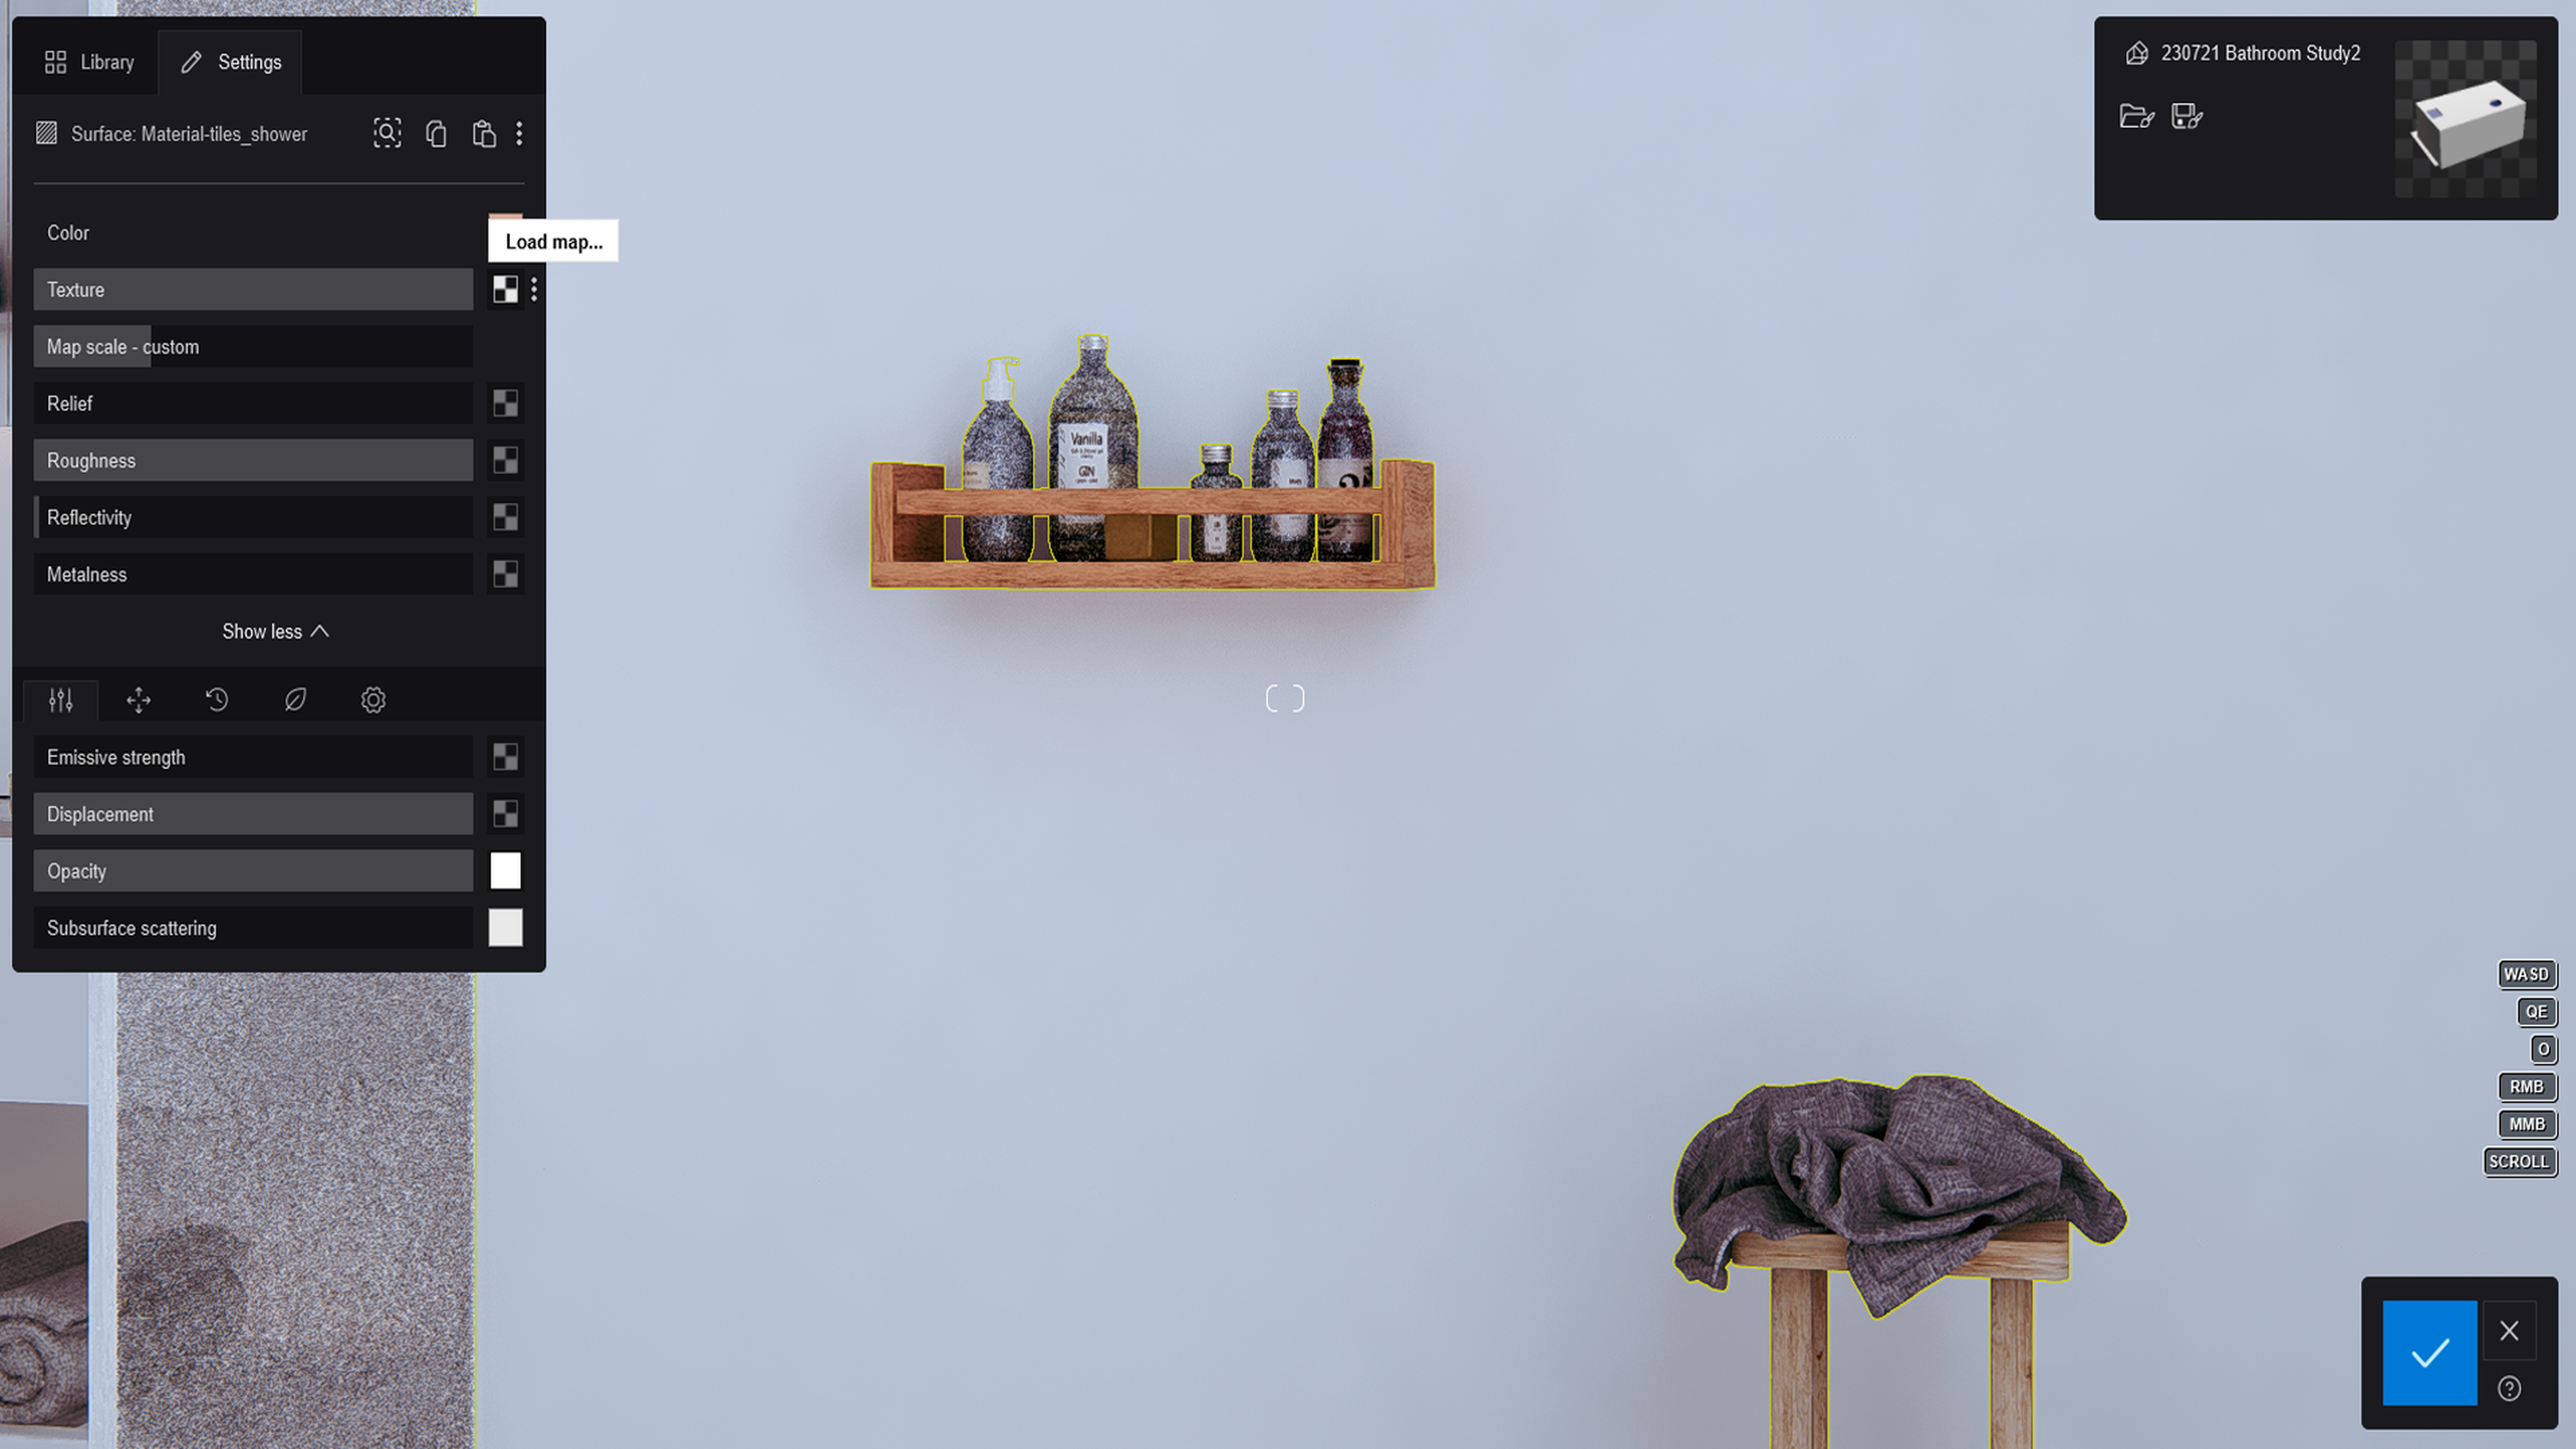
1. Load a custom texture
Start by clicking the Material editor tab and selecting the surface you want to add a texture to.
Double-click the Standard material icon under New to open its settings.
Click the Load map button to the right of the Texture setting and open your chosen file.
Need a hand sourcing the perfect texture? You’ll find a collection of resources here.
2. Set the scale
The Map scale slider is set to meters in real-world coordinates. Setting it to 1 means that the texture size will be the equivalent of 1 meter in real life.
These values are global, which makes it much easier for you to set your textures to the right size, without any guesswork.
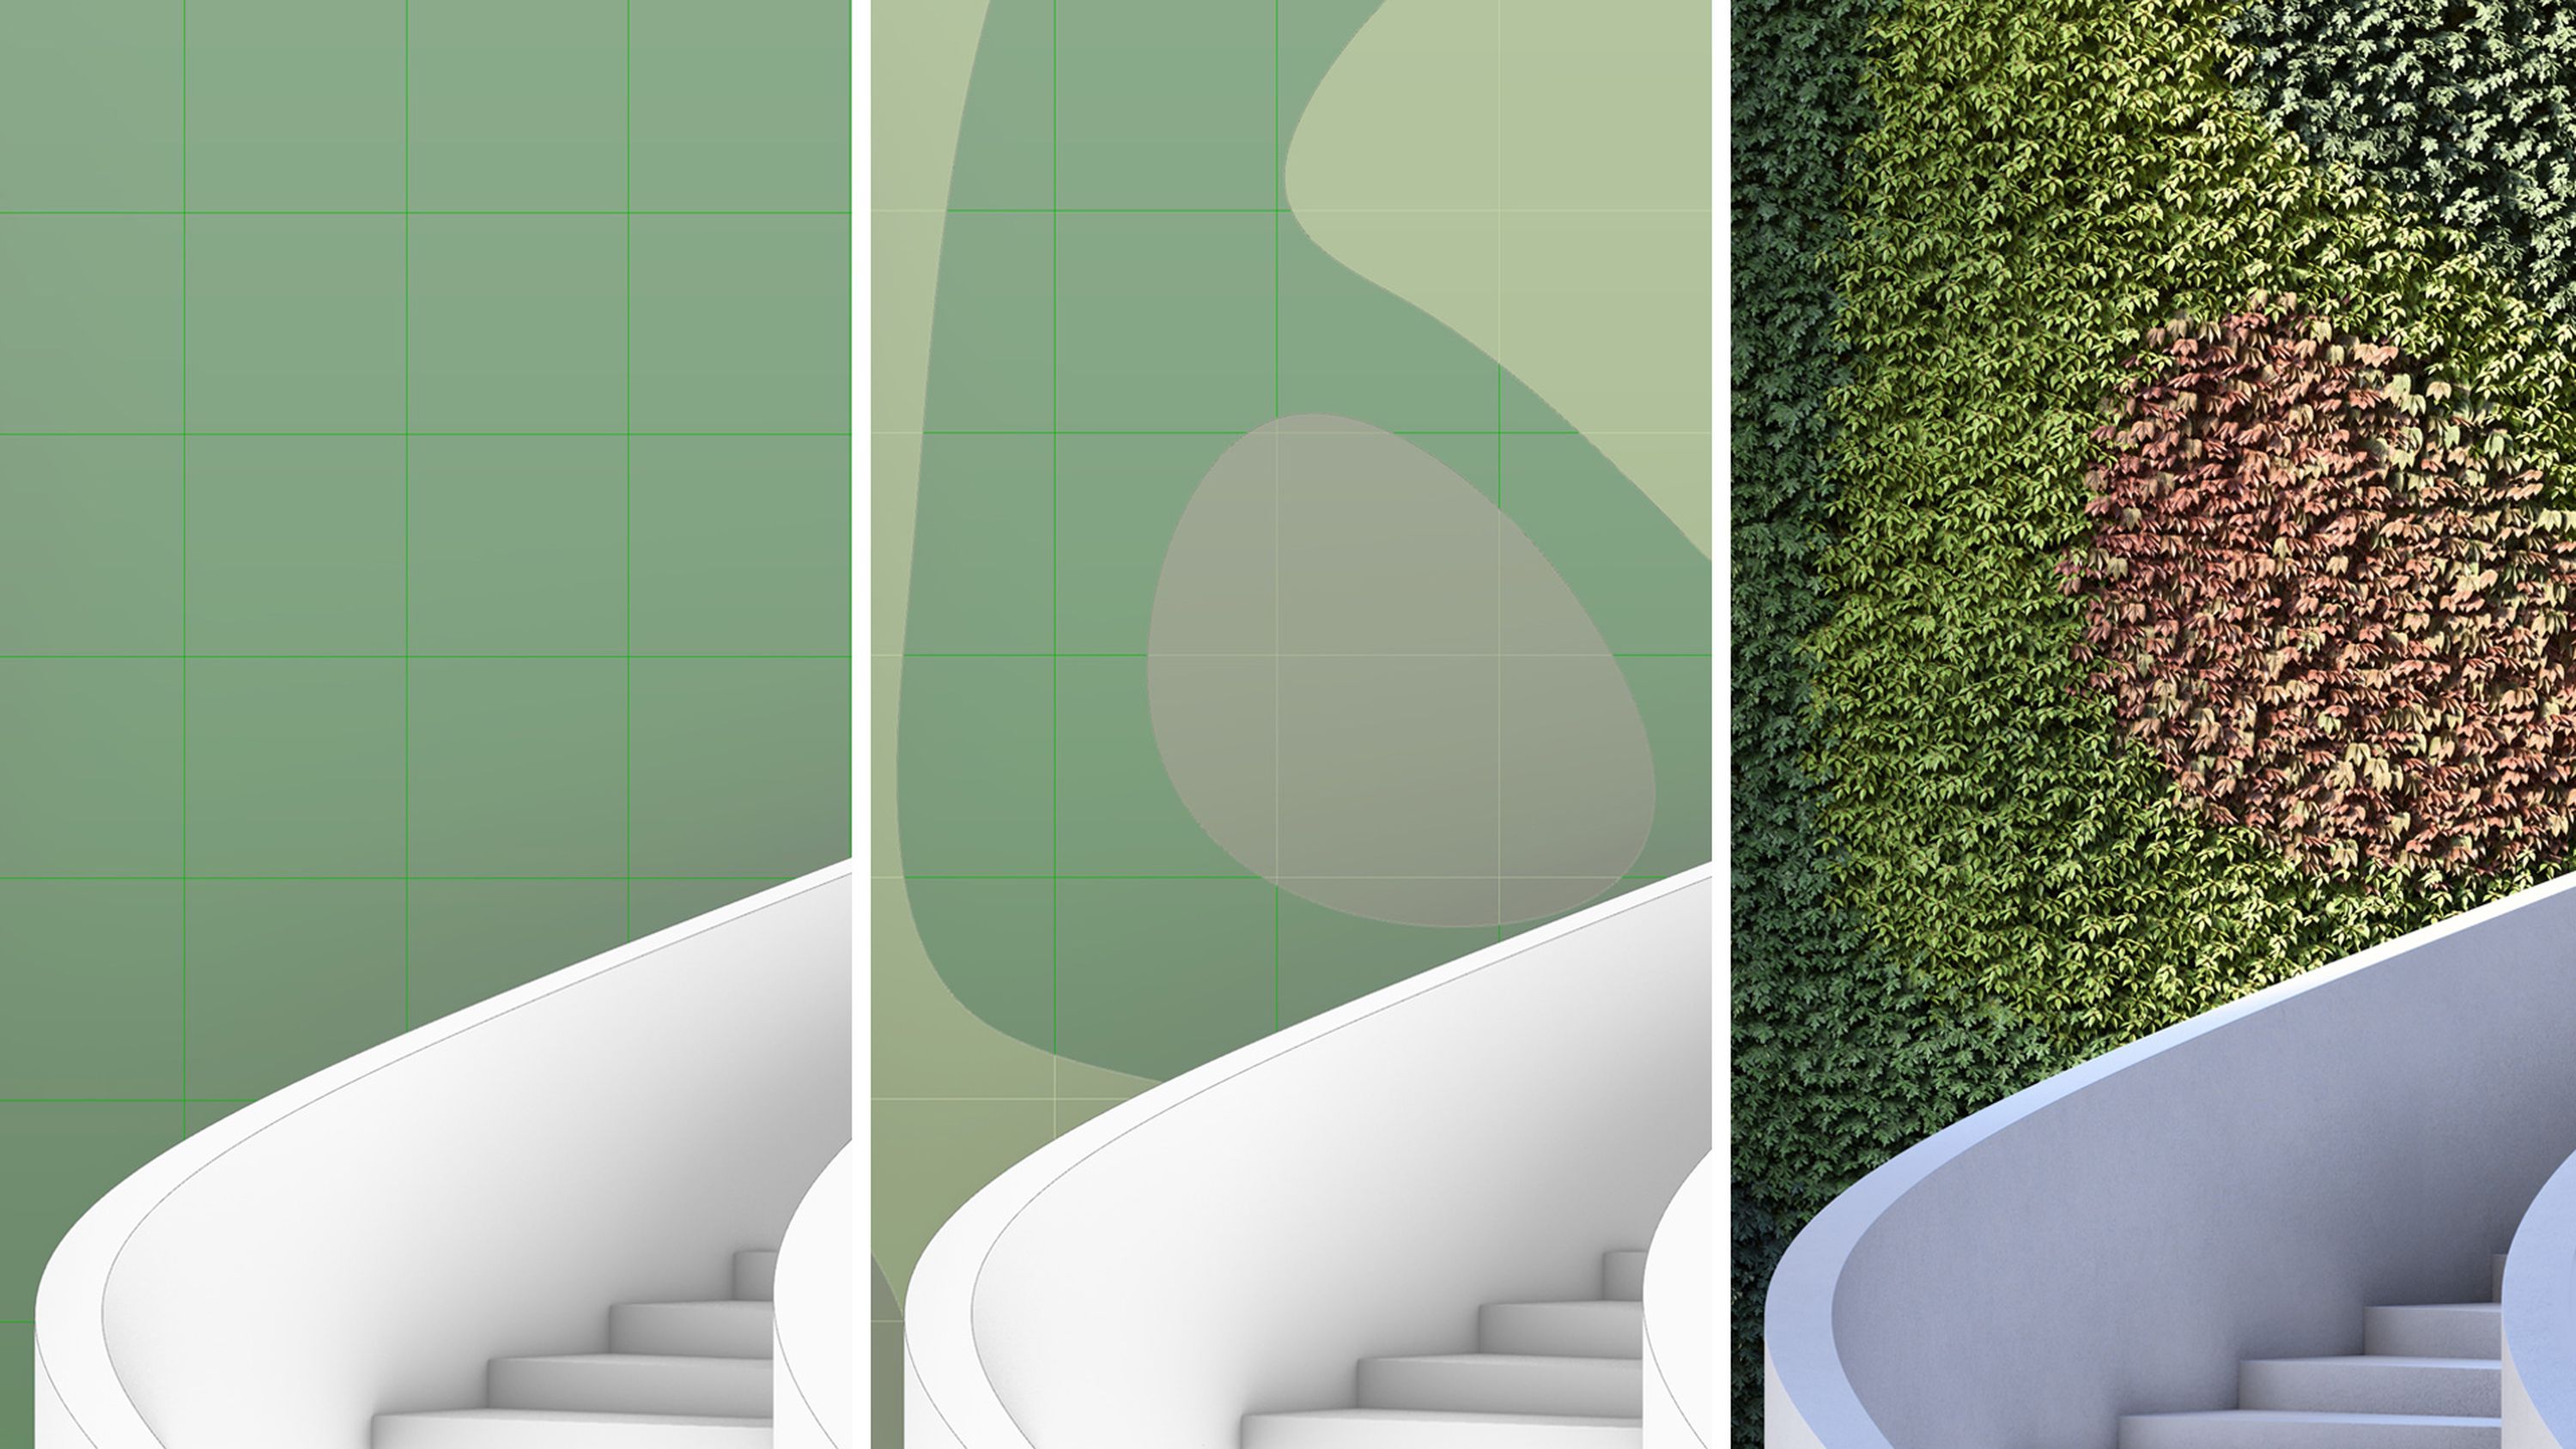
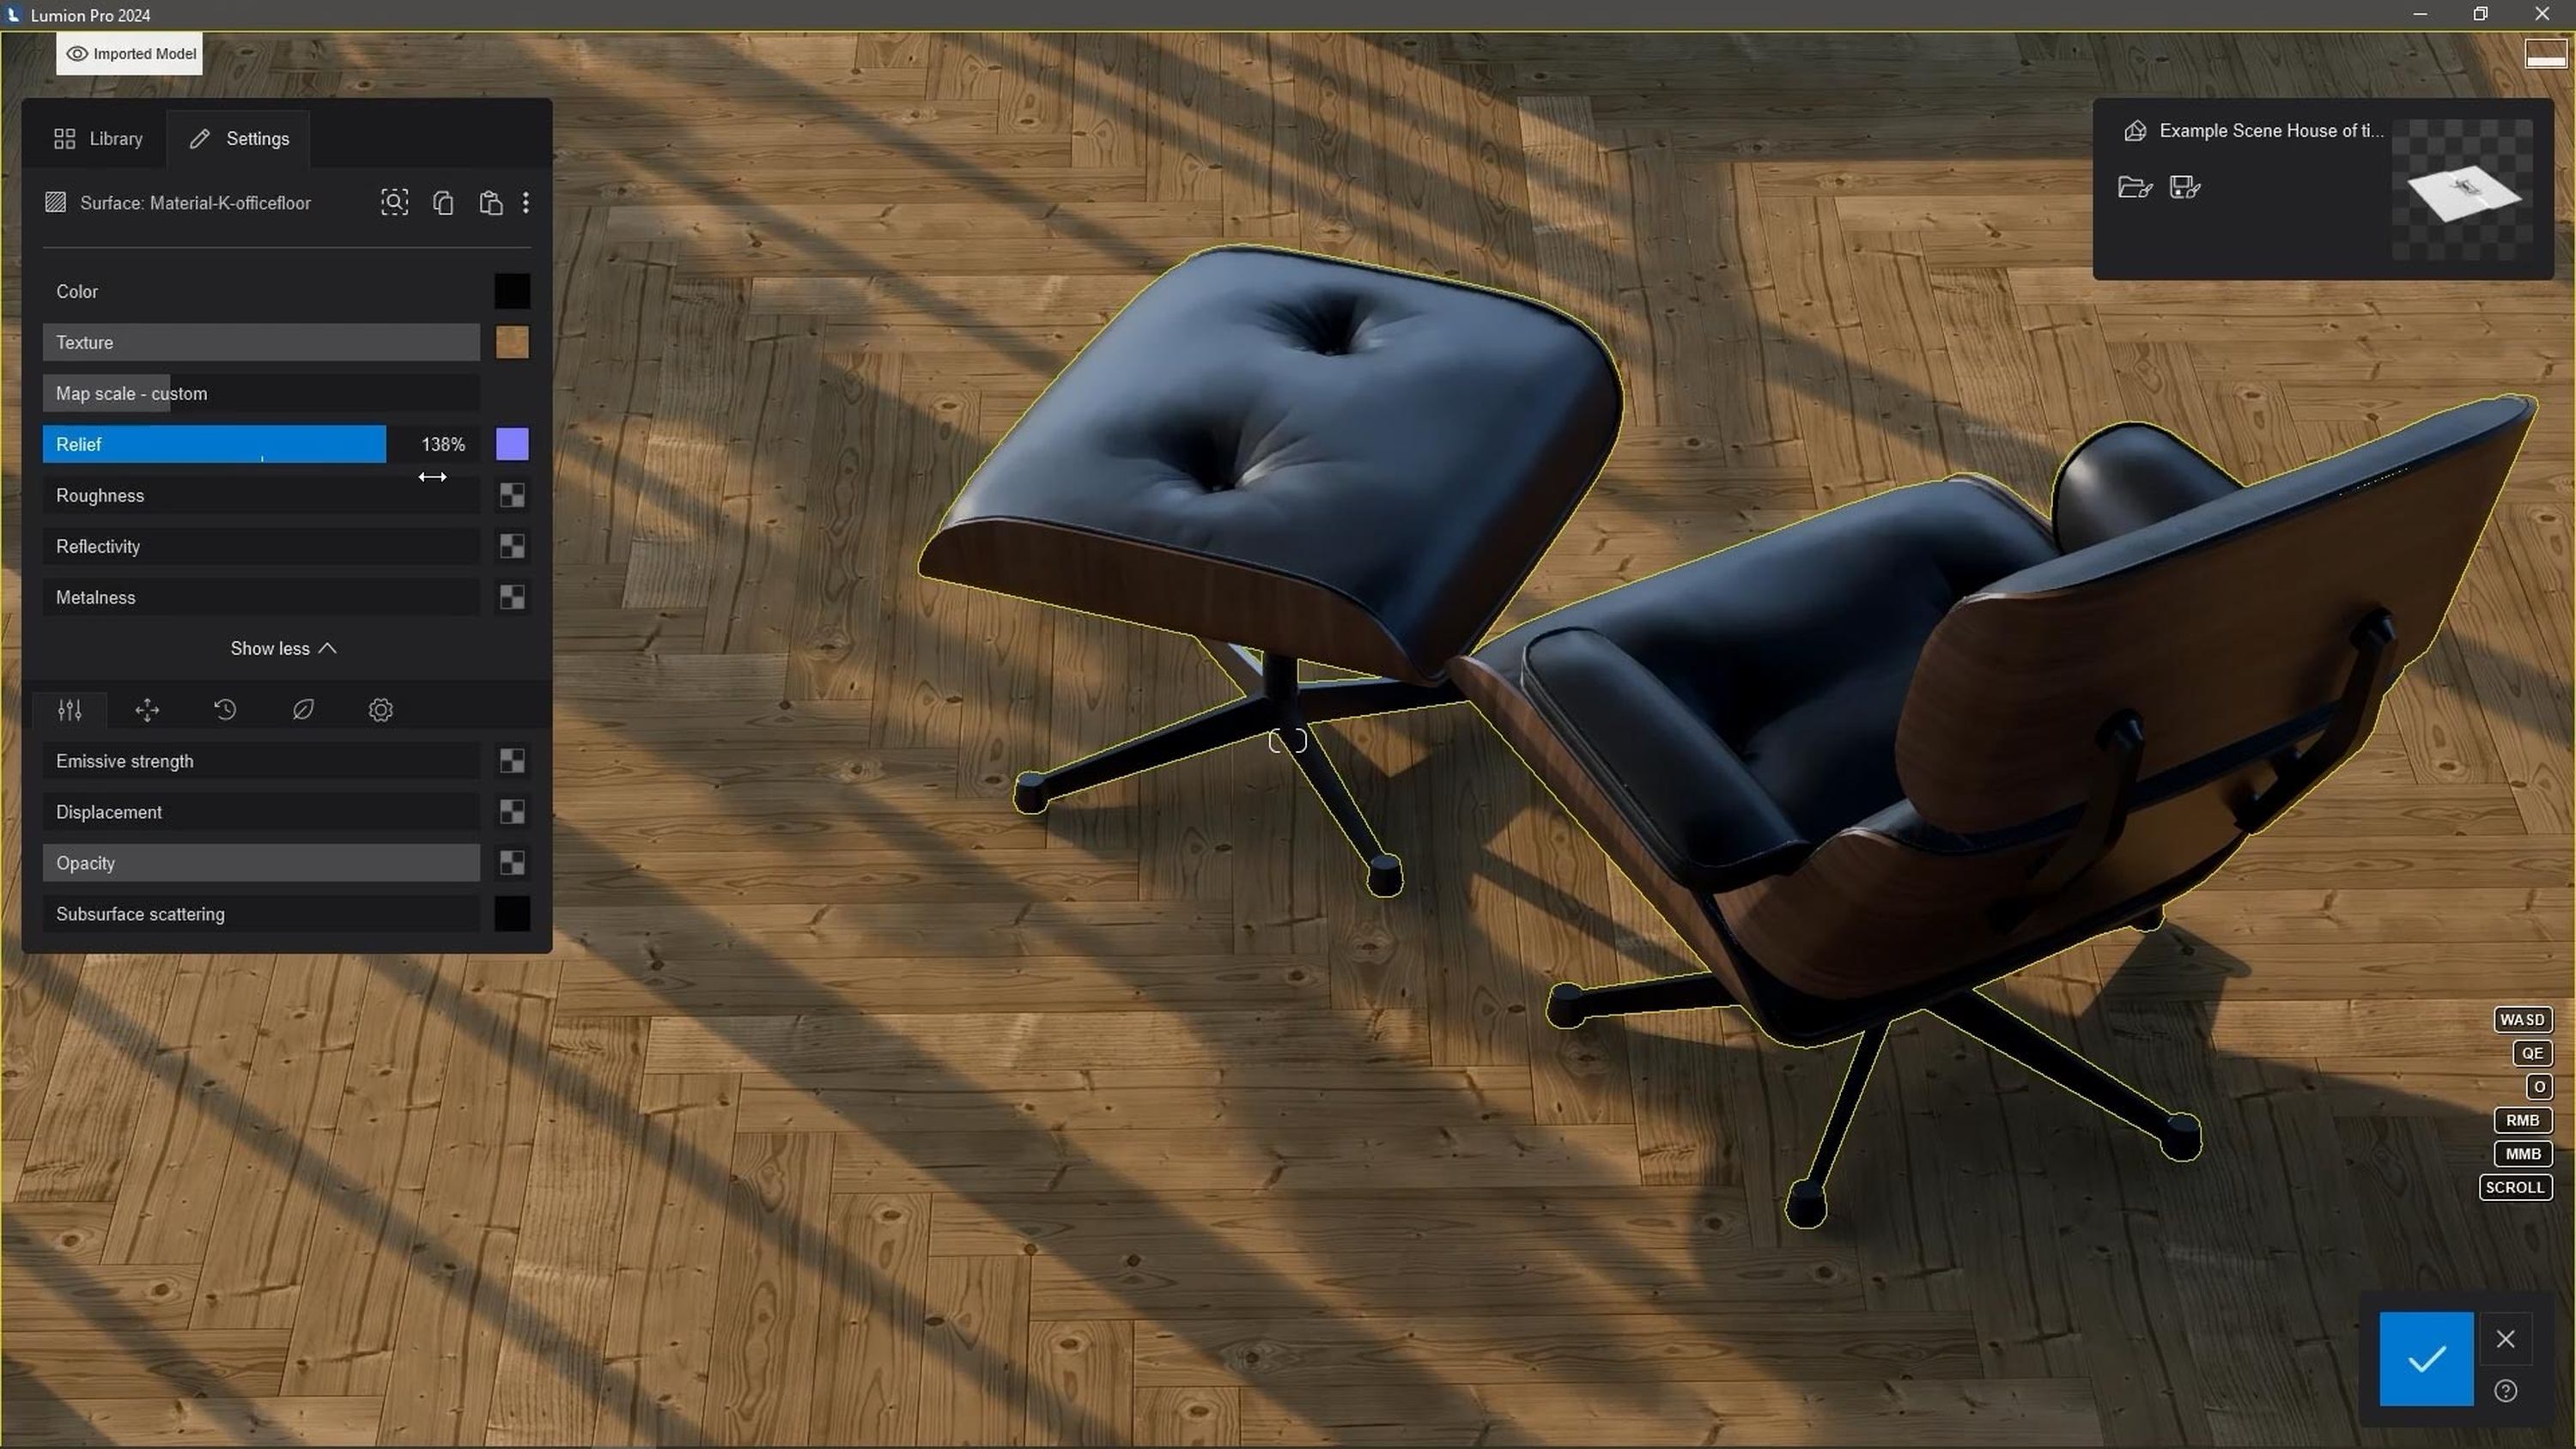
3. Add relief
Relief controls the bumps and dents on the material’s surface. To define the level of relief of your texture, simply load a normal map and adjust the slider.
With relief, light can respond to the unique characteristics of each surface as it would naturally, creating depth and realism.
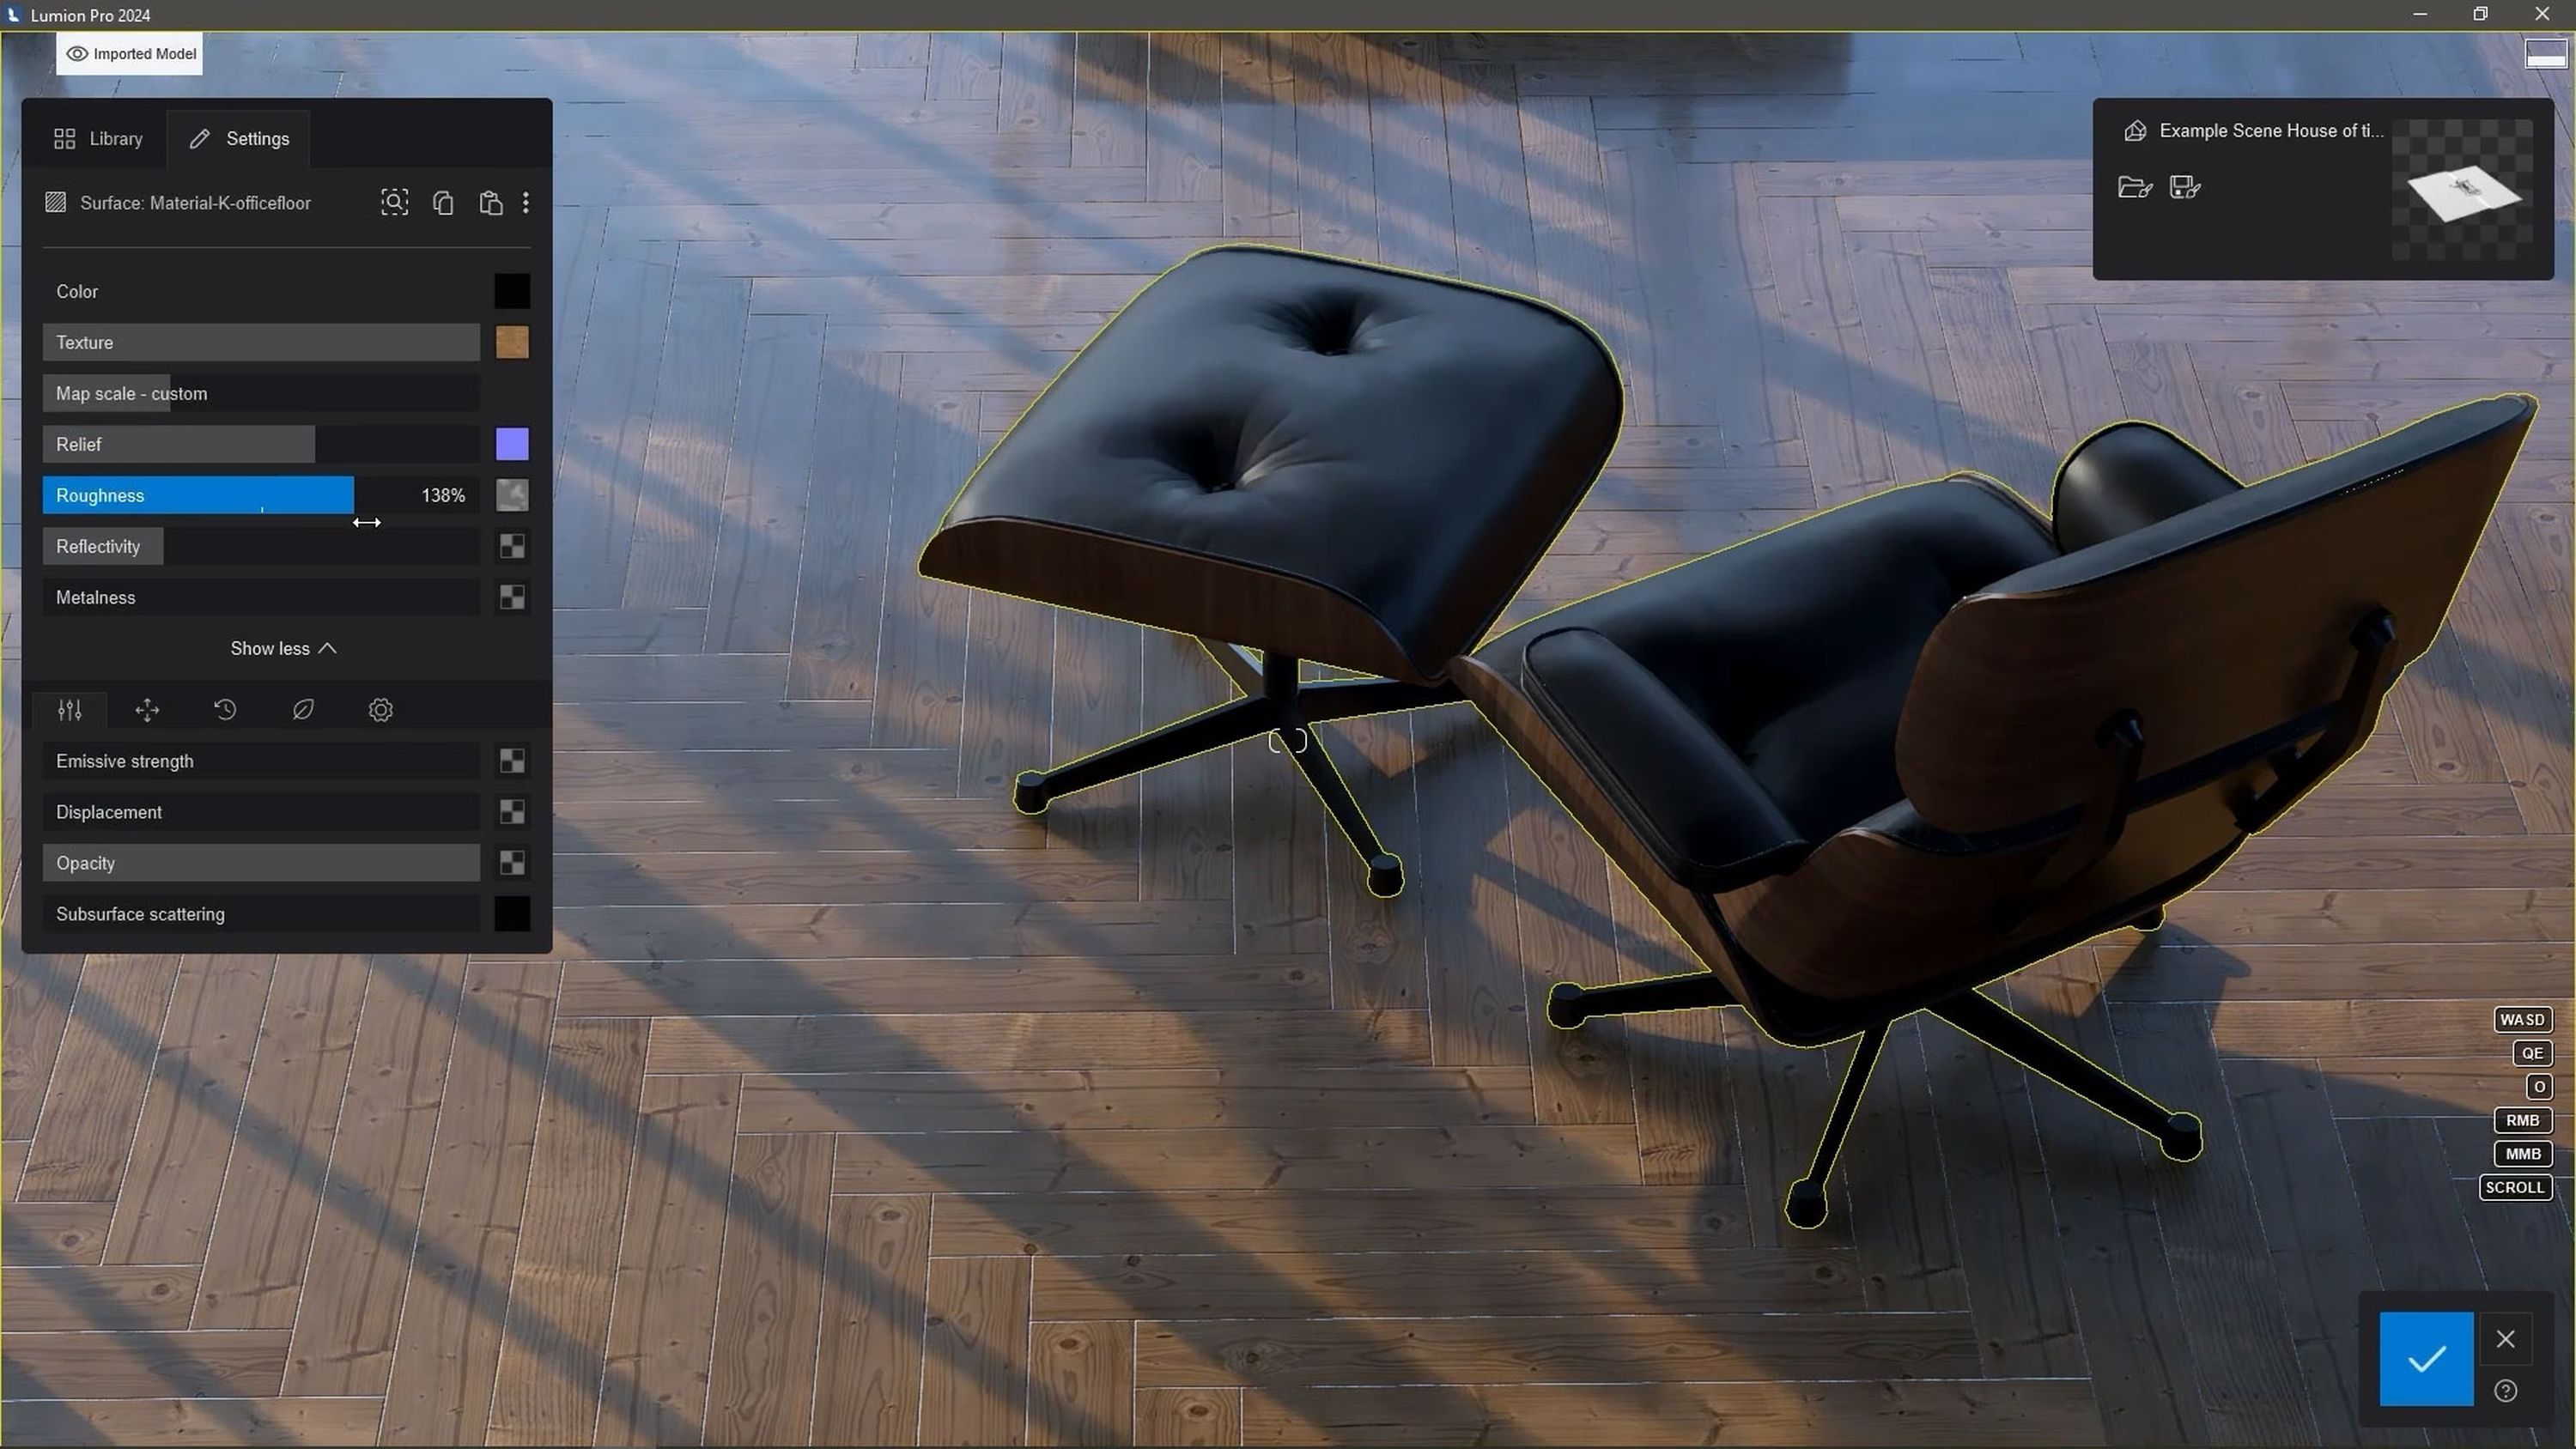
4. Adjust the roughness and reflectivity
Roughness and reflectivity are two of the most crucial adjustments we can make to our materials. Tweaking these two properties effortlessly adds much-needed character to a surface and removes the clean perfection of CGI. Take wooden furniture, for example – it accumulates scuffs and scratches over the years that become an integral part of it. These nuances help ensure your renders are as authentic and relatable as possible.
You can easily control how rough or smooth your texture appears with the Roughness slider. All you have to do is load a Roughness map then set the slider to your desired point. If you have a Gloss map, that works too – simply invert it by clicking the three dots next to the load icon.
The Reflectivity slider controls where the material’s reflections appear stronger. Use the Reflectivity map and slider to achieve the precise look you want.
5. Incorporate weathering
At the bottom of the material editor panel, you’ll see a Weathering option. The Weathering strength slider adds aging and weathering effects, dirt, worn edges, moss, and rust to your materials. These elements help build the connection between our imported 3D model and the digital world we've built in Lumion. Even the most subtle weathering can have a noticeable impact on the realism of a render.
Start by selecting a Weathering type that matches the material you’re using, then adjust the slider accordingly.
The types shown in Lumion are just a guide to get the most accurate weathering for each surface; they can actually be used however you like. The plastic weathering type works on walls and floors for a sun-damaged effect. Metallic weathering types suit desert or dirt environments, with rust mimicking dust or dirt. And stone weathering effectively emulates porous damage on concrete.
6. Soften the edges
In the world of 3D, perfect edges are the default. But in the real world, there’s no such thing.
Take a look at any object and inspect its edges. You'll notice that, to some degree, they have a curvature. Even the edge of the sharpest blade will have some degree of rounding.
Since most 3D modeling software doesn’t automatically create rounded edges, it’s important to apply some softening to your surfaces in Lumion.
By clicking the Settings tab to the right of Weathering, you’ll see the option to soften the edges of your material. Simply adjust the slider to try it out – a low value is recommended for general use. When using it with wood or stone, a larger radius can be applied.
True-to-life translucent materials
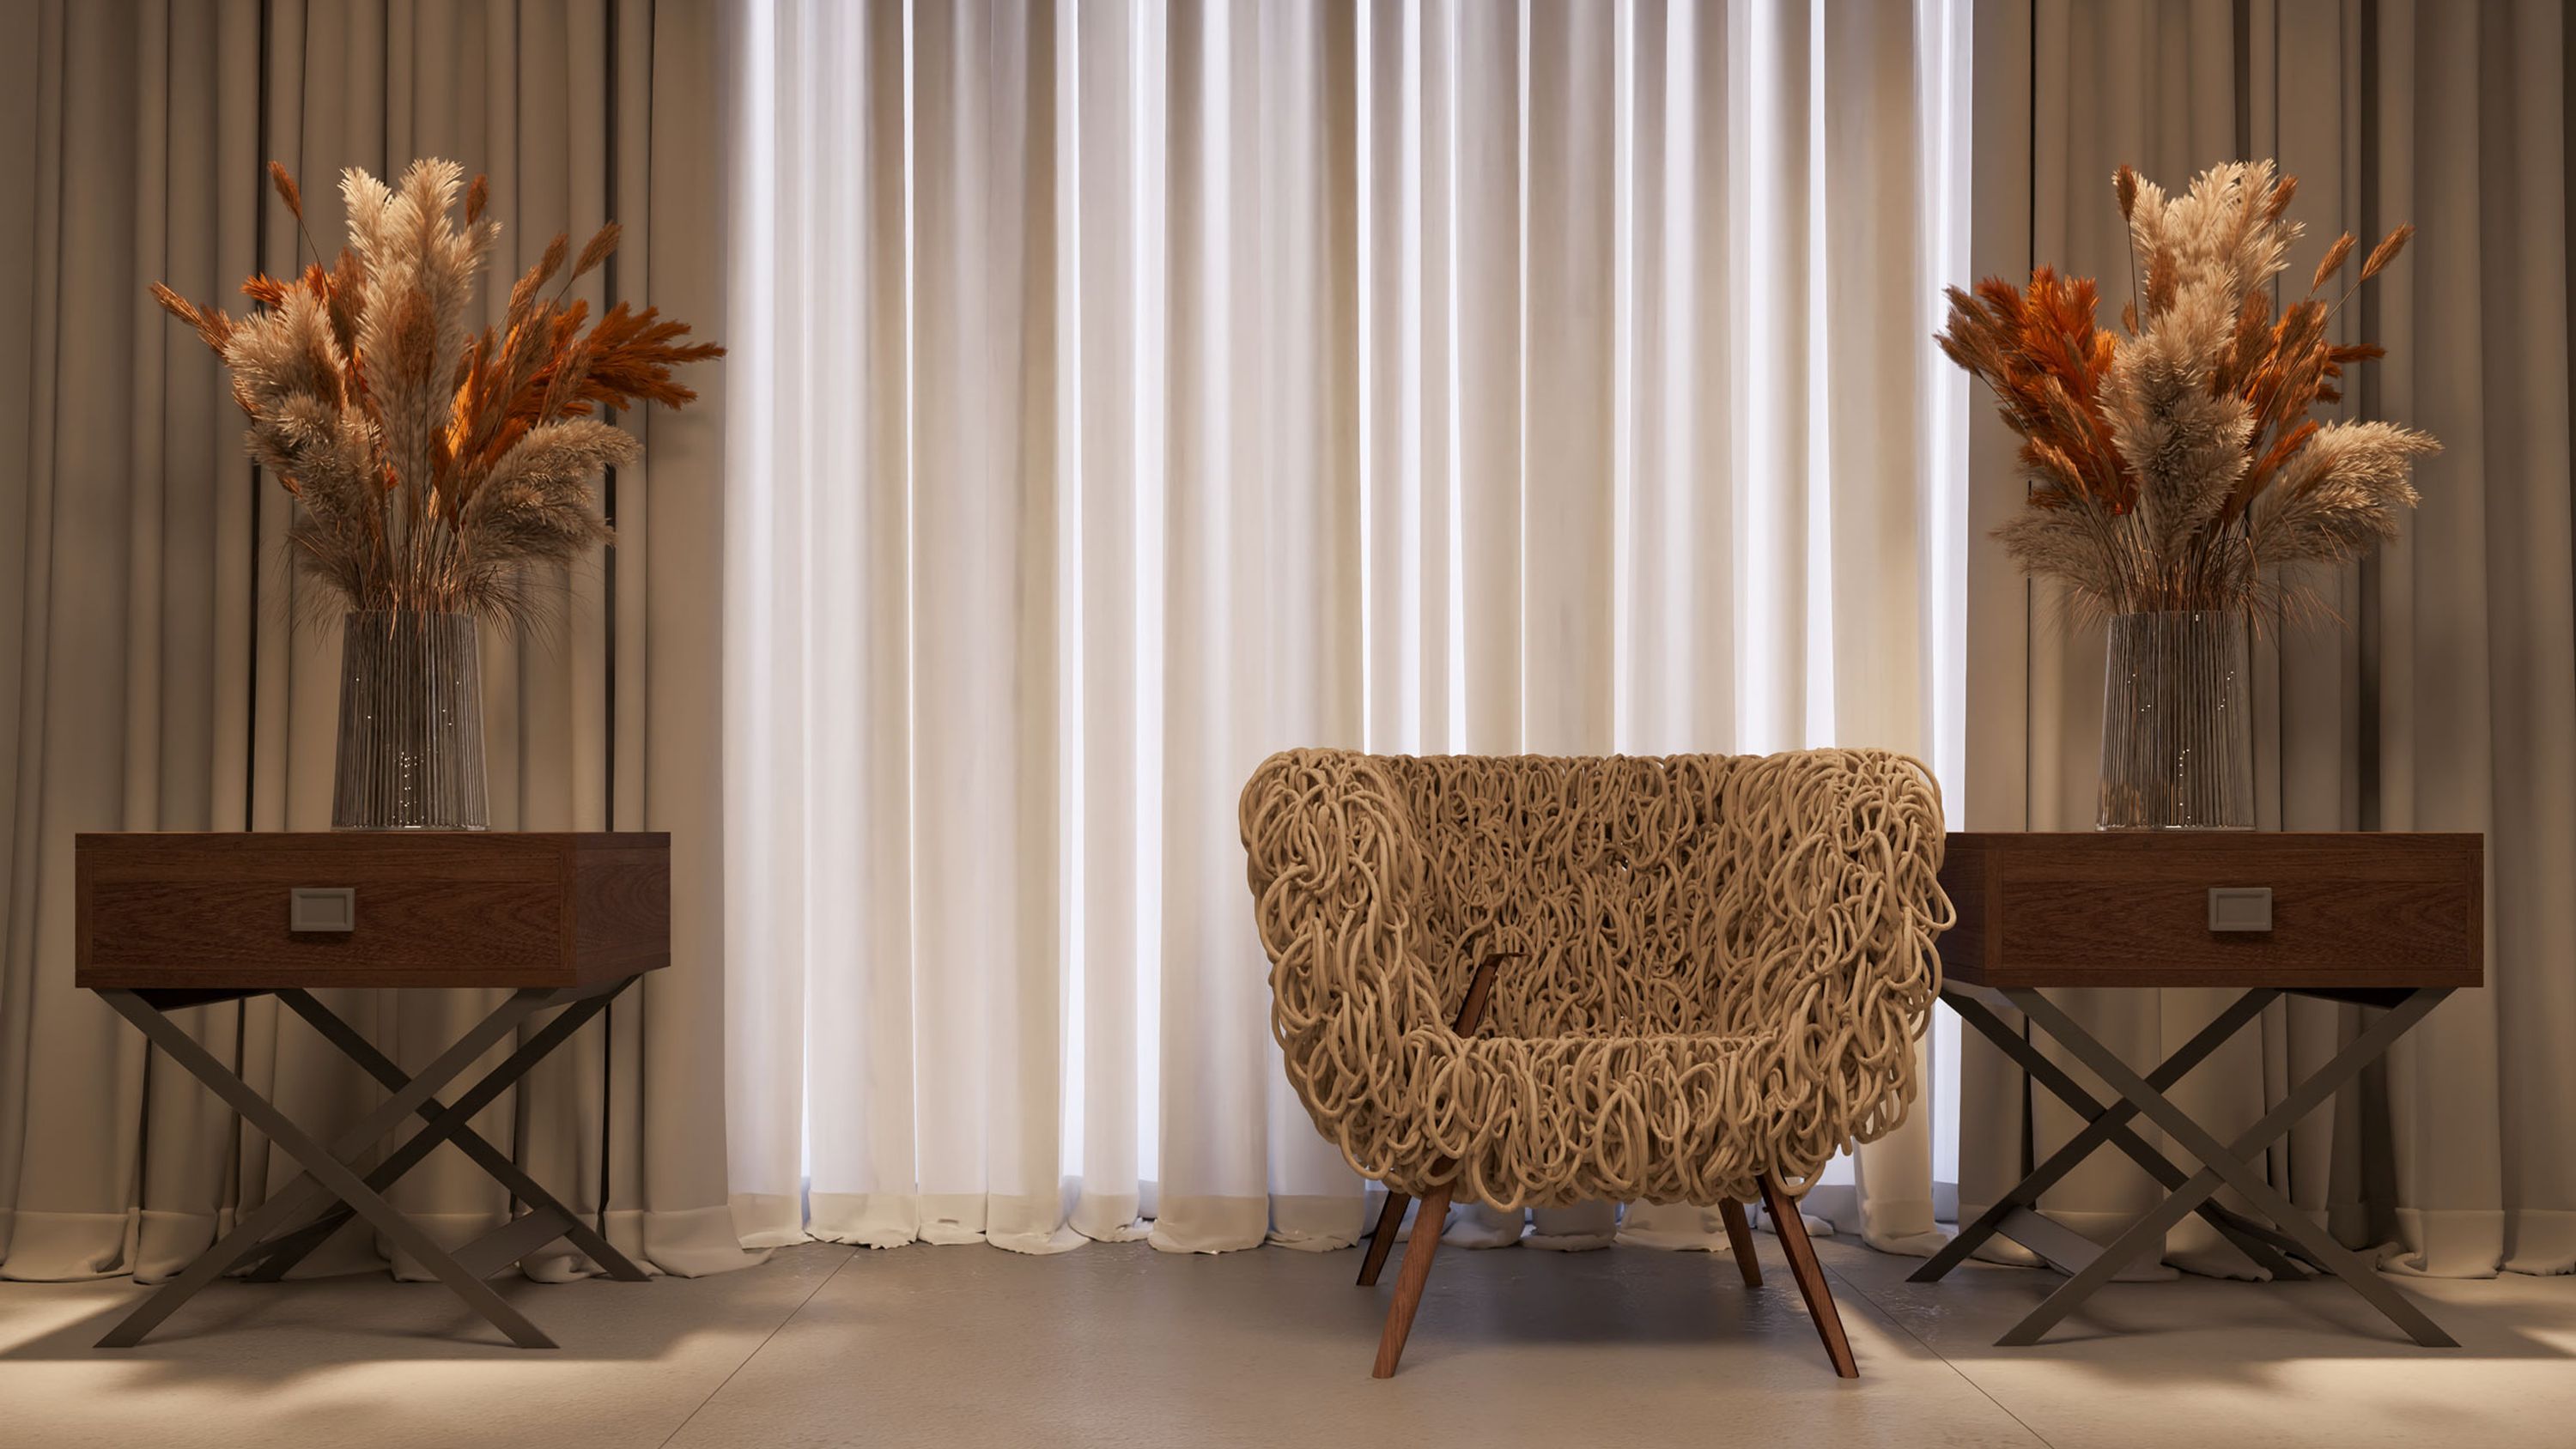
Lifelike translucent fabrics and materials bring instant depth and complexity to a render. By accurately simulating how light interacts with them, scenes become even more immersive and inviting.
The Lumion material editor lets you tweak how much light passes through your chosen material using the Opacity and Subsurface scattering sliders.
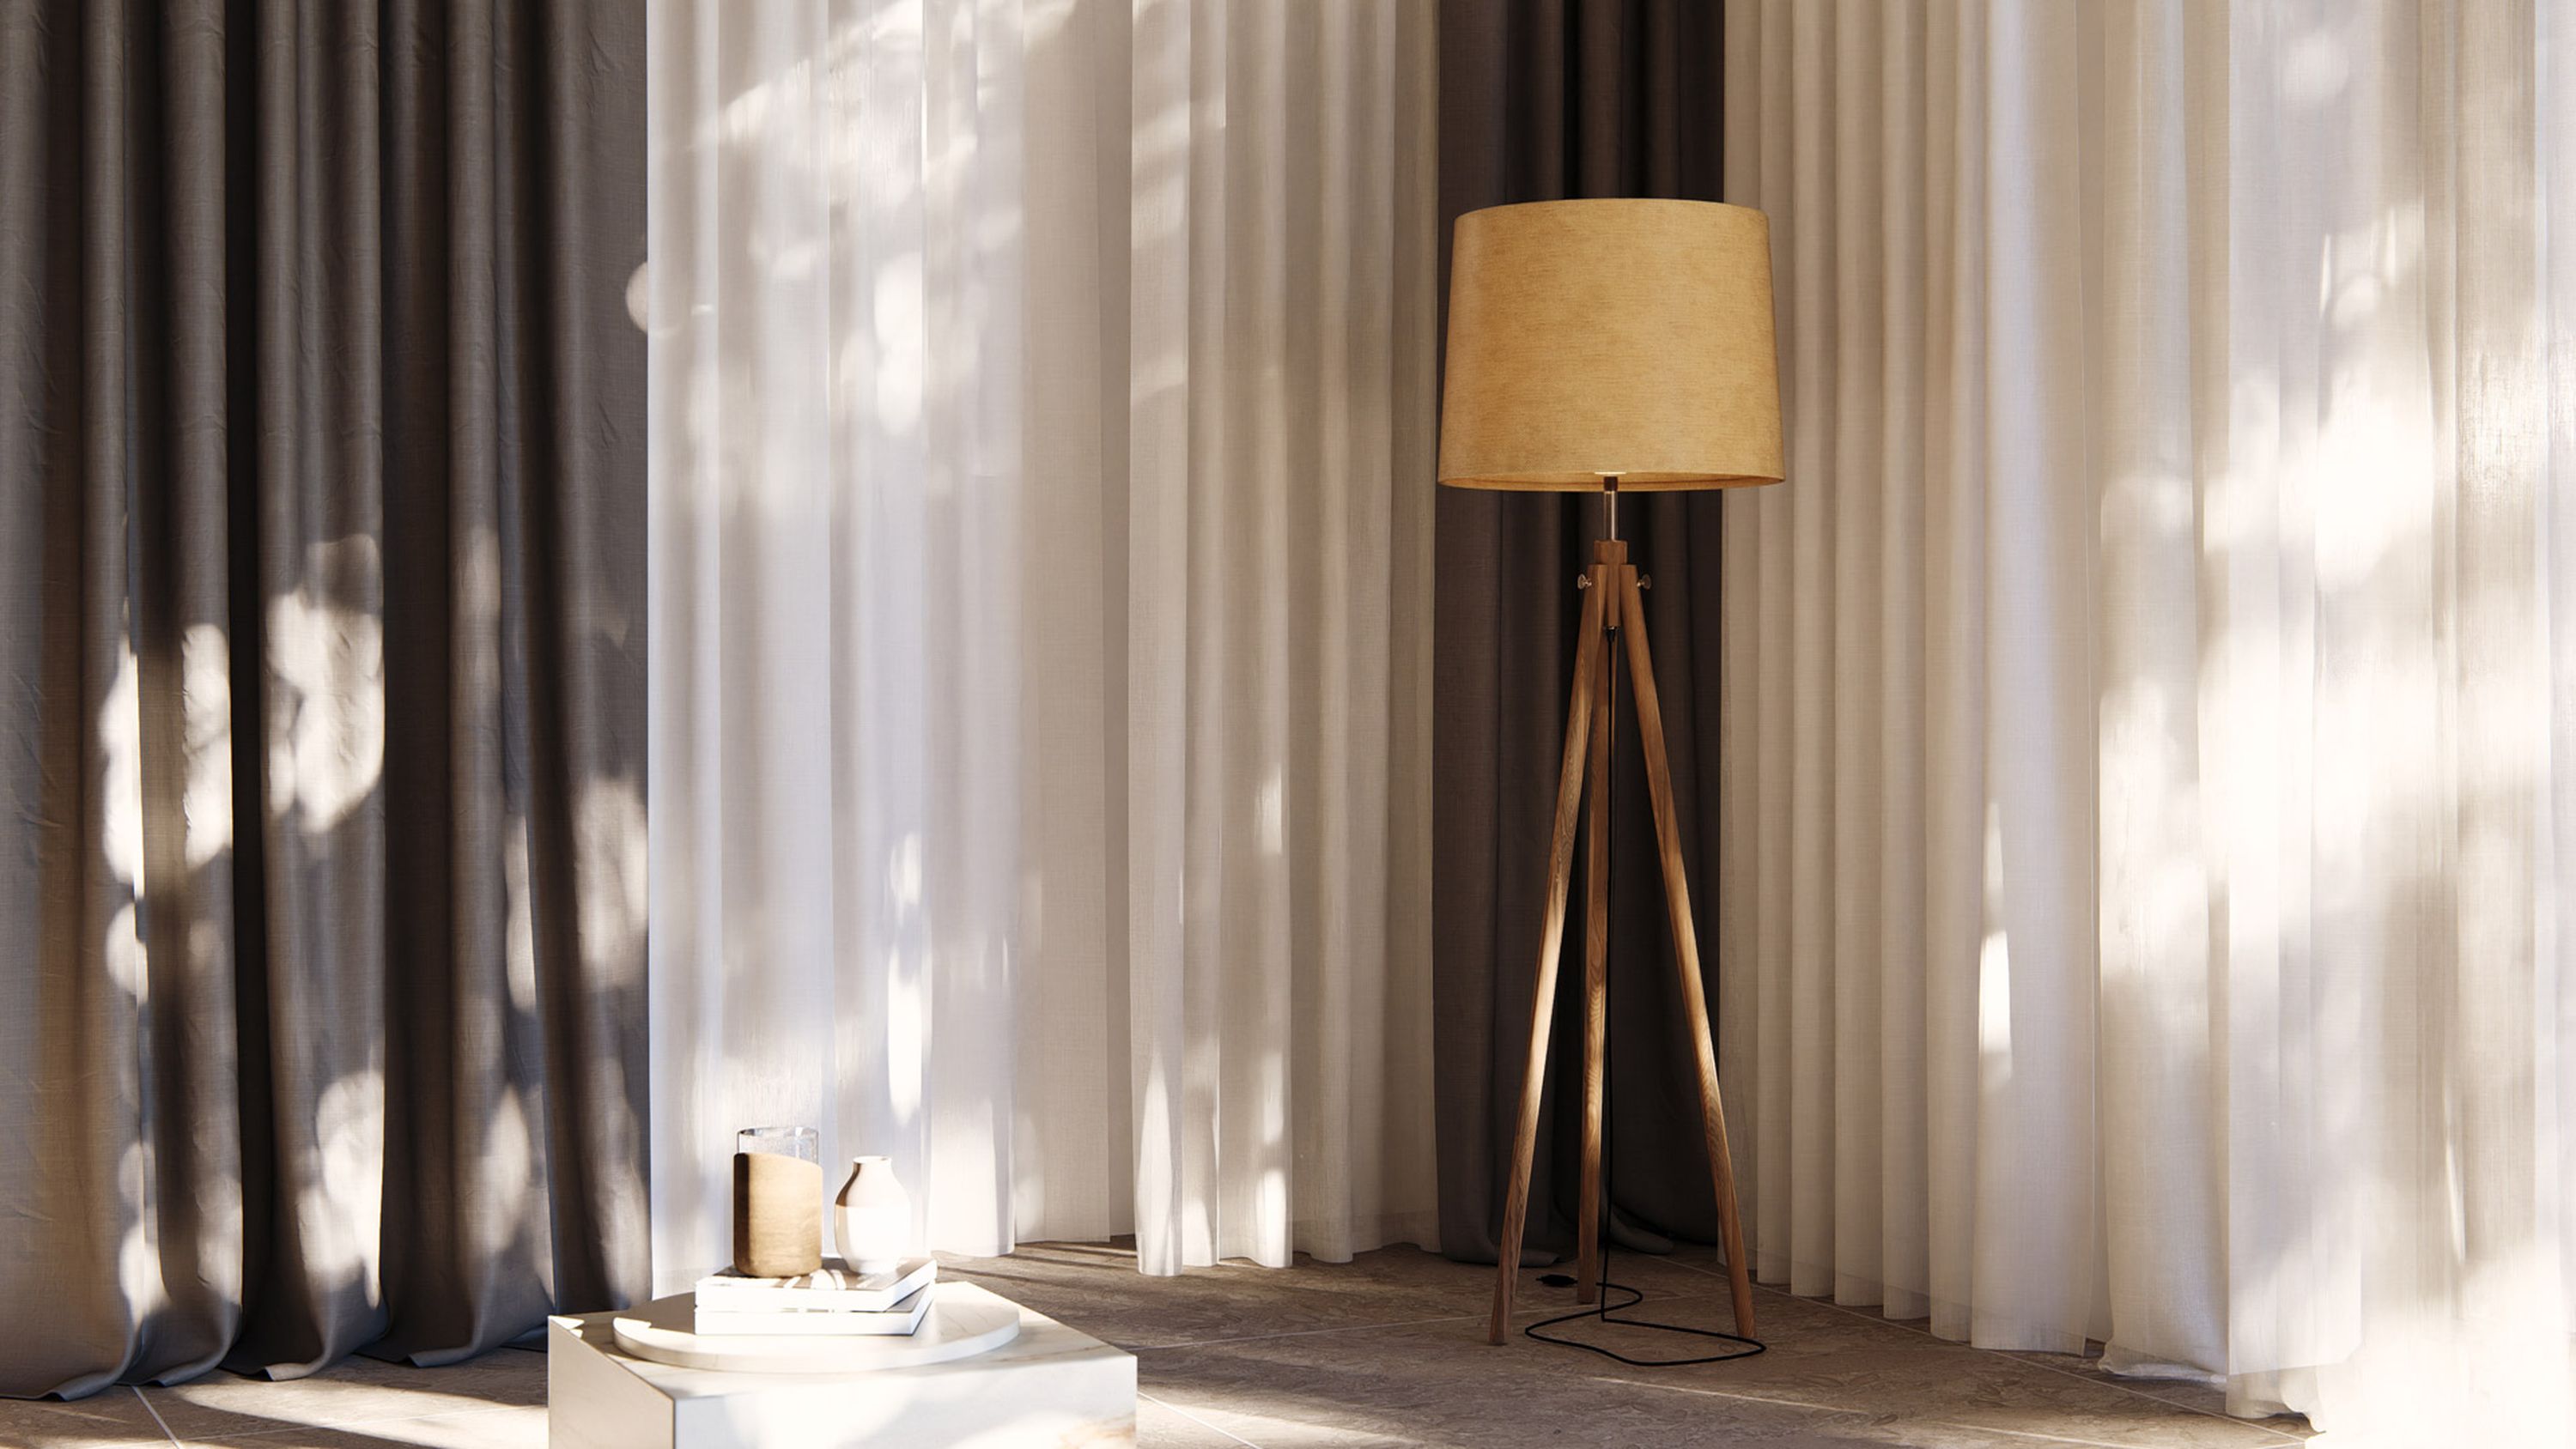
By increasing the subsurface scattering and decreasing the opacity, you can achieve mesmerizing effects such as light spilling through translucent curtains.
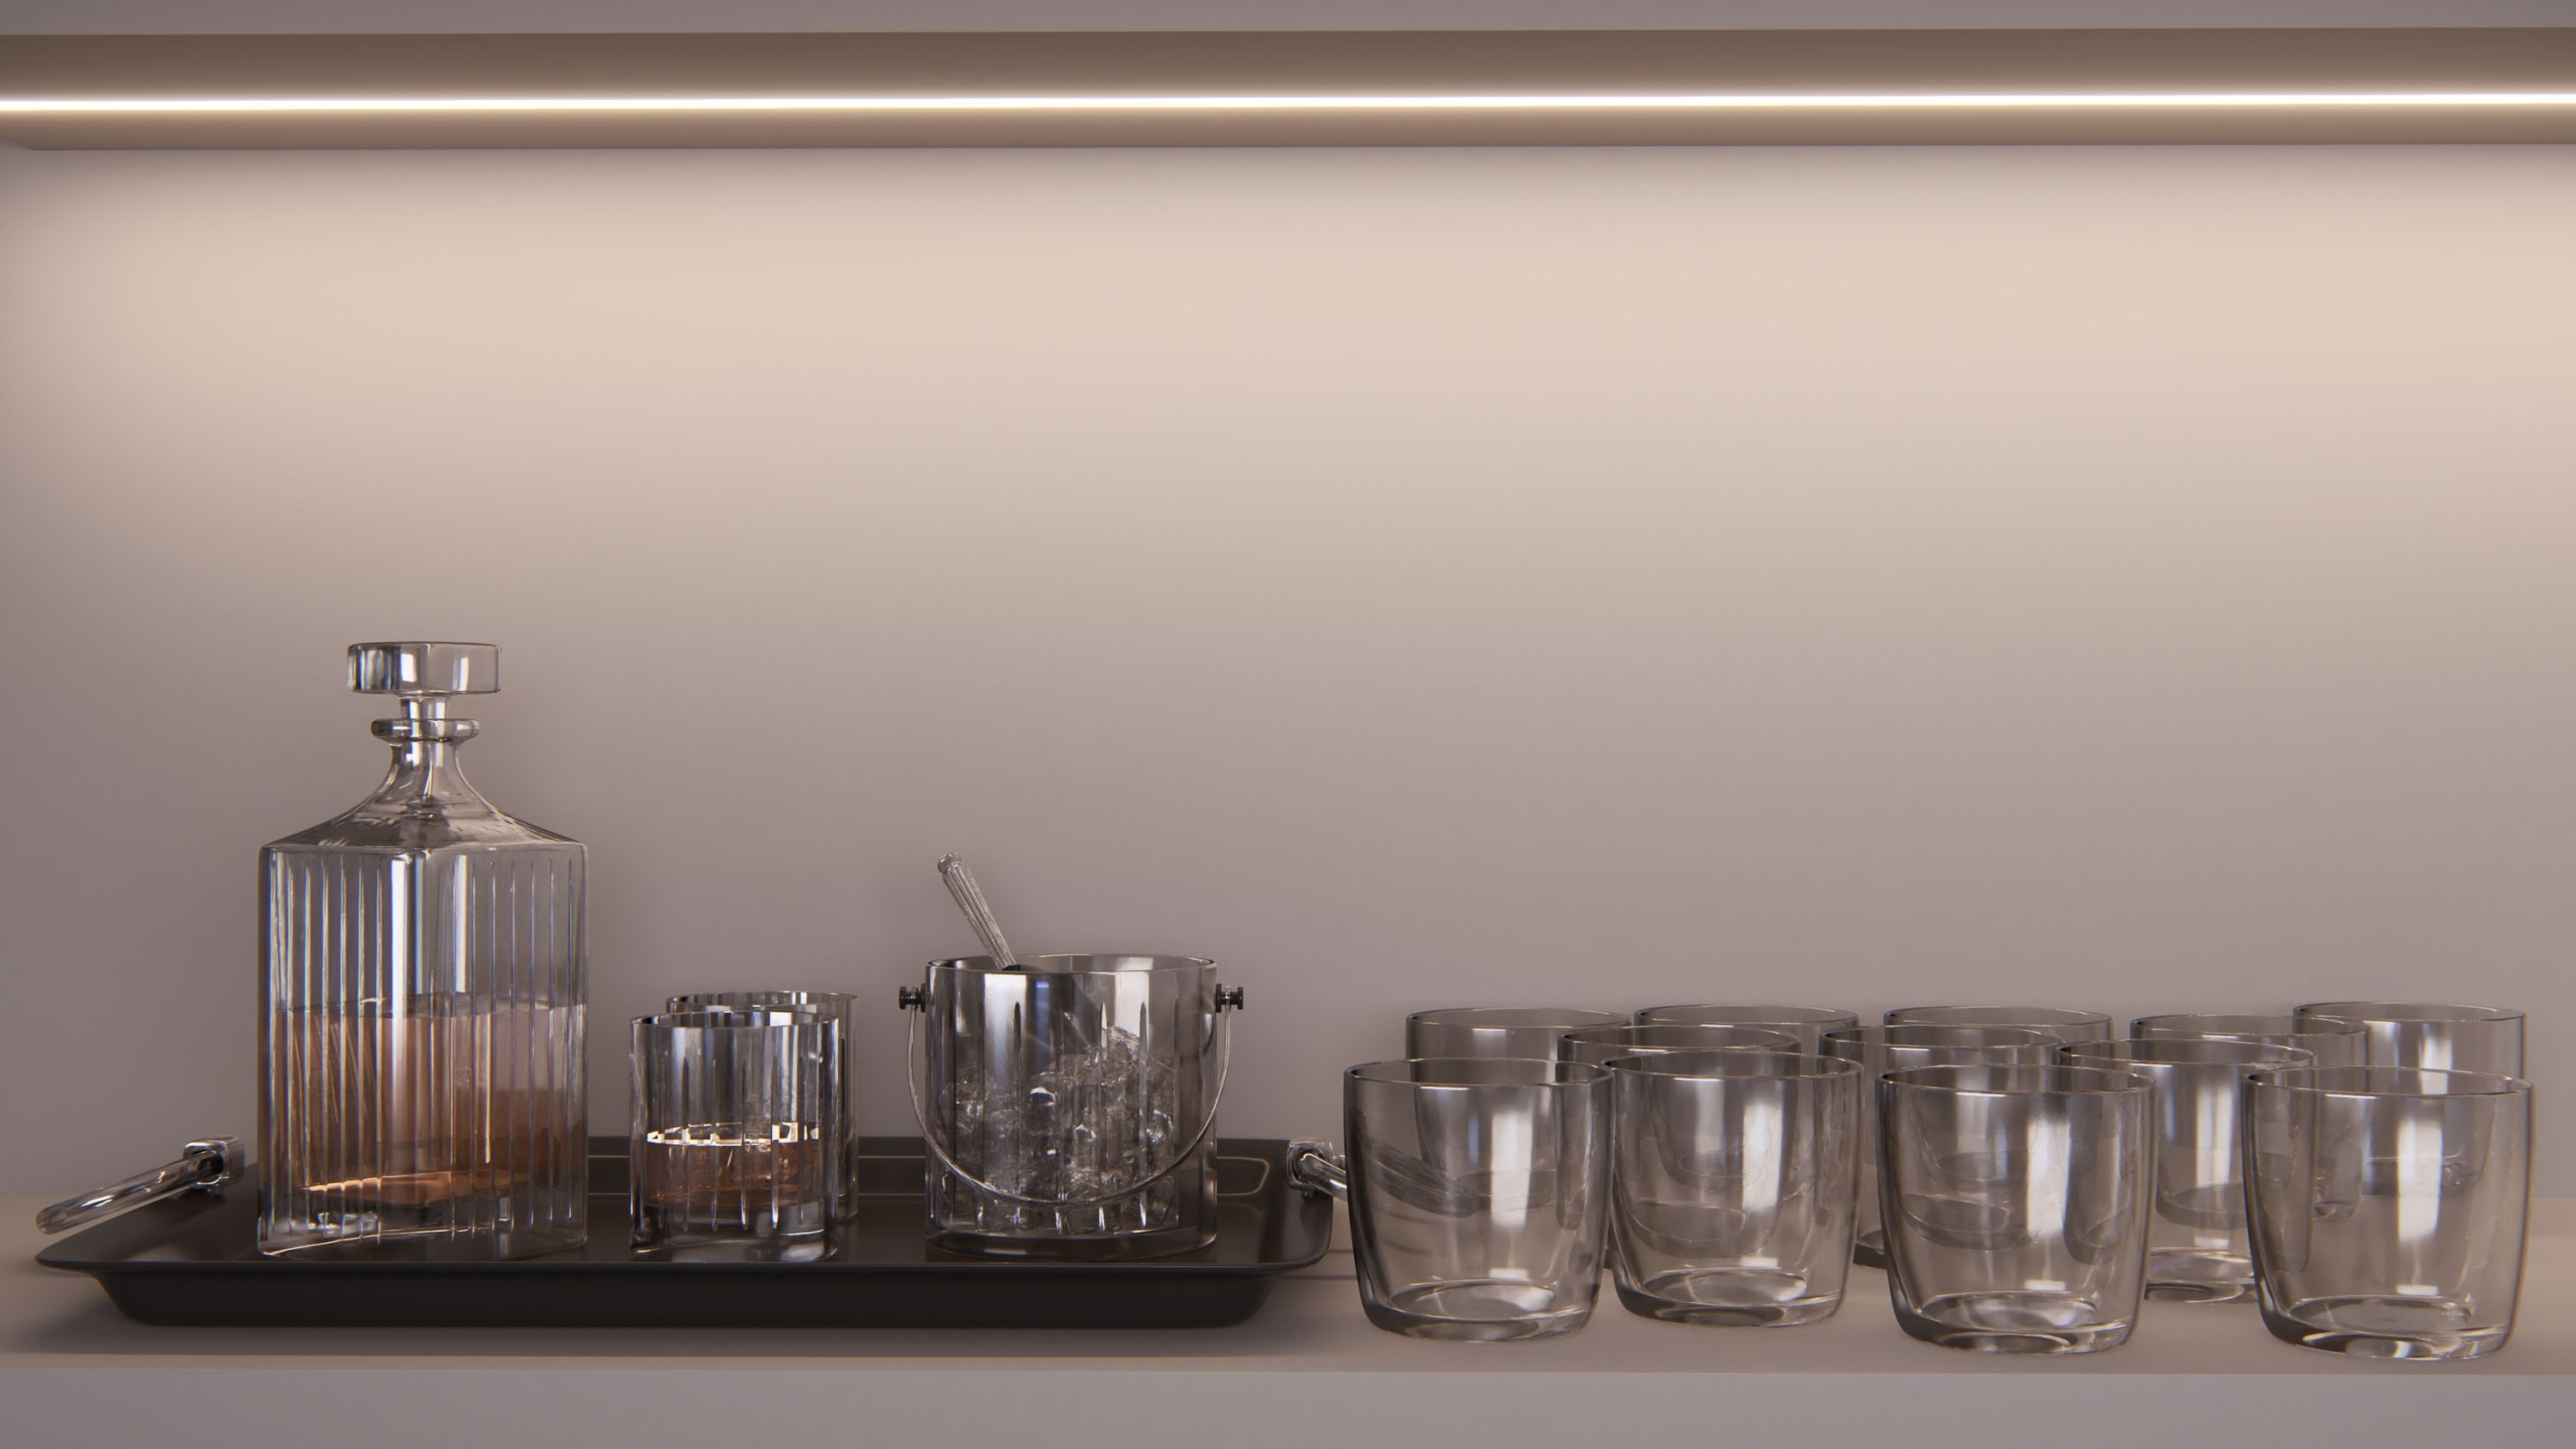
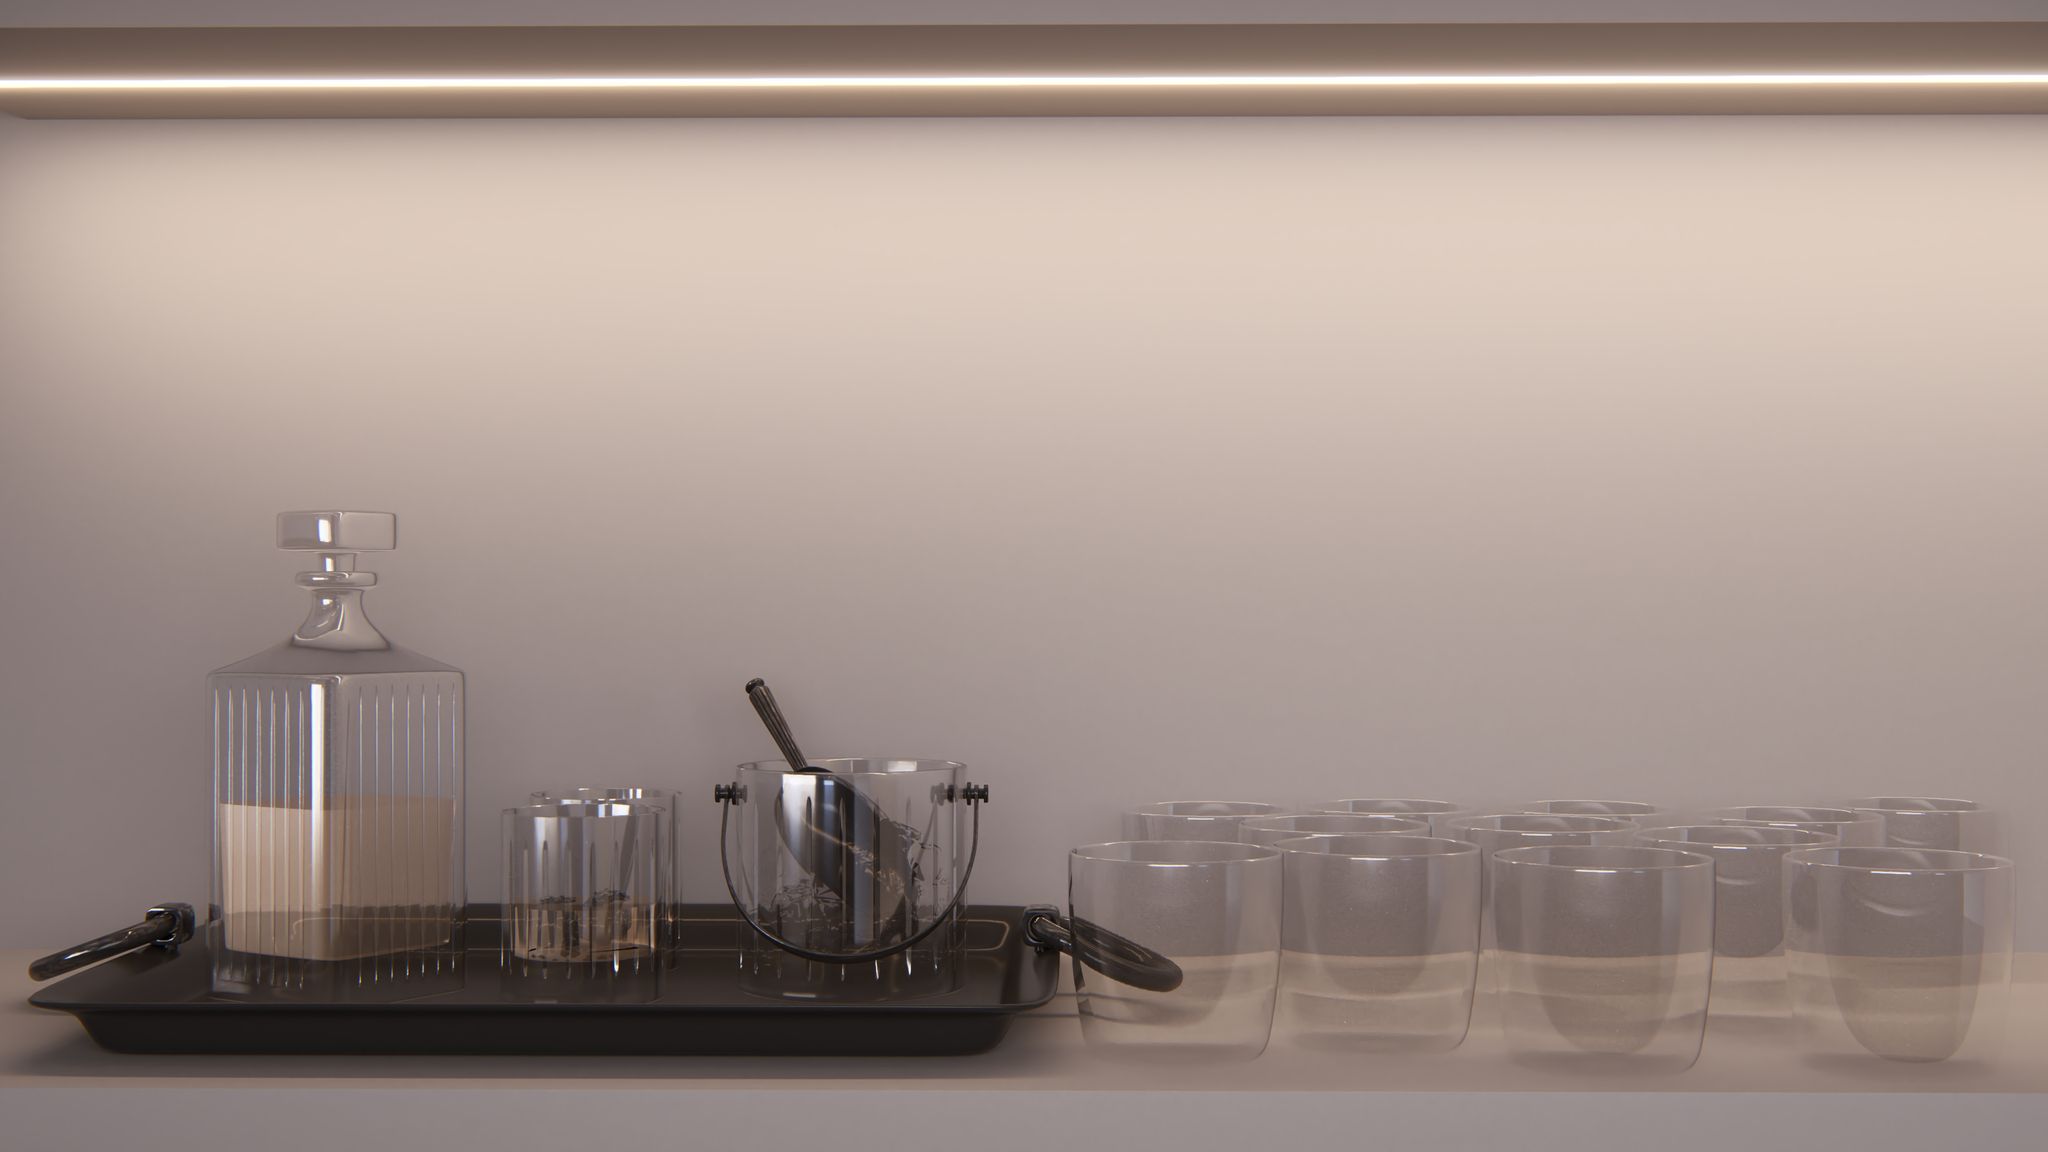
Glass that reflects reality
Glass is another material that, when done properly, makes a render truly shine. There are a number of ways to make your glass as realistic as possible in the materials editor, including distortion, absorption, and color settings, which also produce colored shadows!
The Fully ray-traced glass toggle is especially useful for more complex glass objects. When activated, glass items appear real enough to touch, with natural-looking shadows and reflections in all the right places.
Made a material worth sharing?
Show us your creations by sharing them on the Lumion Community! Alternatively, catch our attention by tagging us on social media – use the hashtag #madewithlumion.
If you don't have Lumion, remember you can get a free 14-day trial now and put this guide, and more, to the test.