5 essential tools for faster asset placement
Save time populating your scenes with these features
Arrange assets with ease
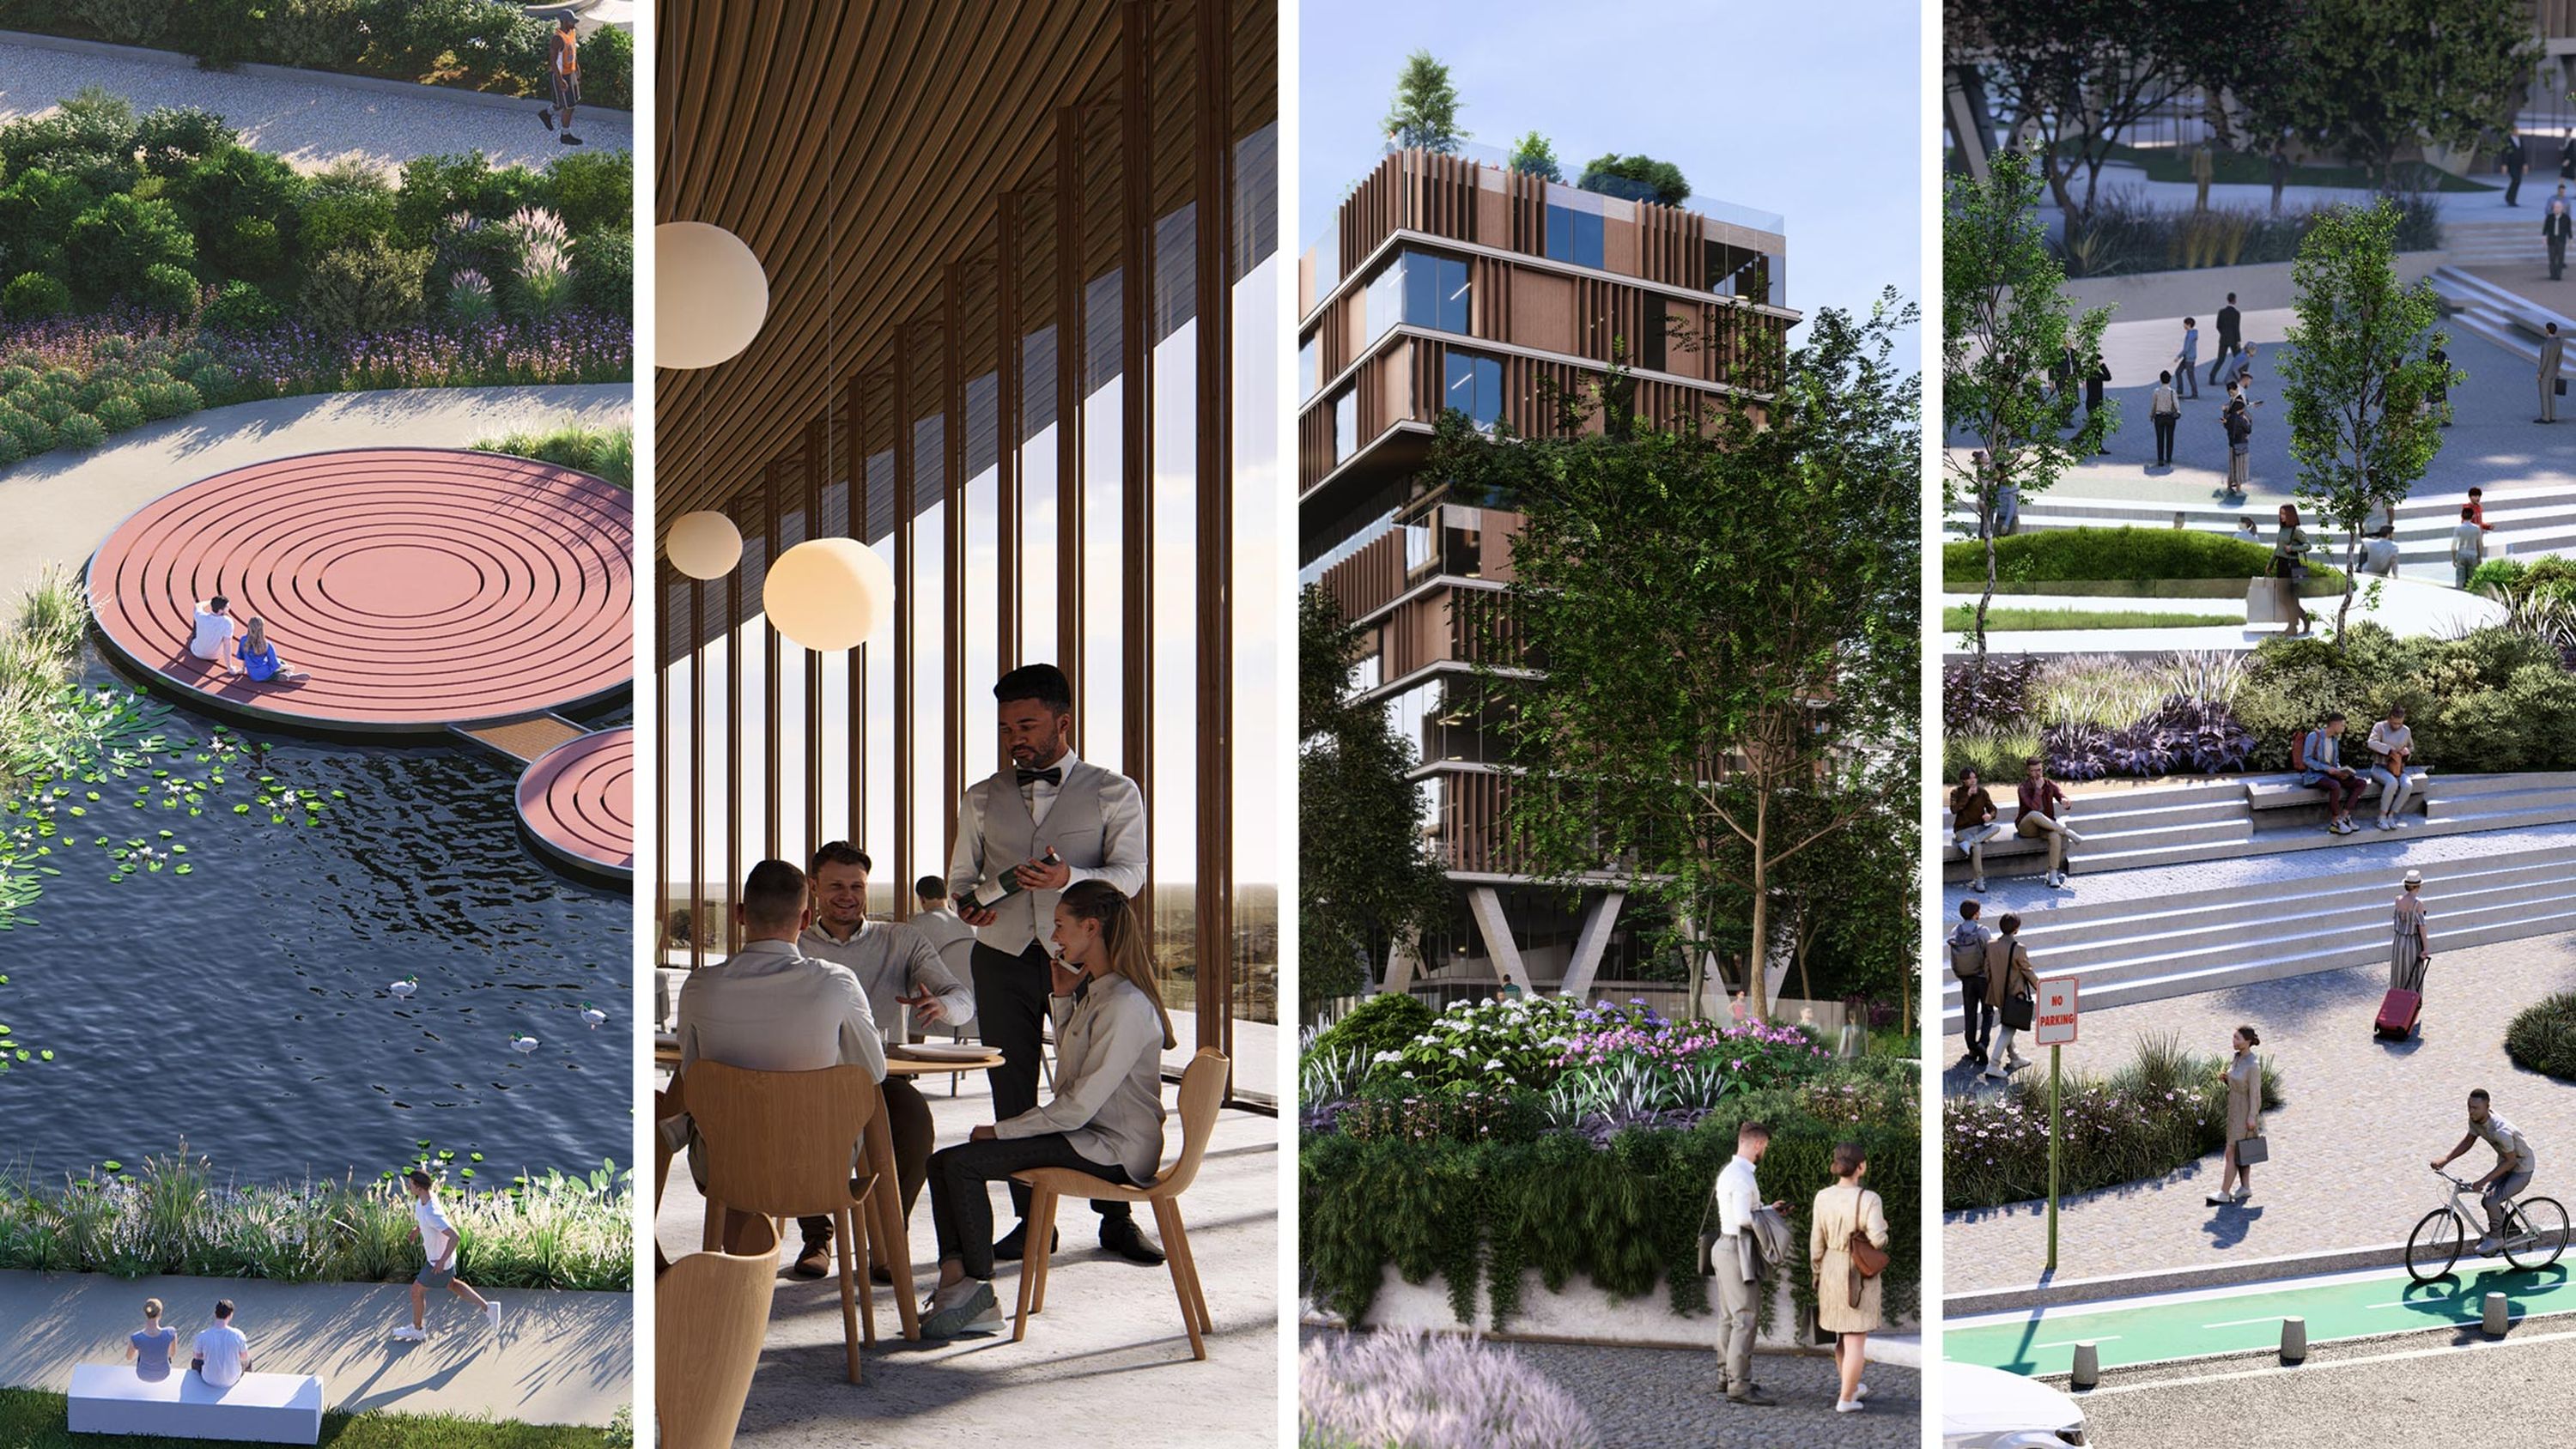
When creating renders of your designs, time-saving techniques are invaluable. Tools that let you quickly place and seamlessly manipulate assets can significantly speed up your scene-building process, streamlining tasks that would otherwise be done manually. And with these capabilities, you can boost precision, enhance efficiency, and free up more time to focus on the creative aspects of your projects.
In this guide, we show you how to place and arrange assets the easy way, highlighting three different tools for rapid mass placement and two designed for accurate adjustments and alignment.
#1
Paint placement
In build mode, turn on the paint placement tool from the toolbar at the bottom of your screen, then select your chosen objects to paint. To apply them, left-click as you drag your mouse wherever you want them positioned.
In Lumion 2024.3, the paint placement tool is more versatile than ever. It lets you paint up to 20 models at once and conform them to the landscape with a handy new toggle. You can also set the brush size and density using the sliders to ensure precise control over how many nature items you place.
If you want to thin them out a bit, simply set the tool to delete and repeat the process. In the recent update, the eraser also has an adjustable brush size and strength, so you can more accurately perfect your painted plants and trees.
#2
Line placement
Your surfaces and terrains won’t always be flat. And for those cases, there’s line placement.
Previously known as mass placement, line placement lets you place multiple assets along a spline, which can be effortlessly manipulated using the control points and gizmo.
Find it in the same toolbar as paint placement, turn it on, then select your objects. You can set the line for your items to follow by clicking at the start and end of your desired path.
You can select up to 20 assets at a time and even place them on surfaces that aren’t flat using the Conform to ground button. This enables objects to inherit the angle and orientation of the surface they’re placed on, making it effortless to add plants on a hill or position cars along a slope.
Plus, the line can easily be changed from a smooth to a linear path, depending on the kind of placement you have in mind.
#3
Cluster placement
Your scenes might sometimes call for a natural-looking mix of assets, such as a variety of plant or tree species in the same area.
This can be achieved quickly and easily with the cluster placement tool. Use it to select up to 20 different asset types and randomize their placement. You can do this by controlling the radius of their placement, the number of objects placed, and the direction they face. Plus, there’s also a toggle for conforming items to the shape of the landscape for complete flexibility.
#4
Gizmo
Arranging all the assets in a scene can feel painstaking and time-consuming. Lumion’s transform gizmo puts an end to this, allowing you to move, scale, and rotate objects directly in your scenes and save time in the process.
The gizmo allows you to make more precise and intuitive adjustments to your assets' placement compared to using keyboard shortcuts.
You can find the gizmo in build mode, build with effects, the move and advanced move animation effects, and when using camera path presets.
To put it to use, simply select an object by either clicking on it or selecting the object icon (the small circle at the item’s base). You can use the gizmo to move objects up and down or horizontally on either a single axis or on two axes. For use on two axes, click the red, blue, or green squares to choose a plane in between them.
#5
Auto snap
Auto snap is a powerful tool that helps you place objects quickly and precisely in your scenes. With it enabled, objects instantly align to the surfaces of your imported models, saving you from the hassle of manual adjustments. By automatically snapping to the nearest surface in the correct orientation, auto snap streamlines your workflow, letting you focus more on the creative side and less on tweaking object placement.
A chair, for example, will align to the closest horizontal surface when auto snap is enabled, while a painting will align to the nearest vertical surface. Characters containing the Seated tag will snap and align to the closest chair.
Once you’ve selected your object, you’ll see a setting on the toolbar at the bottom of your screen to enable auto snap. Click that to line it up with the nearest surface, and select Disable auto snapping once you no longer need it.
Practice makes perfect
Want to see these 5 tools in action? Try them today with a free Lumion Pro trial — no card required to sign up.