Guide to visualizing exterior designs
Discover how to create exterior renders with Lumion
Showcase your vision
Communicating the clear vision of your design to a client is crucial. You need to find the correct visual language to help you convey that. Thankfully, Lumion gives you all the tools you’ll ever need to illustrate the best aspects of your designs.
This short guide offers some simple guidelines to follow when building exterior scenes in Lumion. Keep these simple steps in mind and you’ll be crafting compelling, cinematic animations to showcase your own ideas in no time!
Let’s get practicing.
Video tutorial
Scene building basics for exterior designs
Creating a true-to-life vision of your design will require care and attention to detail but when you're just starting to explore Lumion you need to begin somewhere.
Follow along with our video tutorial and we will show you how to create your first quality exterior scenes in under ten minutes!
We have made the the 3D model, and other resources, available for you to download here.
Framing your design
A space is only as compelling as the qualities it brings together. Lumion gives you access to a broad library of materials, lights and even sounds that you can use to help convey a particular mood. Framing these elements with some well-chosen camera angles can really draw the viewer into your design. Some quick tips for choosing your camera angles include:
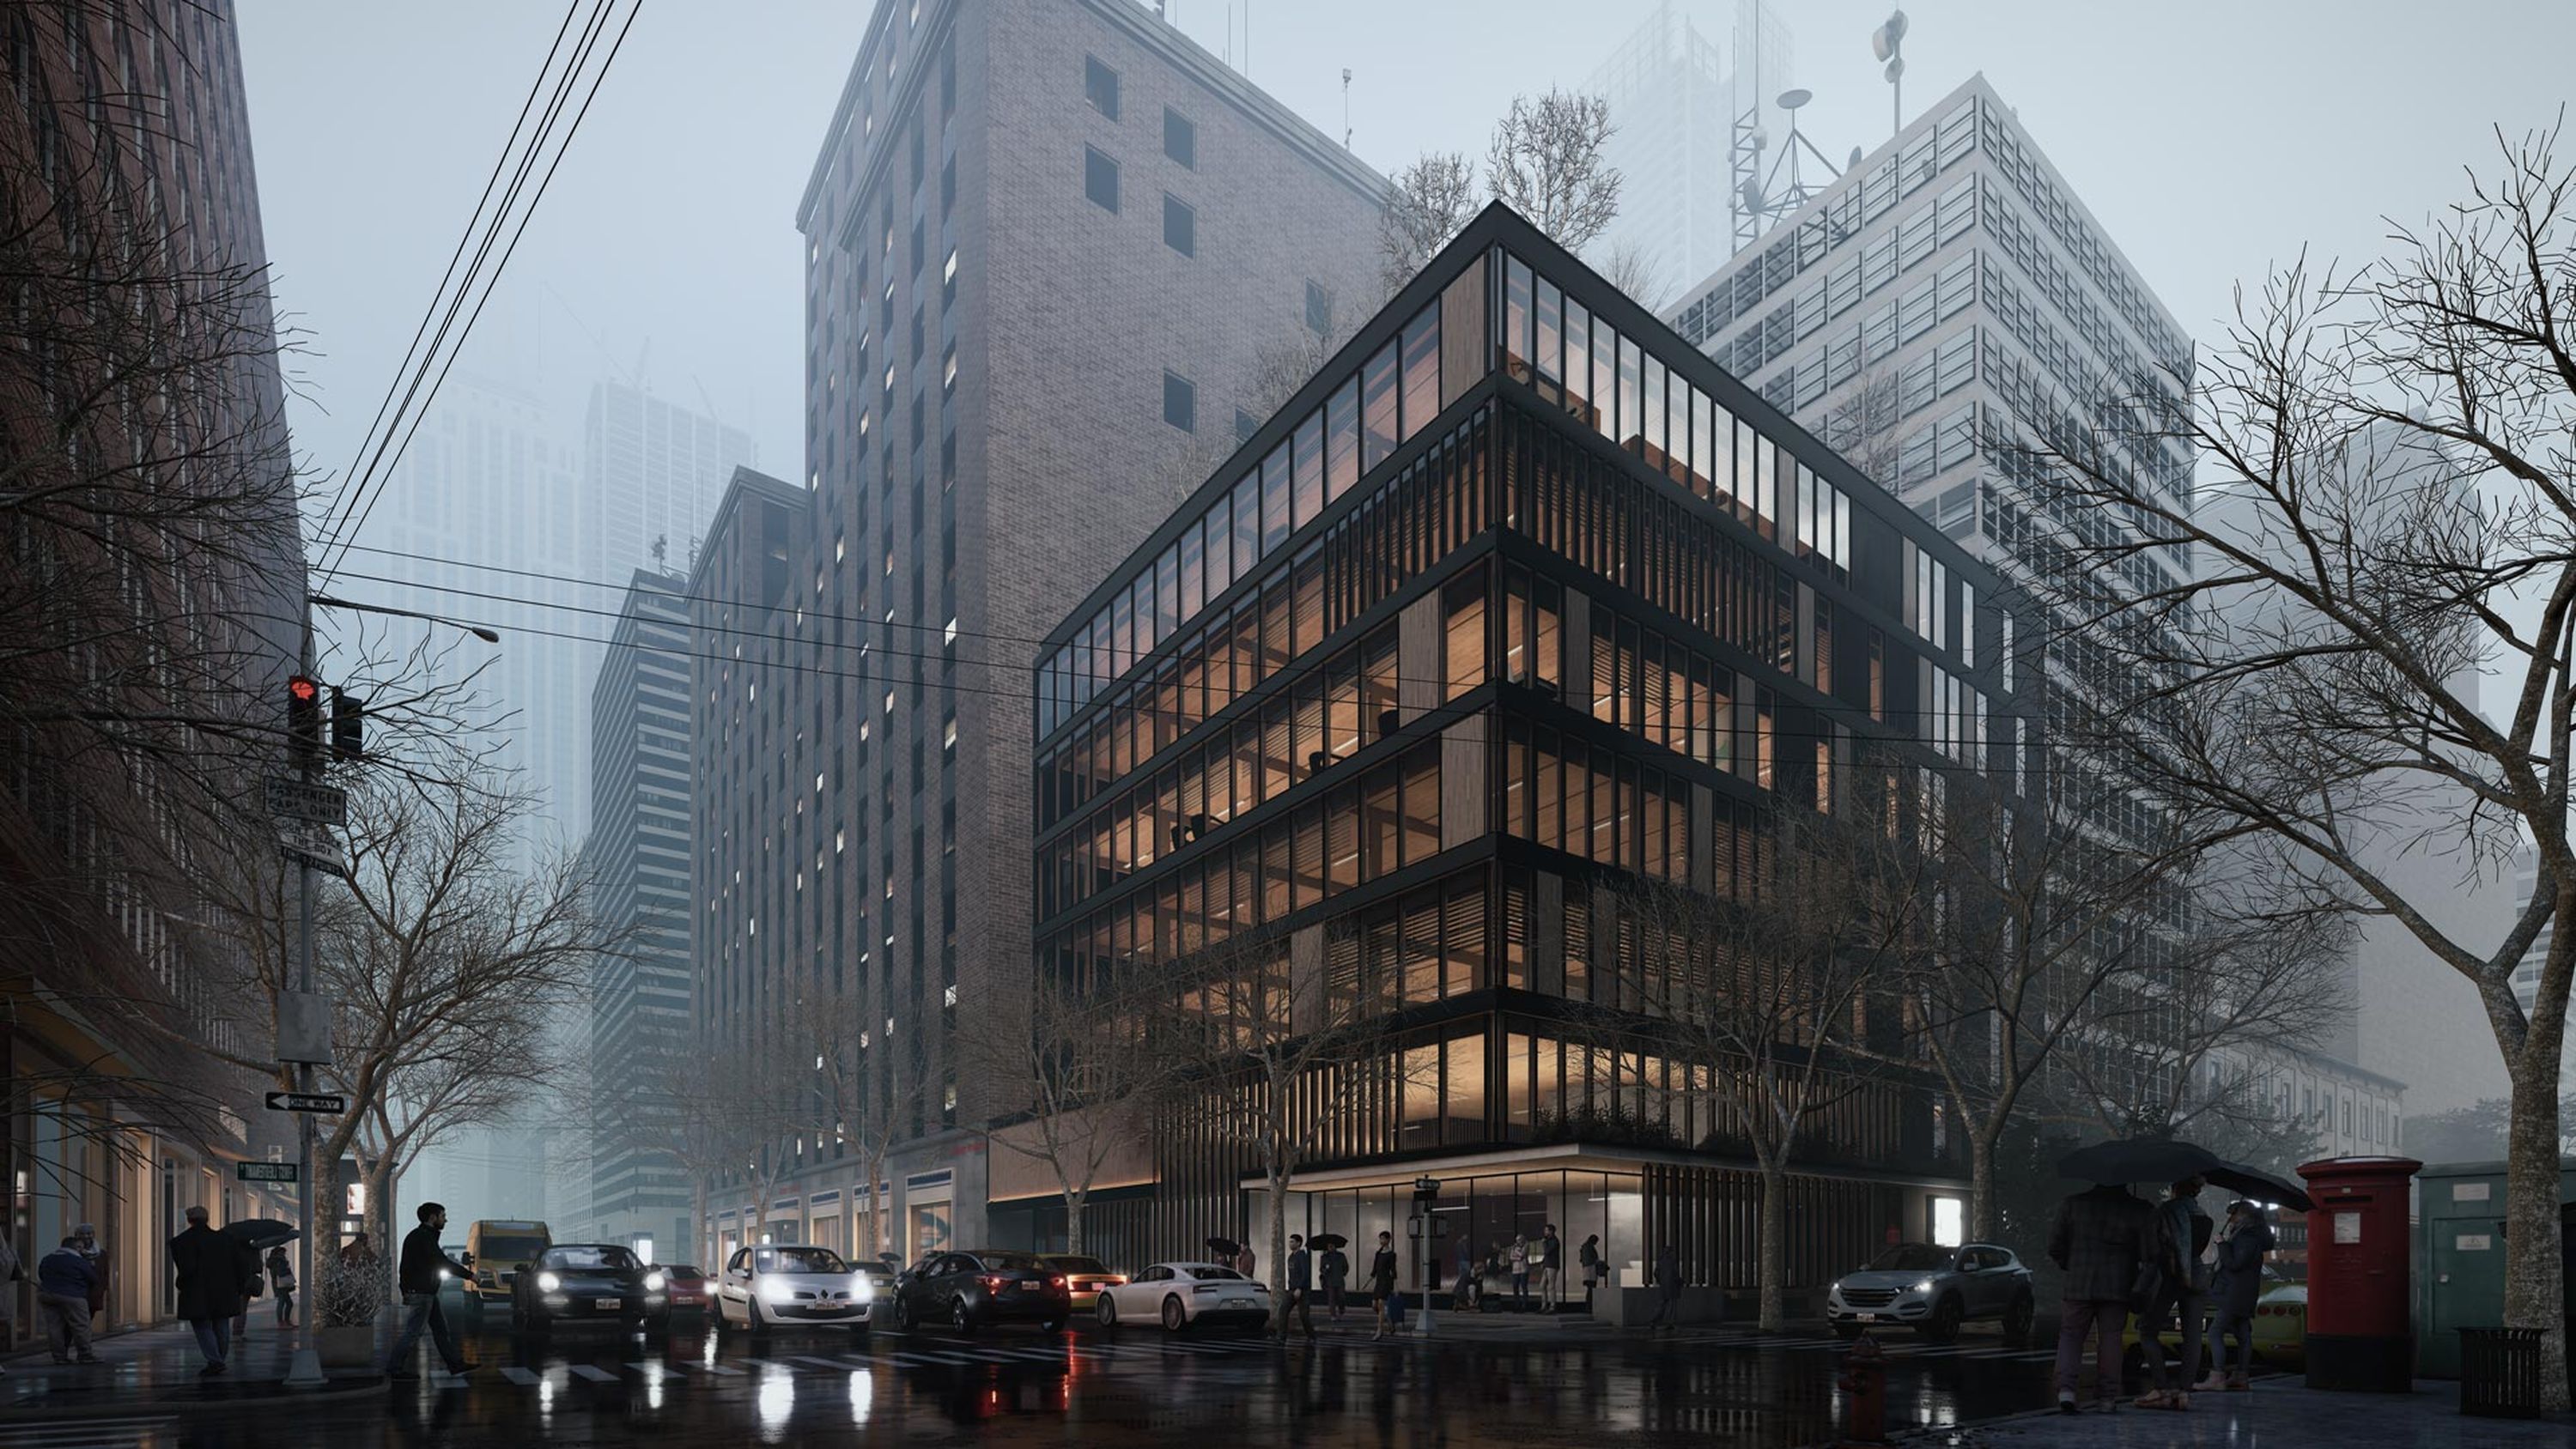
1. Find the defining shot
Try to find the angle that showcases the very best of your design. If you have powerful, stand-out design features within your building, try to capture them clearly in your defining image.
Take advantage of the grid in Photo Mode to create a balanced composition.
Remember the rule of thirds. (You’ll also earn bonus points from us for using the two-point-perspective effect, especially in exterior shots)
2. Move us through your design.
Look for opportunities to create movement within your renders. Find camera angles that can give a better look at particularly interesting viewpoints and intriguing angles.
Be careful not to make your movements too fast or abrupt, give the viewer time to experience the design.
Increase the sense of realism by adding depth of field to the effect stack, and pull focus between the foreground and background, simulating a camera's focus effect.
3. The devil is in the details.
Look for areas within your design that highlight the best interactions of light and materials. Your image can evoke different moods depending on the lighting you create.
Aim to use strong shadows for a dramatic effect and soft shadows to highlight the colors and materials in your scene. Take us close in and use timelapses to show how the light can play within the space you’ve created.
Experiment with focal lengths to find the exact look you wish to uncover.
Camera preset paths
Everyone appreciates a good shortcut, and Lumion contains a host of handy camera effects that make animations quick and easy to piece together.
You’ll find presets for Dolly (tracking) shots, Pans, Tilts and Follow Object paths. There are also two separate Orbit Camera paths you can use to give your viewer a fly-by view of your creation.
Just set the camera target, the radius of the sphere, the camera height, and the start/end point for the camera on the sphere.
Camera presets can be edited using the interface, or by editing the Camera Gizmo in the Editor Preview.
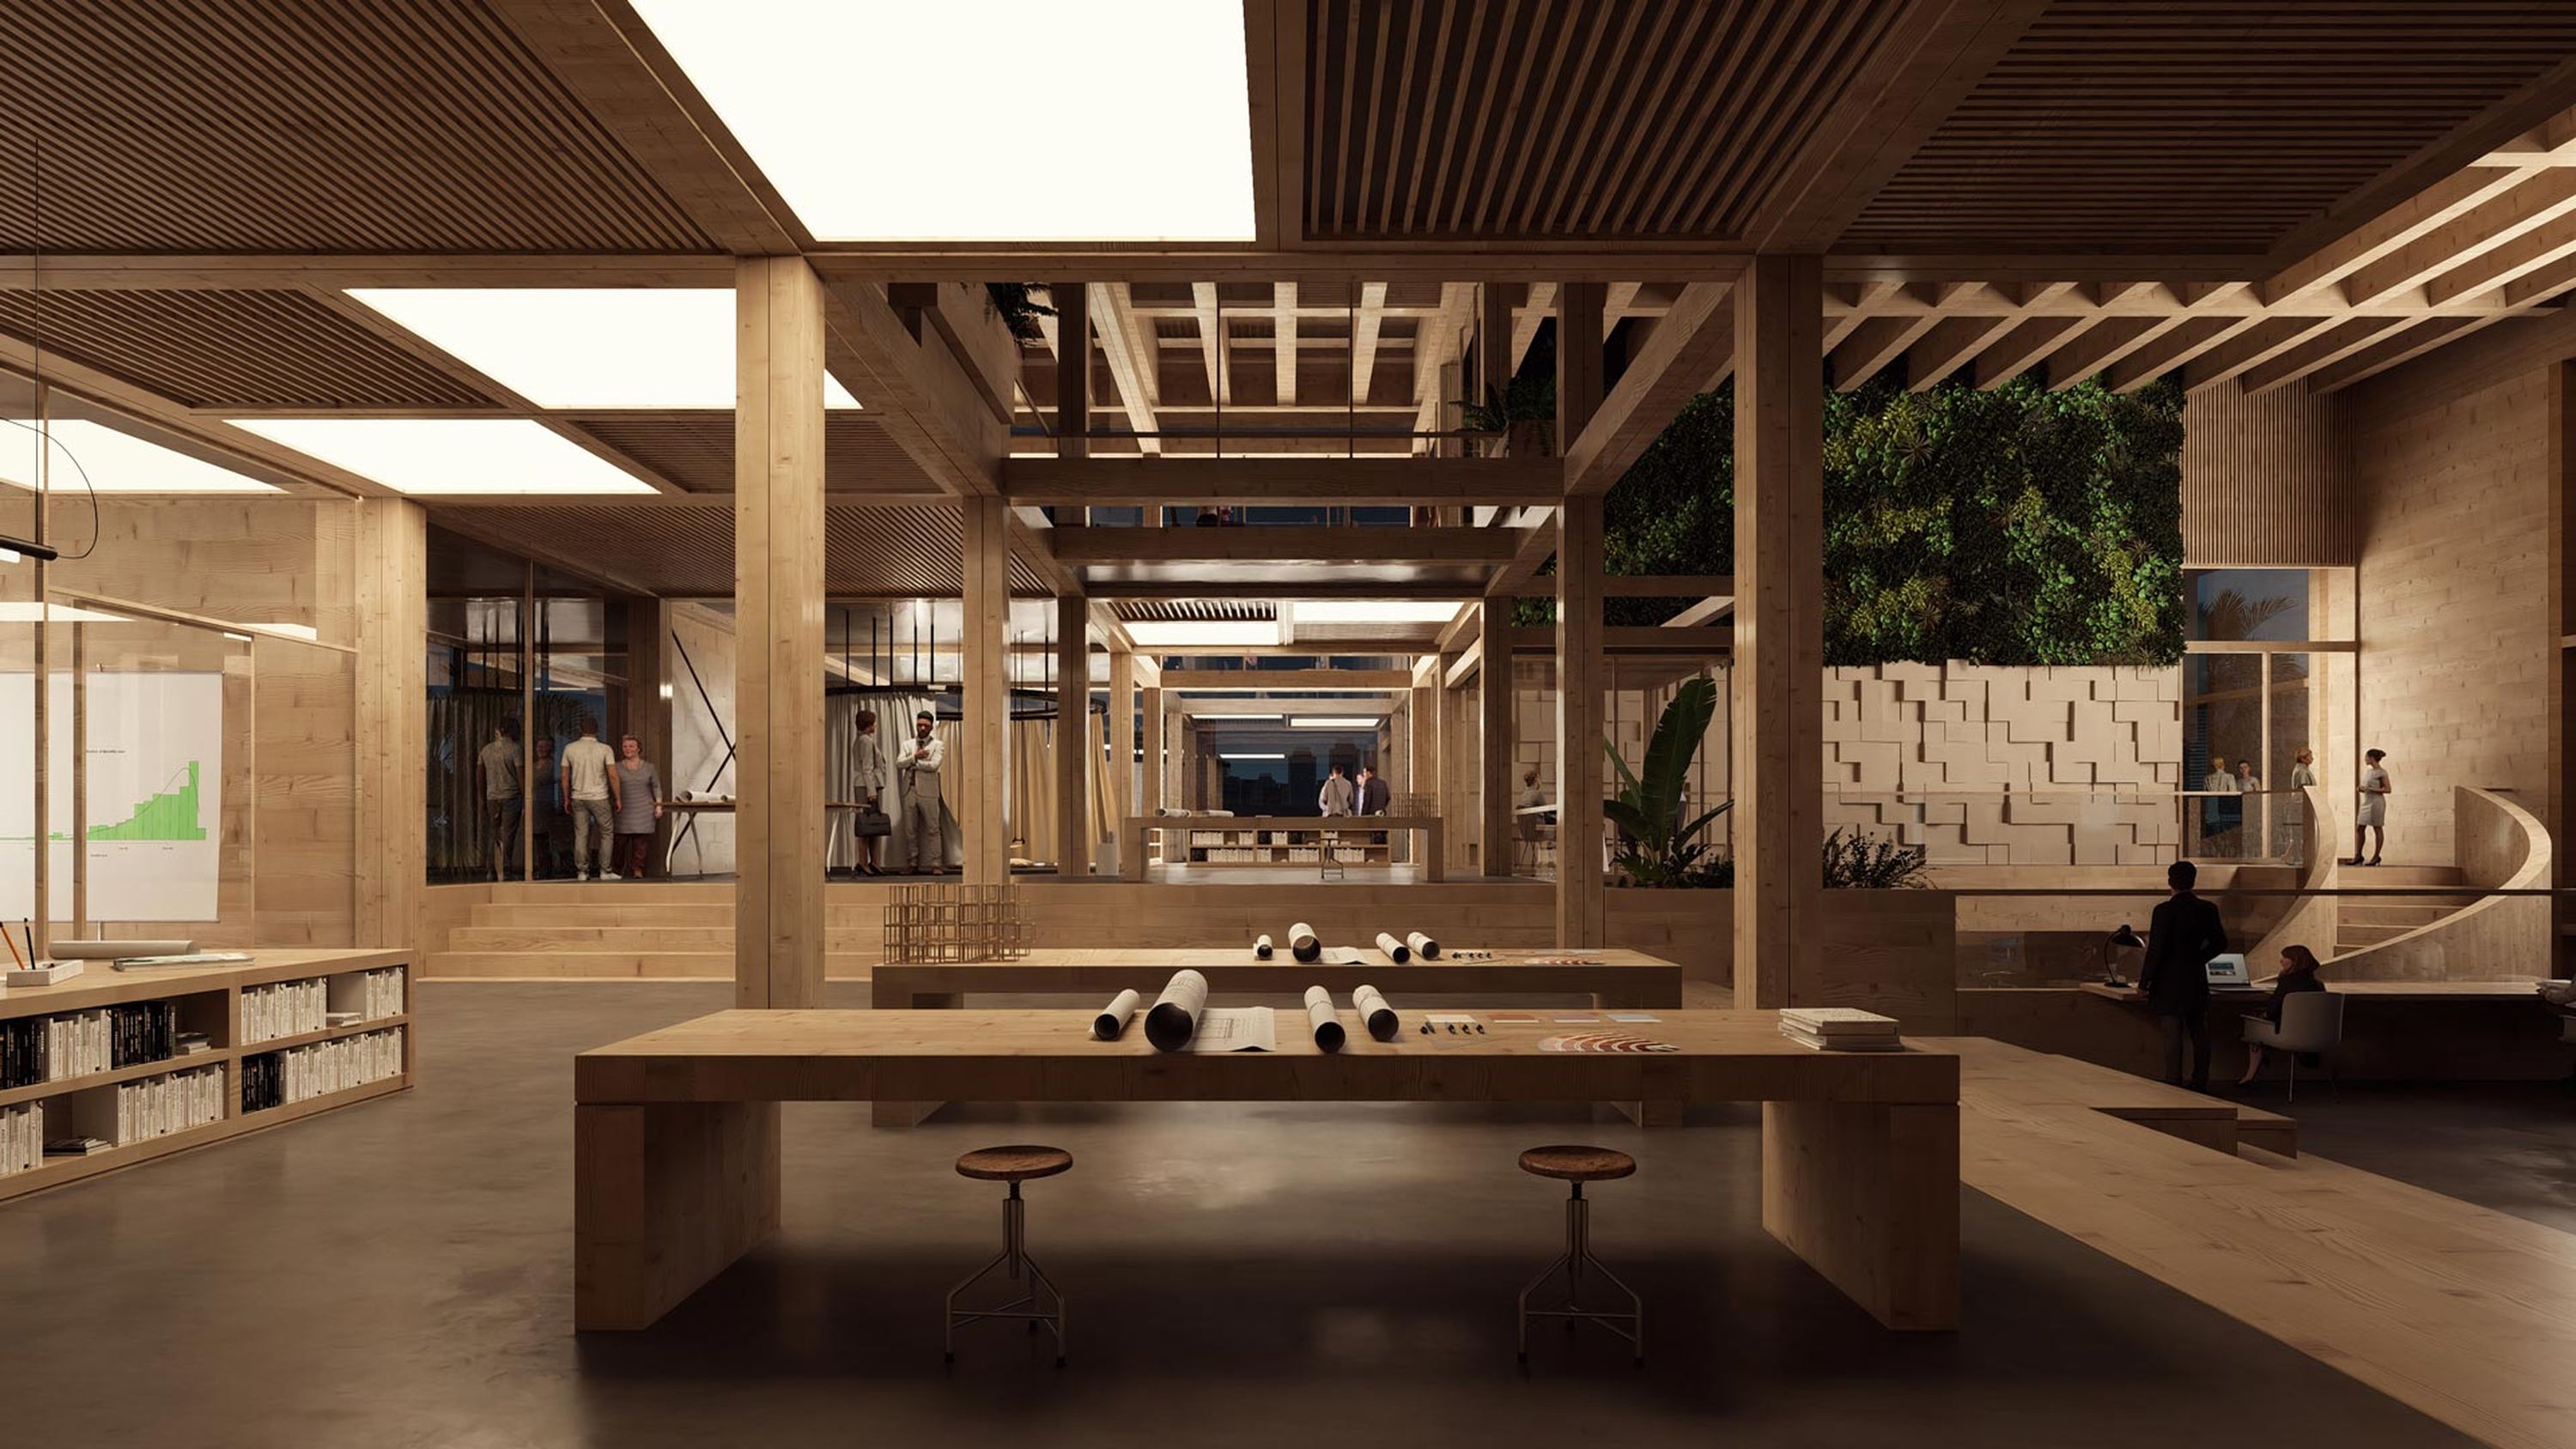
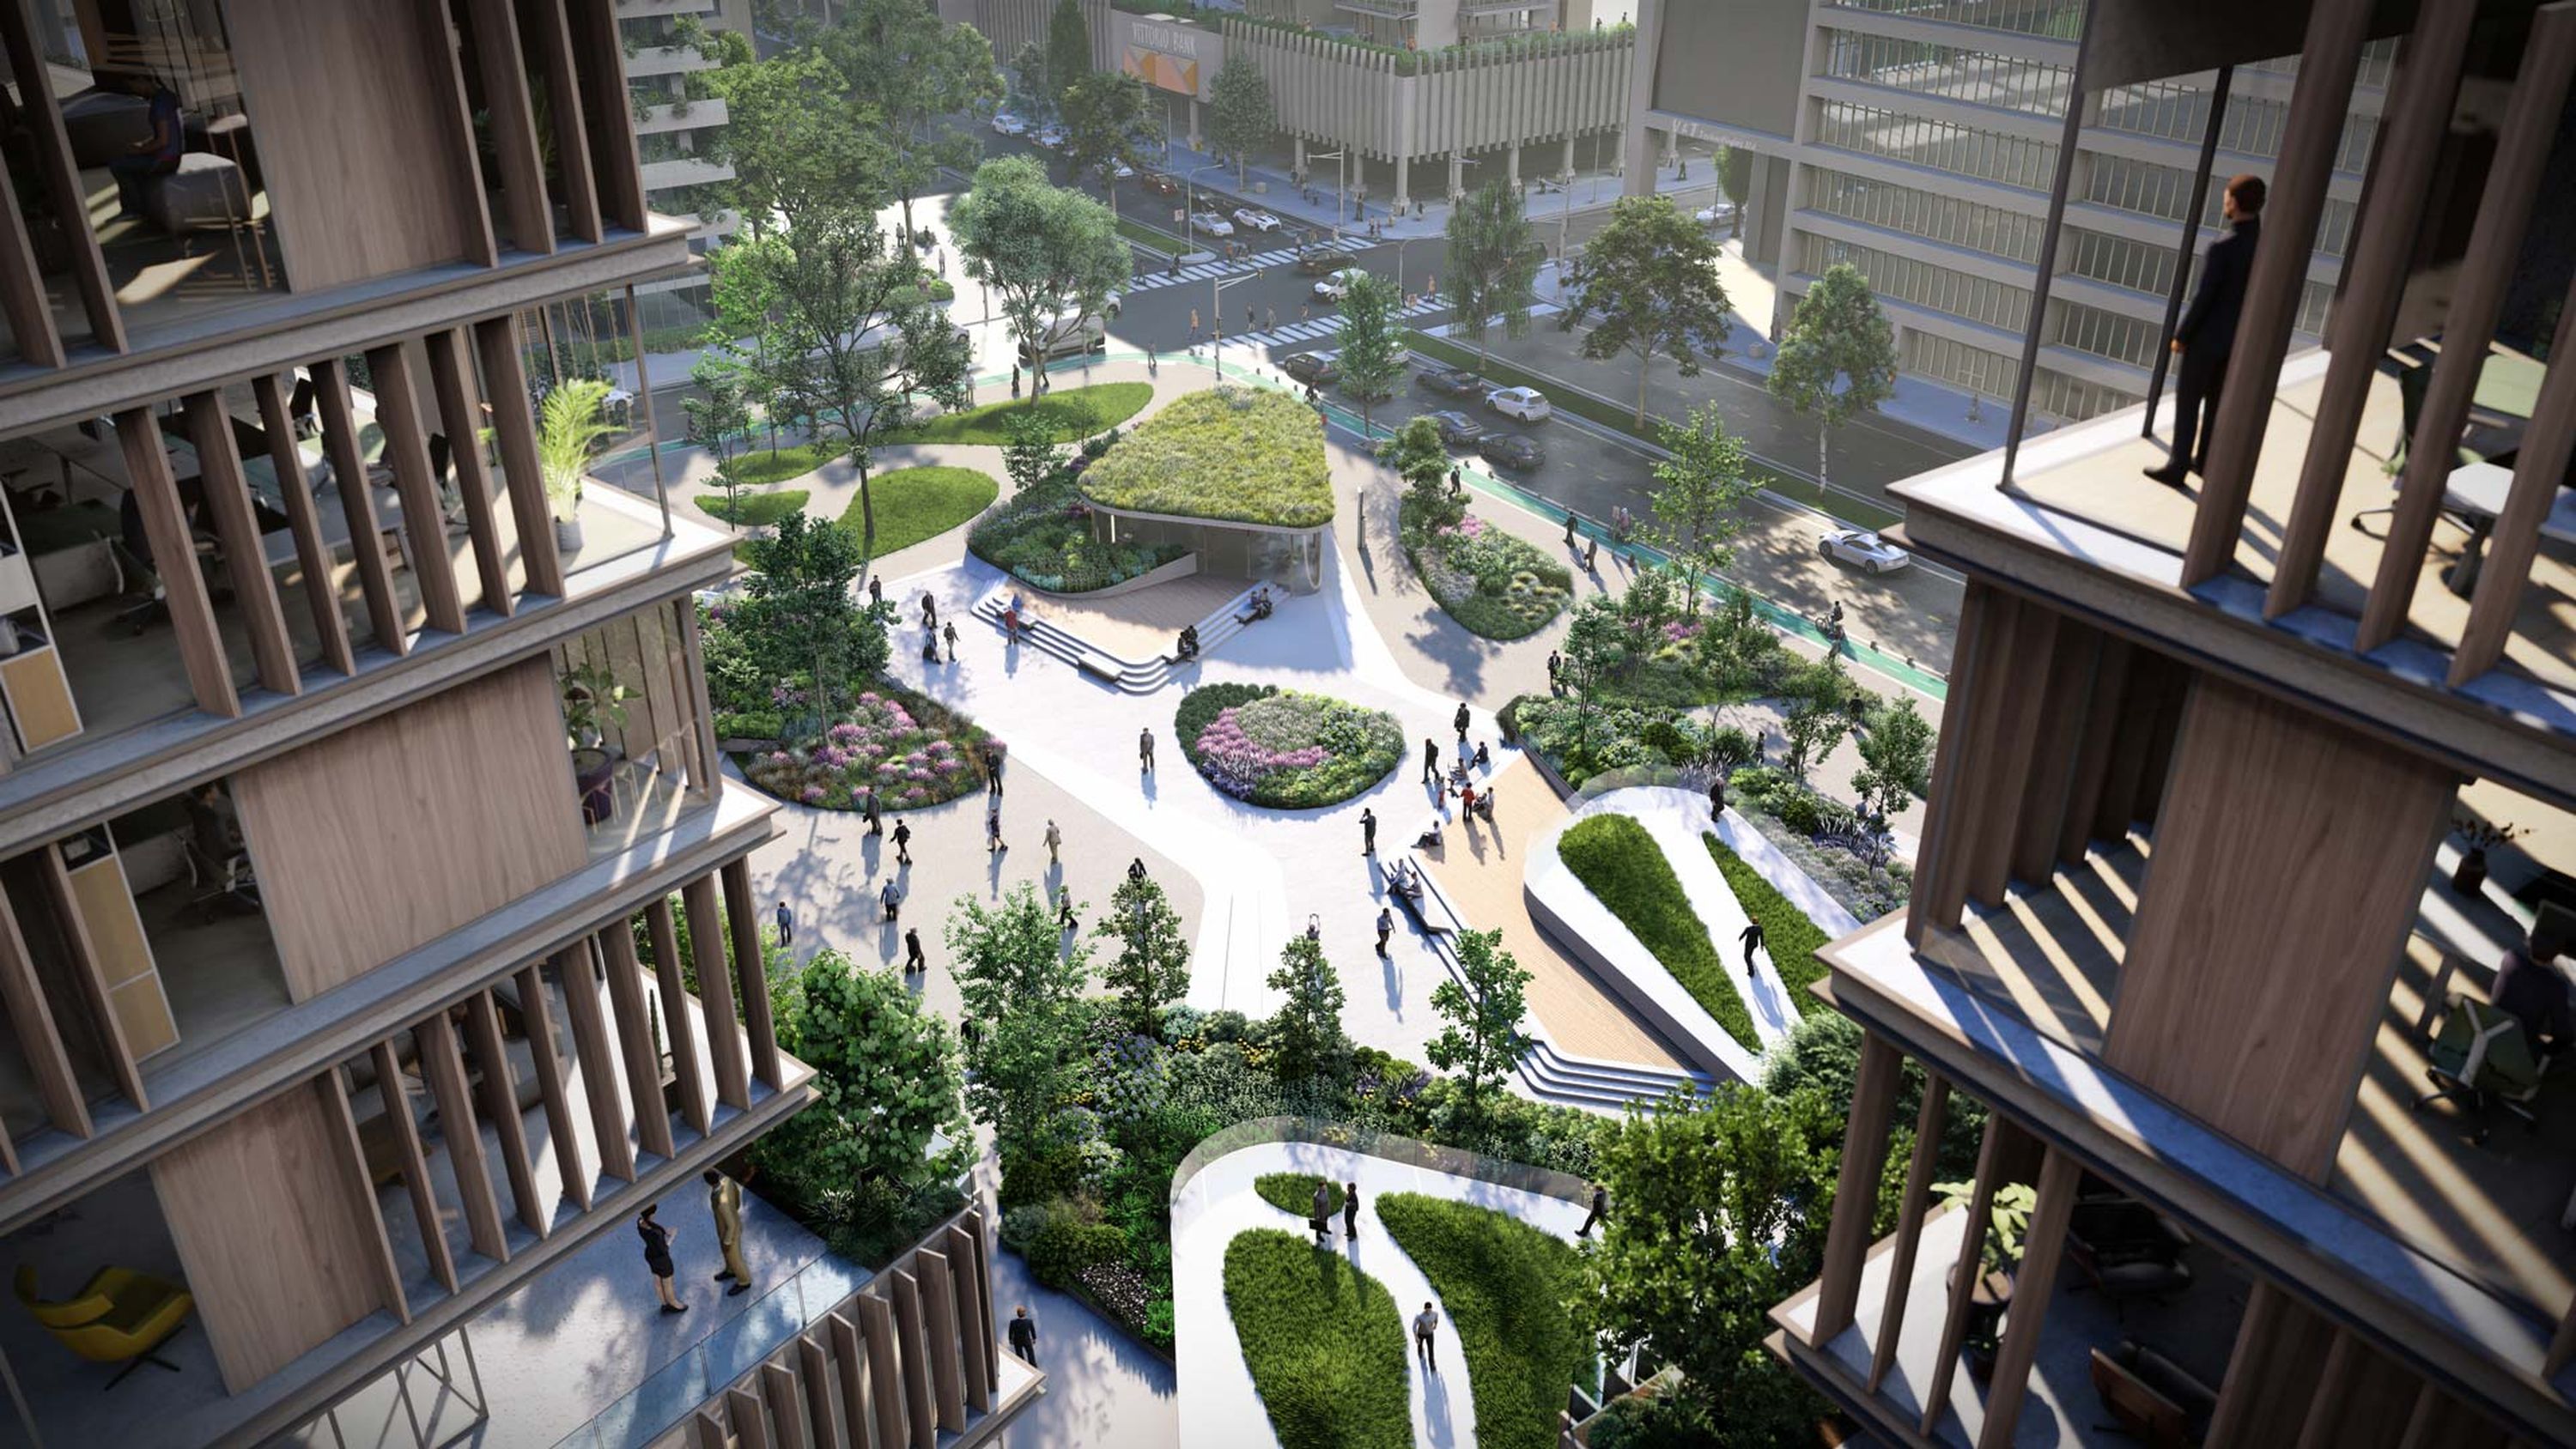
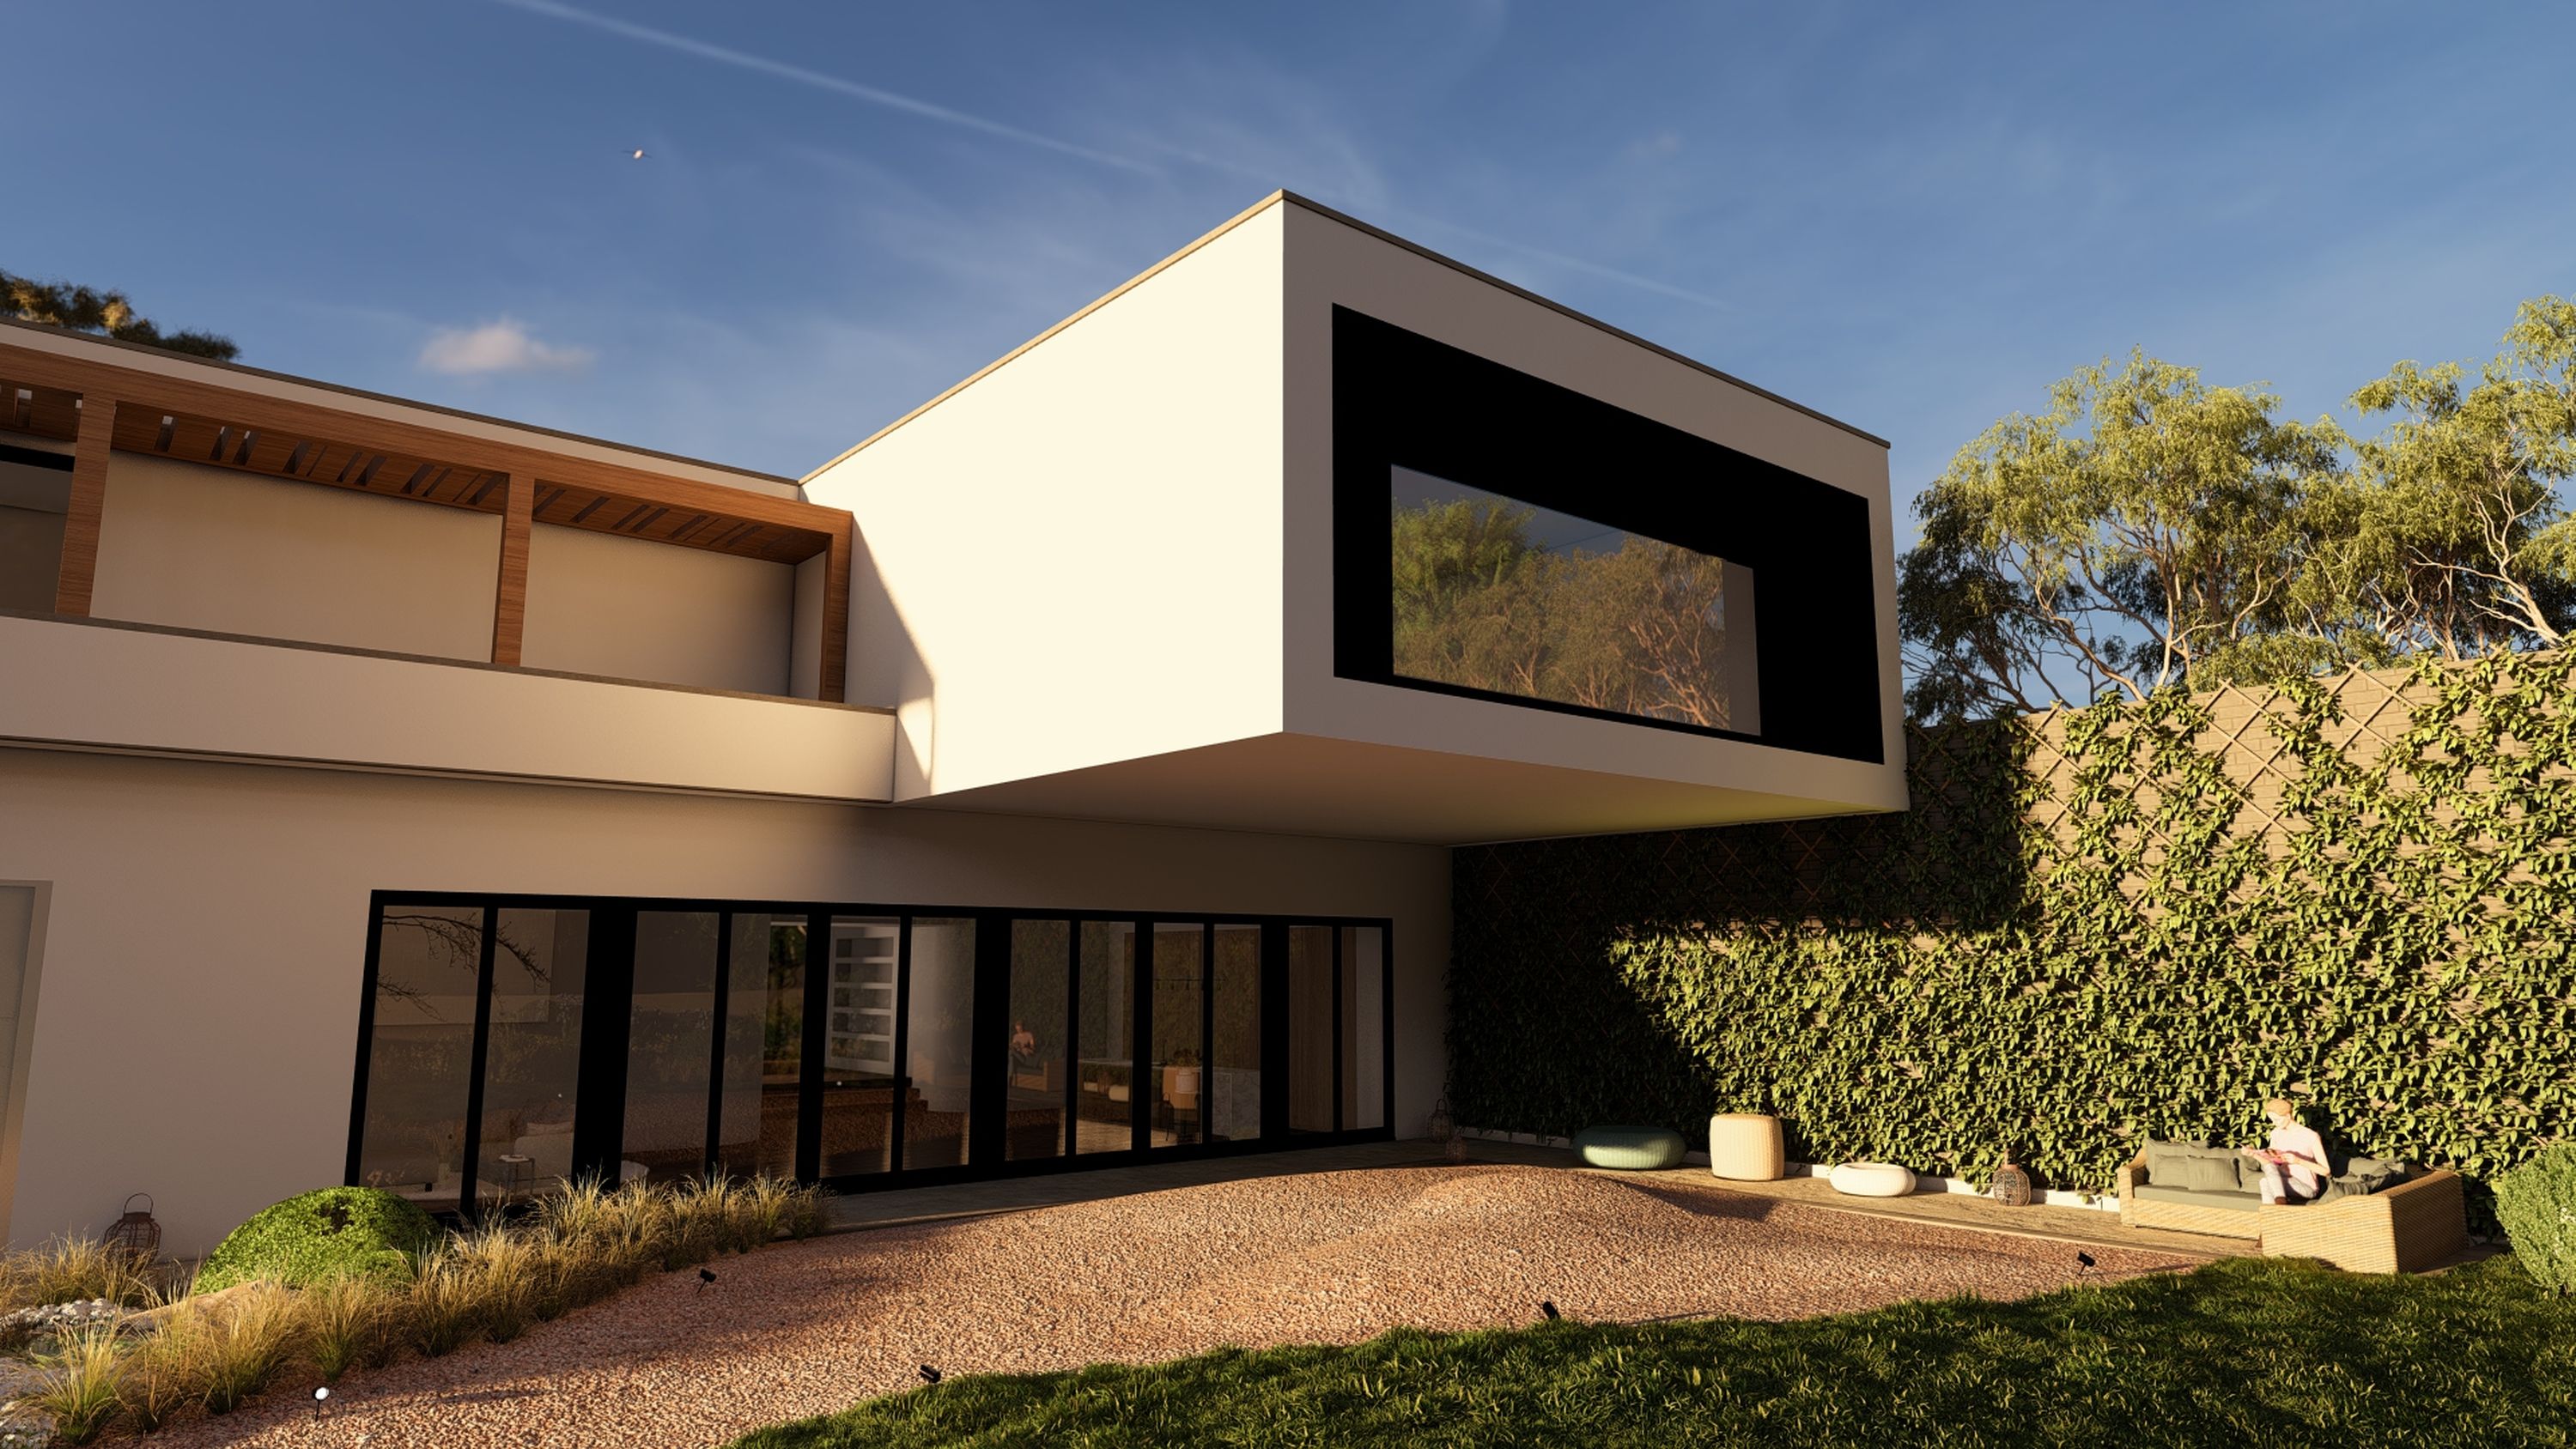
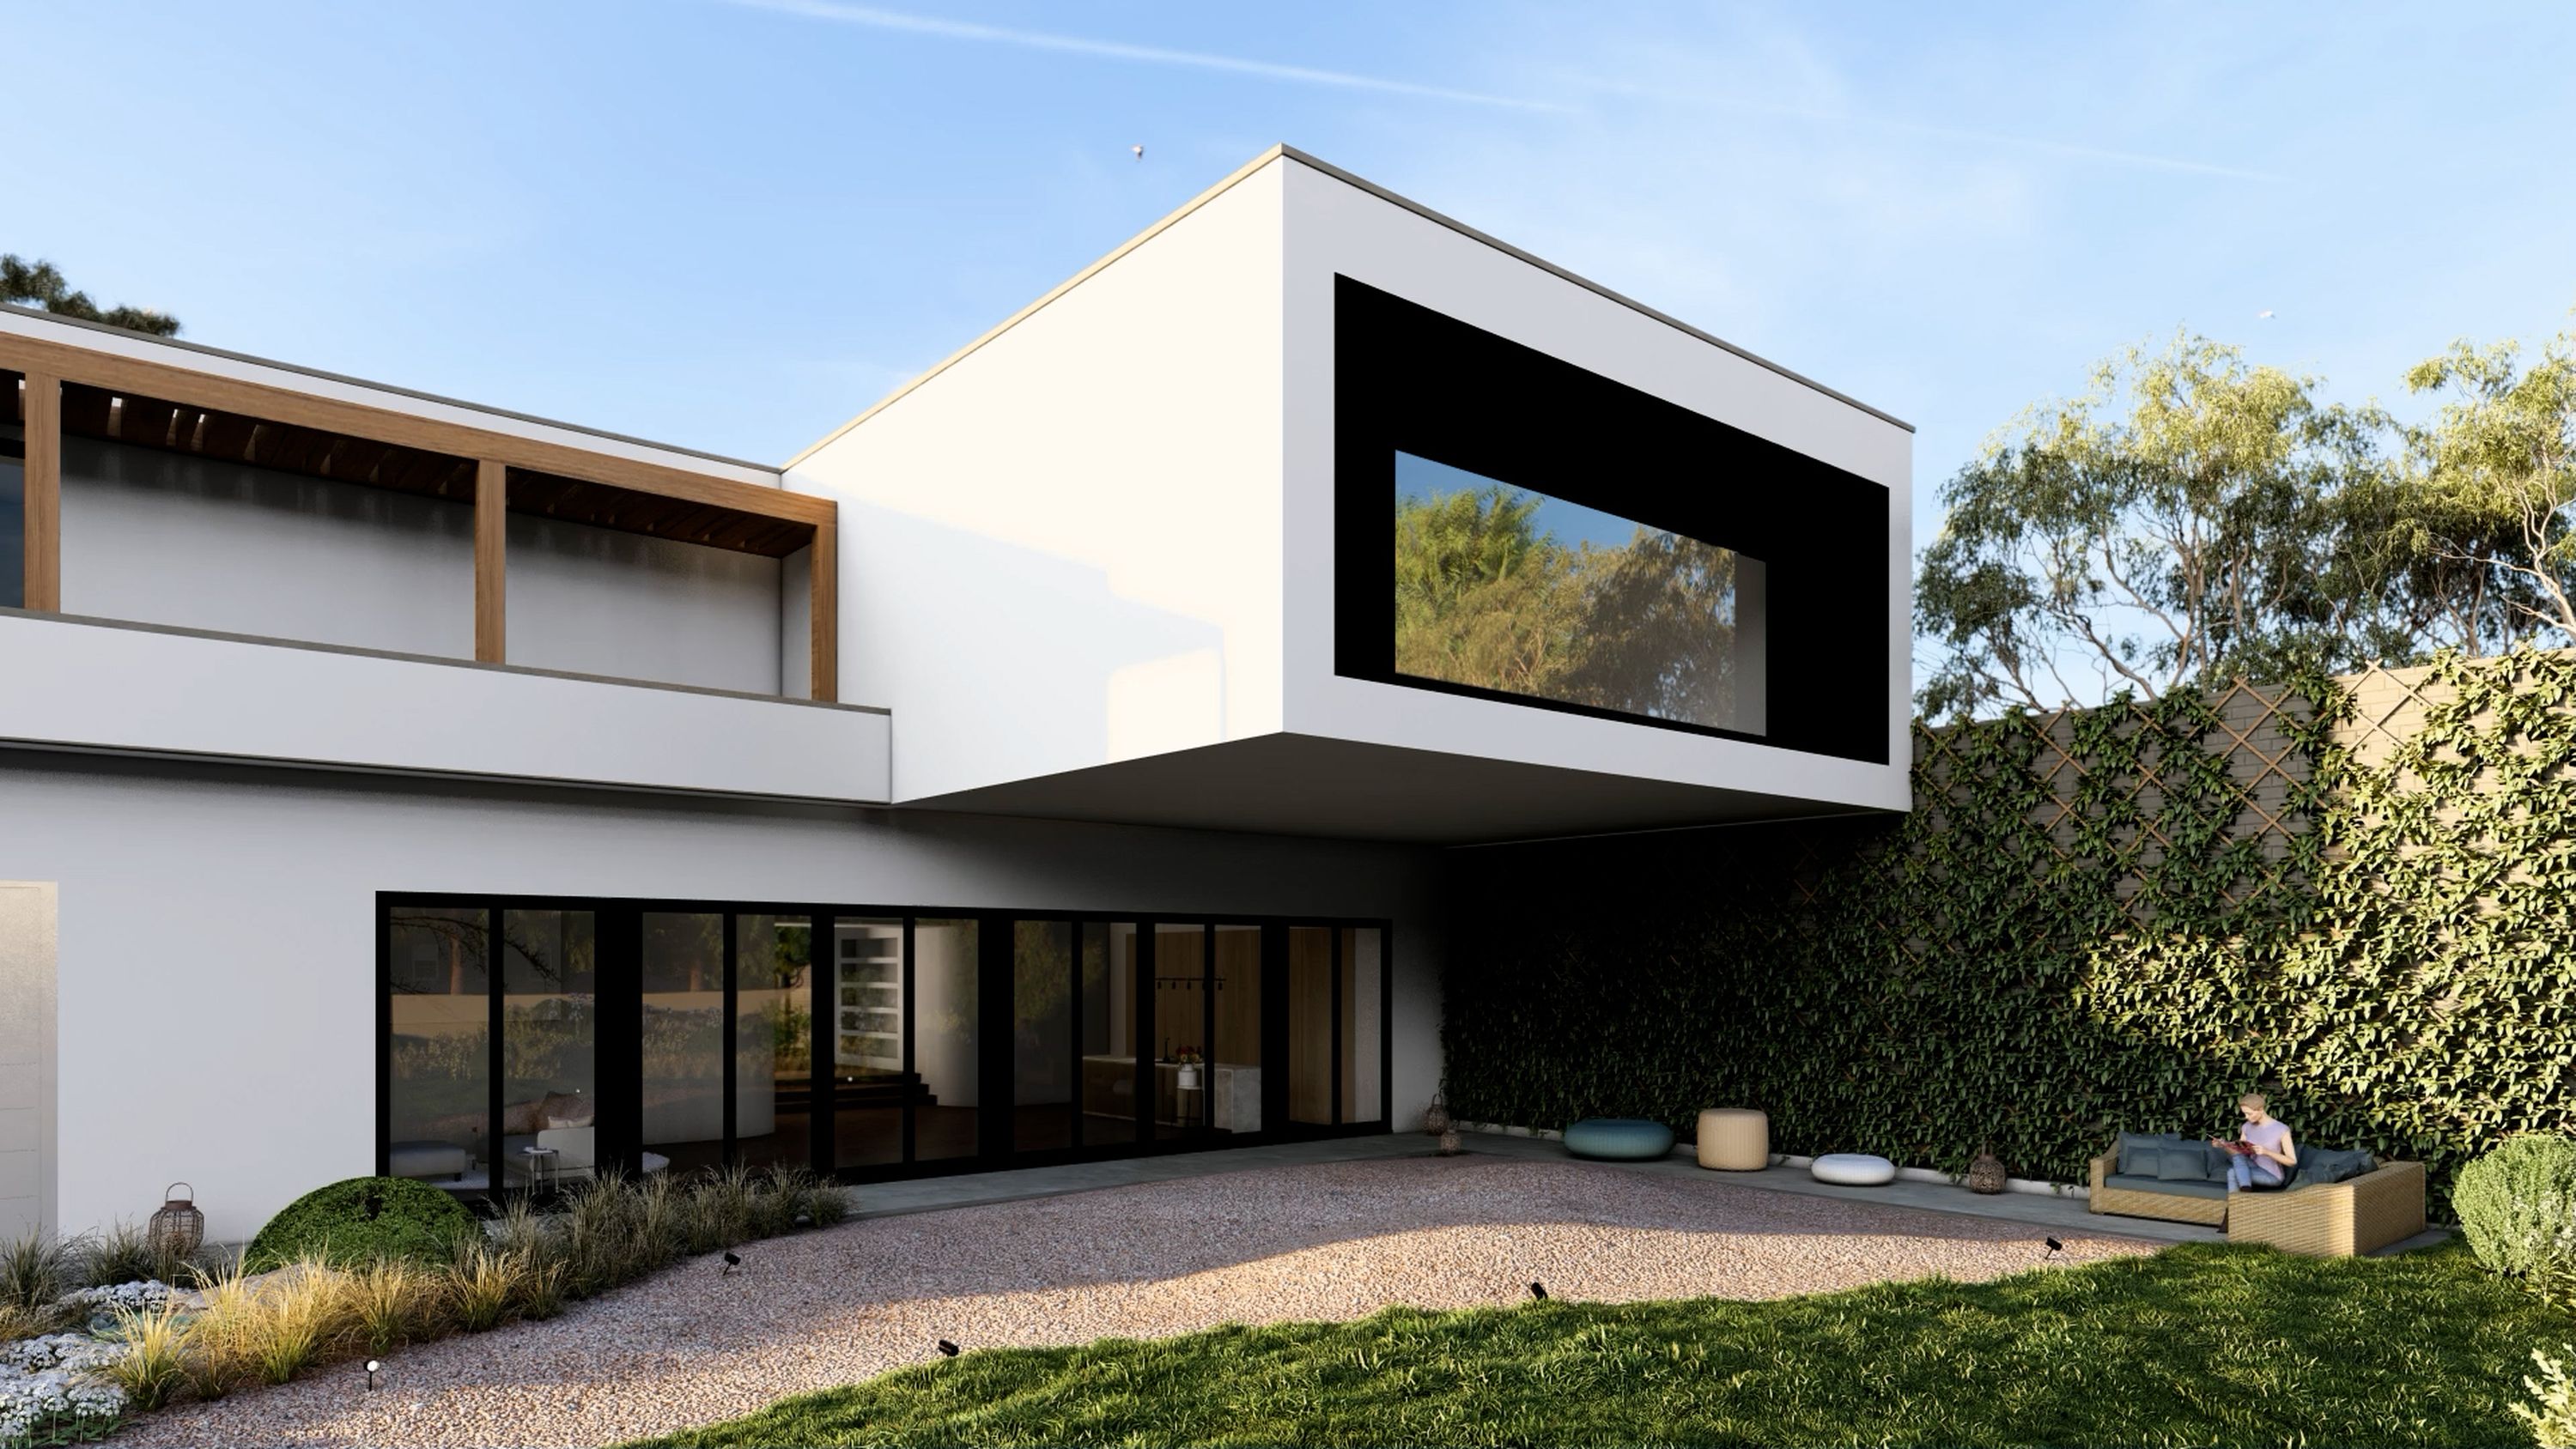
Inhabit the space
Adding context to your design will help to showcase the intended vision of the space you are creating.
The items, characters and activities that you add to the scene will help to illustrate to your viewer how you intend the space to be used. In our example, a calm, quiet, sunlit garden suggested a place to relax and enjoy a light read.
When building a scene, think about the story you want to tell and choose context that will support that vision. Lumion’s extensive library gives you plenty of options, but choose carefully!
The material world
Showcase the quality of the materials you have selected and create textures that you want to reach out and touch! Lumion has an extensive range of high quality materials included and we recommend using them, wherever possible.
Simply search through the catalog using the search bar or browse through the different category sections. Either way, we suggest you keep an eye out for materials that contain a D symbol on them, as those all include a displacement map.
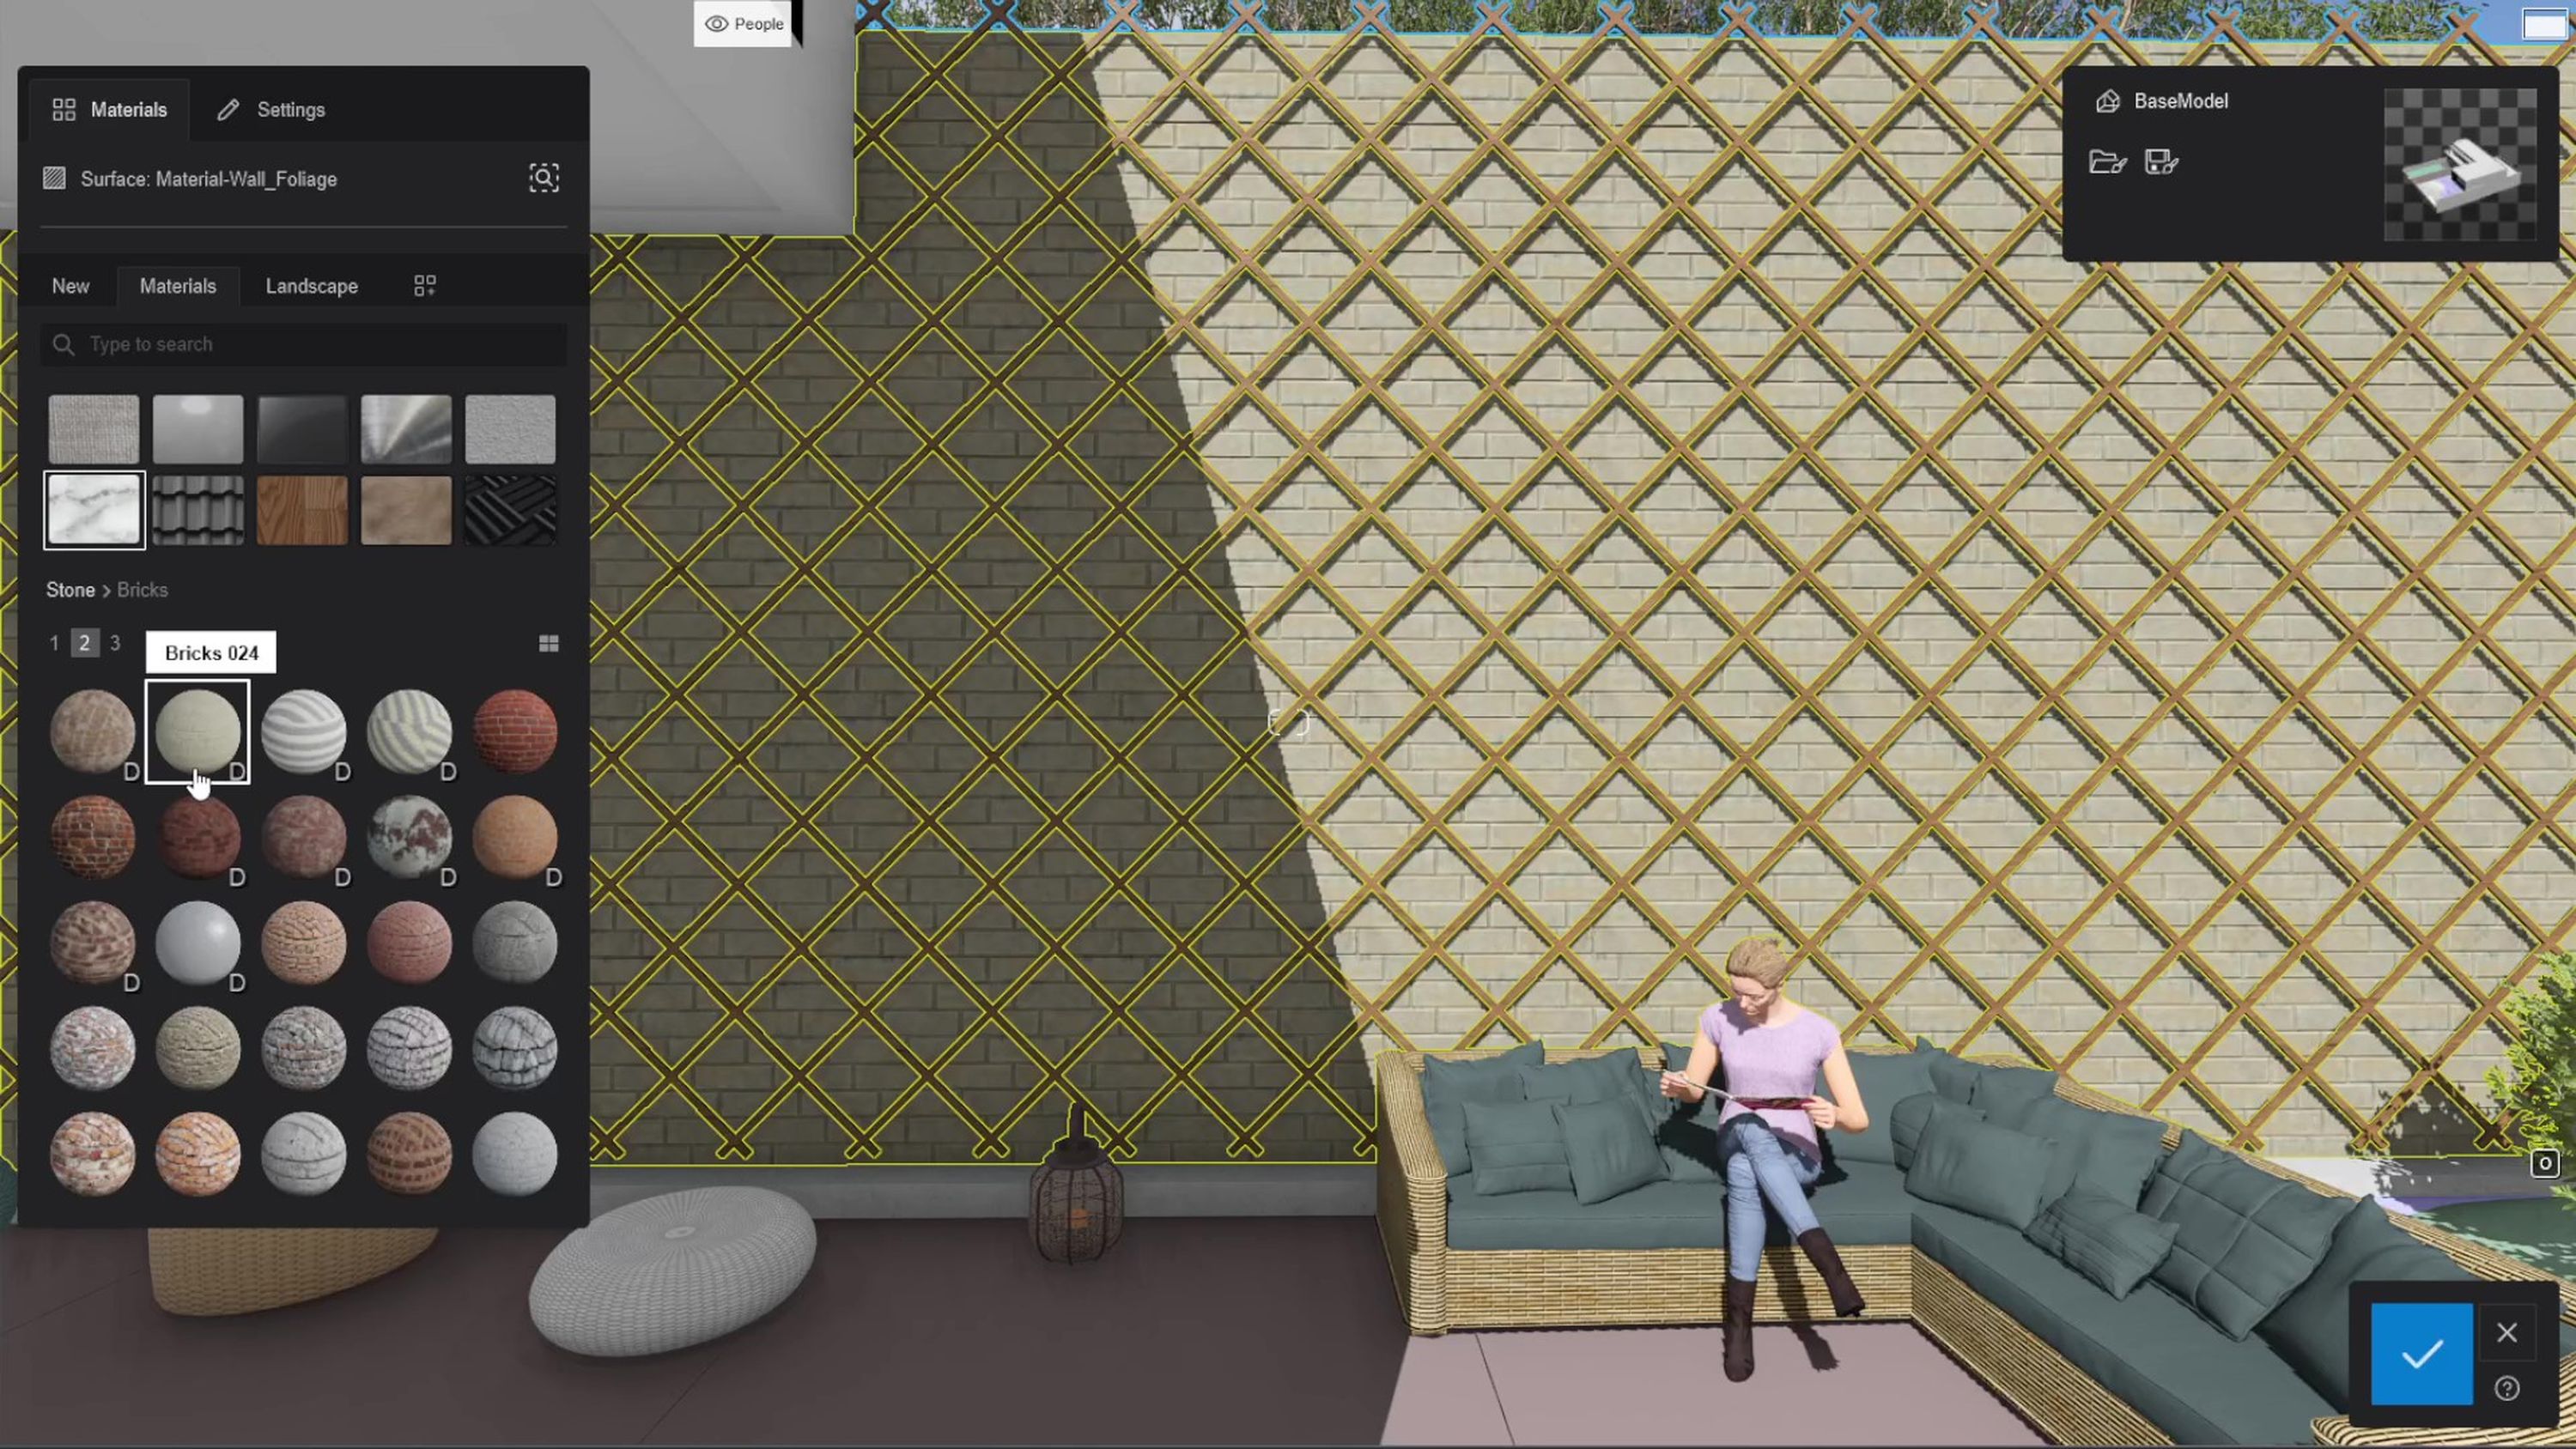
If you can’t find the exact material you’re looking for, don’t worry as Lumion can come to your rescue. You can create incredible materials using the PBR workflow. It’s as simple as assigning maps to each of the slots and adjusting their settings until you get that perfect look.
Lumion uses the Metallic PBR workflow and can add up to 8 maps for a single surface. This will squeeze every ounce of realism out of those materials. We would just recommend that you take care to place the maps in the correct slots. We have created a separate, in-depth tutorial that covers this and you can find that here. It only takes a few minutes to master.
Build your effect stack carefully
To get your scene ready for final rendering, take care to build an effect stack that will really bring out the best of your design’s visuals. Lumion gives you an extensive range of lighting and effect options to play with and we suggest you spend some time experimenting with them to find the most appropriate stack for your scene.

For our example, we’ve mixed Real Skies to add a nice, high quality coloring to our scene and to allow us to adjust the orientation of the light. We’ve also added Hyperlight, Shadows and Skylight, all with default settings active.
Finally, we added the Reflection Effect, with Speedray enabled, as well as a couple of reflection planes. This stack ensures our scene’s emulated lighting conditions and reflections are quite realistic.
In addition, we took time to adjust the color and exposure using the Color Correction effect. We added a depth of field to create some hierarchy towards the horizon and to help keep our subject in focus. Lastly, we added a bit of Lens Flare for a little extra flair.
When you’ve found an Effect Stack that you’re happy with, be sure to save it so that you can reuse the same effects on different angles or even apply them across other projects.
Sharpen up
For our close-up clip, we chose an angle that would allow us to play with a timelapse of shadows across a range of materials.
We used the depth of field to focus on a key area and then exaggerated the blur across the rest of the image. We used the Sharpen Effect to add some crisp detailing as well.
For the timelapse, we added key frames at our chosen start and end points, and opted for a smooth, 5 second movement. When building an animation like this, be sure to select the appropriate time on the timeline of your clip.
Let’s see what you can create!
With a little care and attention to detail, you can easily create stunning Exterior renders with Lumion. Be sure to familiarize yourself with how the different effects and styles included in Lumion can help you to craft a specific mood or atmosphere. And most of all, have fun!
Keep practicing. We can’t wait to see your creations! You can easily share your work and discover projects made by other Lumionaries on the Lumion Community website.