The art of motion: creating impactful animations with Lumion
How to add a human touch to your renders with the handheld camera effect
See through the eyes of your audience
A well-crafted animation doesn’t just showcase a space—it tells a story. It invites your audience to step inside, move around, and experience the design as if they were truly there.
Animation is one of the most powerful tools for communicating spatial design, allowing projects to be presented from various angles and perspectives. But sometimes, perfectly curated animations can feel a bit too polished—lacking the organic, human quality that makes a space truly resonate.
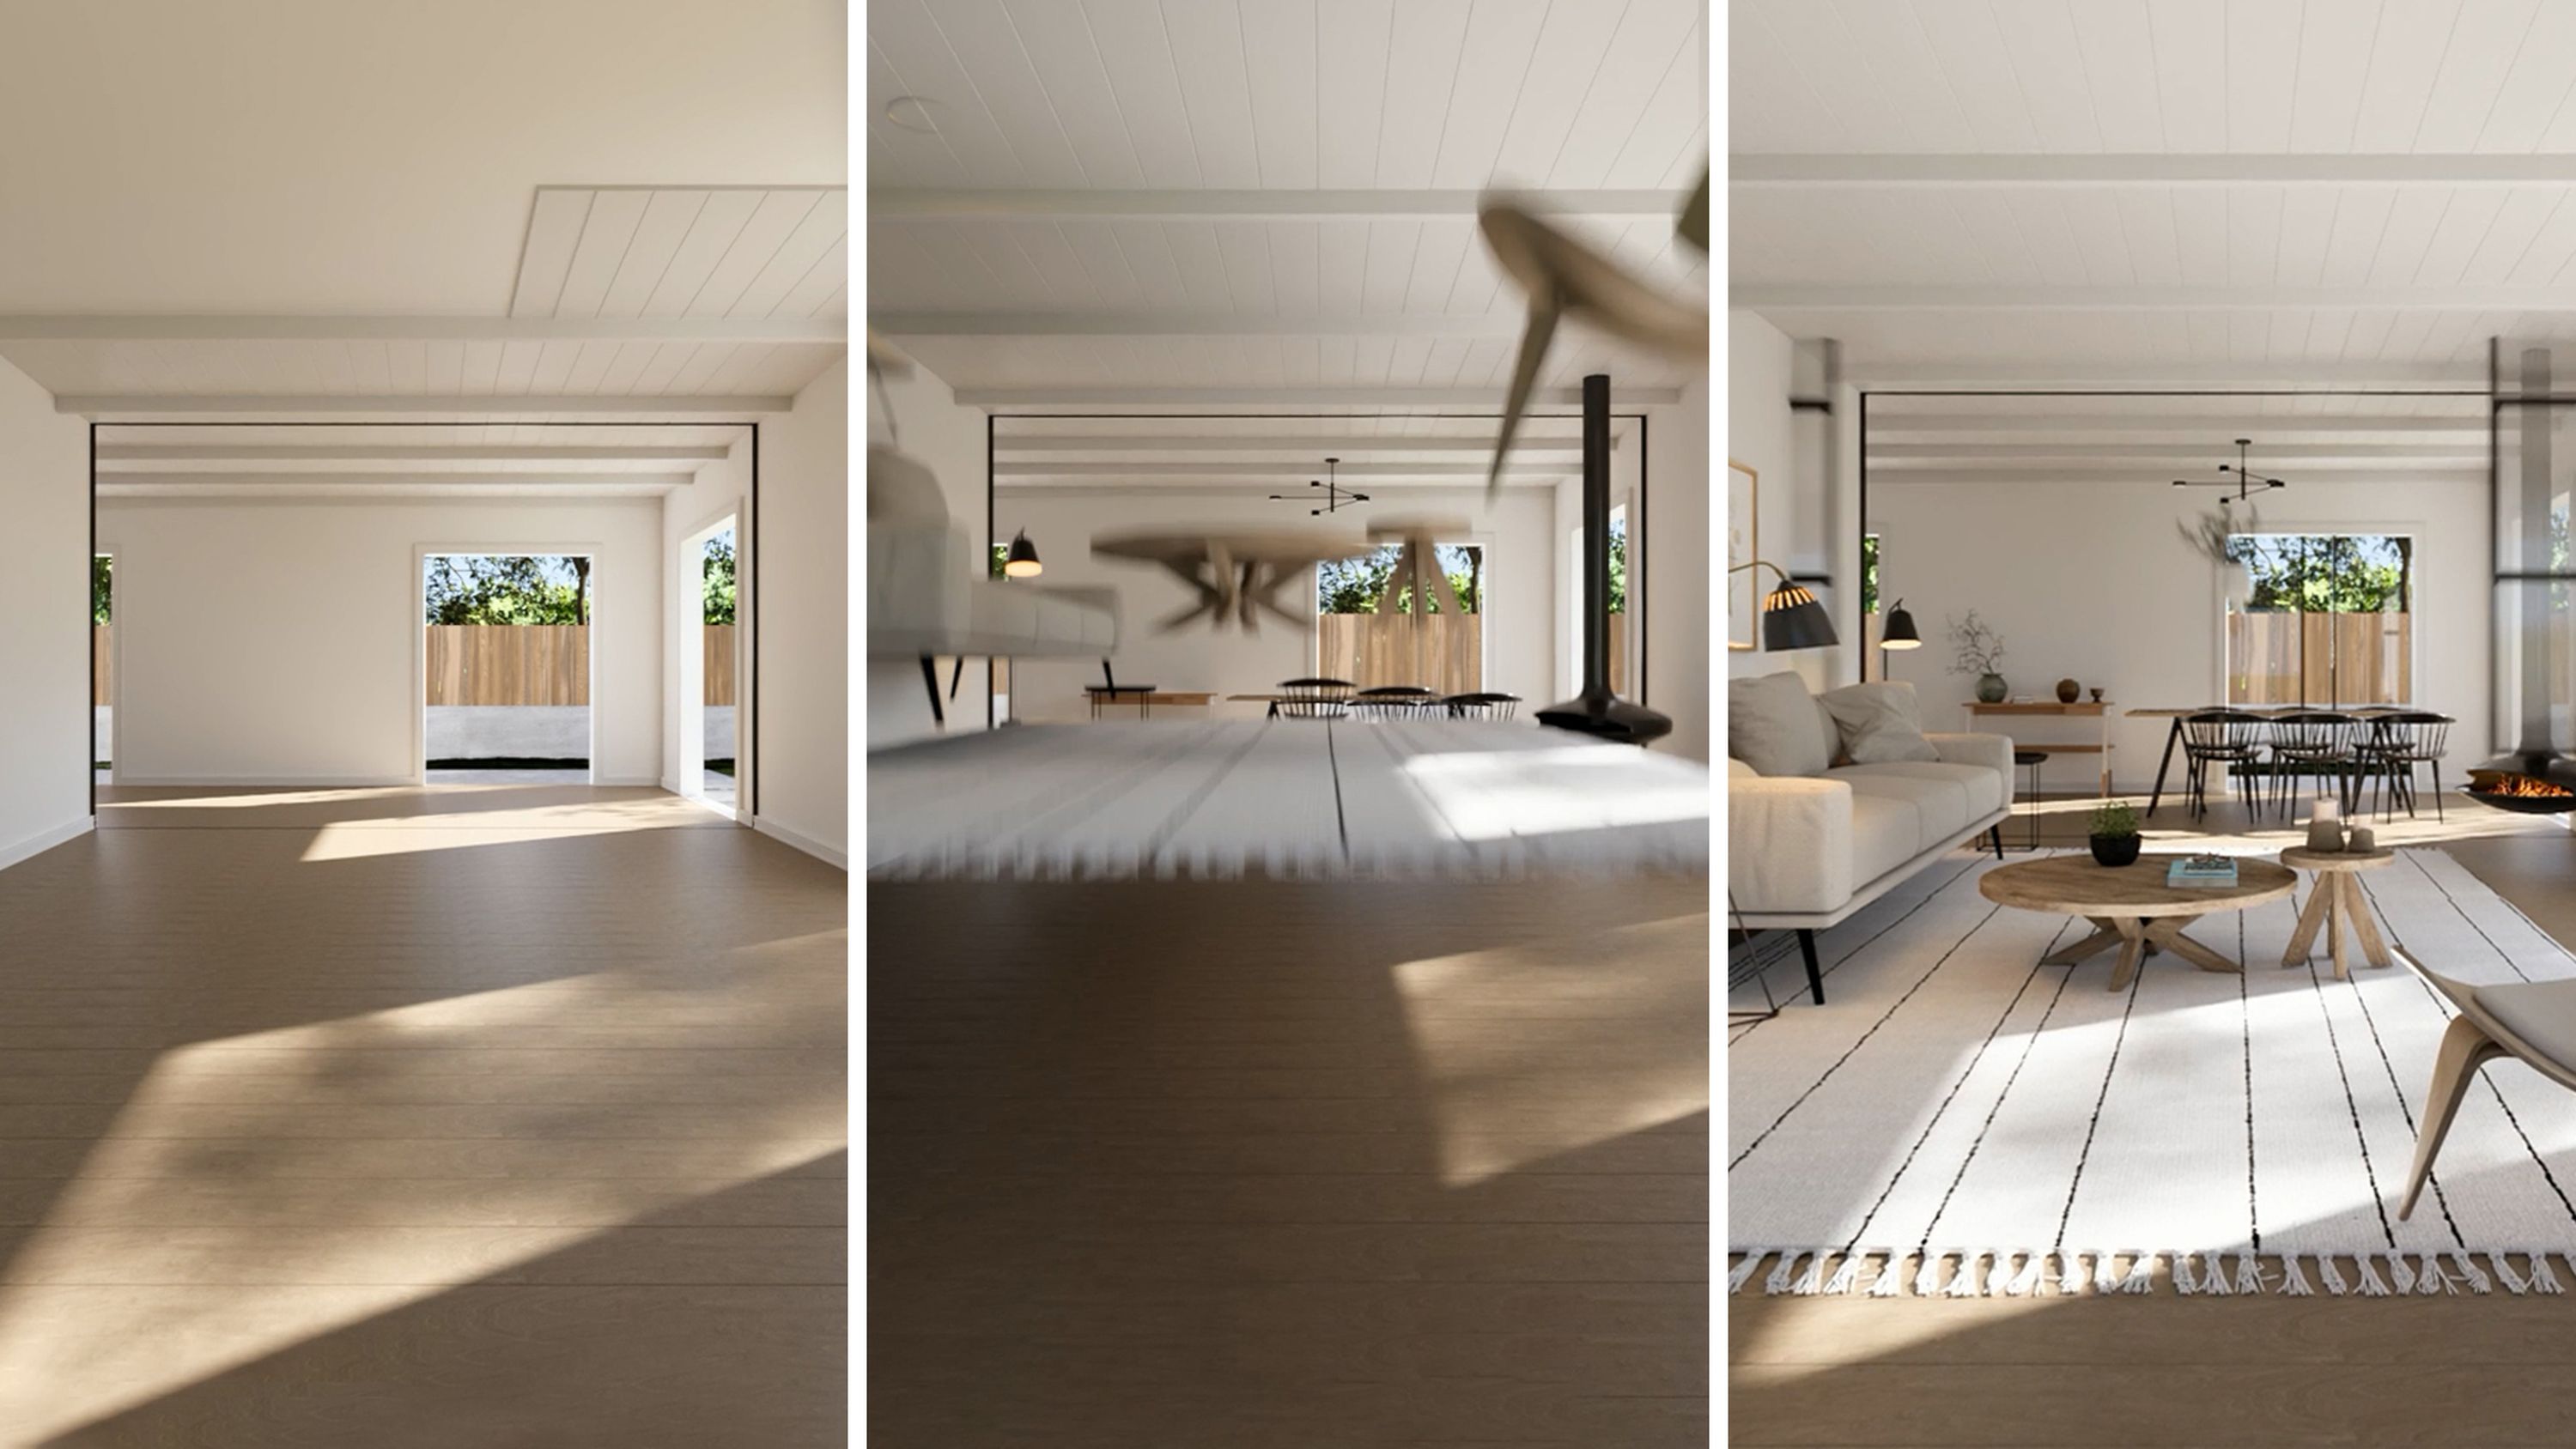
That’s where Lumion’s handheld camera effect comes in. By mimicking how a person would naturally perceive and explore a space, this effect creates immersive, first-person animations that make viewers feel as if they are physically present within the design.
Along with other animation techniques, this simple yet powerful tool can heighten the emotional connection your audience feels. Let’s explore how to use it effectively.
Add realism with natural camera movements
Emulating a real-life handheld camera not only adds a cinematic touch to your animations, it also creates an organic feel by incorporating relatable human-like shakes, pans, and tilts.
Recreating these subtle imperfections in Lumion is simple:
-Set up your camera movement in movie mode by adding keyframes.
-Open the Handheld camera effect in +FX.
-Adjust the Shake strength slider to introduce natural motion.
Pro tip: for first-person walkthroughs, increase the Shake strength slightly to simulate footsteps. This creates a more organic, human-like movement.
Drone flythroughs: handheld camera style
The handheld camera effect also comes in handy for recreating drone-style flythroughs. Introducing subtle shakes and tilts to your camera movements can mimic real-life footage, enabling viewers to feel as though they’re exploring a space first-hand.
By combining the Handheld camera effect with carefully placed keyframes, you can replicate this natural motion for a cinematic, lifelike result. Here’s how:
In movie mode, hit Record to start creating your flythrough sequence.
Adjust your camera keyframes and focal length to match the desired flight path.
Once the animation is complete, copy all used effects (click the three dots next to +FX to copy/paste).
Apply the Handheld camera effect, using the Angle slider to introduce slight side-to-side tilts to recreate a natural flying motion.
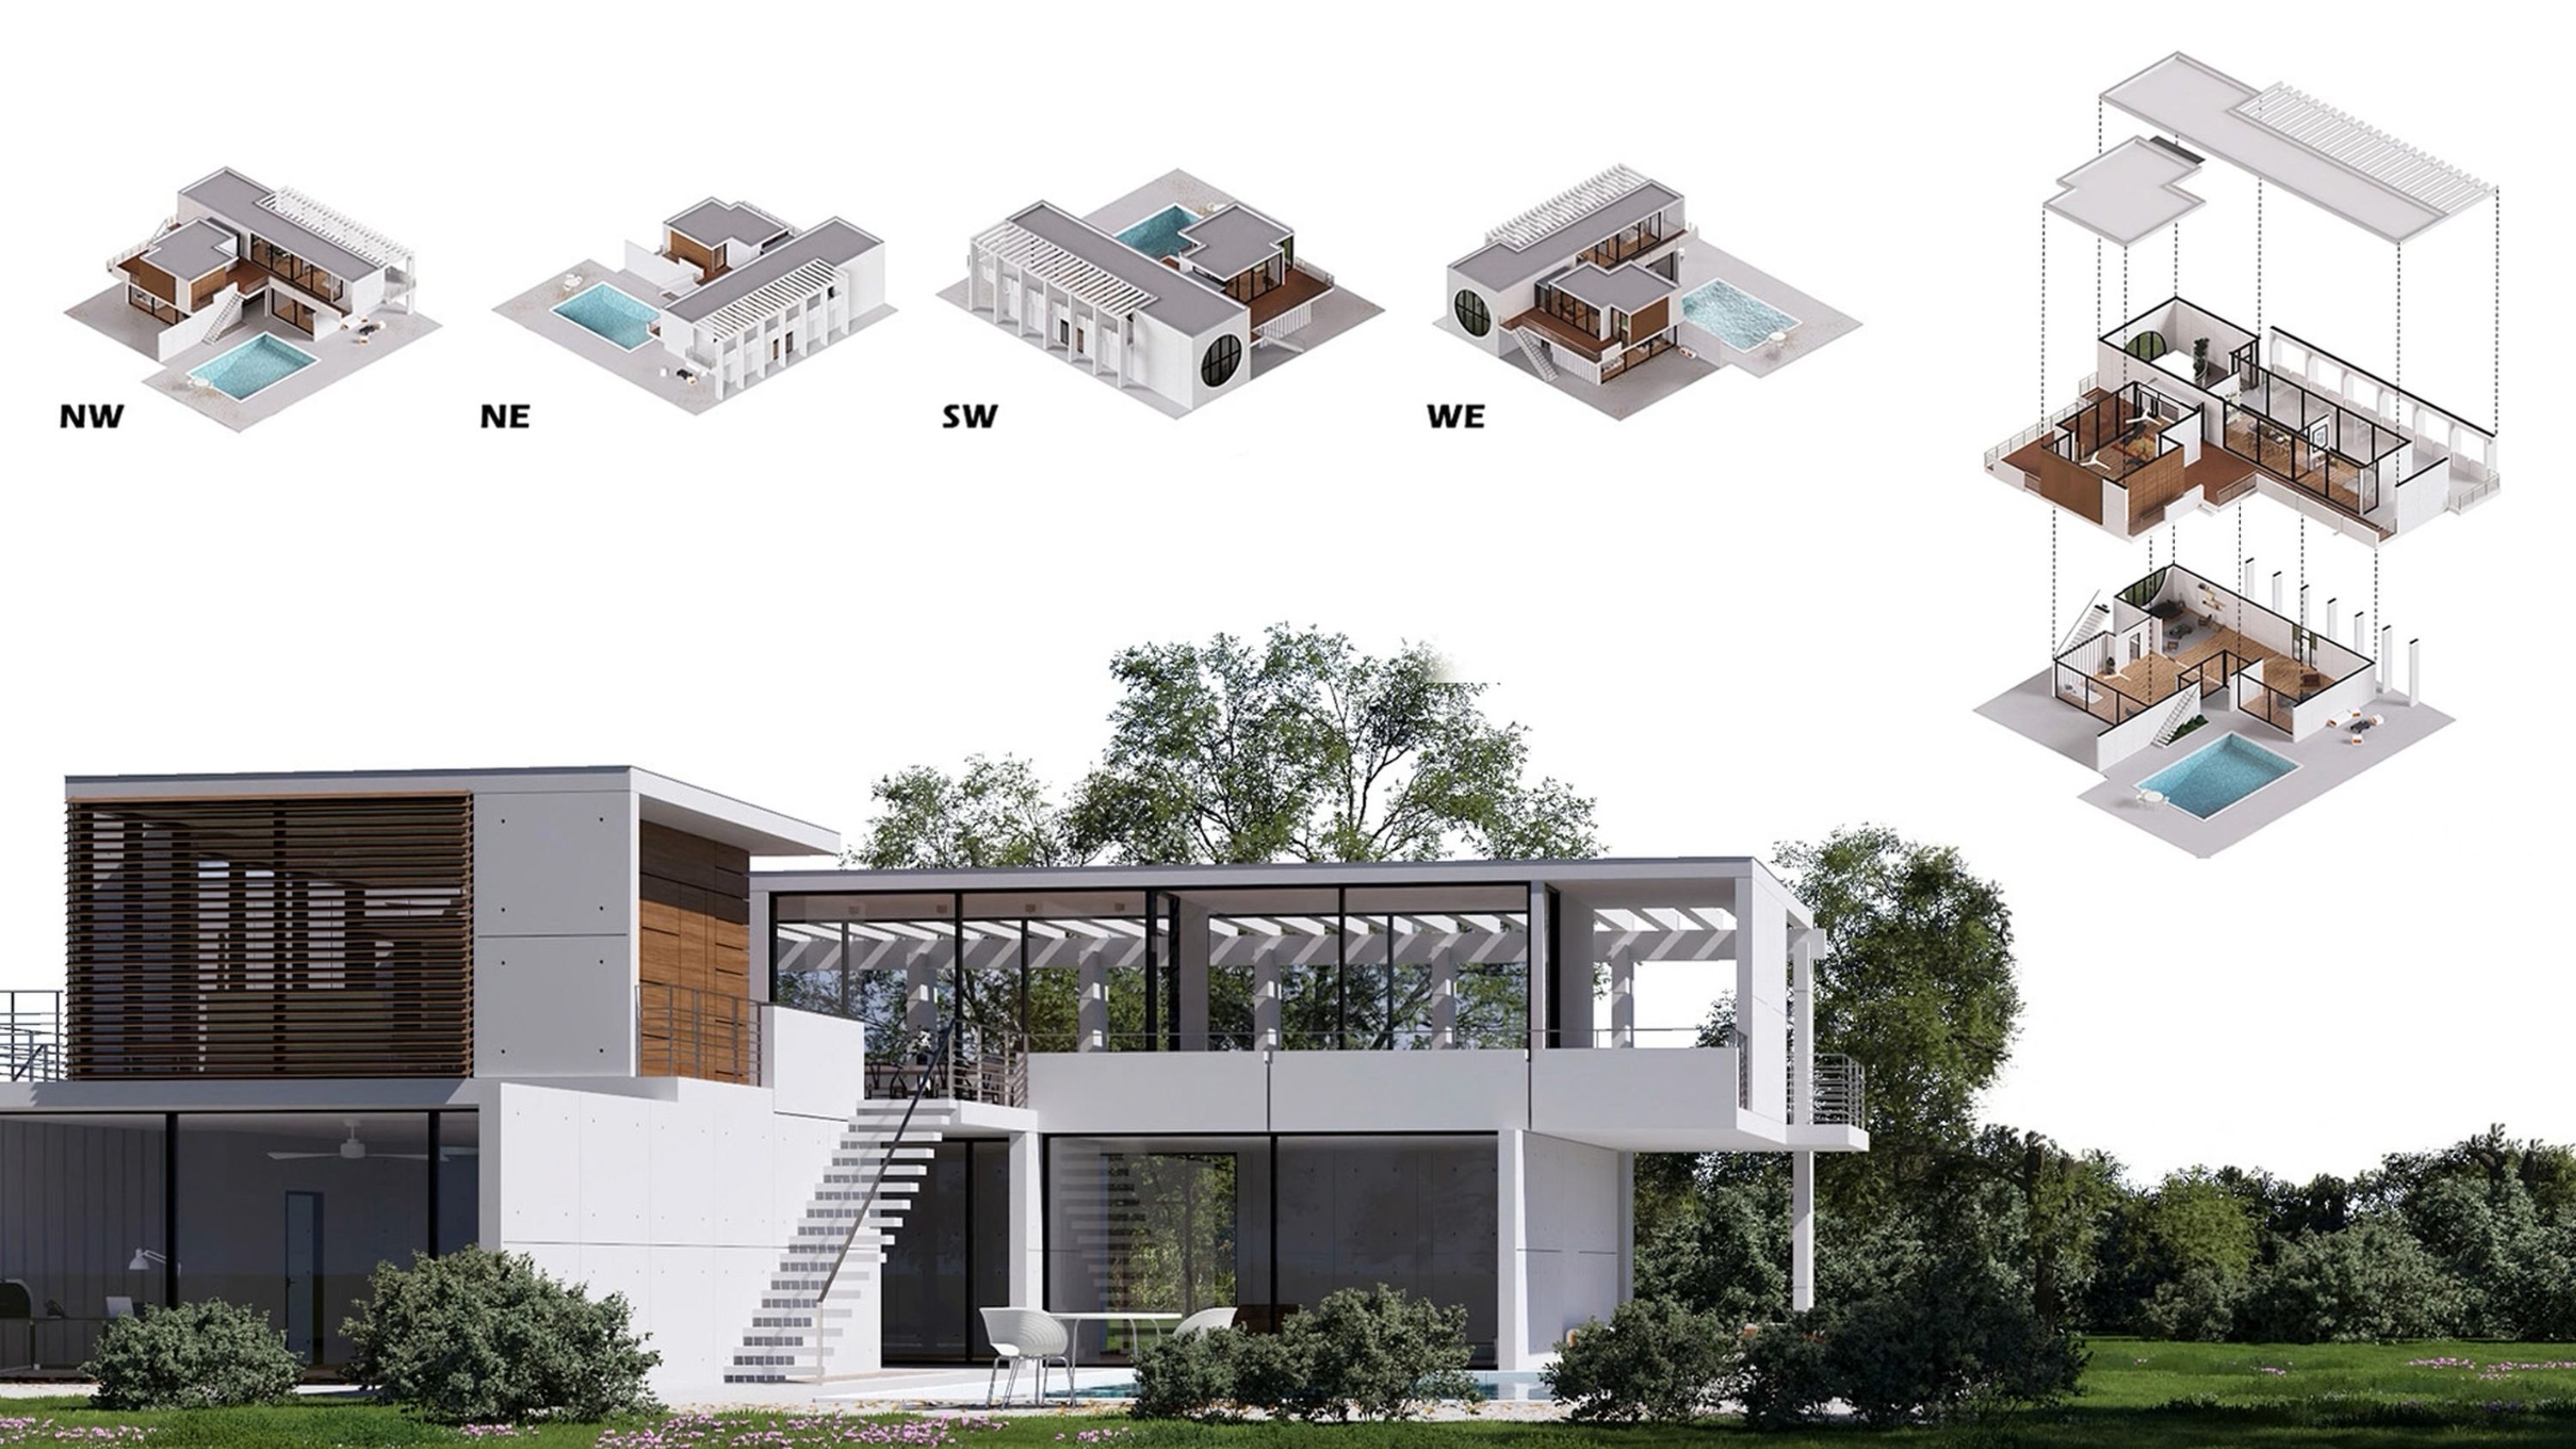
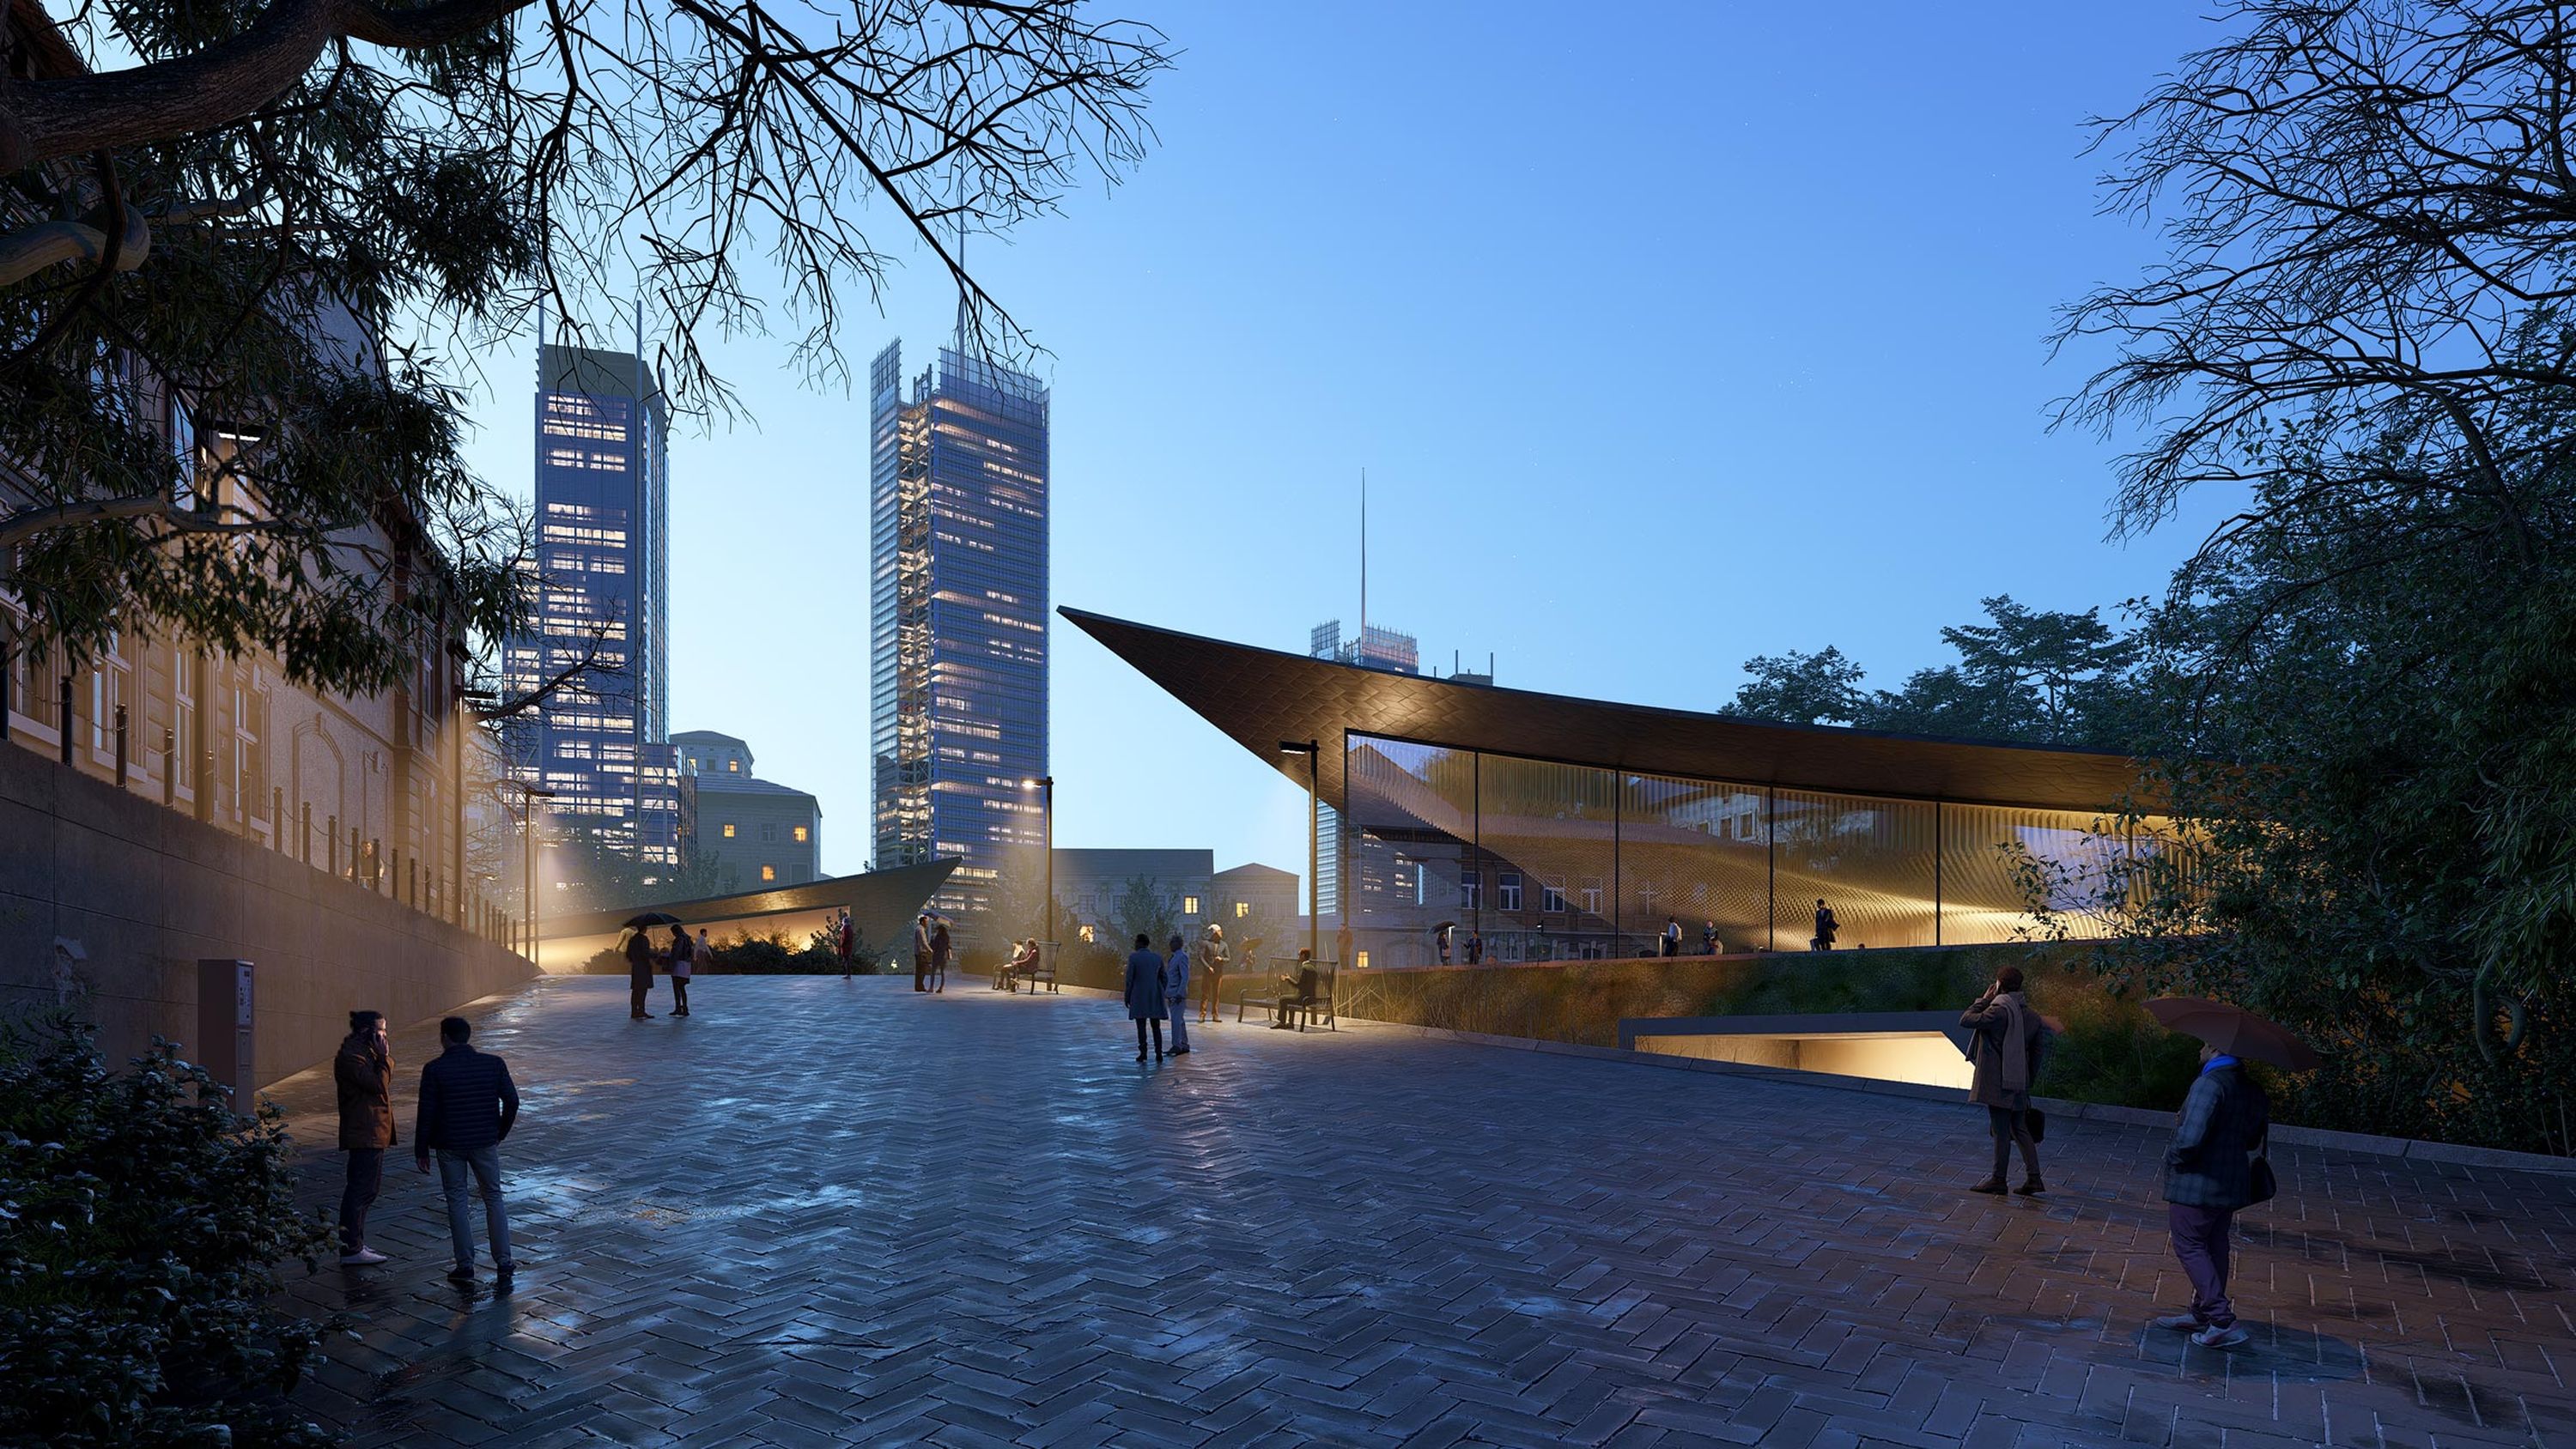
Best used for: large-scale environments like parks, urban developments, and exterior landscapes, where an aerial perspective enhances spatial storytelling.
Speed shifts: cinematic transitions
Speed ramp is a popular technique involving dynamic changes of camera speeds within a single sequence. Used effectively, it can highlight key design features, create smooth transitions, and add a cinematic touch to your animations.
This effect can be recreated in Lumion’s movie mode. Here's how:
Select the camera keyframes where you want the speed transition to happen.
Adjust the clip duration accordingly.
Use the Ease in/out smooth or Ease in/out linear buttons:
Smooth: gradually accelerates or decelerates the speed for a natural transition.
Linear: maintains a constant speed for a clean, uninterrupted movement.
Best used for: highlighting architectural features, interior details, or shifting perspectives between different spaces in a seamless flow.
Ready to animate like a Pro?
There you have it—three powerful techniques to take your animations to the next level. Whether you’re bringing spaces to life with handheld camera effects, creating stunning drone flythroughs, or adding cinematic speed shifts, these tools will help you craft compelling, immersive visuals in minutes.
Now it’s your turn—try them out today with a free 14-day Lumion Pro trial and see the difference for yourself.