Scene-building shortcuts: OpenStreetMap
Learn how to place your design in specific real-world context
See the big picture
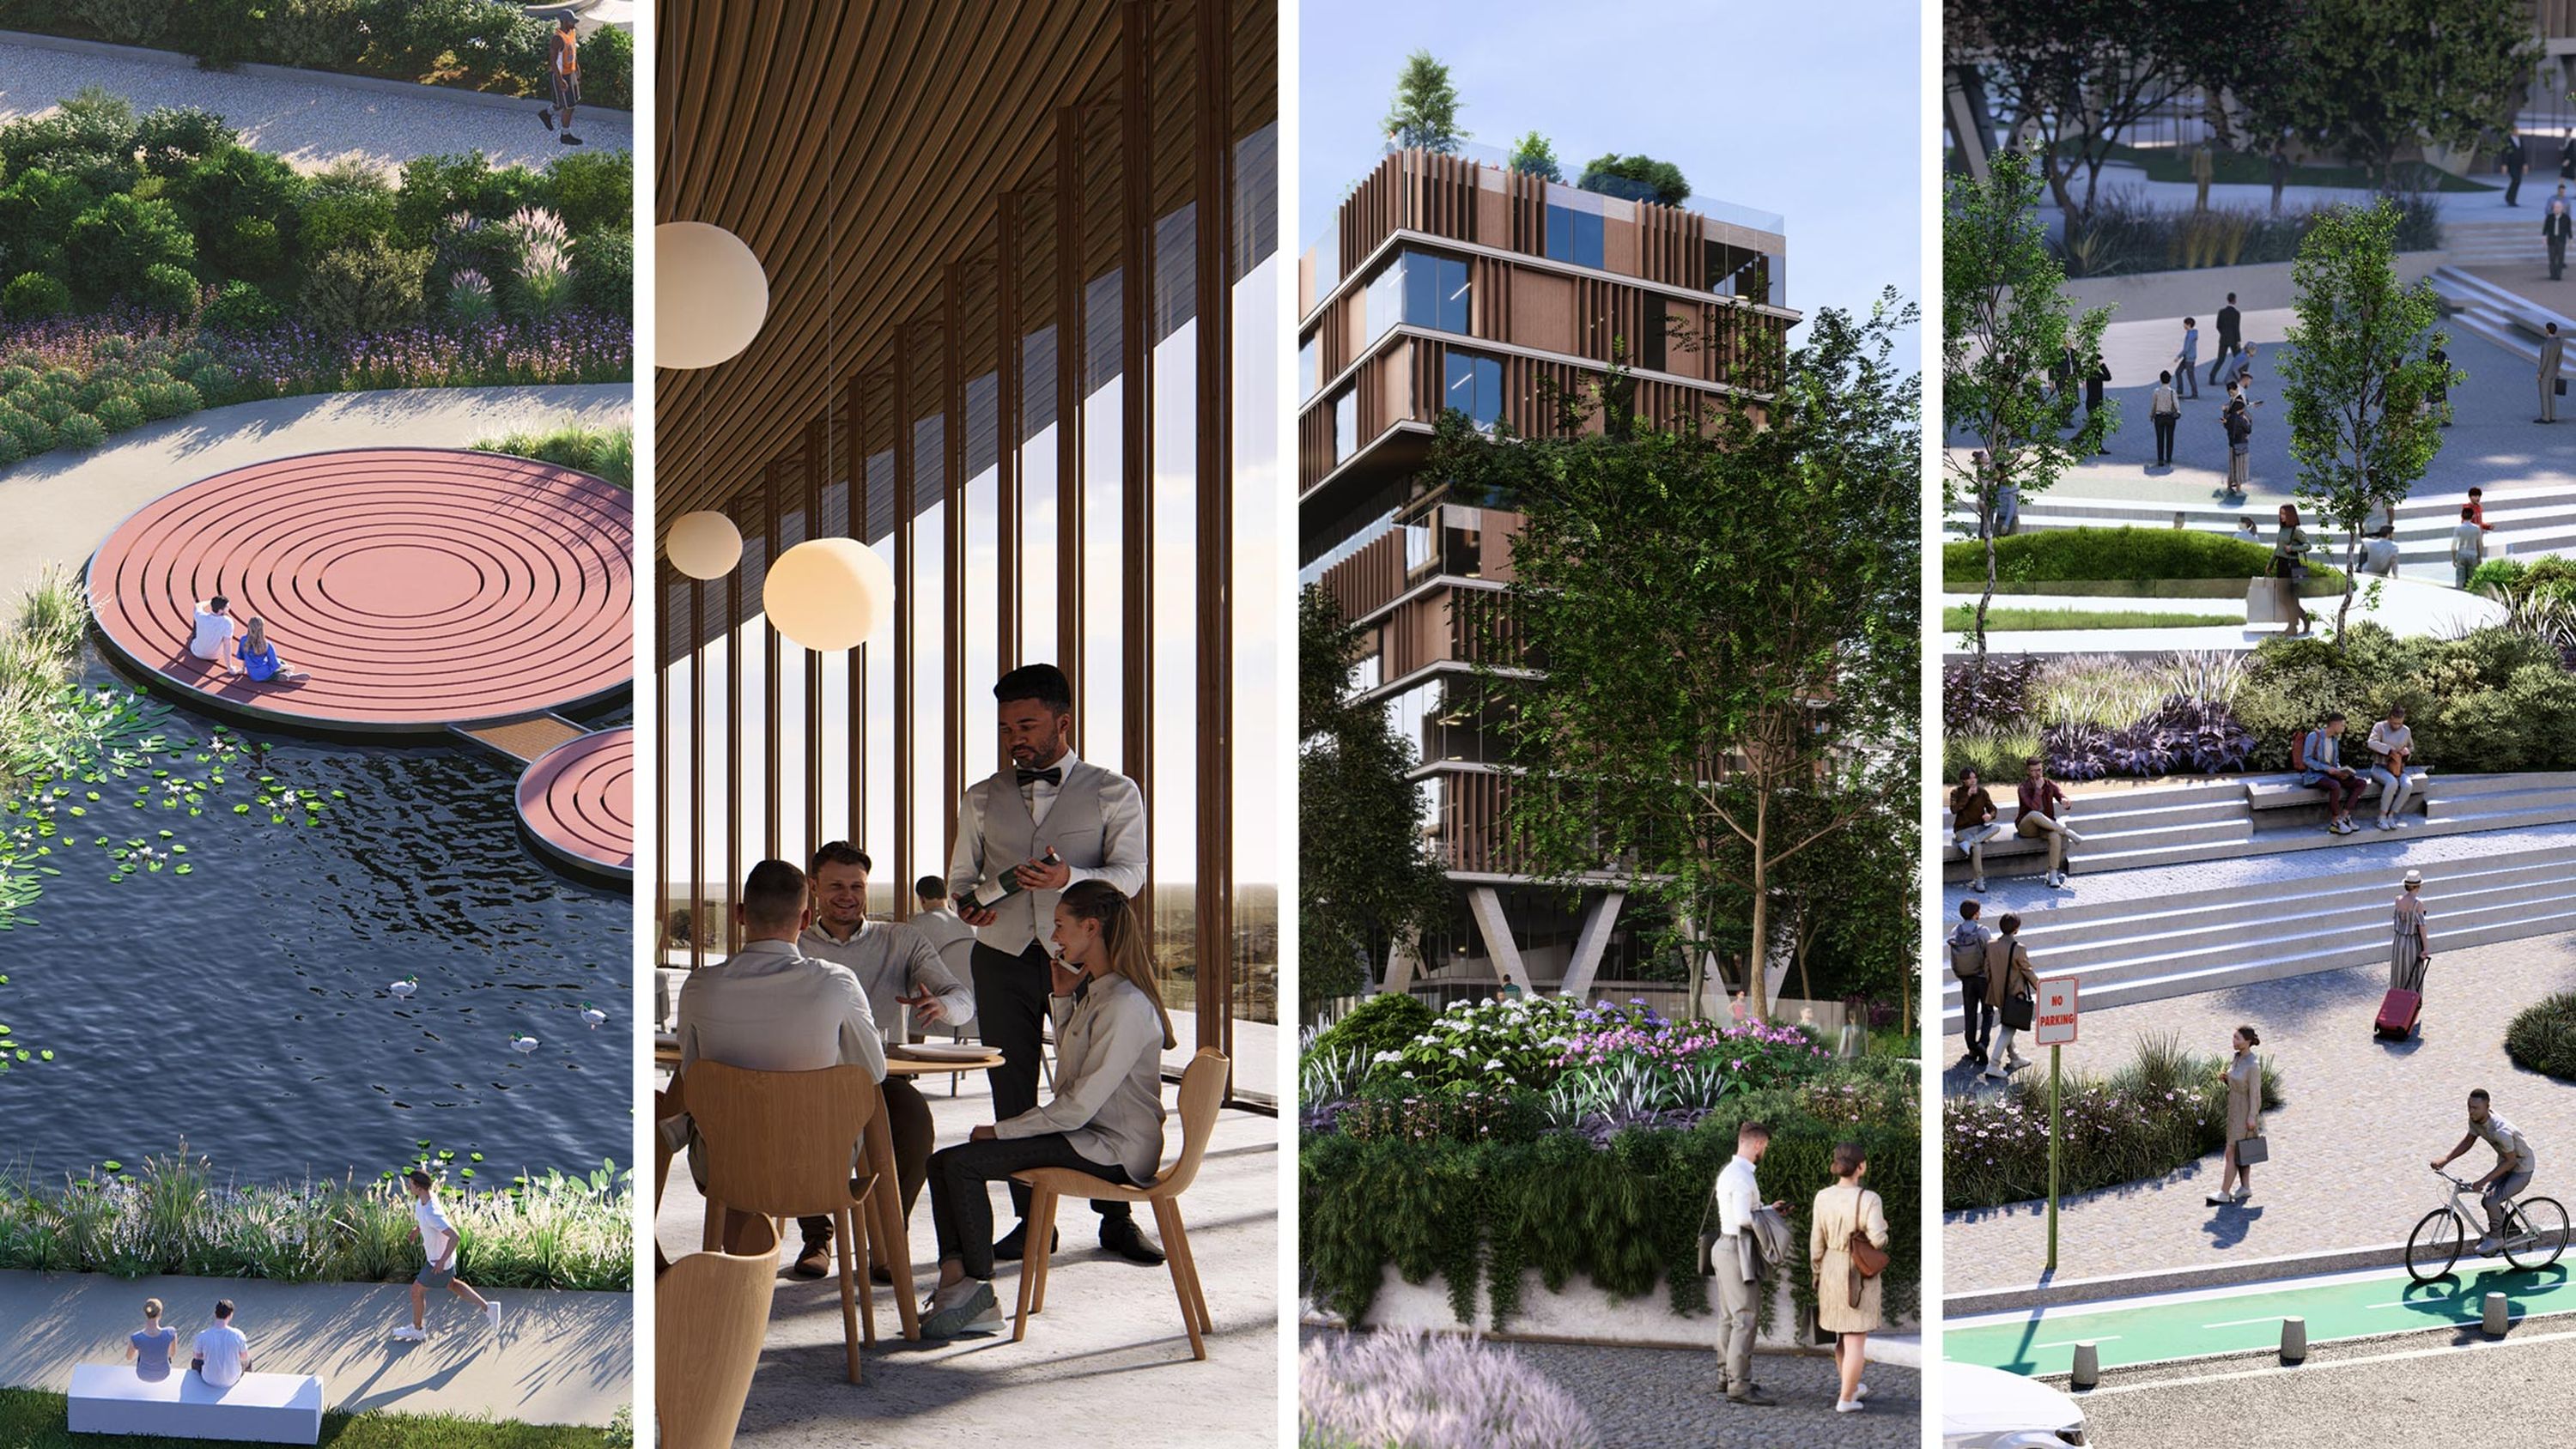
Context is crucial for creating compelling visualizations. By situating your design within its future environment, you'll gain valuable insights into both its visual and functional aspects, including scale, natural lighting, and terrain integration.
OpenStreetMap offers a straightforward and powerful way of making this happen. In this guide, we'll walk you through the process of using OpenStreetMap in your visualizations, from selecting the perfect location to shaping the landscape to your liking. Keep reading to delve deeper.
Choose your location
From the Landscape tab, click the OpenStreetMap button and switch it on with the toggle. Click on Pick GPS coordinate to enter your chosen location. A map will appear, with the option to either select a location or search for one. You can also enter coordinates into the search bar if you know them.
The OSM range slider can be tweaked to adjust the radius of the area, and the OSM orientation slider can be used to rotate it. As you modify the range, you’ll see a blue circle around your chosen location increasing or decreasing in size – this is the area that will be downloaded. As you change the orientation, you’ll see a blue arrow rotating – this represents the camera position in your scene.
Flick on the Download heightmaps toggle to include elevation data, and Clamp heightmaps to set the lowest point in the heightmap to 0. The Download satellite maps toggle allows you to include satellite imagery in your landscape. When you’re ready, hit Start OSM download.
Customize your map
Now you’ve placed an entire city or suburb in your scene, it’s time to make it your own.
There are a number of settings you can play with here, including hiding or displaying certain features. To do this, simply check or uncheck the Toggle visibility box next to water, earth, buildings, land use, roads, or satellite.
To the right of these options, you’ll see a Toggle building visibility option. This allows you to decide which specific buildings are displayed or hidden from your scene. Click the button, then select your chosen buildings – they'll go black when they’re visible and display red stripes when hidden. Finish off by hitting the check mark.
You’ll also find a Select preset button in the toolbar. Click this and flick the options to find the perfect look for your scene.
Next, use the Buildings minimal height and Randomize buildings height sliders to adjust and randomize the height of any buildings that use default heights as opposed to real-world heights. And lastly, adjust the Buildings alpha slider to set the buildings’ transparency level.
Tweak the terrain
With the scene set, let’s focus on shaping the landscape. You can do this from the same Landscape tab, and by clicking the Height button to the far left of the toolbar.
This tool lets you raise, lower, flatten, jitter, or smoothen the landscape, to ensure it’s exactly as you want it. Adjust the brush size and speed using the sliders, then left-click and hold as you apply your desired changes with your mouse. You can always undo your changes or flatten the landscape using the buttons to the right.
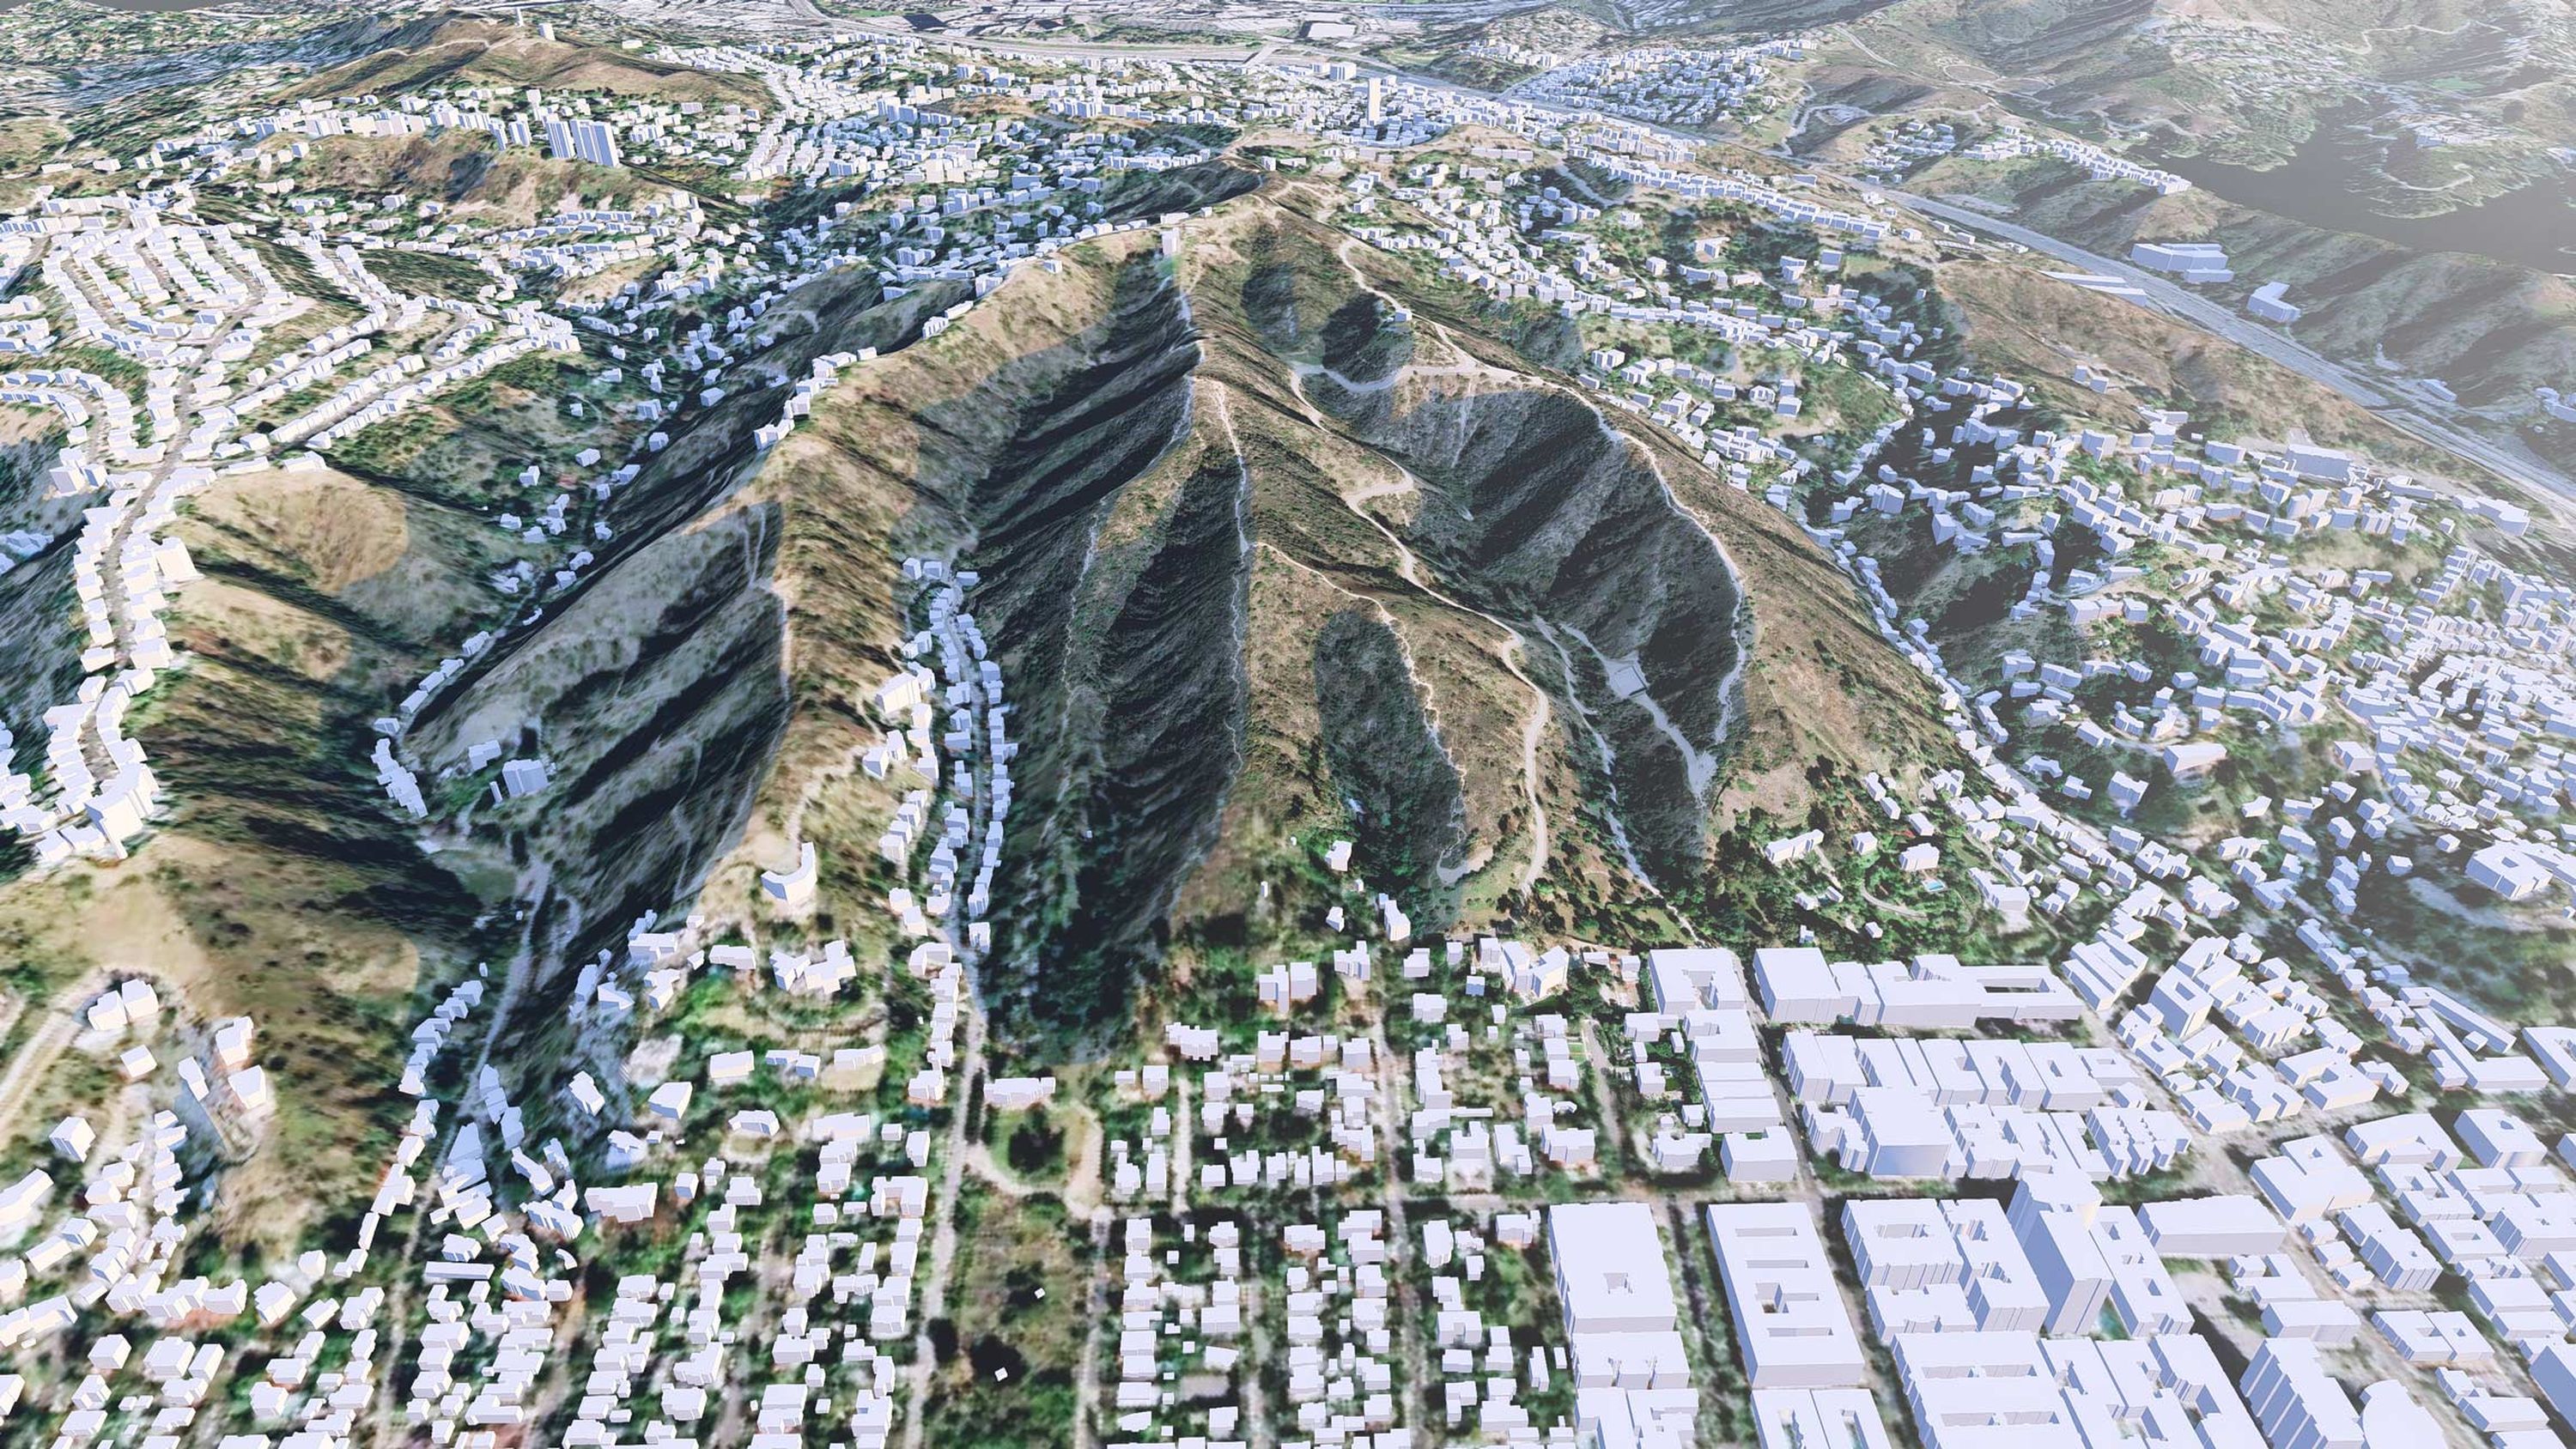
Recreate any city
Paris. New York. Tokyo. With OpenStreetMap, you can seamlessly integrate any city in the world into your renders. In just a few clicks, you can download detailed maps of any area you can imagine, unlocking a simple and speedy way of recreating entire cities in virtual form.
Whether for urban planning or design presentations, OpenStreetMap lets you populate your scenes with large-scale cityscapes without compromising performance. Transform iconic locations into captivating, immersive experiences – all with next-level efficiency.
Follow along for free
Want to give OpenStreetMap a try? If you don’t have a Lumion Subscription, you still can – simply take out a free 14-day Lumion Pro trial.