Animating architecture: essential storytelling techniques in Lumion Pro
A comprehensive overview of Lumion Pro’s immersive animation effects
Lights, camera, action
Whether you're creating a walkthrough, adding dynamic lighting, or showcasing a design's evolution, animation tells the story of your design in a way that static images simply can’t.
It’s the most powerful way to communicate your vision—adding motion to your renders helps clearly convey design intentions, highlight key features, and create more engaging presentations.
In Lumion Pro, there are multiple ways to achieve this. We’ve compiled some essential guides to working with animation effects, demonstrating how to create phasing and layer animations, camera paths, handheld camera effects, and animated lighting. Let’s dive in!
If you want to follow along, get a free Lumion Pro trial now, then open a new project and test out these techniques for yourself.
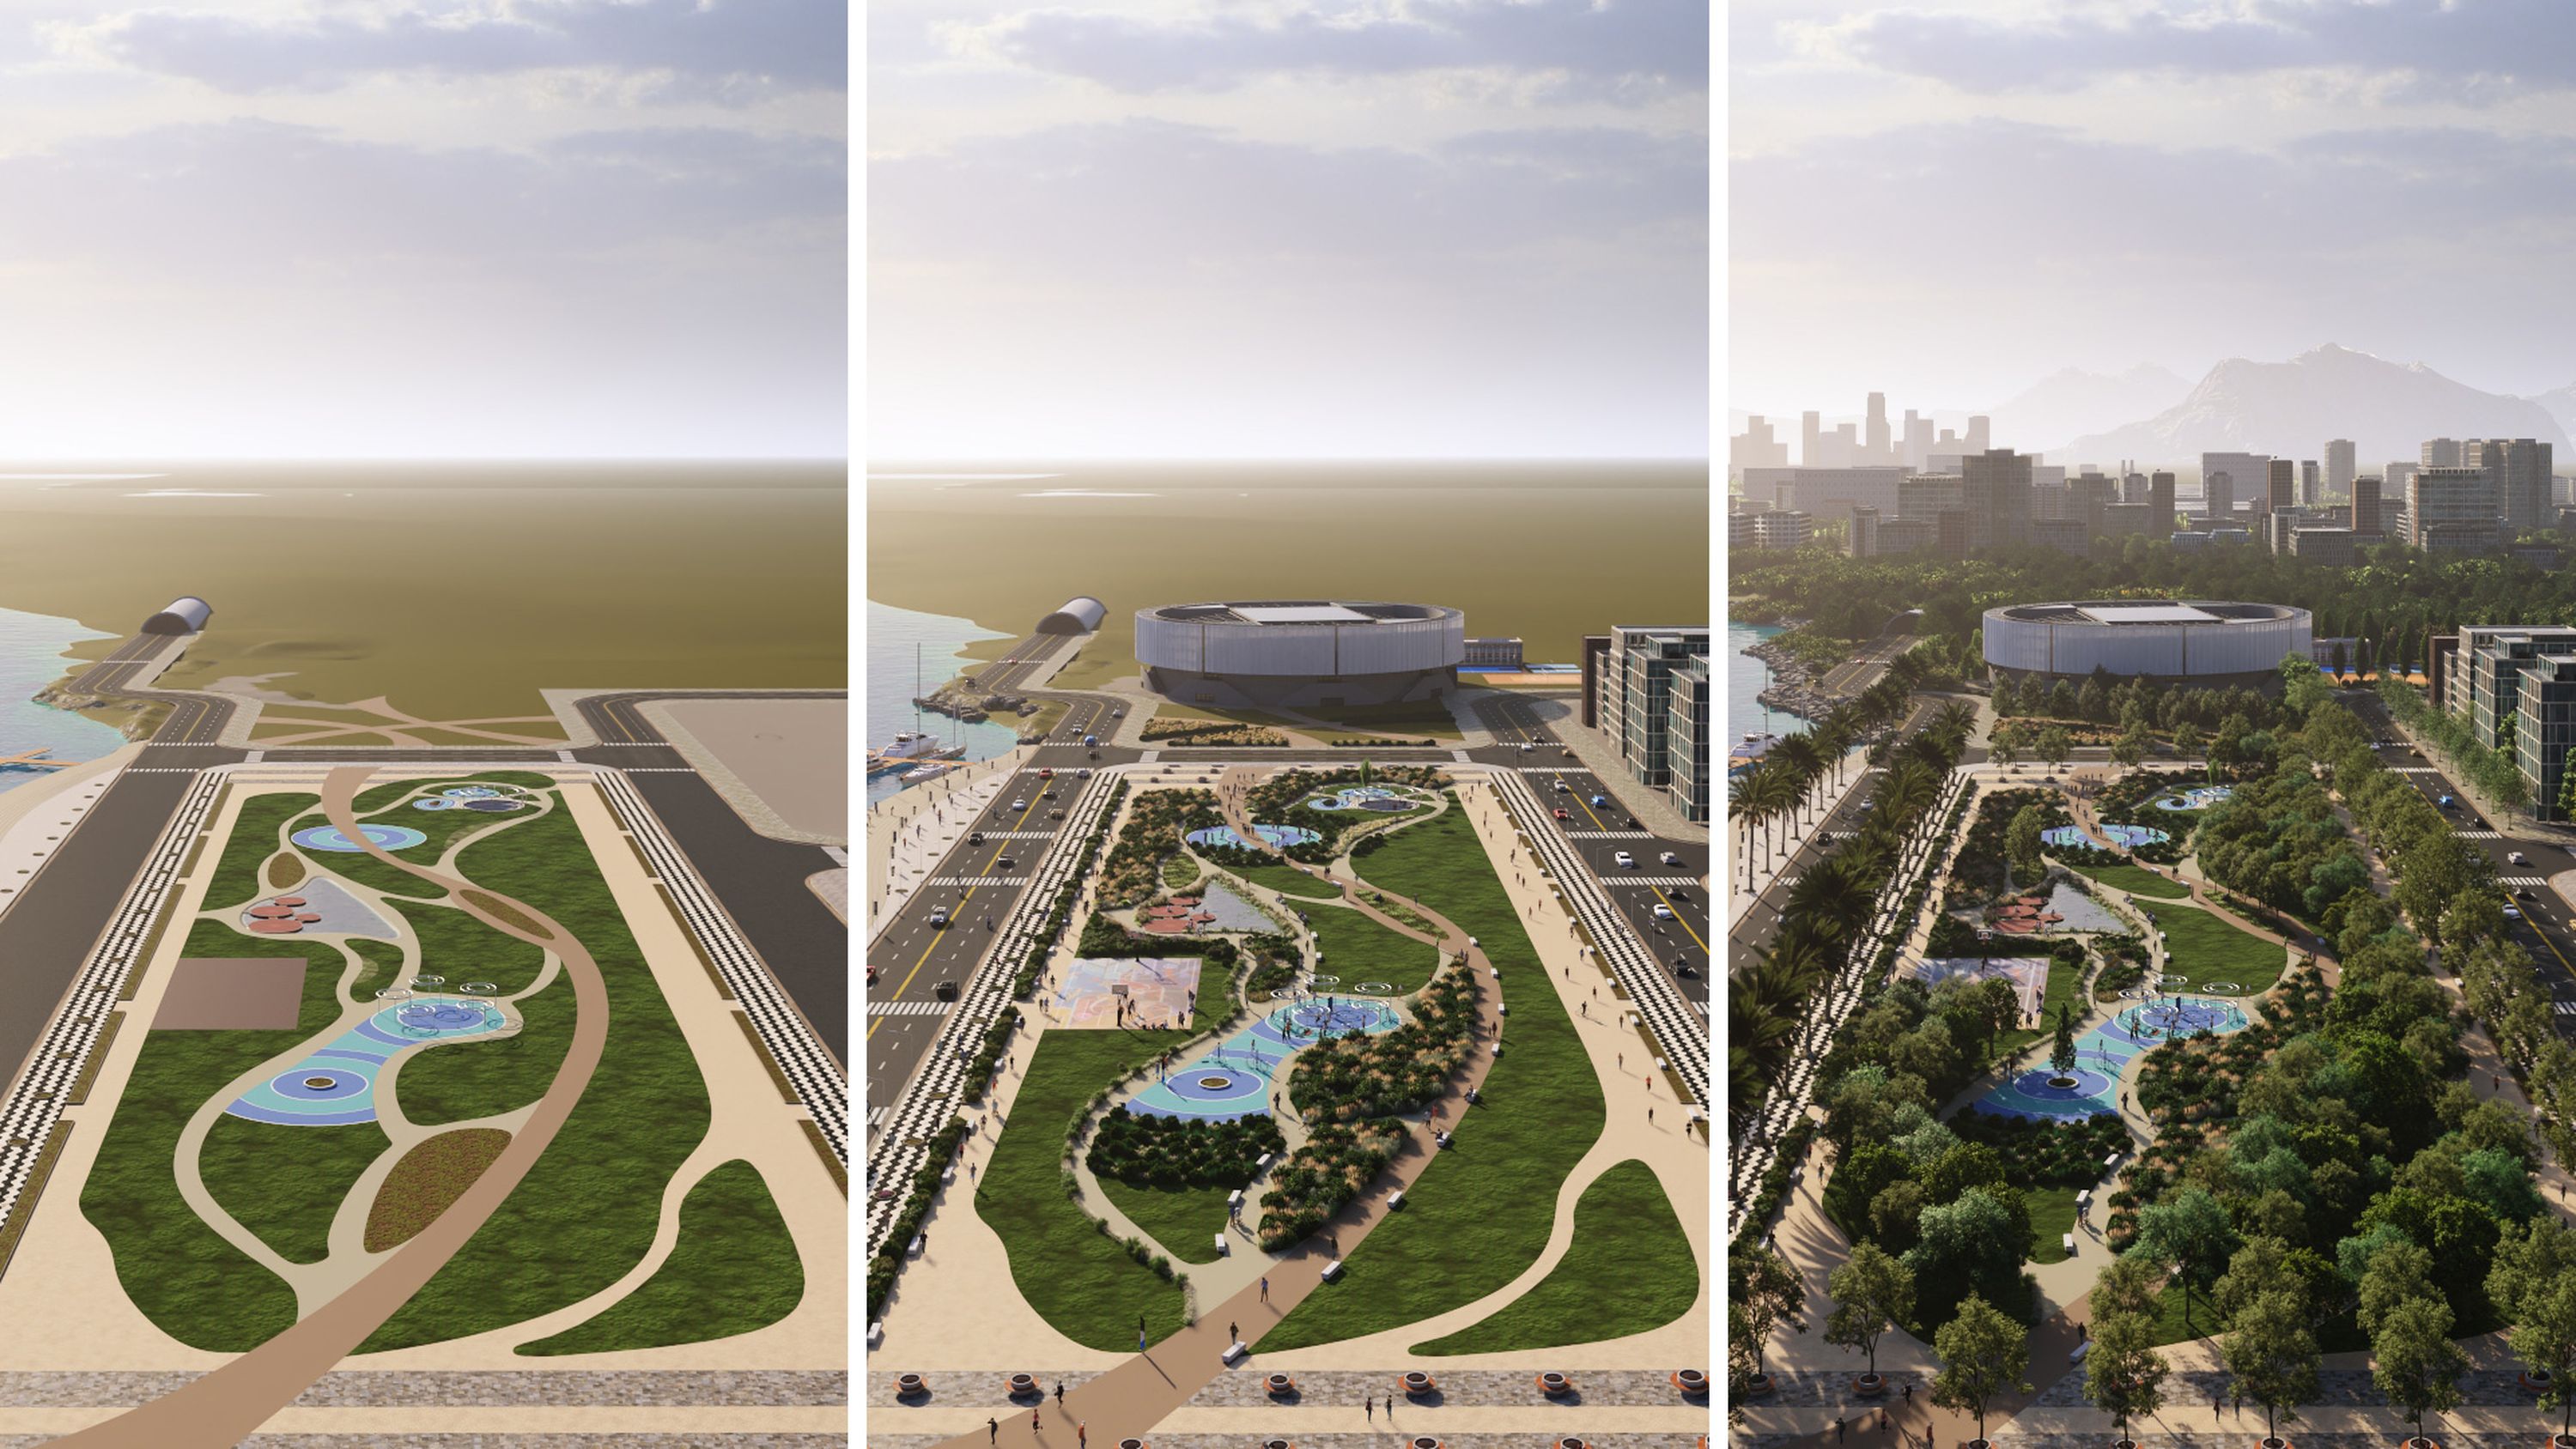
See it all fall into place: phasing animations
Phasing animations allow you to show the evolution of a space over time, providing clients with an immersive understanding of how a design comes together.
In just three steps—importing objects, assigning them to layers, and adding the animated phasing effect—you can create a dynamic visual timeline that clearly illustrates each stage of a design's transformation.
Find out how to produce your own in this step-by-step guide.
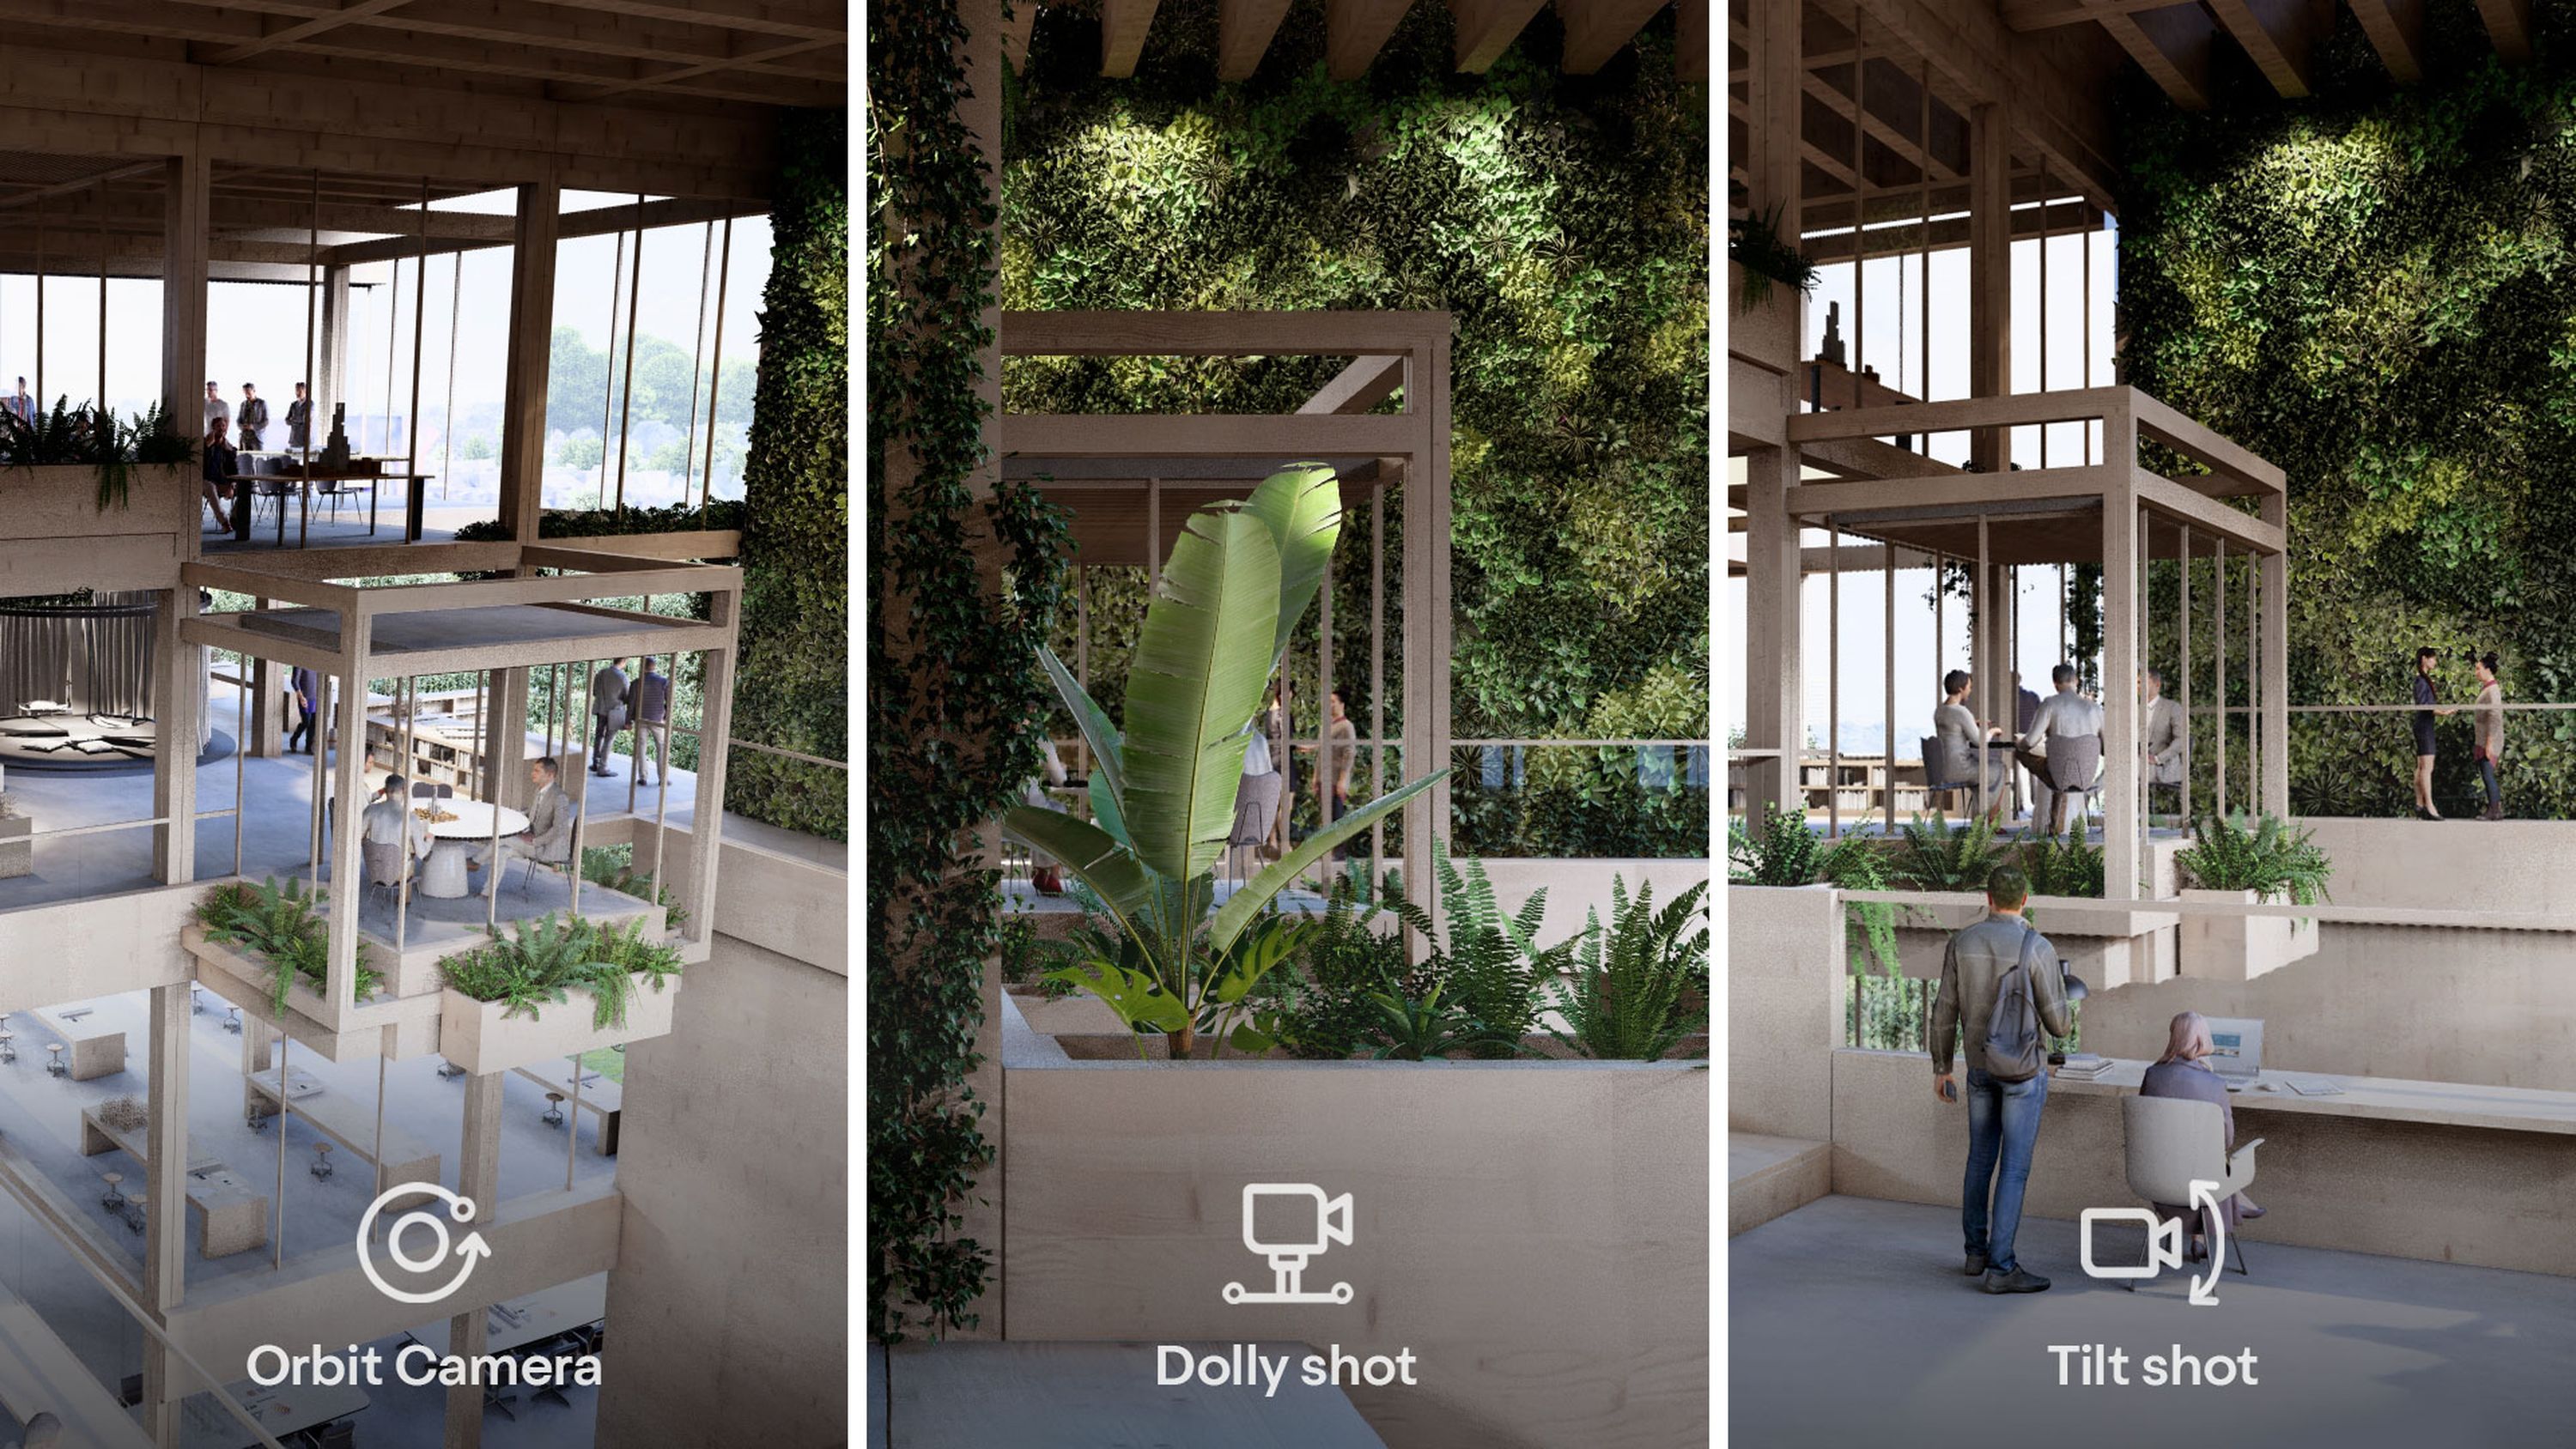
From static to cinematic: custom & preset camera paths
Using camera paths is a powerful way to highlight key aspects of your project and create engaging visual presentations. With Lumion Pro’s predefined camera paths, you can effortlessly produce professional-looking animations—whether it's an orbit, dolly, pan/tilt, or follow-object shot—that showcase your design with cinematic motion.
If you have your own camera path in mind, creating a custom one gives you full control over how viewers experience your design, letting you craft a narrative that highlights key spatial features and certain design elements. By getting creative with shot speed, angles, and transitions, you can evoke the exact emotions and atmosphere you’re aiming for. Check out the steps to creating your own custom camera path with 3ds Max and Lumion Pro in this handy guide.
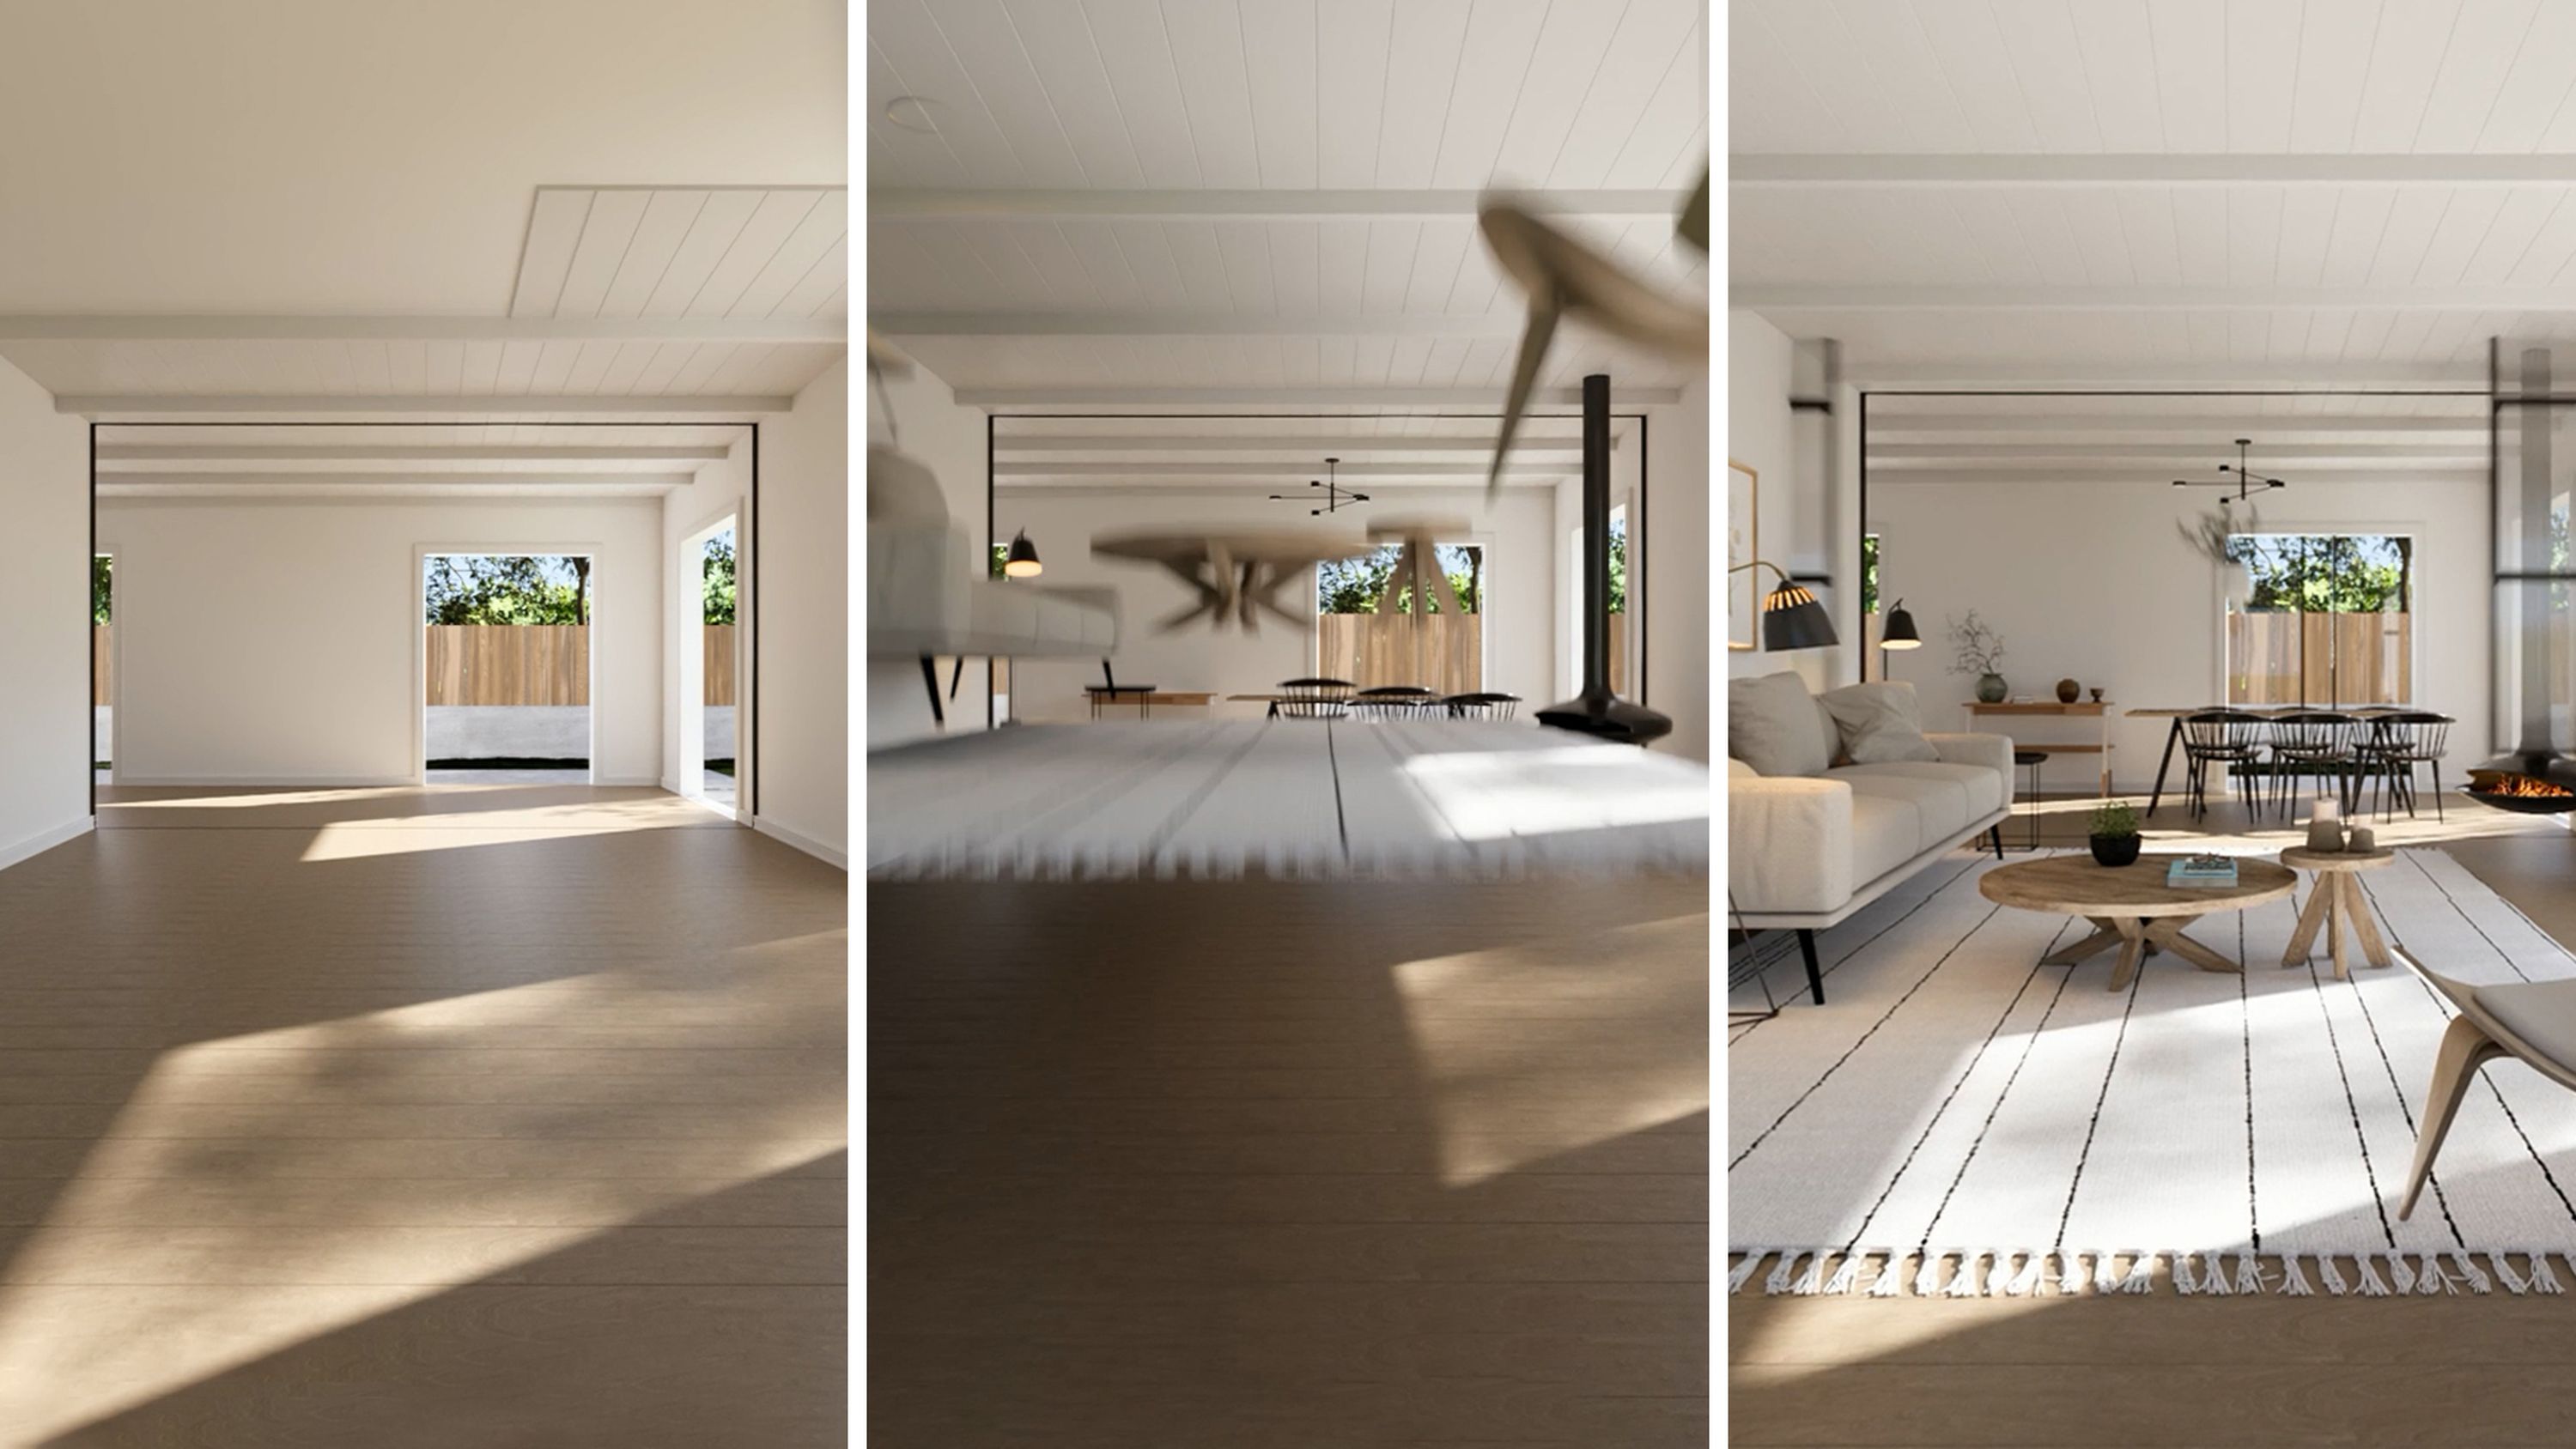
Add a human touch: the handheld camera effect
Sometimes, overly polished animations can lack the human touch that makes a design resonate. Lumion Pro's handheld camera effect addresses this by mimicking how a person naturally perceives and explores a space, allowing you to create immersive, first-person animations. Learn how to use this effect—and combine it with others—to produce captivating walkthroughs, drone flythroughs, and speed ramp sequences.
Unveil your vision: layer animations
Layer animation cleverly demonstrates how elements of a design come together over time. By revealing each component one by one, viewers can better focus on specific details for a clearer overall understanding of the project. In just a few simple steps, you can create impactful layer animations that captivate.
Organize your layers, set your camera motion, add effects, and use keyframes in the layer visibility effect to animate each layer appearing.
Find each step explained in detail over in our step-by-step guide to mastering layer animations.
Brighten any scene: animated lights
Dynamic lighting can transform a render, setting the mood and serving as a powerful storytelling device. Creating simple animated light sequences can help demonstrate your design's potential in a fun, engaging way.
Want to know how to do it? Just set your camera motion with keyframes, choose your lighting color, and use animated phasing to bring it all to life—it’s quick and easy!
Follow along with this guide to see how we created a short but impactful movie of our own.
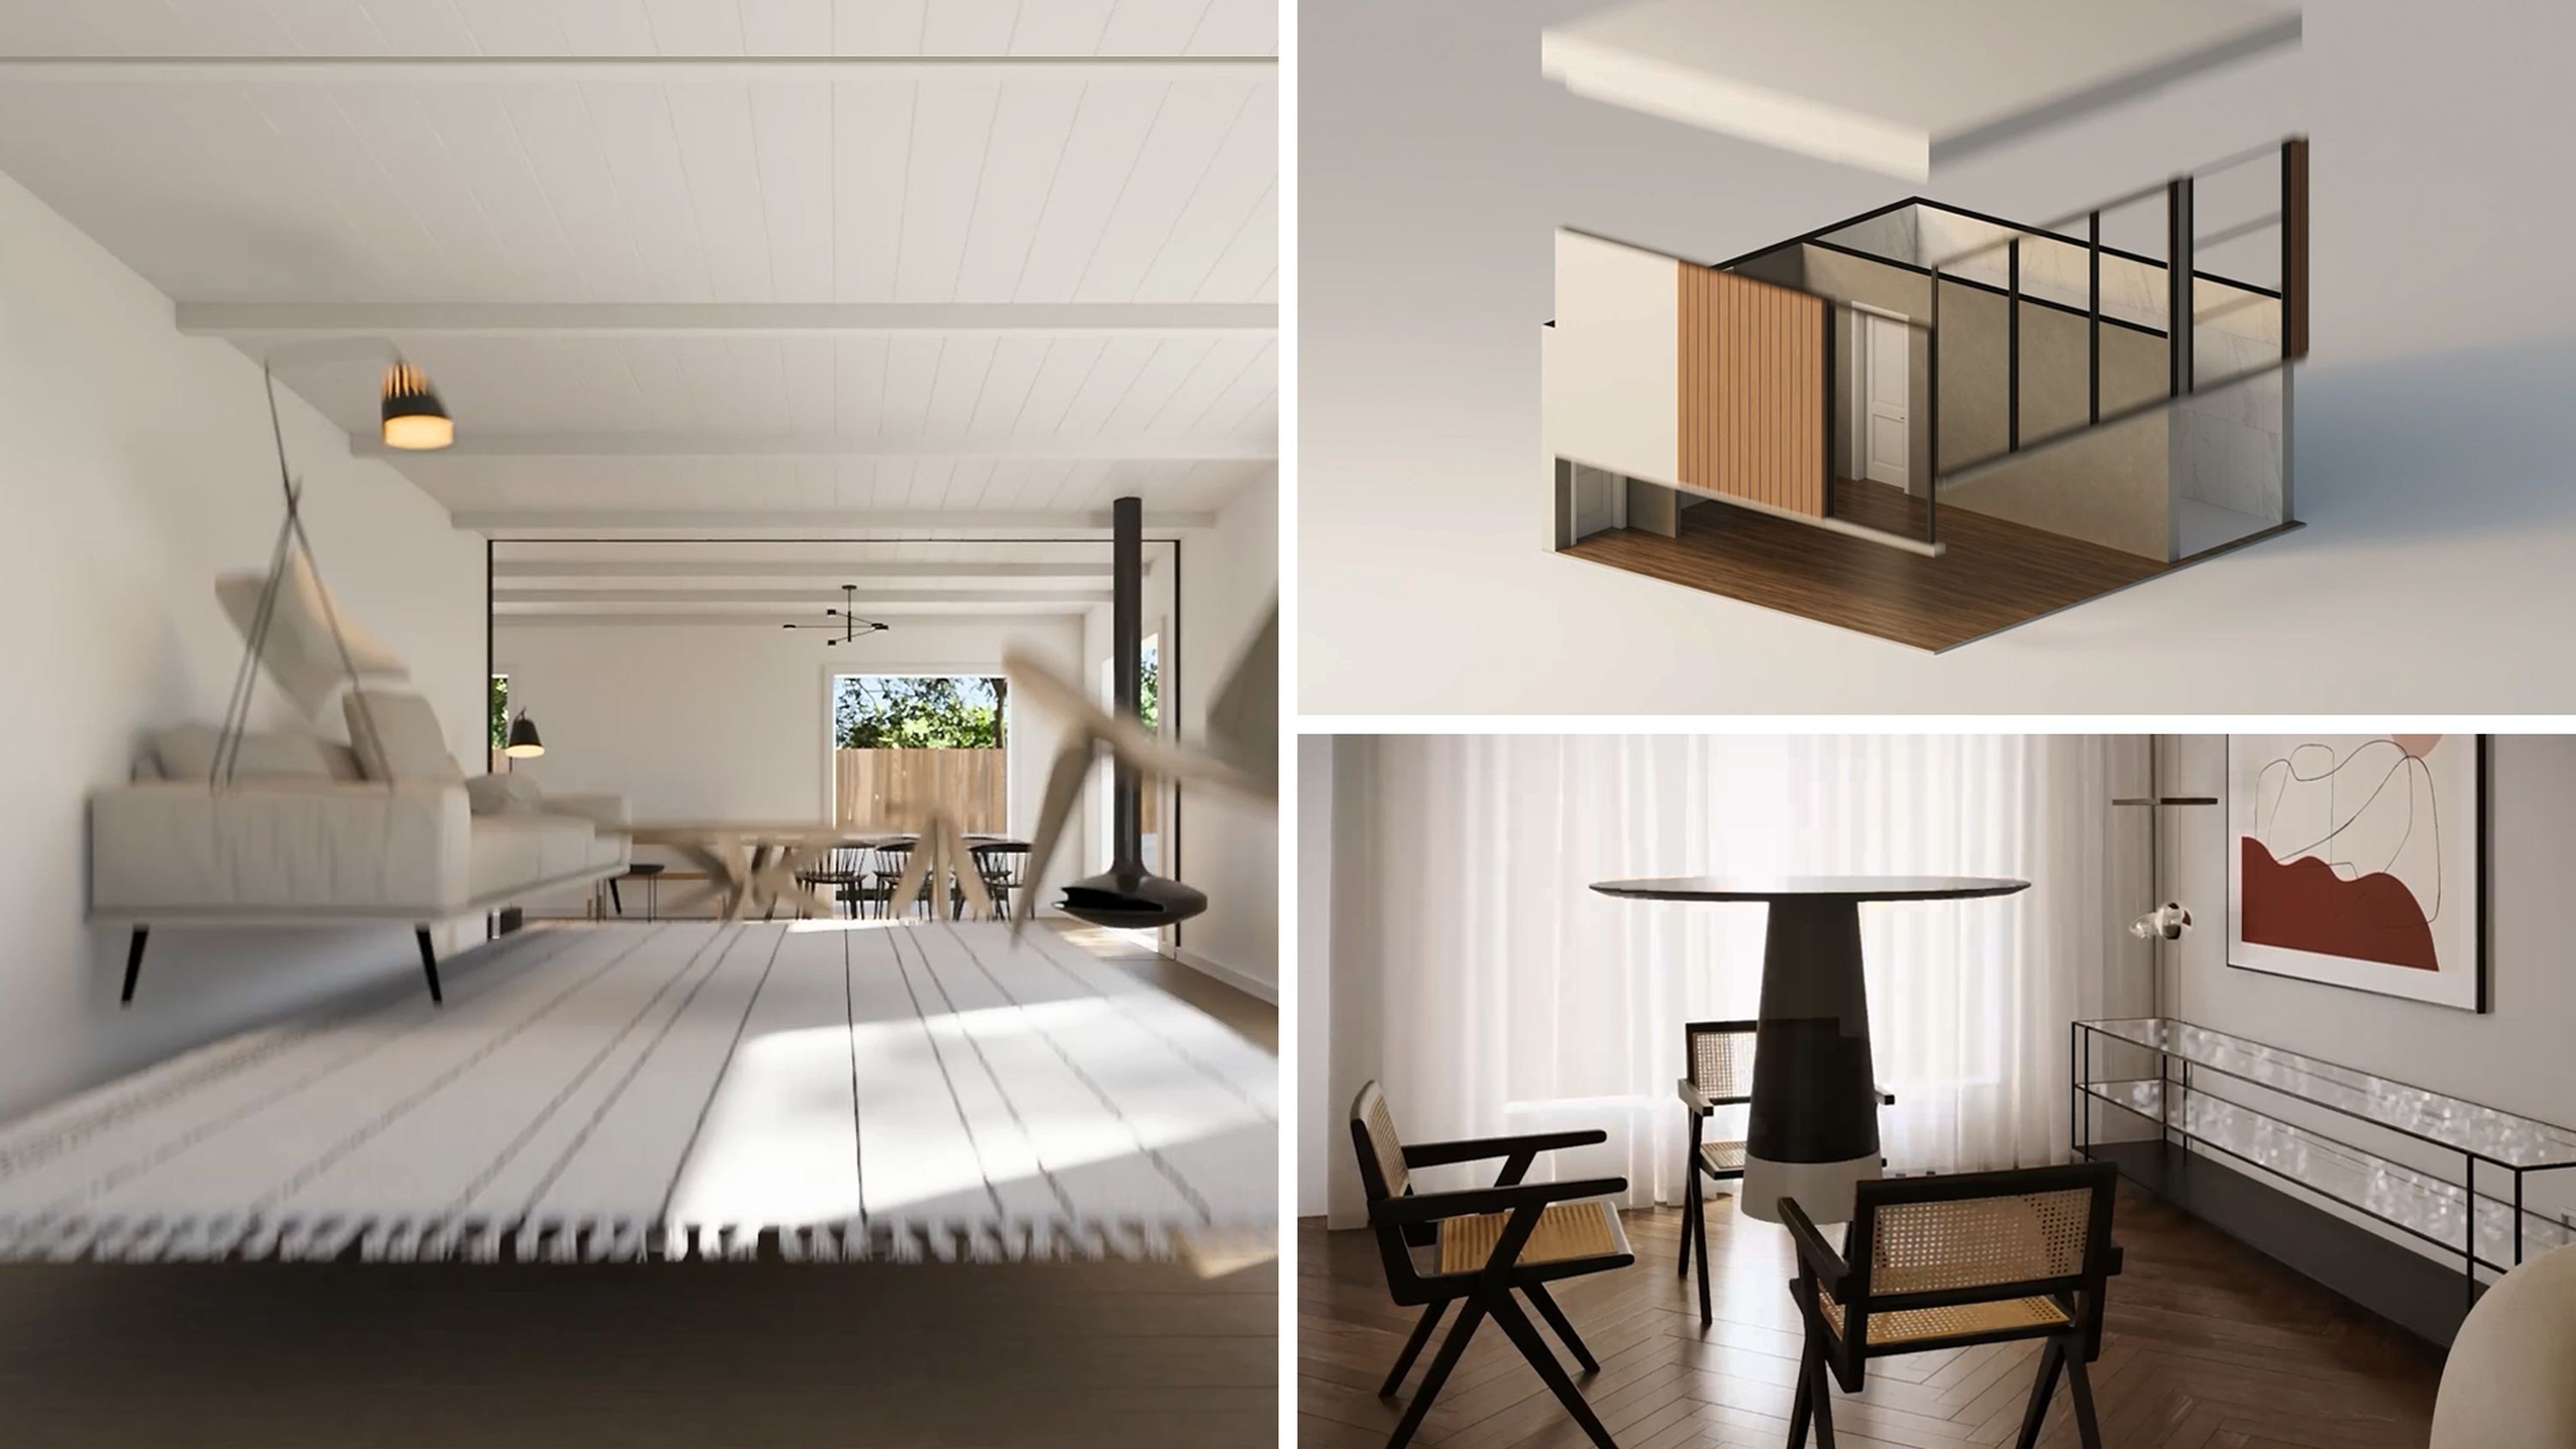
Animating interiors: advanced move
Another impactful technique for creating cinematic animations involves the advanced move effect. To recreate this dynamic interior animation, simply start in movie mode, select Advanced move in effects, then click Edit.
This effect lets you animate objects of your choice—in a variety of motions—using keyframes. To add a keyframe, move the timeline slider to the specific point where you want to add one, then click Add a keyframe. Tweak the object’s position, rotation, and scale—these will be saved to your keyframe. Repeat these steps for each object—and that’s it.
Ready to start directing?
Produce captivating movies to highlight any aspect of your design in Lumion Pro.
If you’re new to the software, start with a free 14-day trial—you’ll be able to explore all the features, tools, and effects on offer and put any one of these guides to the test.
We’re excited to see what you create!