Top tips for creating compelling layer animations
7 simple steps to mastering layer animations
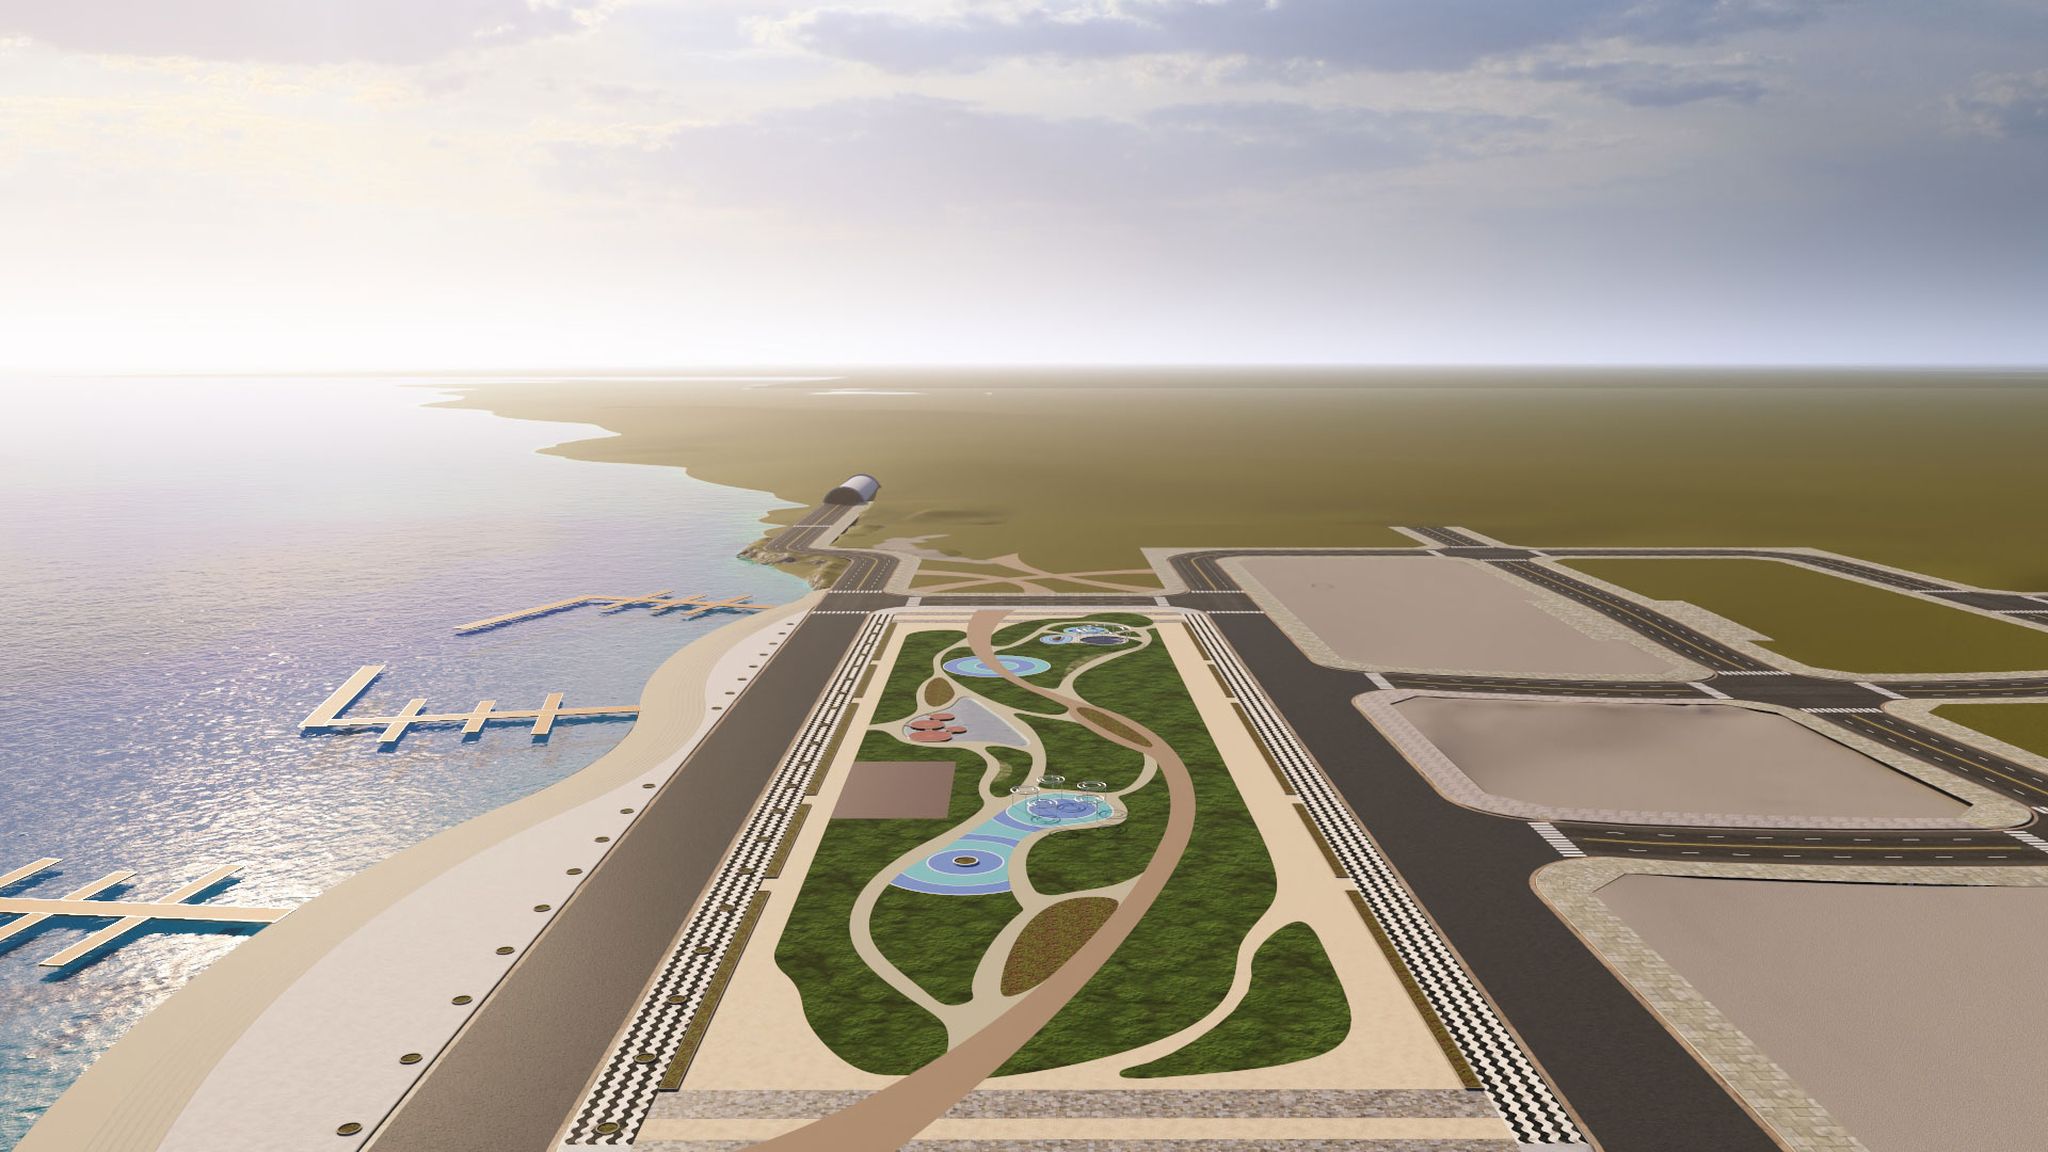
Unveil your vision
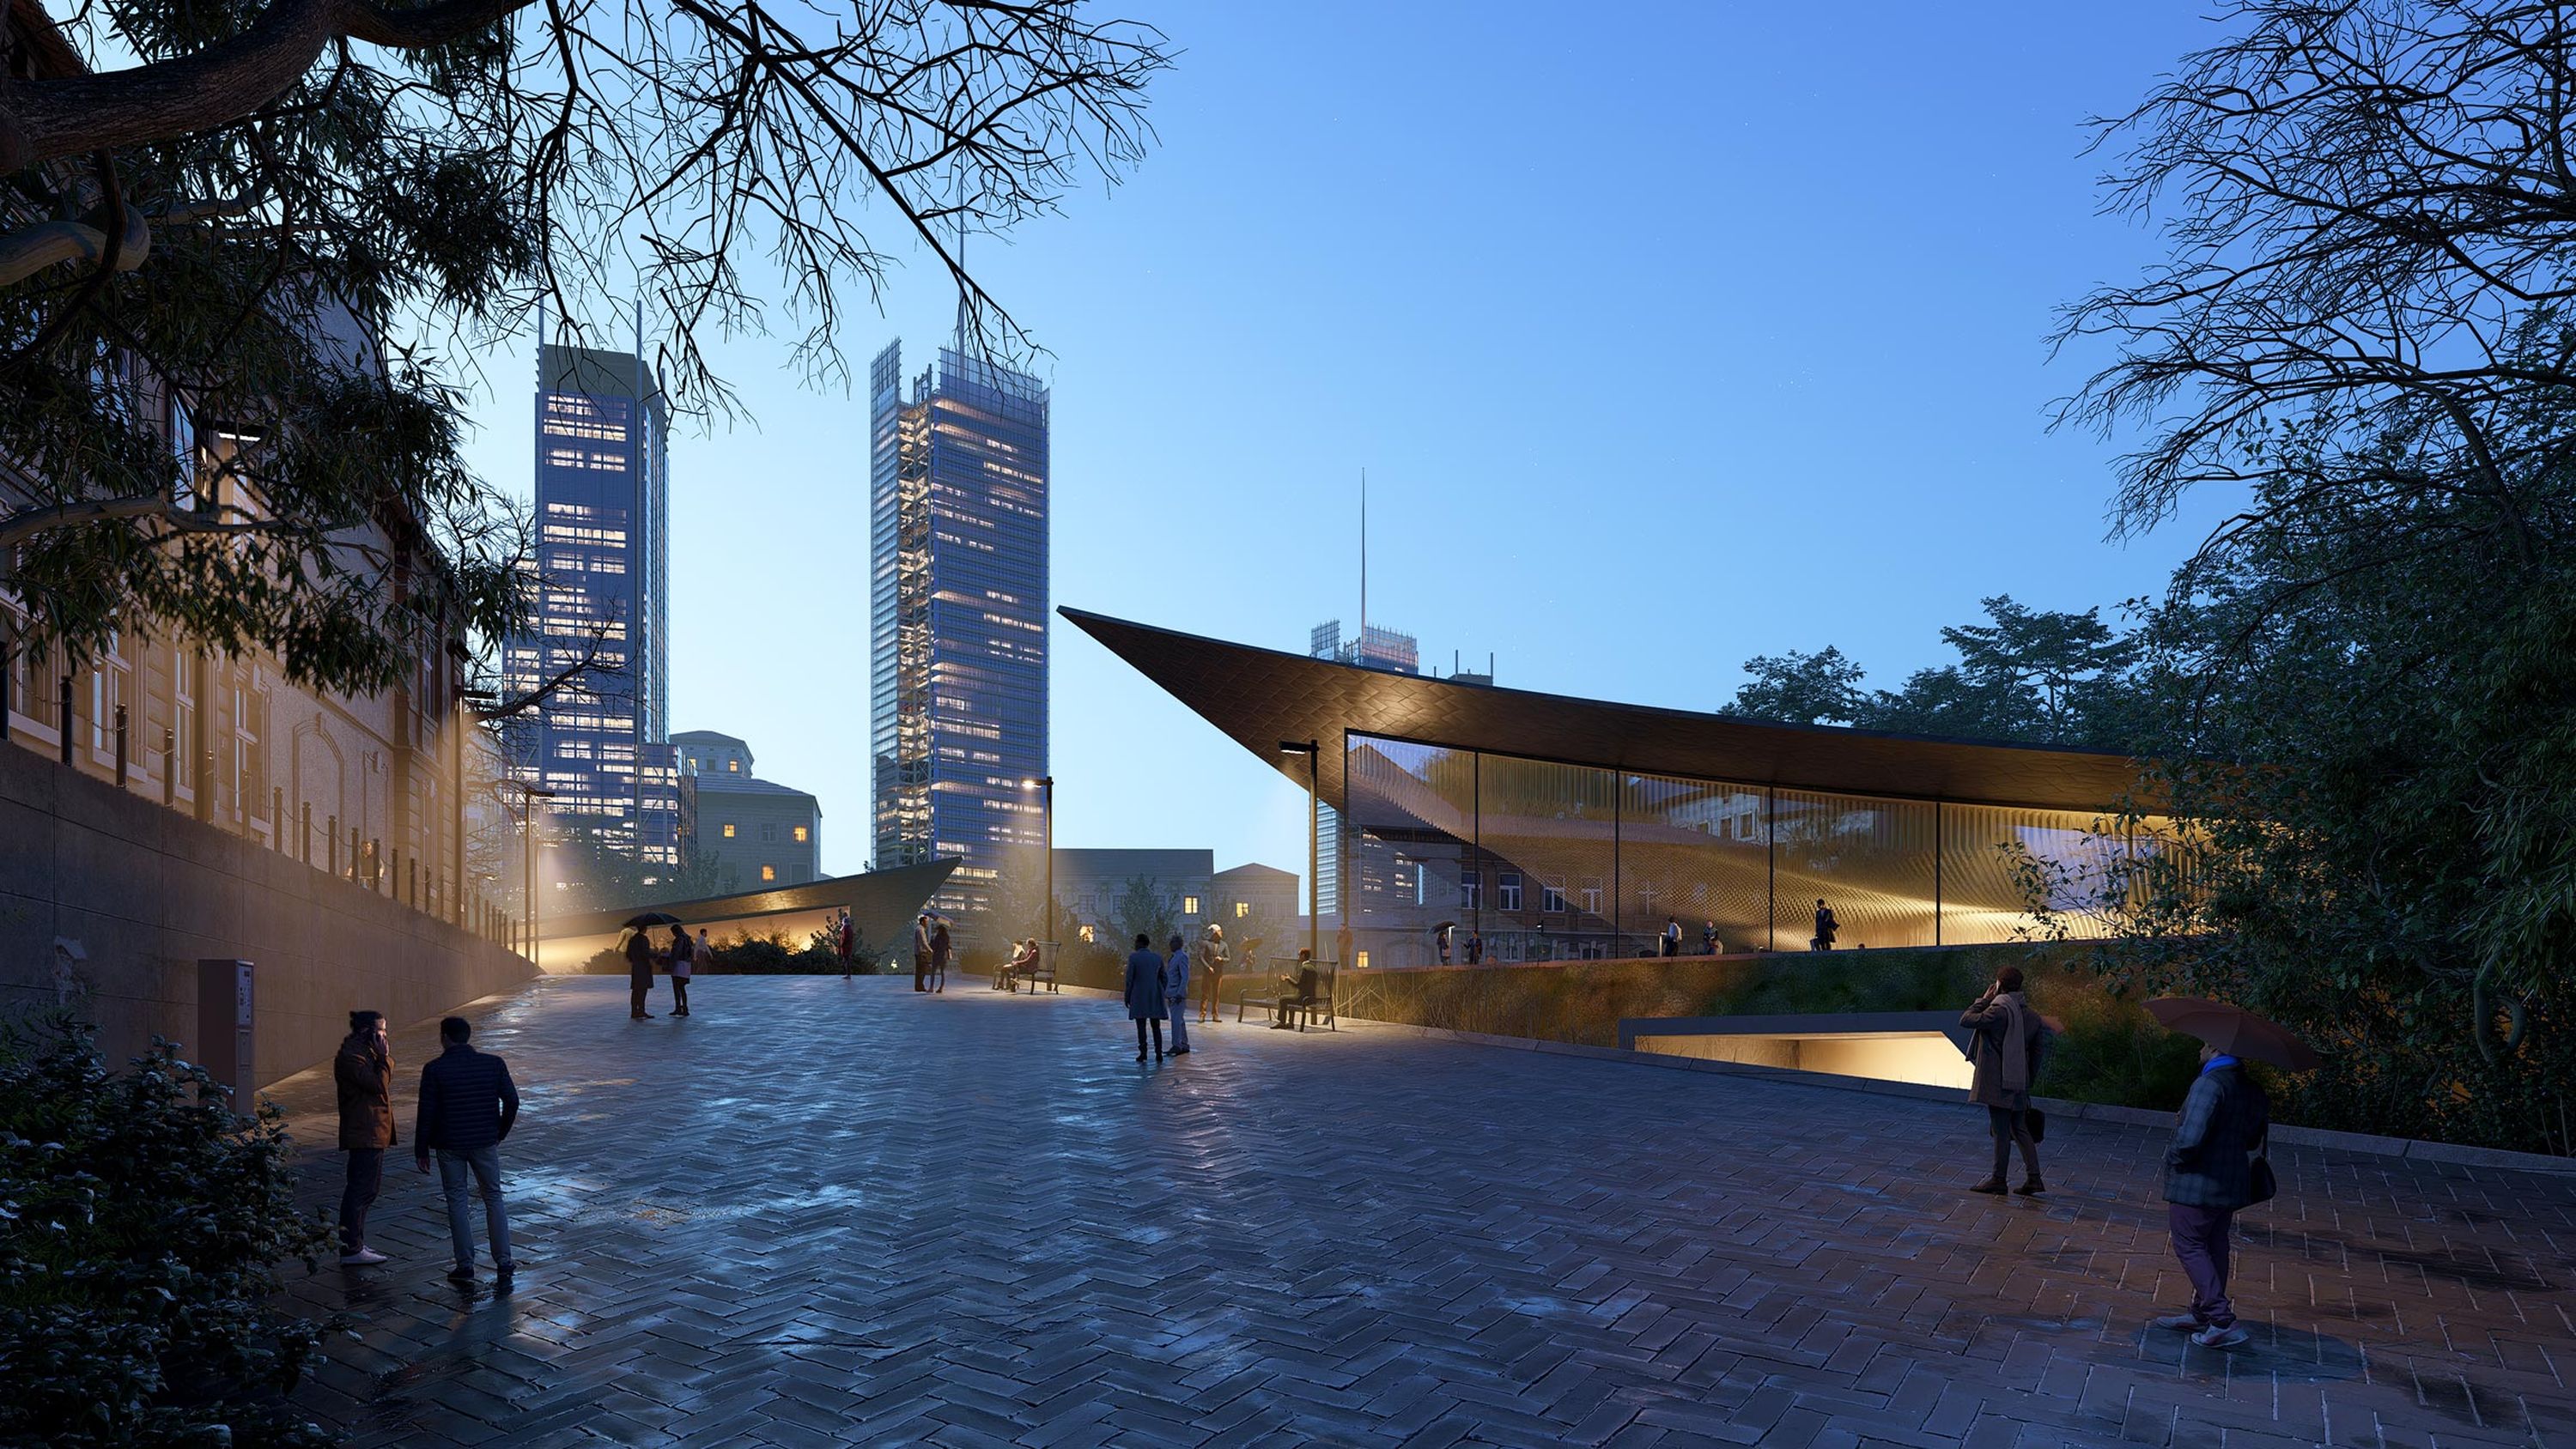
Layer animation is a simple rendering technique that allows you to show how elements come together in a space over time. By revealing each component in a scene one by one, viewers can focus on different parts of the design in turn, ensuring better overall understanding of your project.
And by following just 7 easy steps in Lumion, you can create highly impactful animations that are sure to draw your client’s eye. If you want to give it a go yourself, check out the following steps.
Step 1
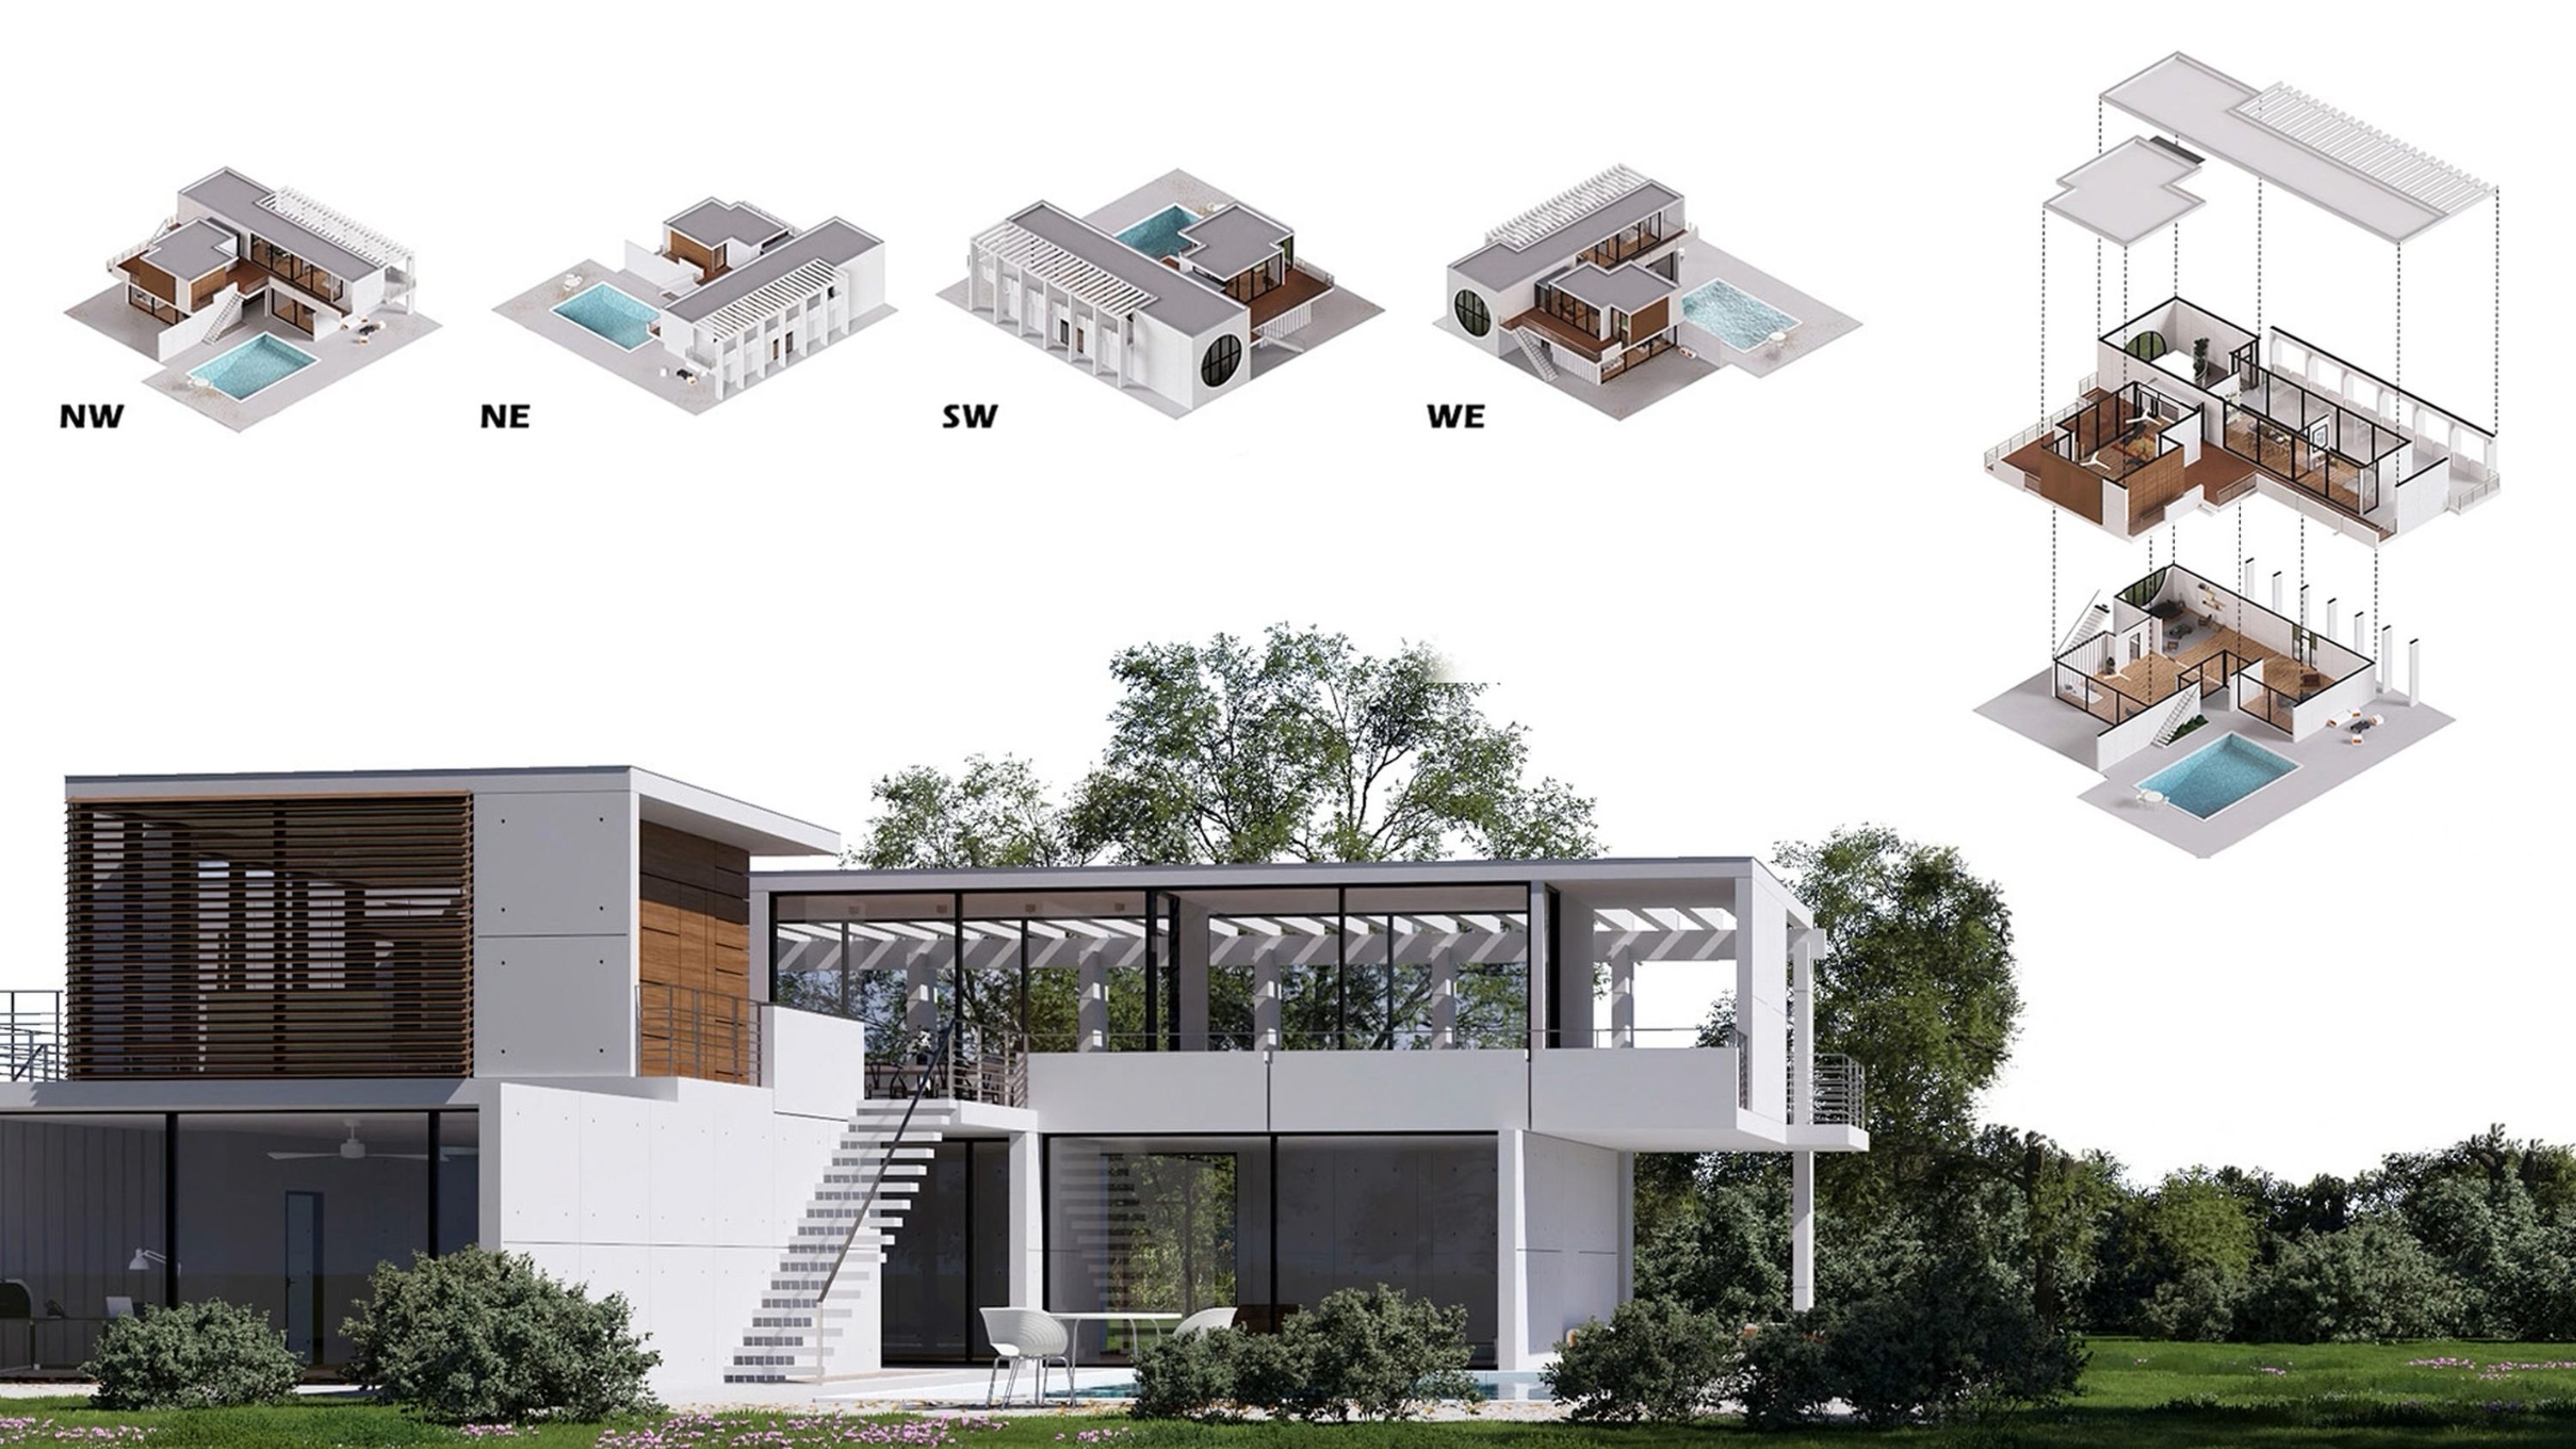
Organize your scene
Group different elements onto different layers, like furniture, lighting, vegetation, people, surrounding buildings, etc.
Step 2
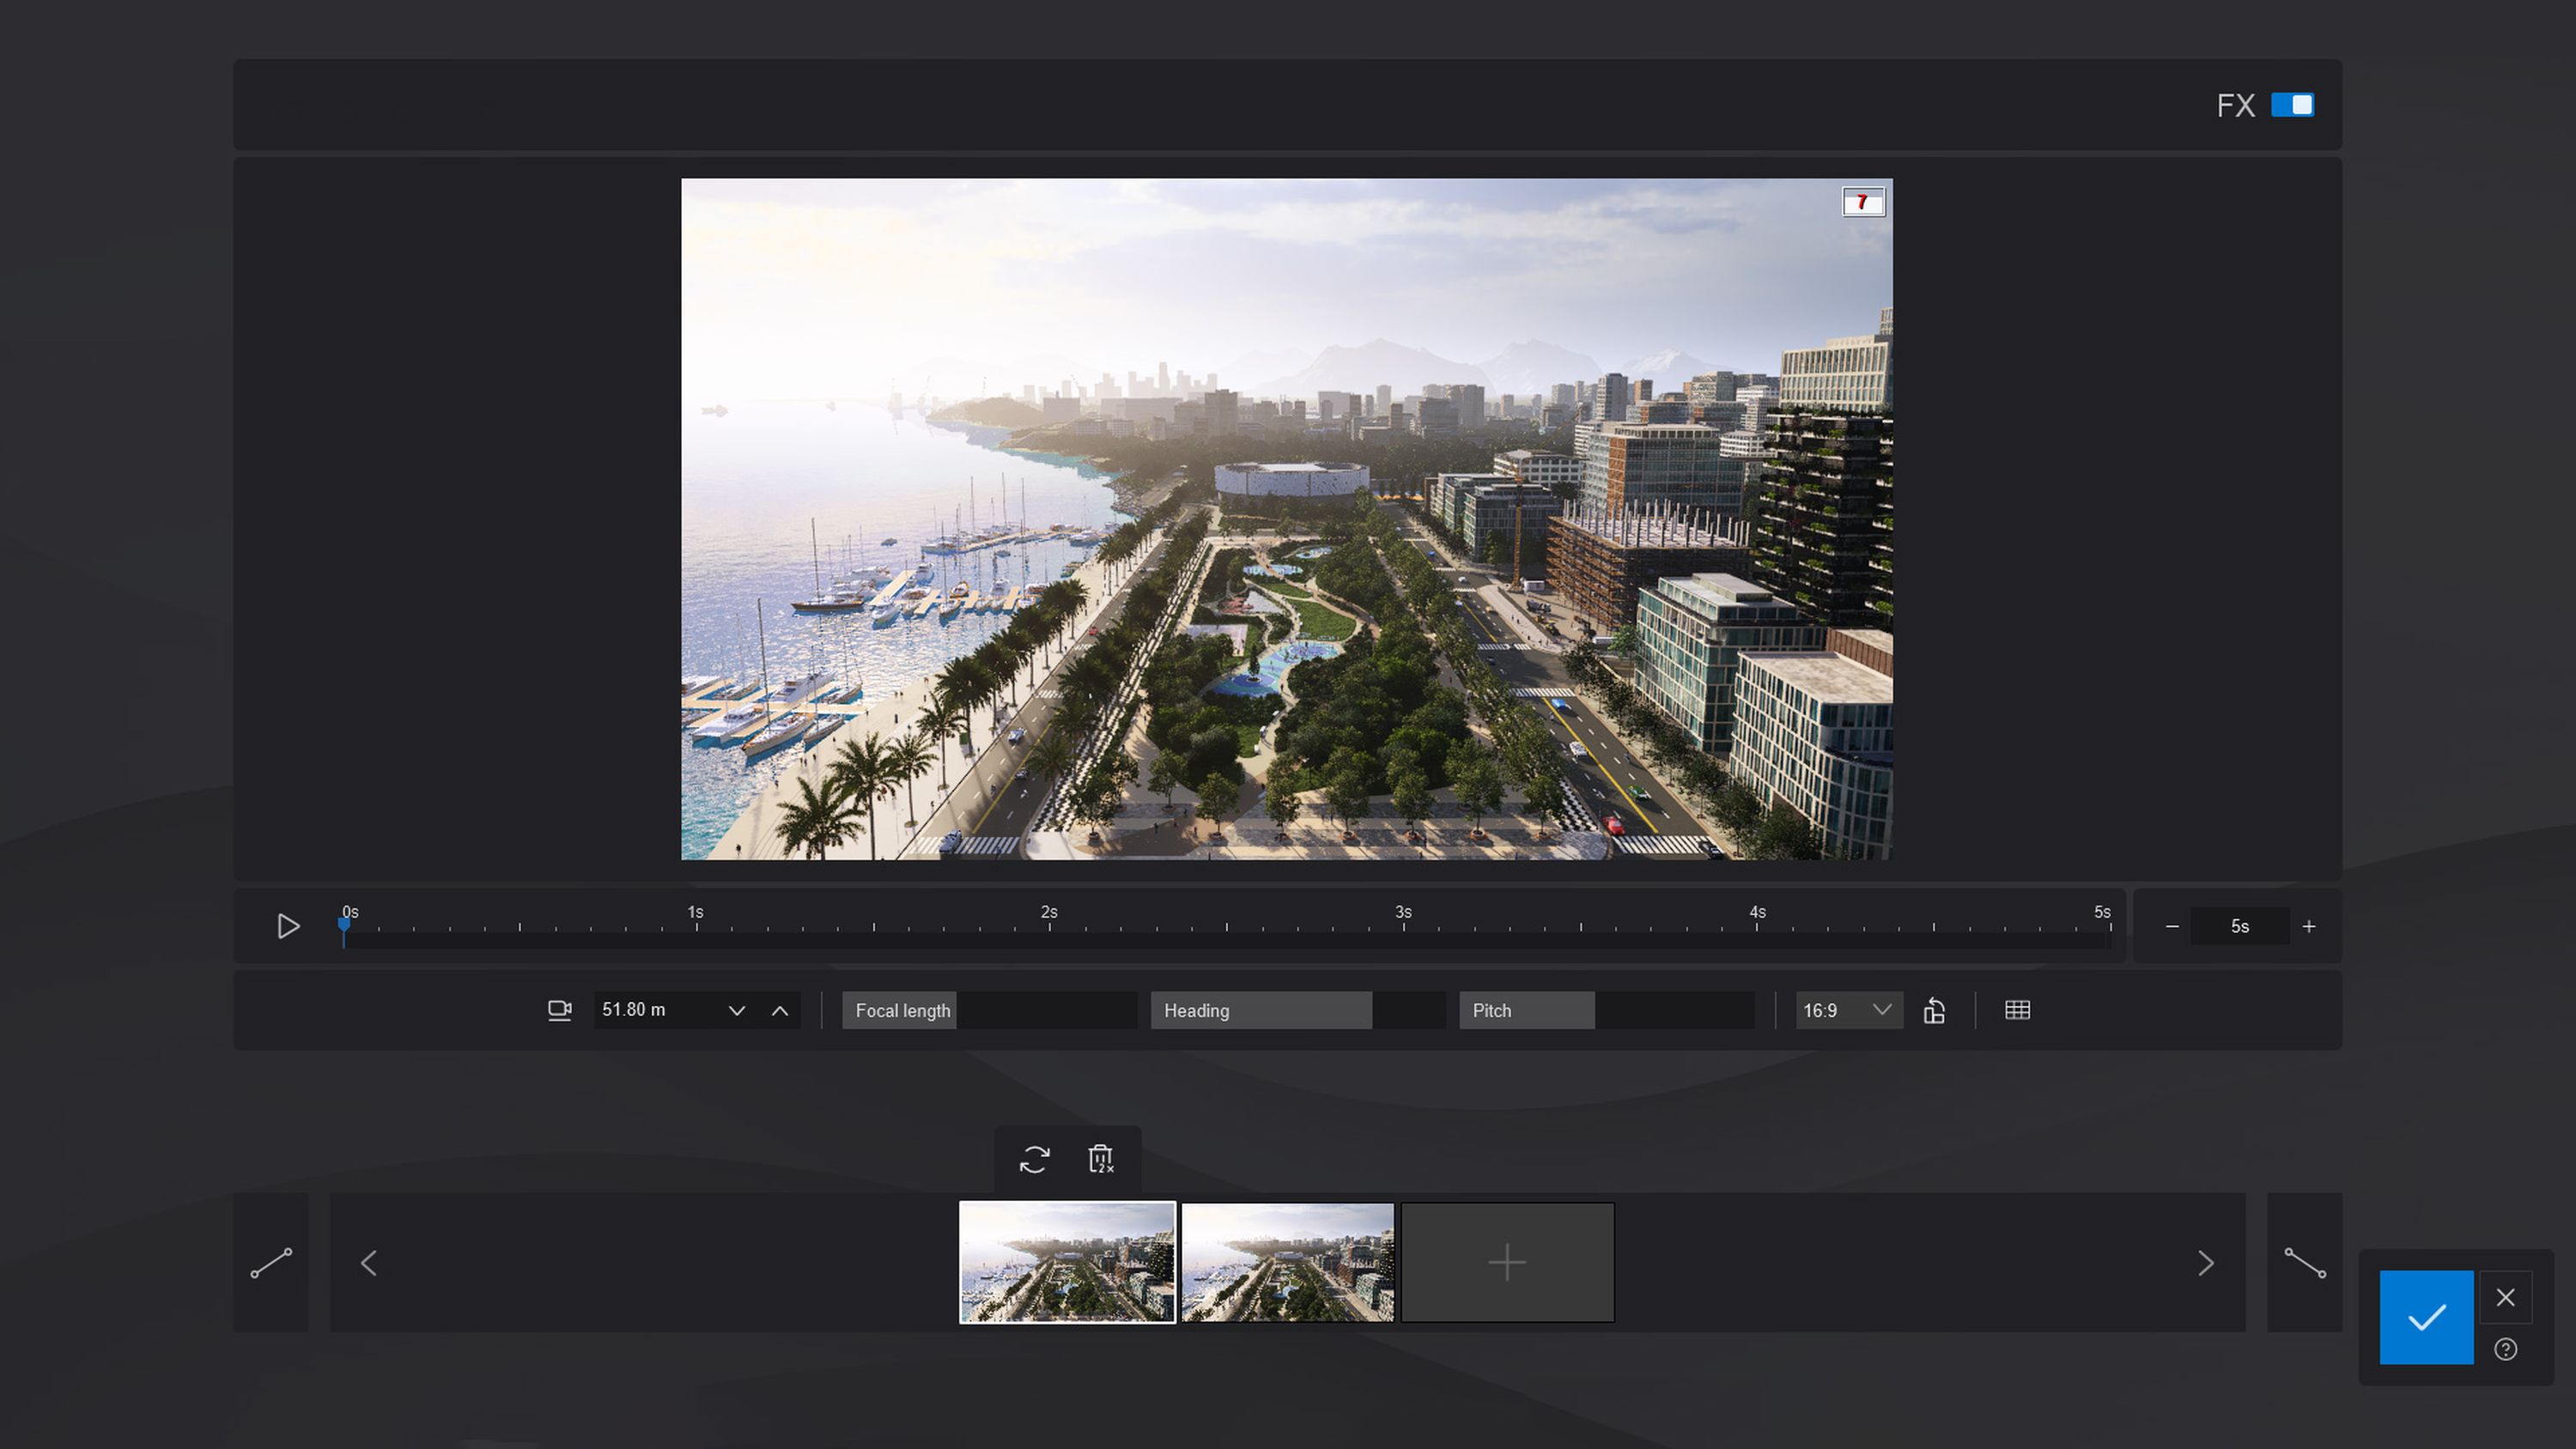
Set your camera motion
Open movie mode and set your camera motion, by adding initial and ending camera keyframes.
Step 3
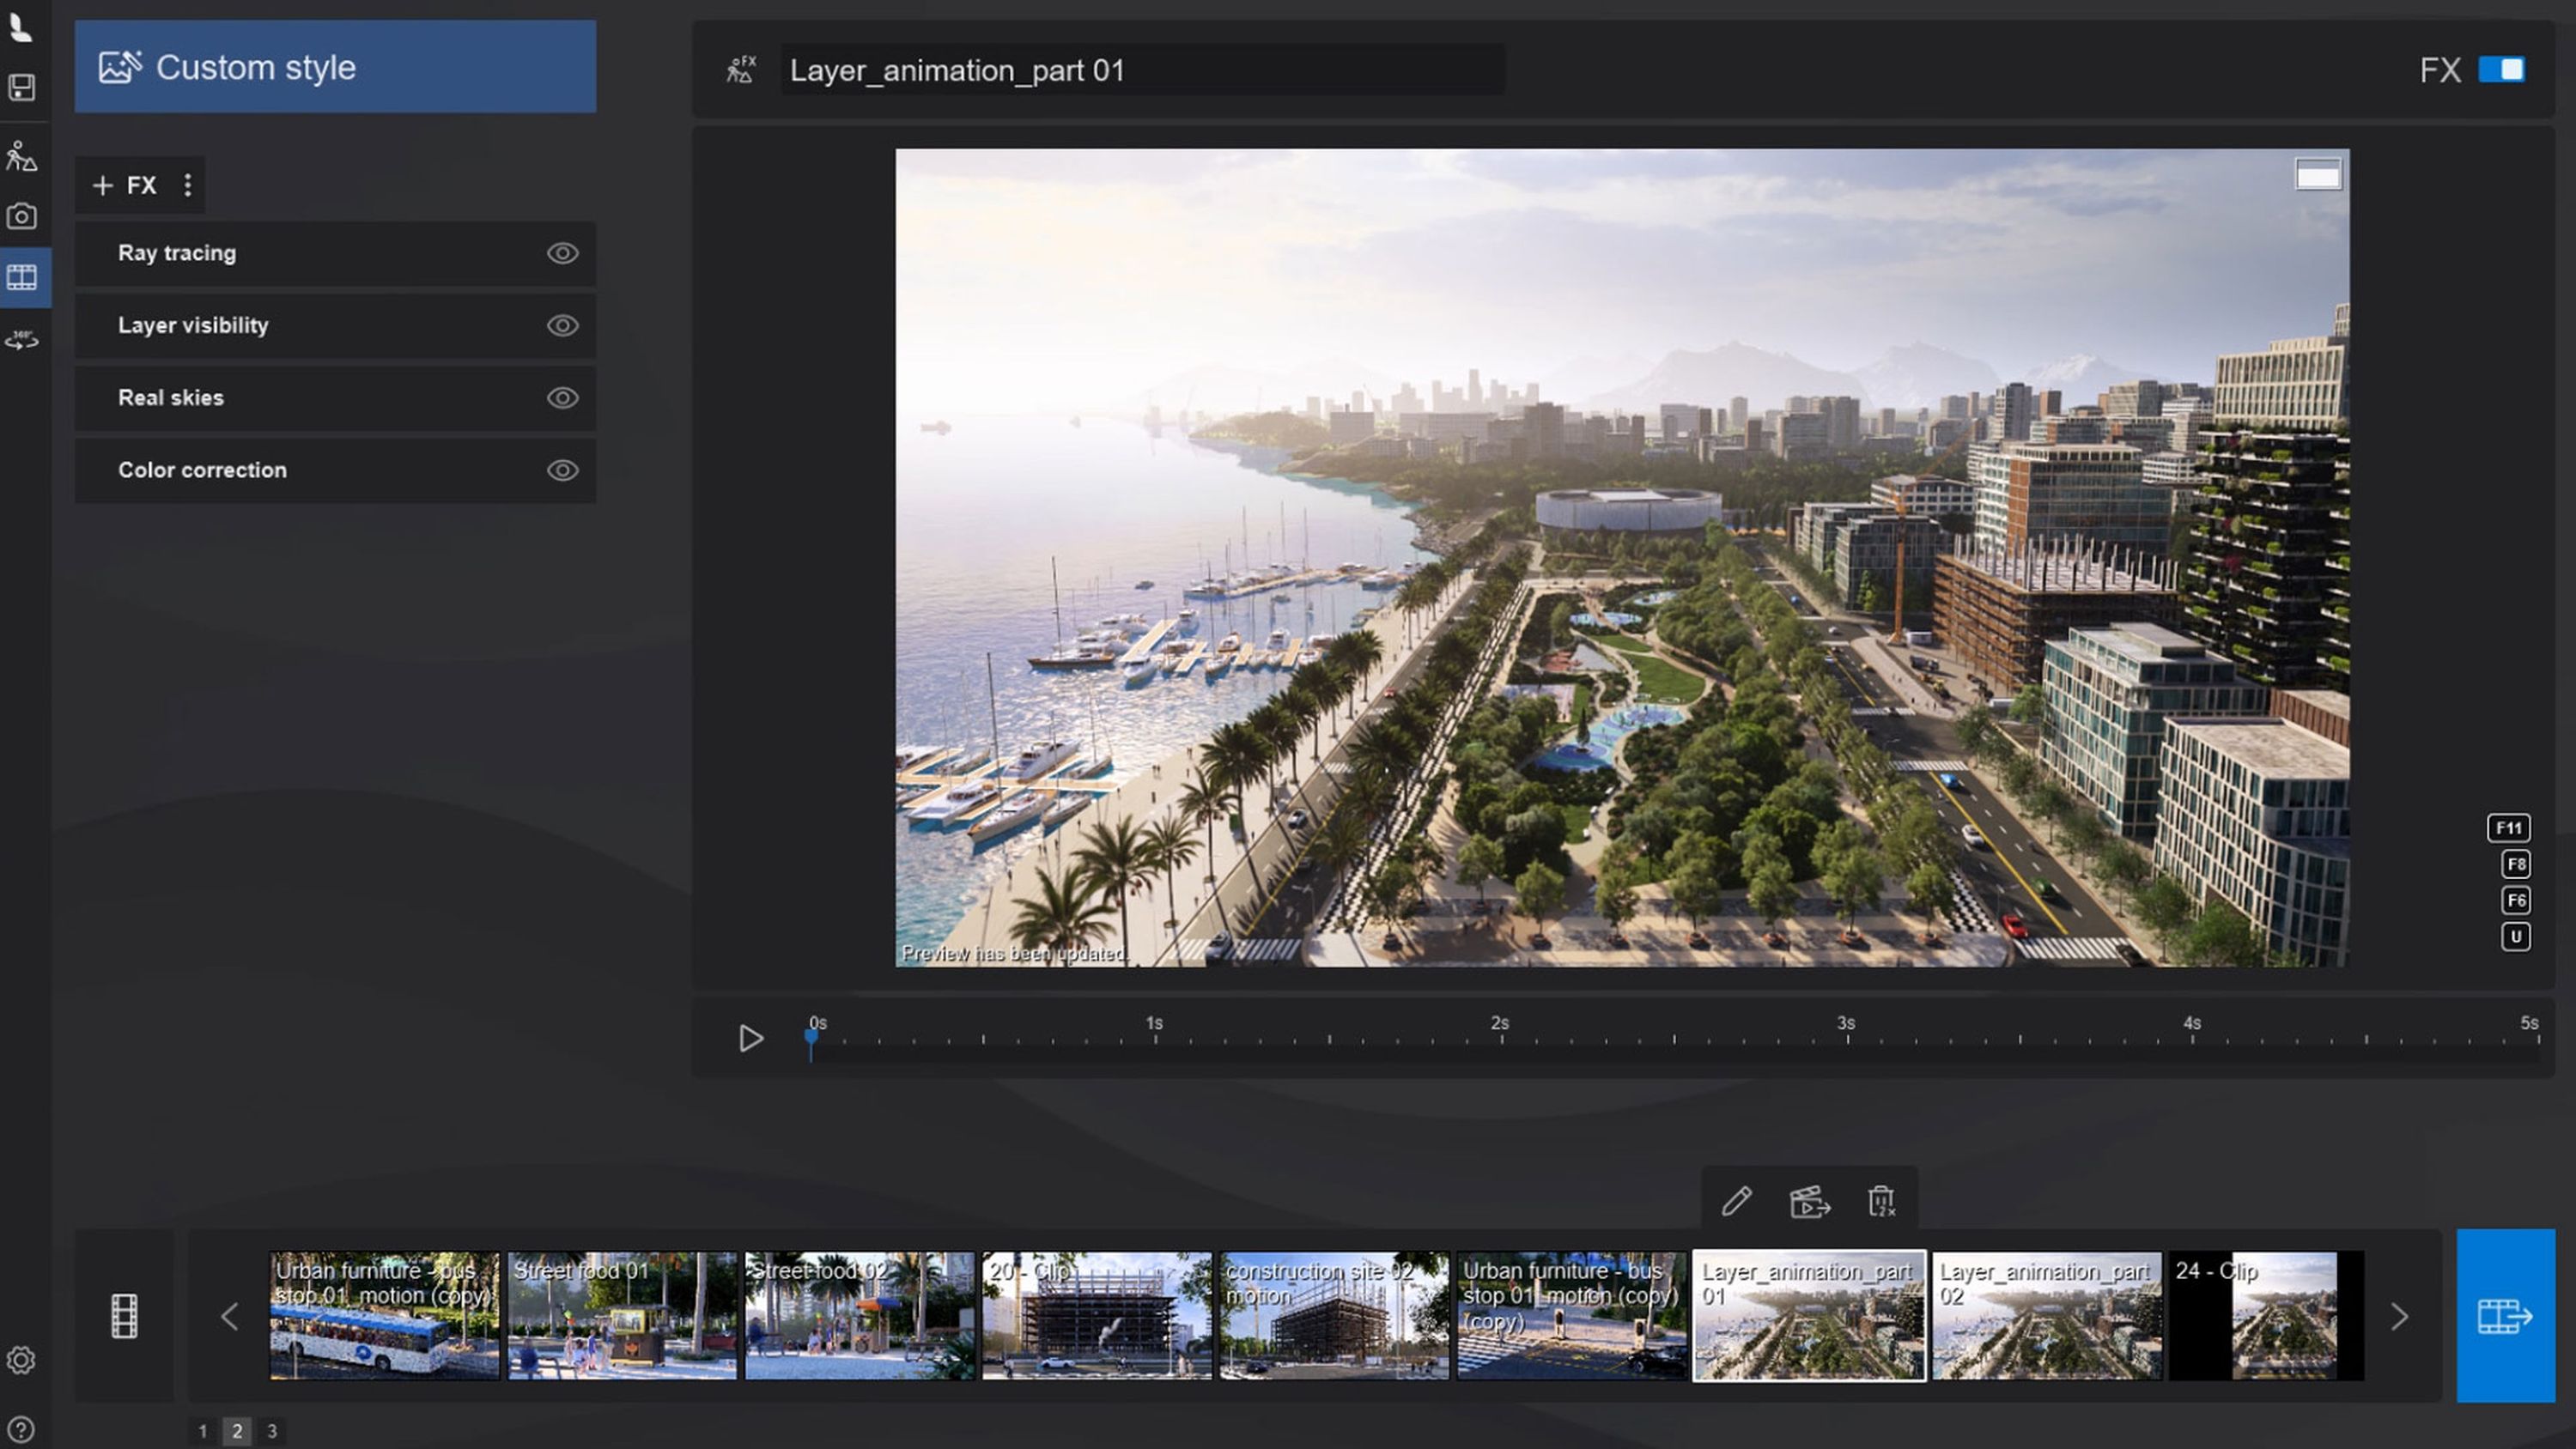
Add effects
Apply various effects to each layer as you go. Adjusting the sun, sky, and lighting can add to the impact of your animation.
In this example, we used:
Ray tracing
Real sky “Cloudy 3”
Color correction
Layer visibility.
Step 4
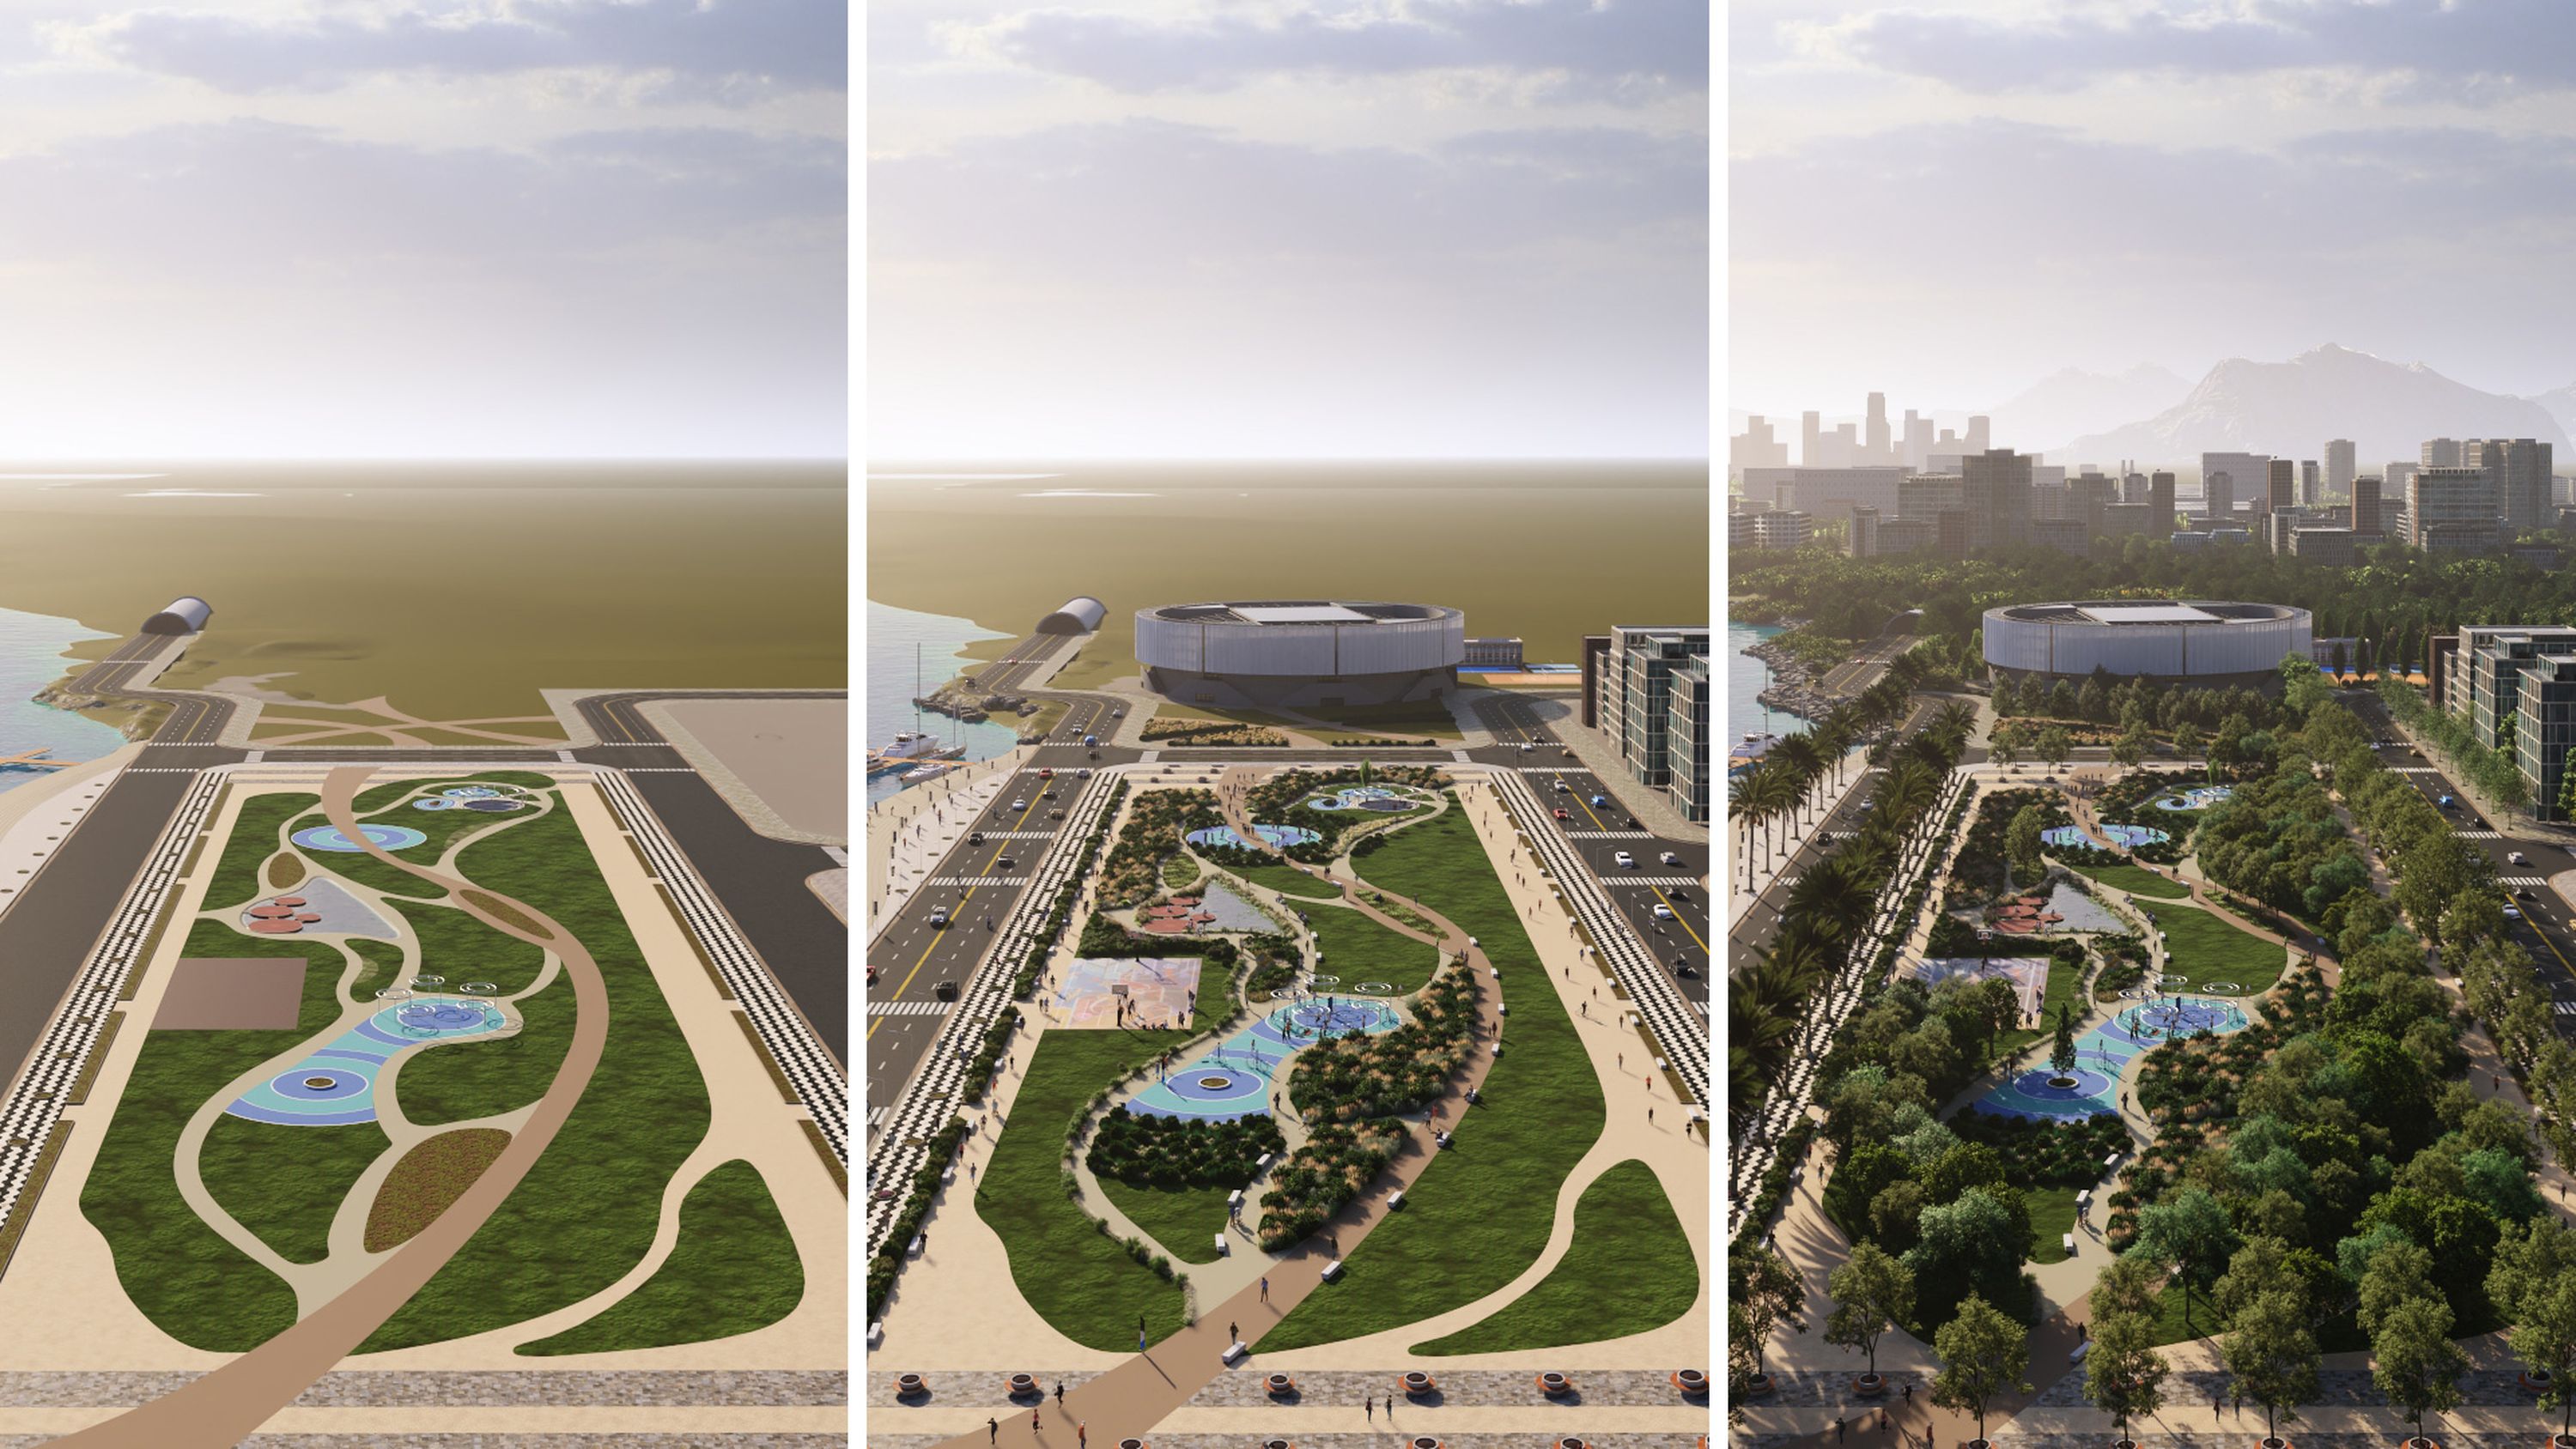
Use keyframes
Go into the Layer visibility effect and use the keyframes to animate the visibility of your layers.
For example, you can start the animation with just the 3D model of your project visible on the screen.
Then, create keyframes to sequentially add the elements you organized in step 1, simulating a layering effect as they appear on the screen until the final composition is complete.
Step 5
Define the timing
Choose when each layer appears and for how long. These timings are completely up to you, but for inspiration—if you’re creating a short GIF showing 3 layers, a one-second interval between frames works well.
If you’re creating a longer video animation (MP4) that shows multiple layers, shorter intervals between frames are usually more effective.
Step 6
Animate the assets
After completing the layering animation, create a new clip that begins with the final camera keyframe from the previous clip to ensure the same camera position and focal length.
Copy and paste the effects from the previous clip, then remove all the keyframes from Layer visibility so that all assets are visible in this new clip from the start.
Next, you can animate characters and cars in your scene using the Mass move effect. This will help bring your scene to life and make your animation more impactful!
Step 7
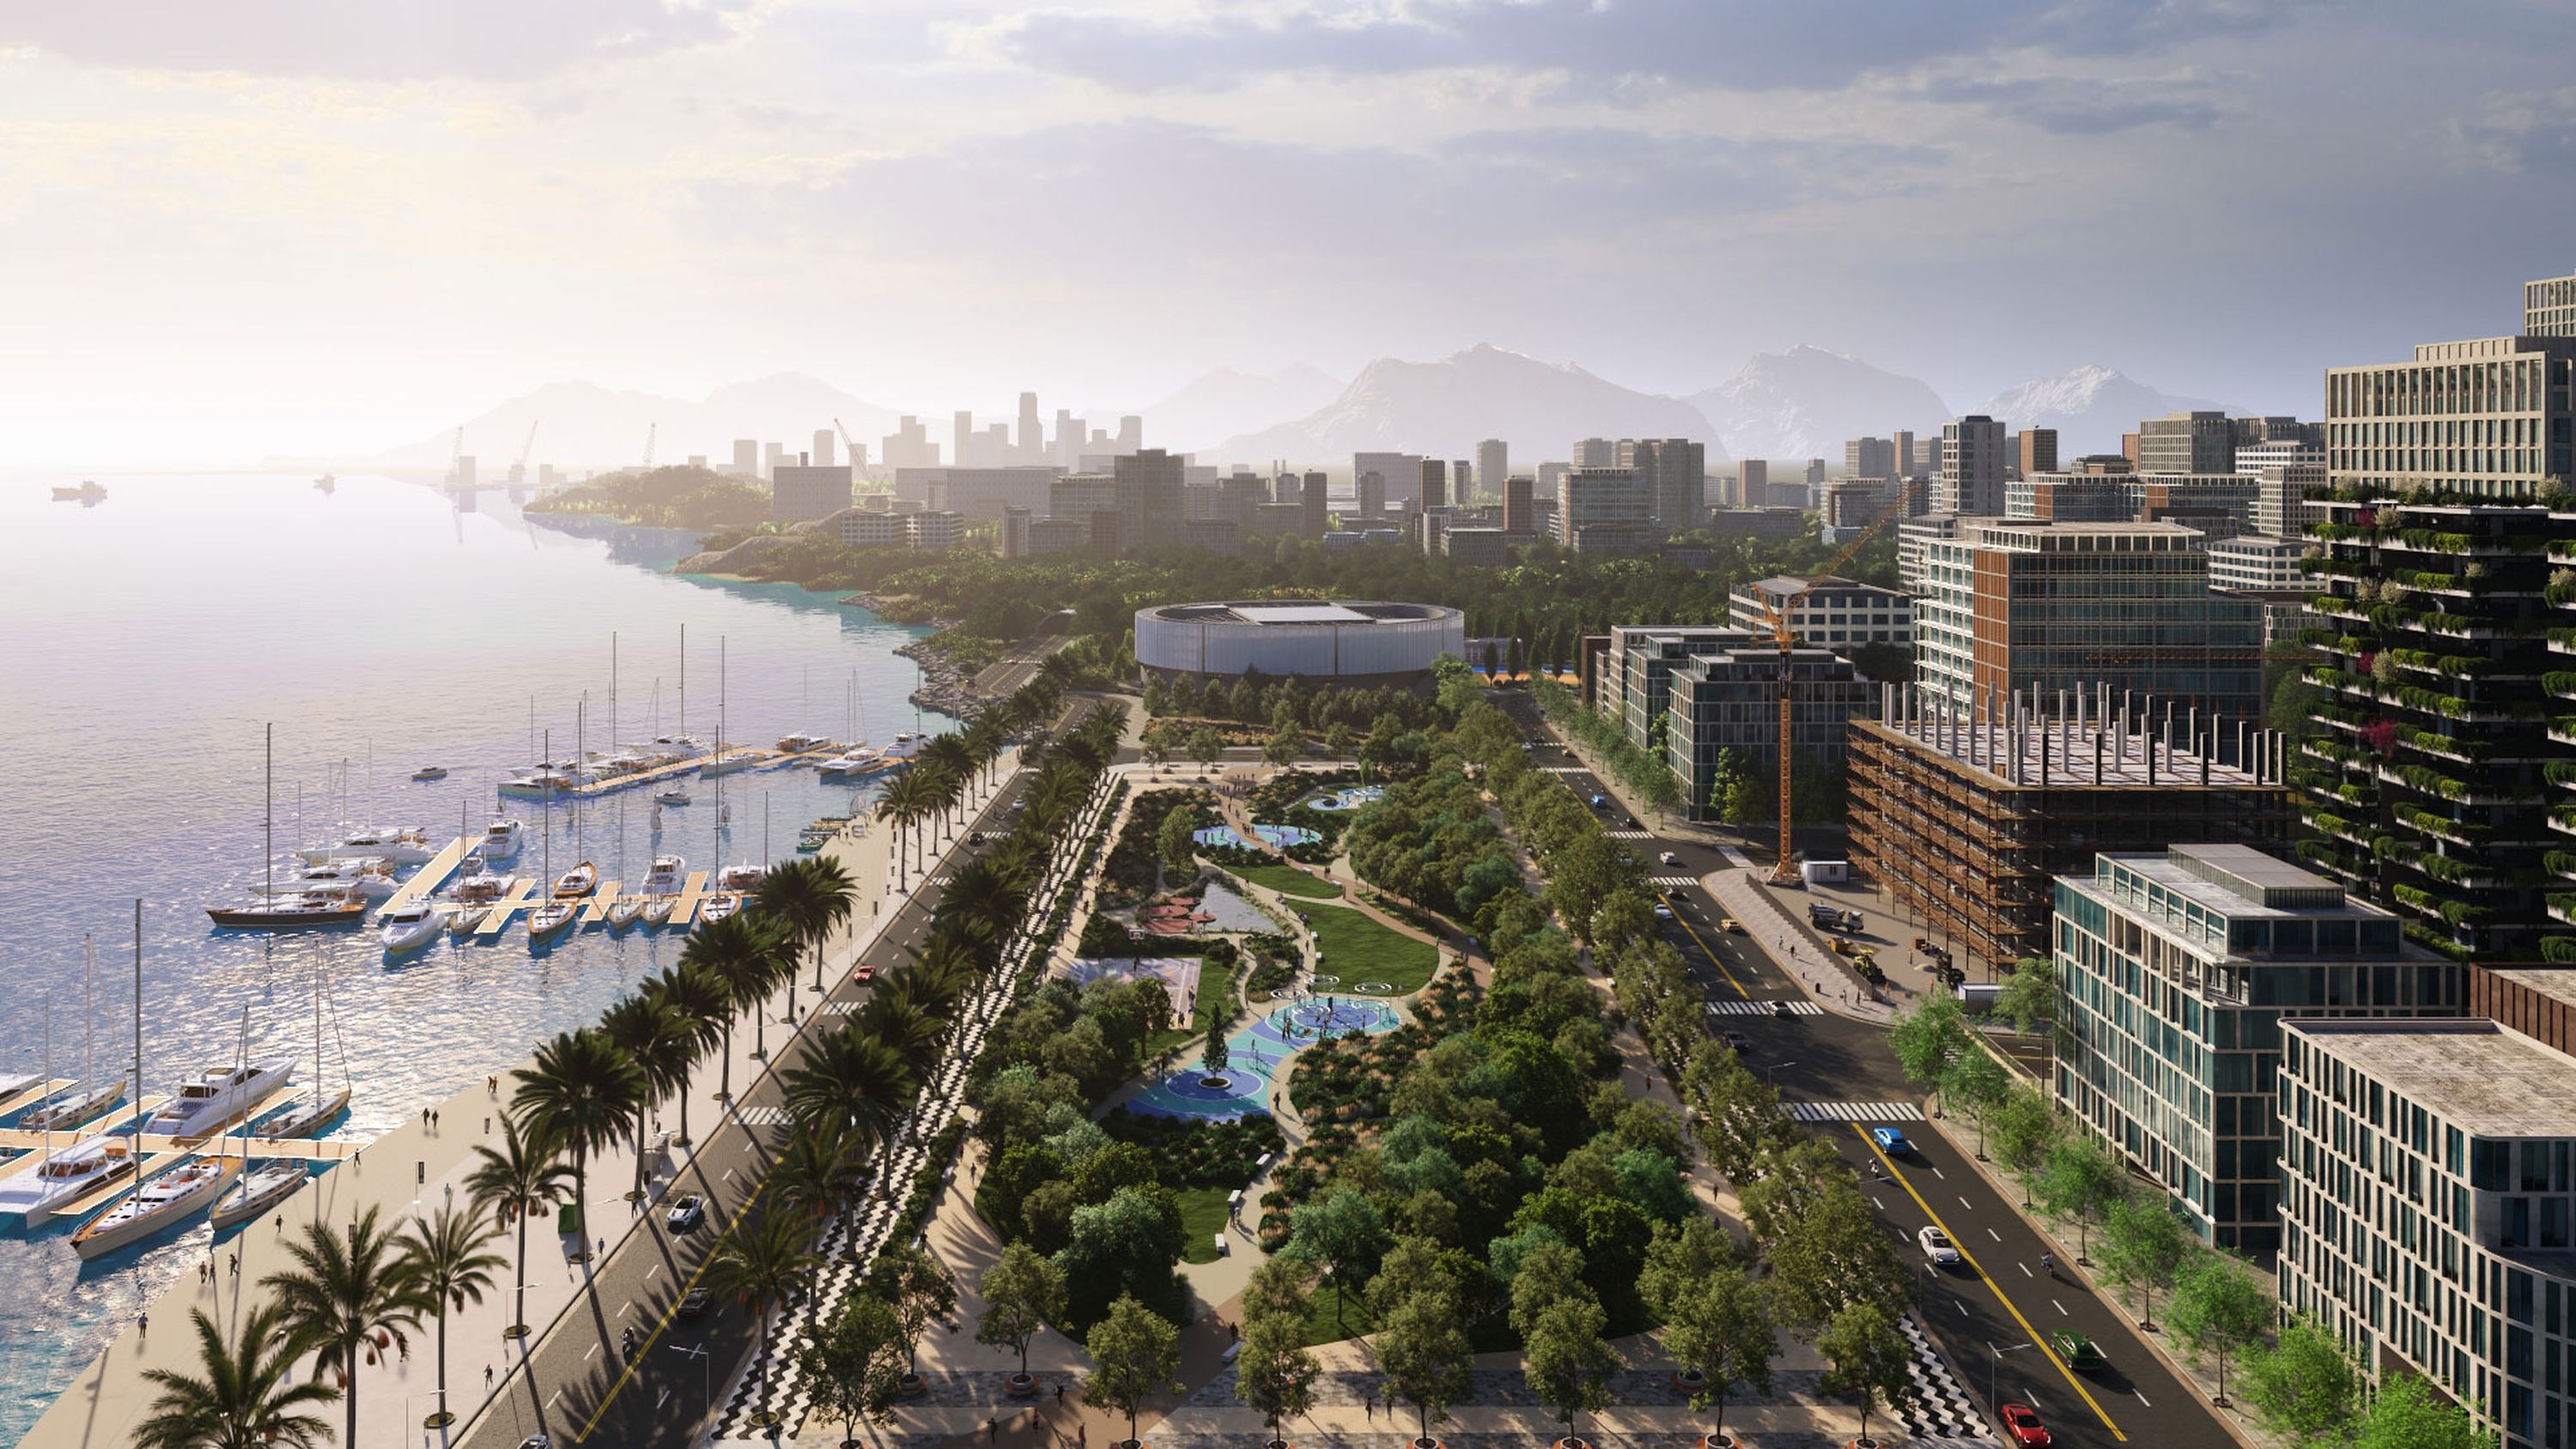
Render it
Preview your final animations, and when you’re happy, render both clips and blend them together!
Combine with phasing animations
While layer animation is a handy technique for dynamically revealing different components of a design, phasing animation lets you showcase its development in a chronological order. Plus, it can make for some highly engaging animations.
We’ve put together a guide to creating these yourself here. Follow the steps to see how we illustrated the lively transformation of our immersive interior scene.
Create your own
If you want to recreate this scene but don’t have a Lumion license, why not get a free 14-day trial? Discover everything the latest version of Lumion Pro has to offer—no credit card required.