Everything you need to know about Lumion View for Revit
Let us show you around the plugin in 10 easy steps
First thing's first
So, you’re in Autodesk Revit and you’ve installed the Lumion View for Revit plugin? Then you’re ready to get started!
In this step-by-step guide, we’ll show you how to get the most out of Lumion View for Revit's main features, from syncing cameras and working with sun studies to selecting a visual style and rendering 4K images.
Ready to dive in?
Step 1
Launching Lumion View for Revit
Open the project you want to work on in Revit, then find the Lumion tab in the top toolbar. Start Lumion View by clicking the lighting bolt icon, then log in using your Lumion Account details and you’re all set.
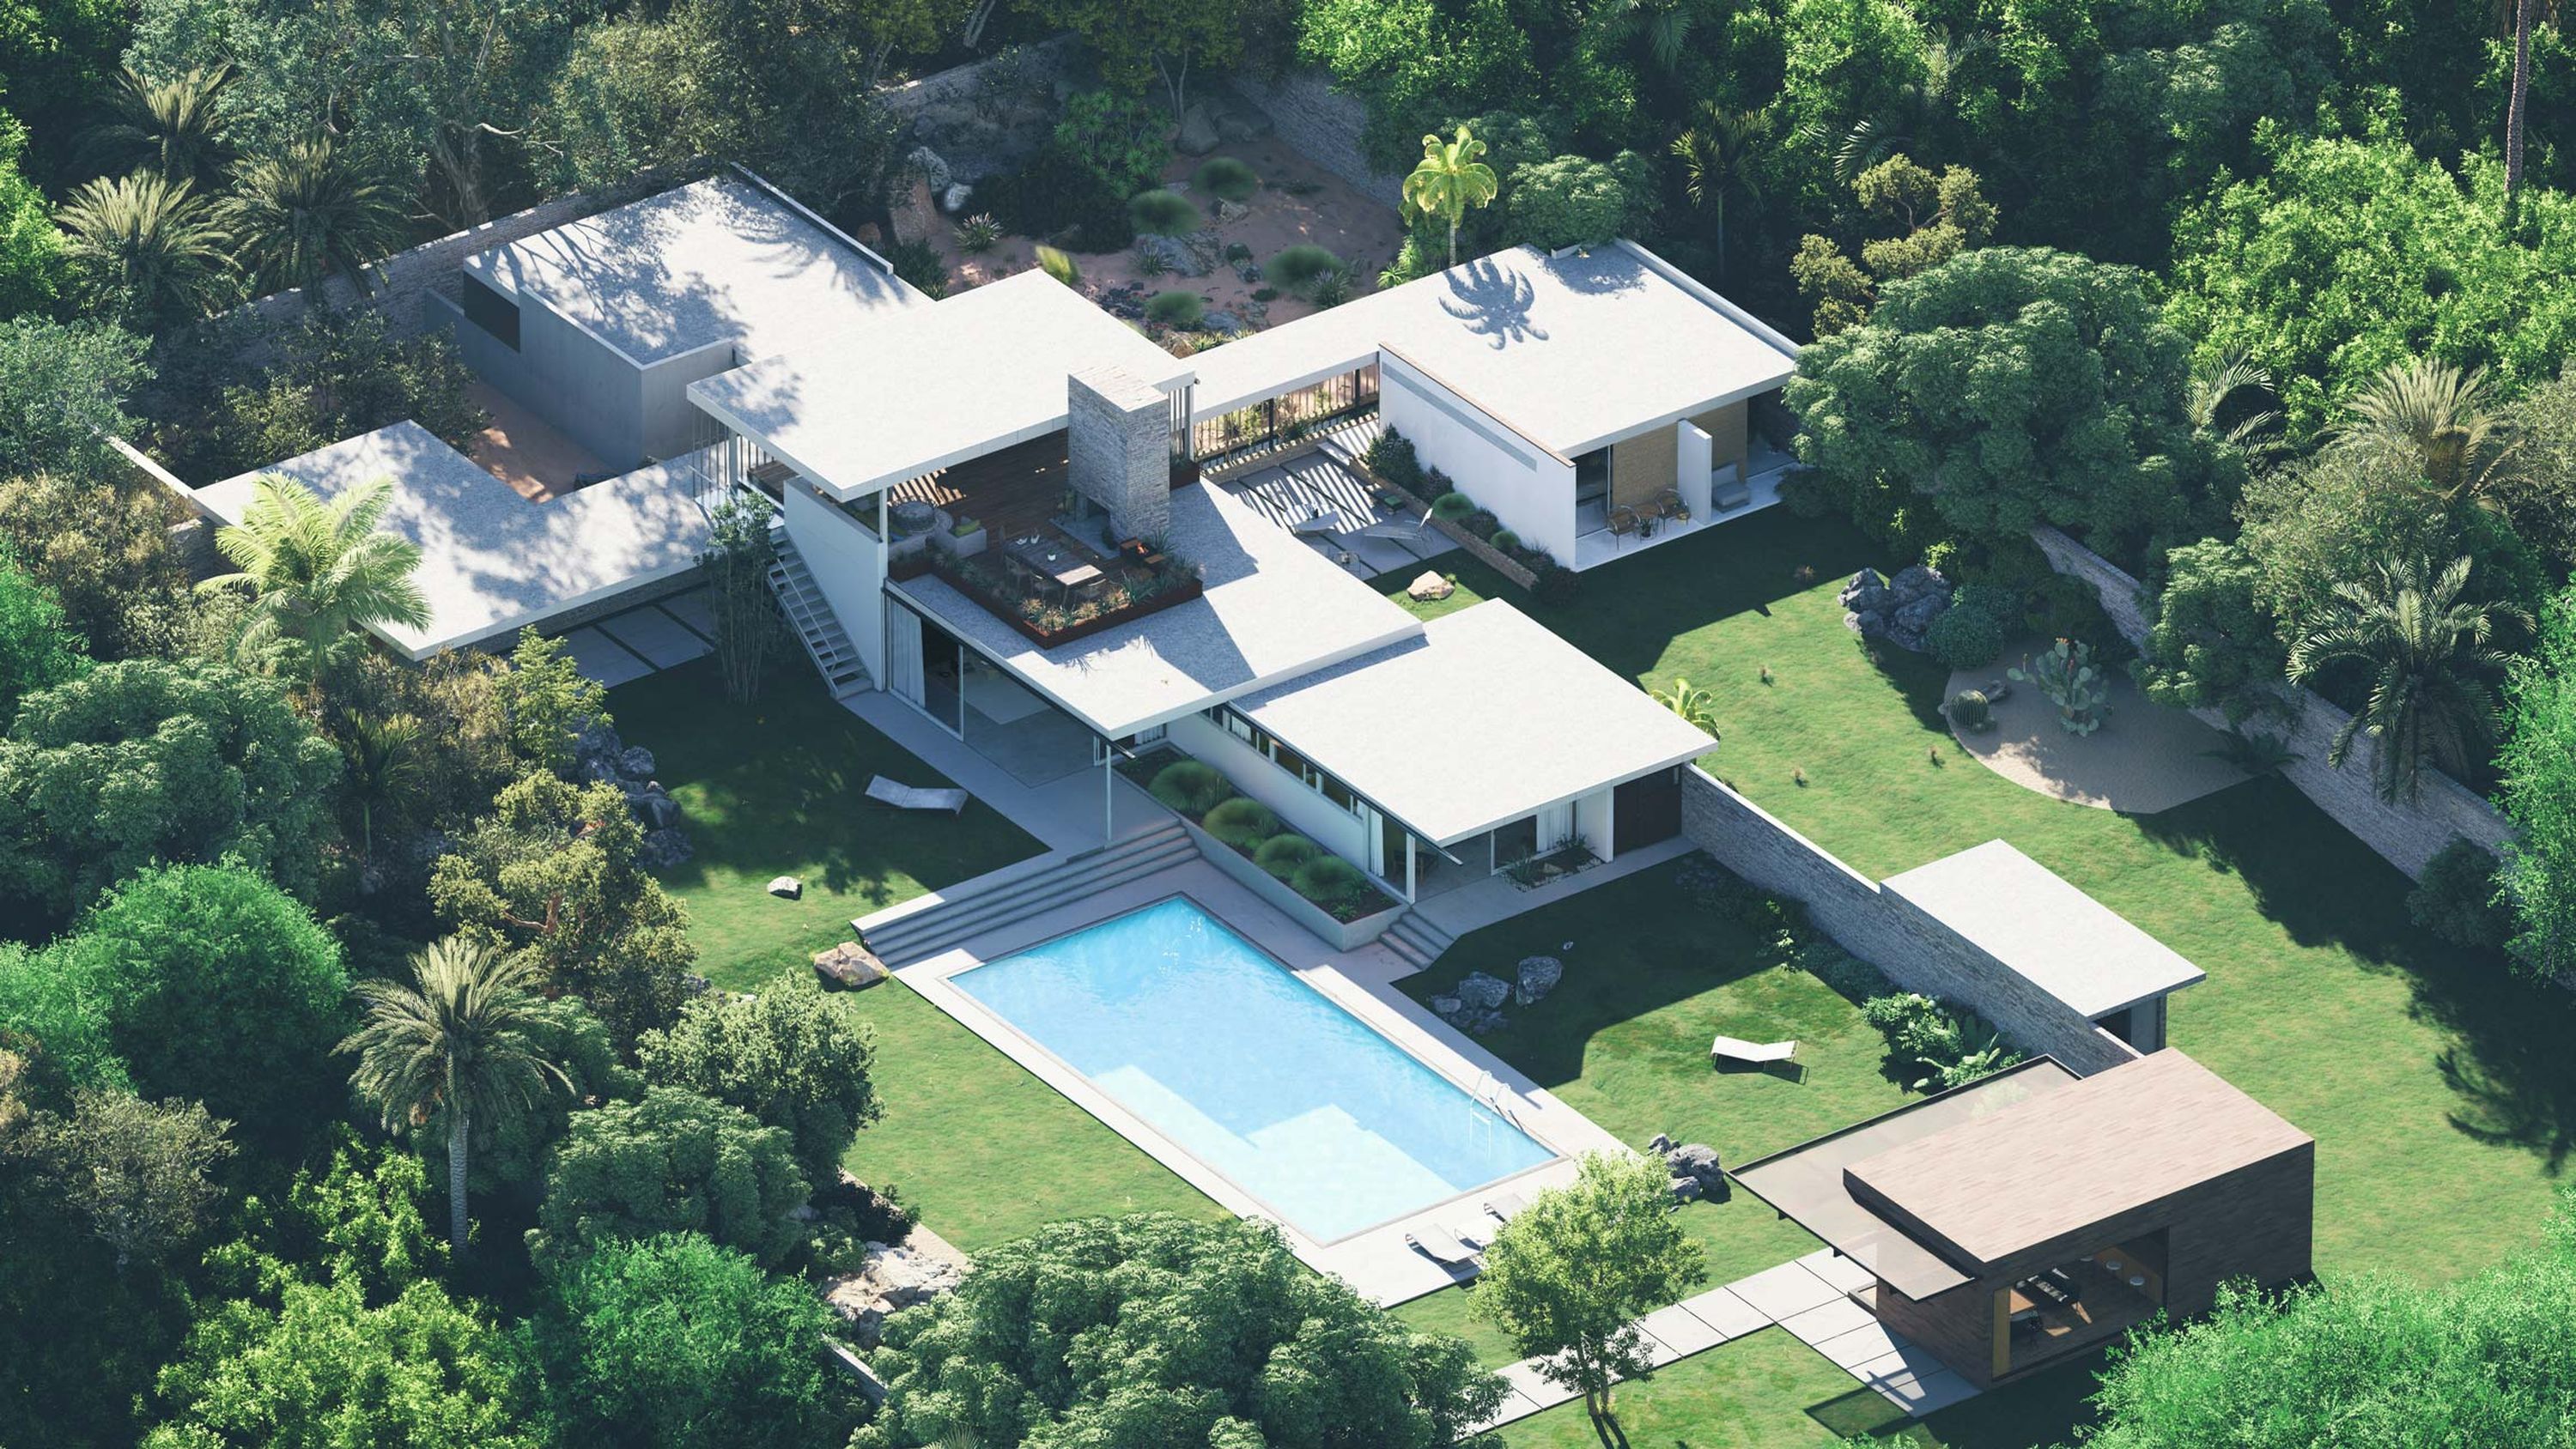
In the viewport, you’ll see your model in a realistic ray-traced environment, ready for you to start exploring.
Step 2
Syncing cameras
Lumion View automatically syncs with your current Revit view whenever you open the plugin. Click Disable camera sync in the top-right corner of your View window to turn this off.
You can easily choose your camera view using the View cube—or hotkeys 1-9 for extra speed.
Below the camera sync button you’ll see the option to toggle between orthographic and perspective views.
Unlike those in Revit, perspective views in Lumion View allow for fluid navigation around and through your model. Use this when you want to explore your design freely, move seamlessly from exterior to interior, or walk clients through it with ease.
Orthographic views, on the other hand, are useful for static, undistorted views of your model, which is ideal for technical clarity and documentation purposes.
Step 3
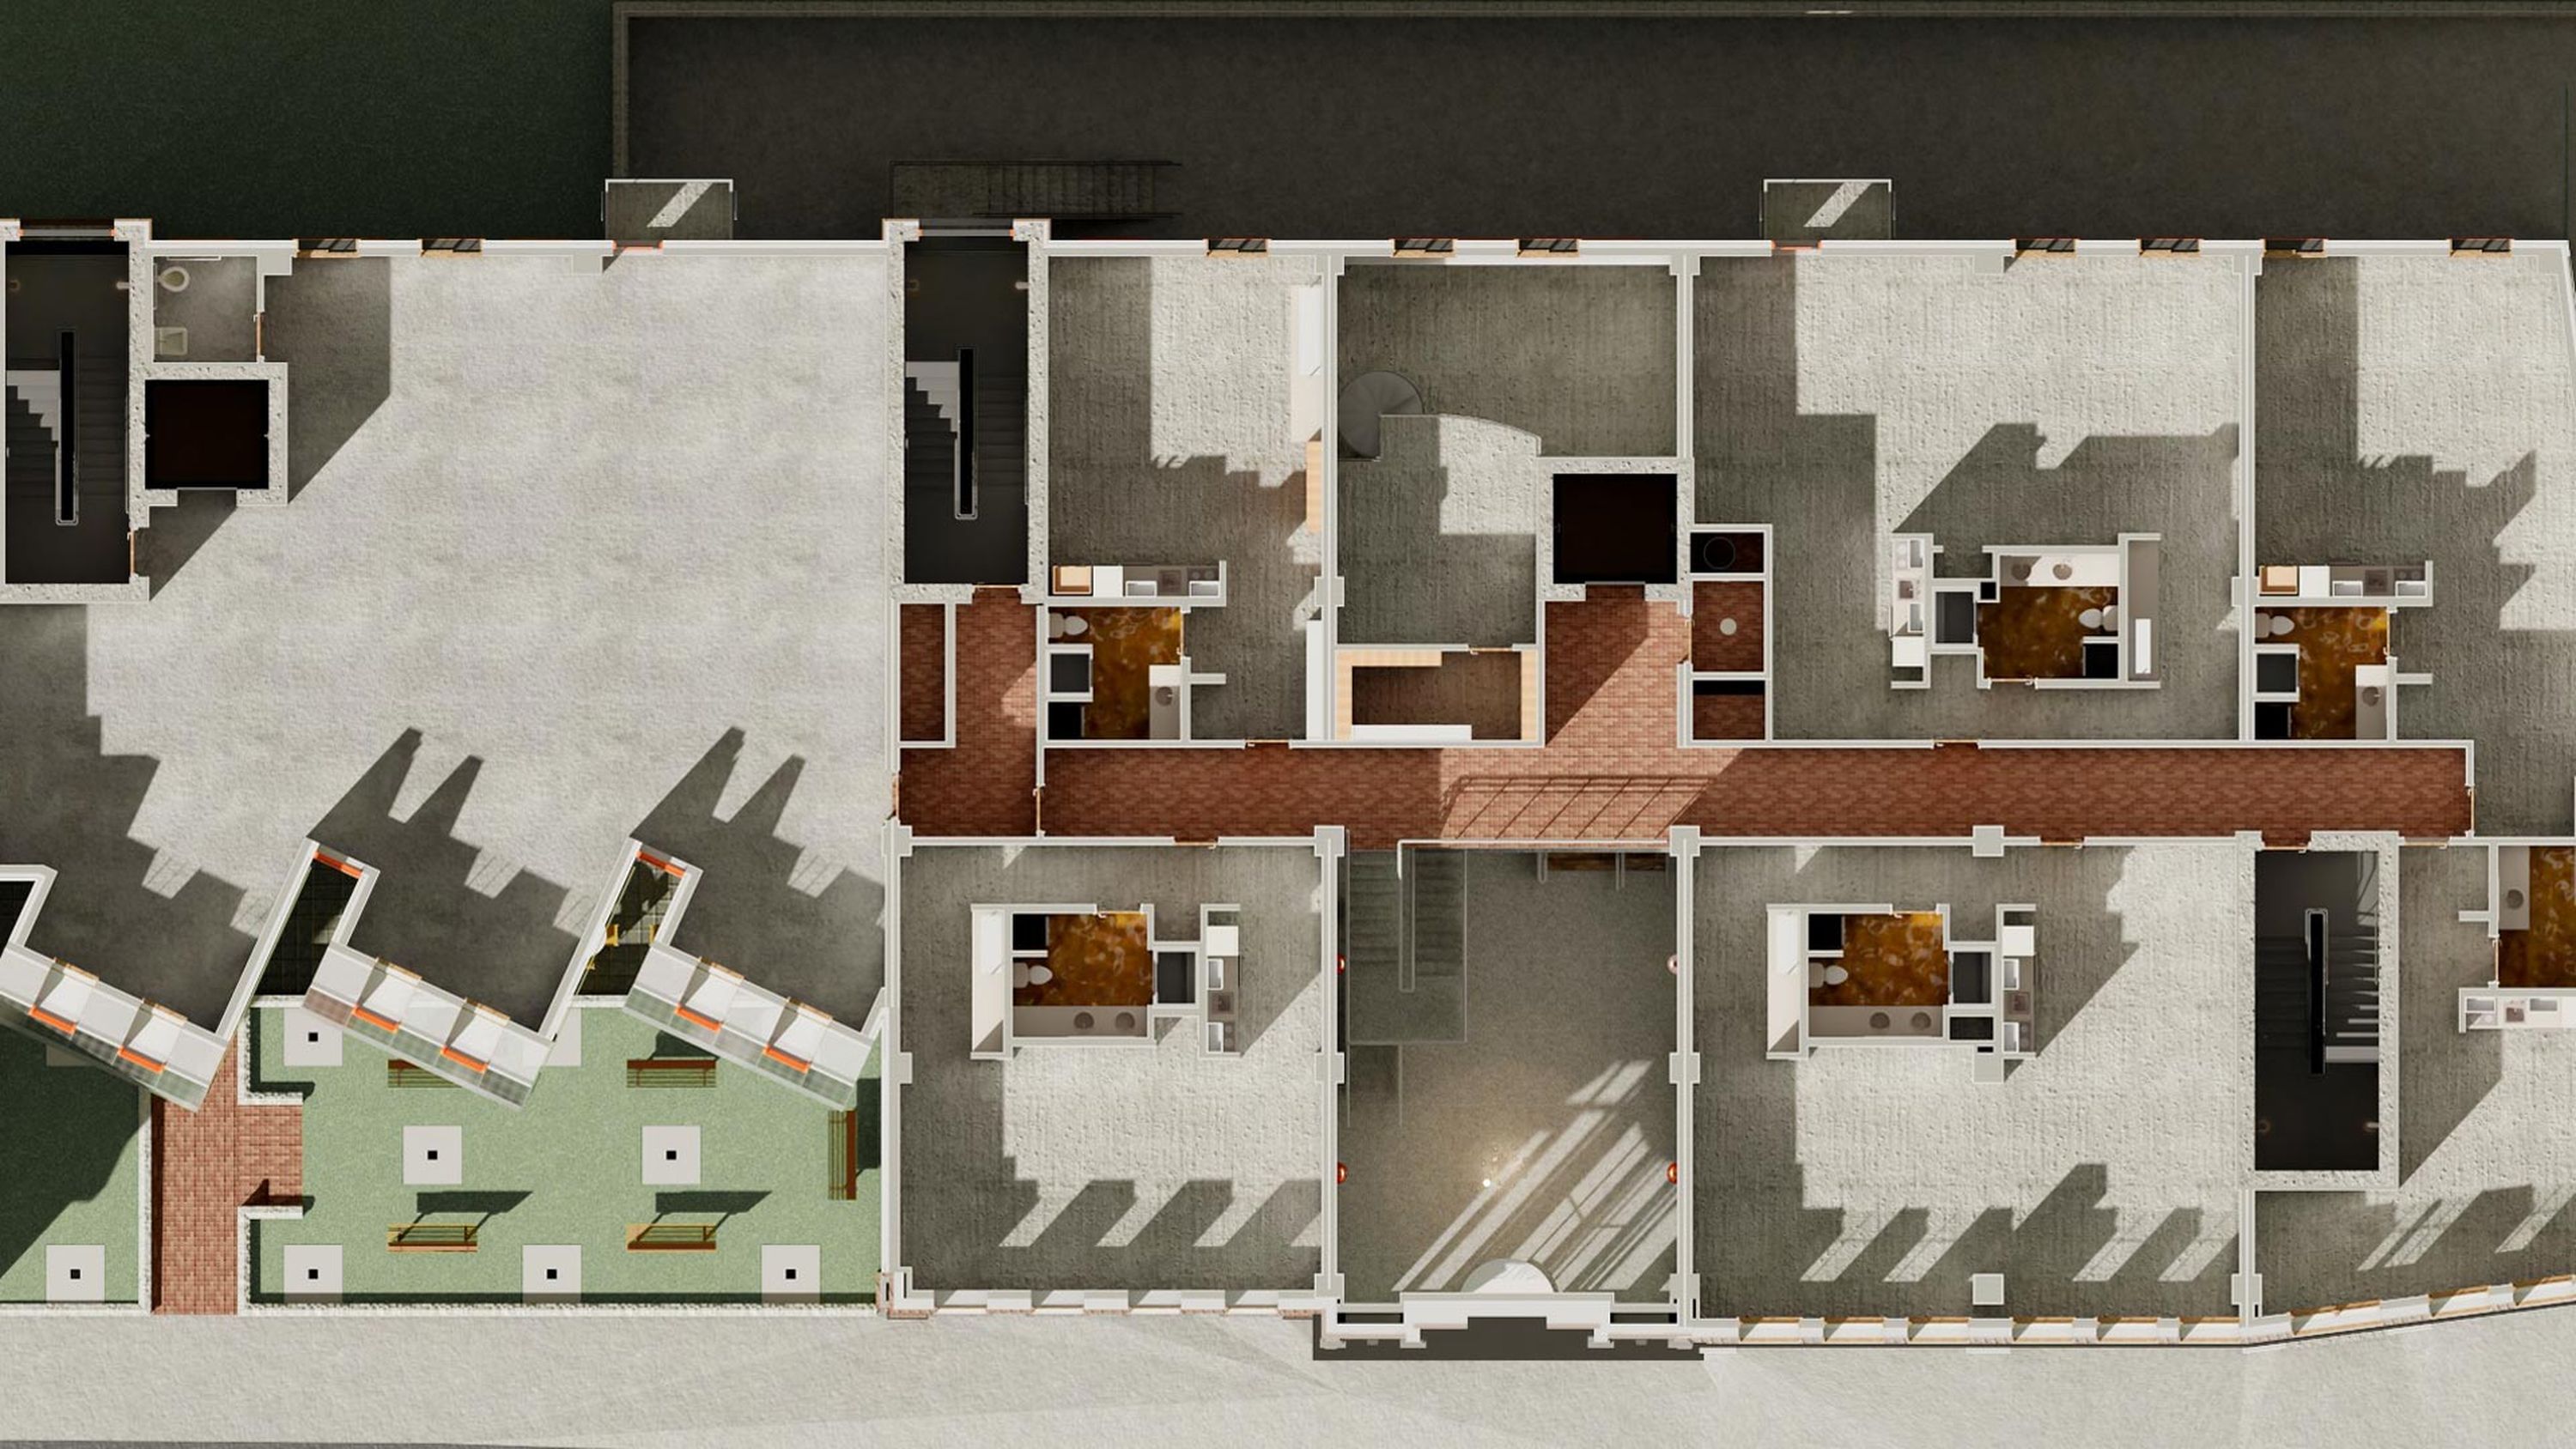
Working with 2D plans
Making changes to your 2D plans just got easier. Start with your plan open in Revit and camera sync disabled in View.
As you work on your 2D plan, you’ll be able to see the changes update in real time in your Lumion View window. Get a truly immersive view by moving through a realistic 3D depiction of your design.
Step 4
Applying materials
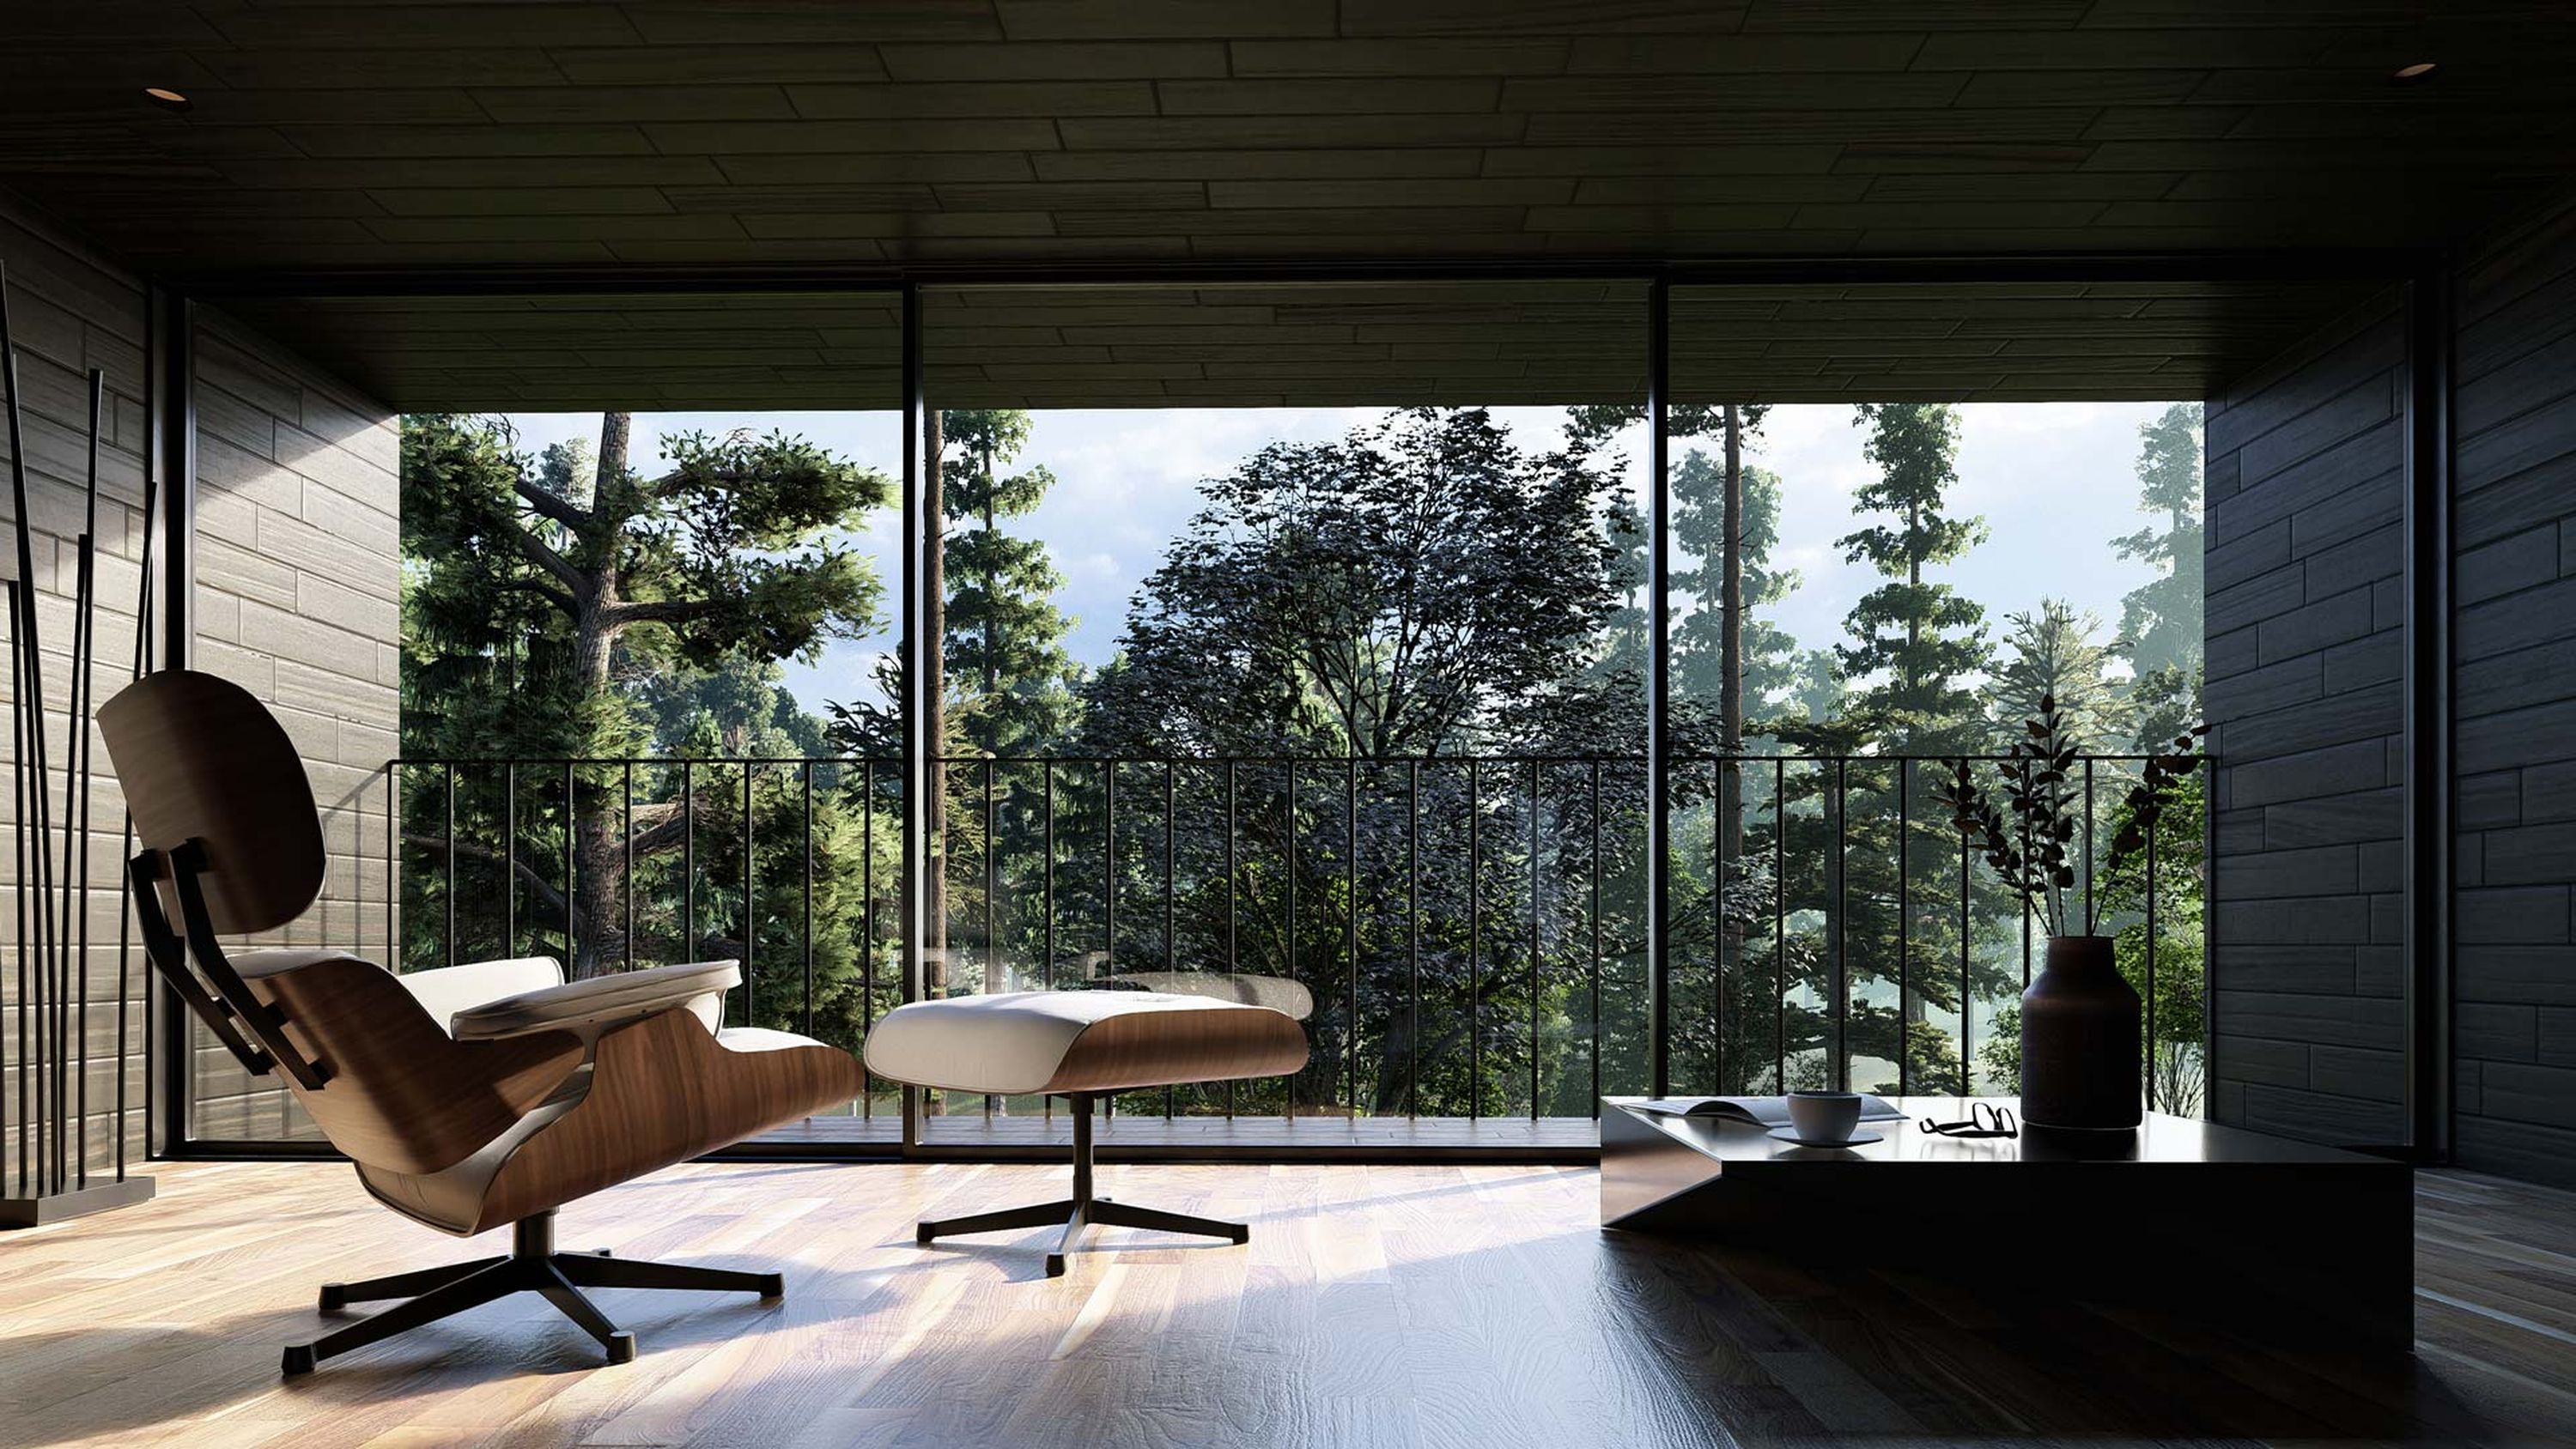
Dressing your surfaces in Revit gives you a simplified view of the materials in question, with basic shading. Syncing them up with Lumion View gives you a whole new perspective—thanks to ray tracing, the same materials are automatically enhanced with realistic lighting and reflections. See every detail, get an accurate portrayal of color, and observe how light interacts with textures.
Simply apply your chosen material in Revit, then watch it update to the real thing in View.
Step 5
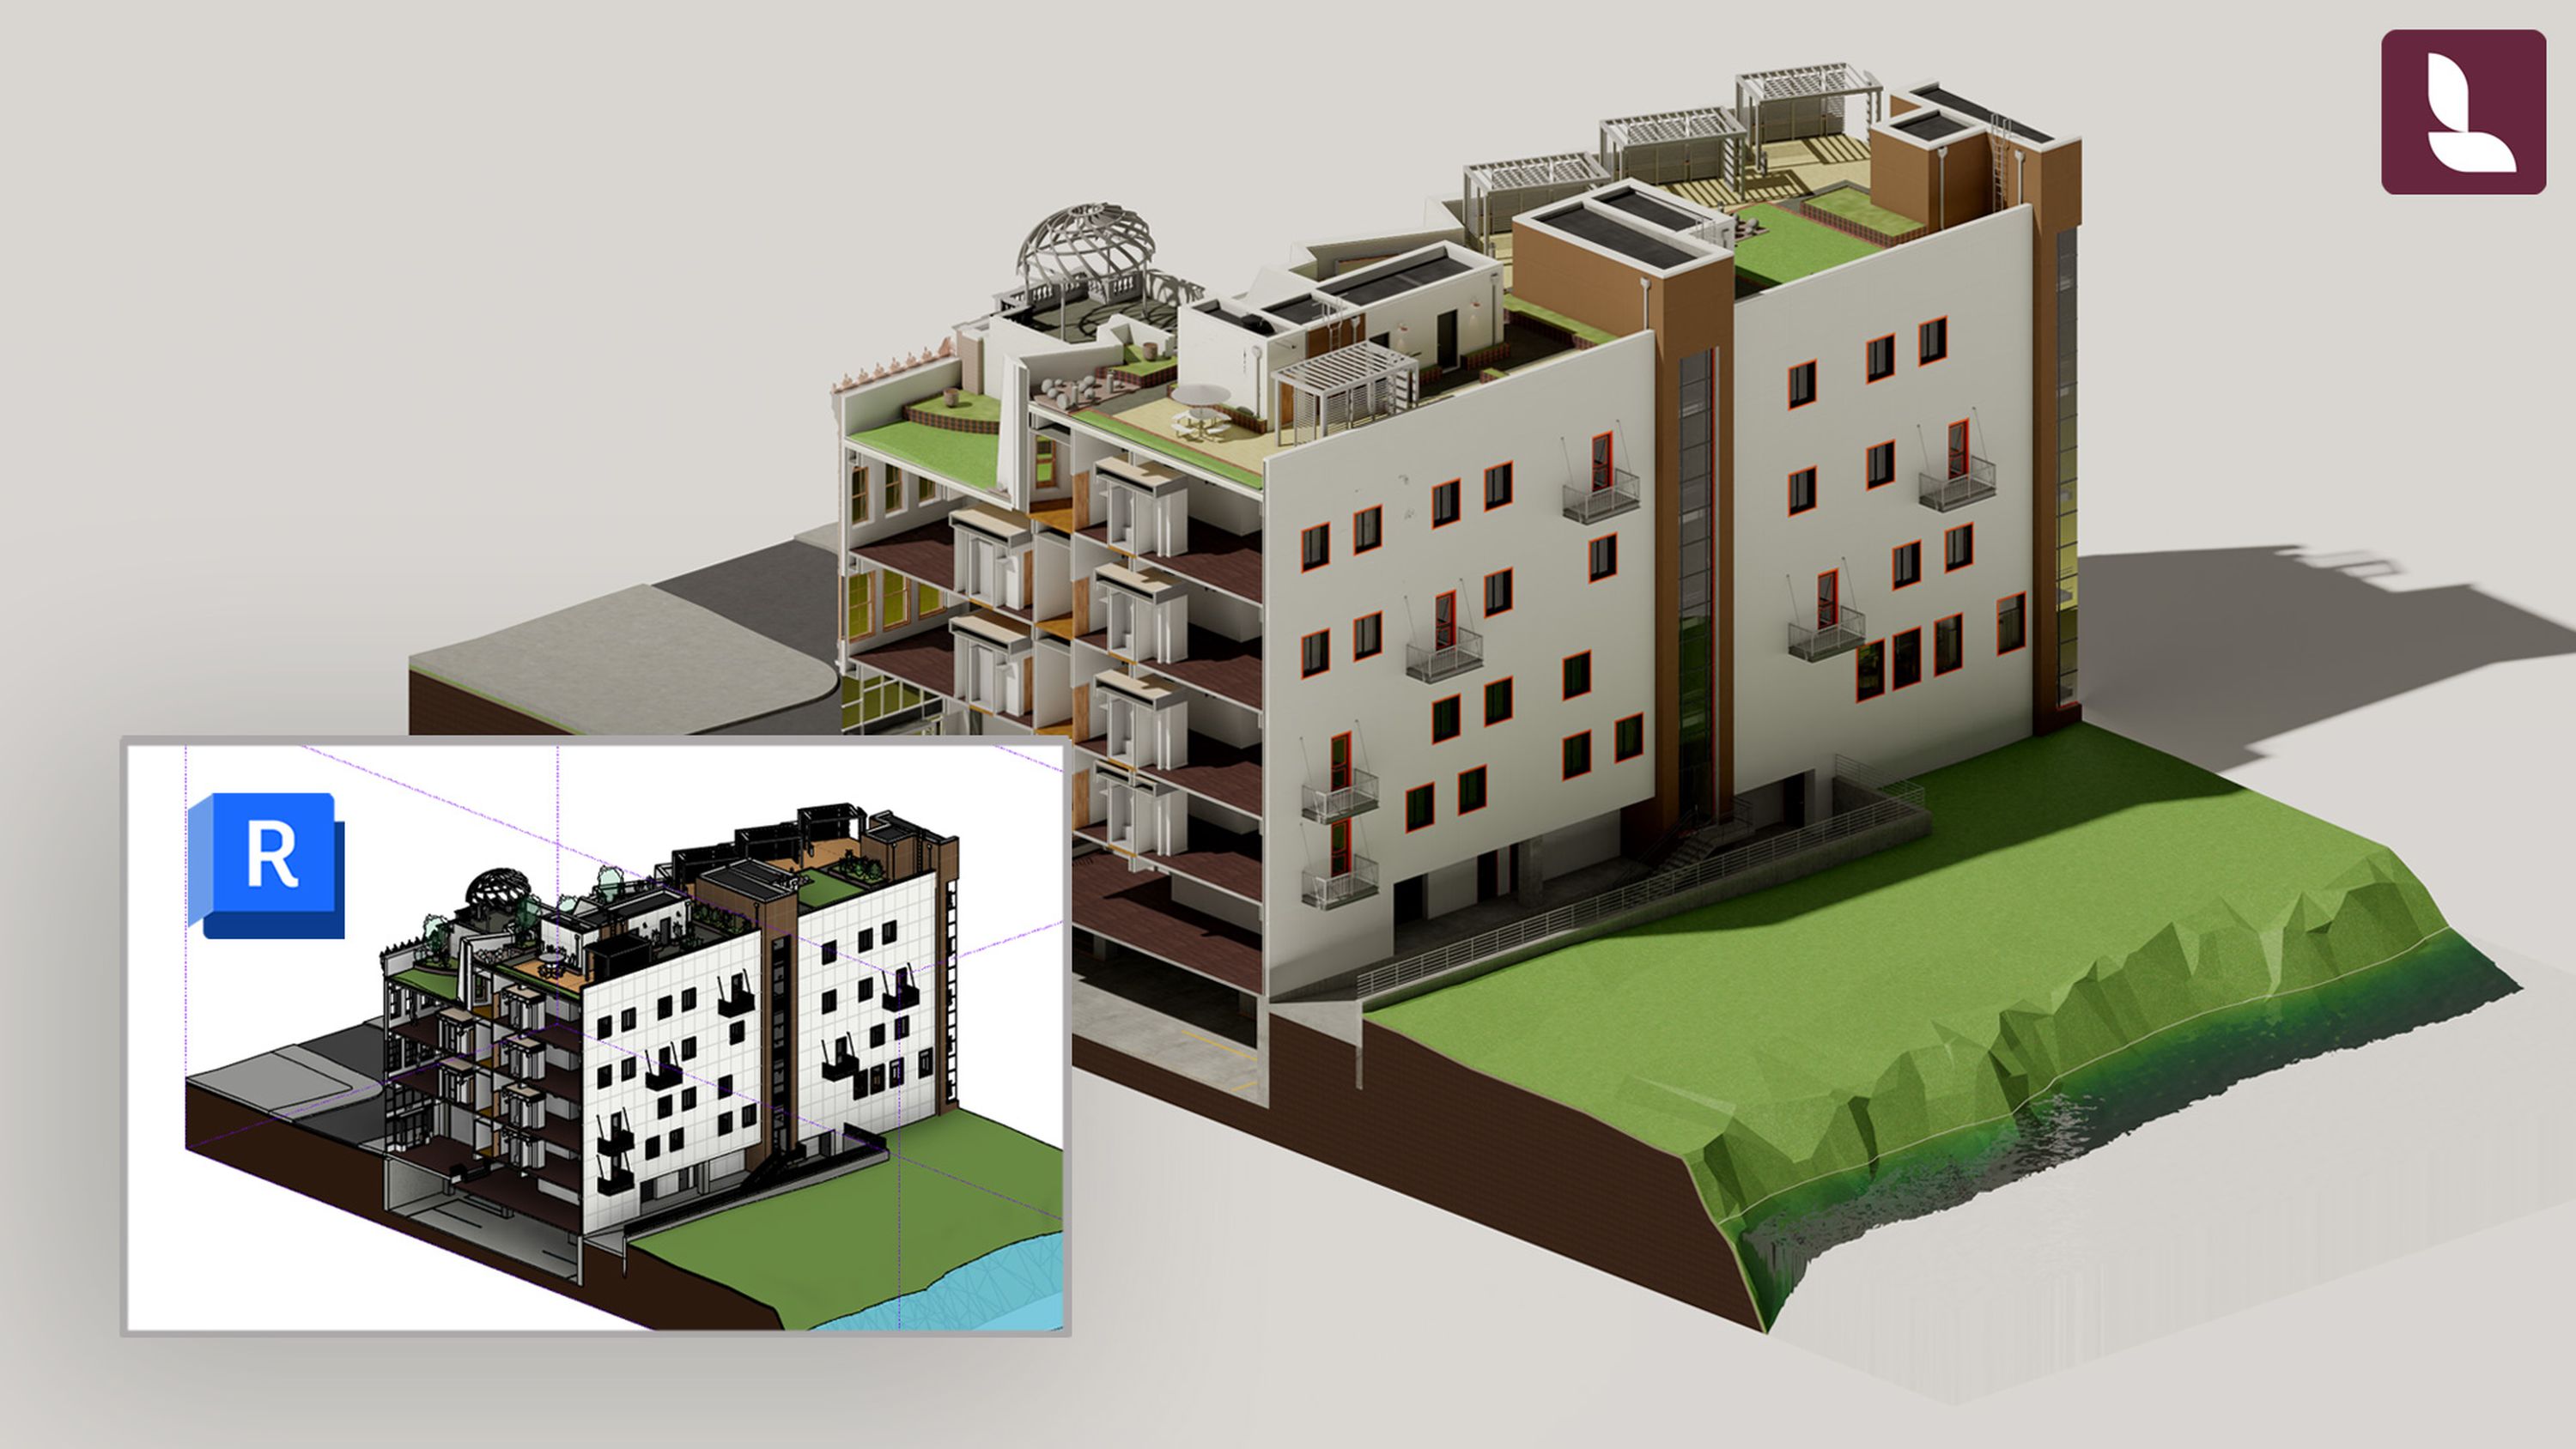
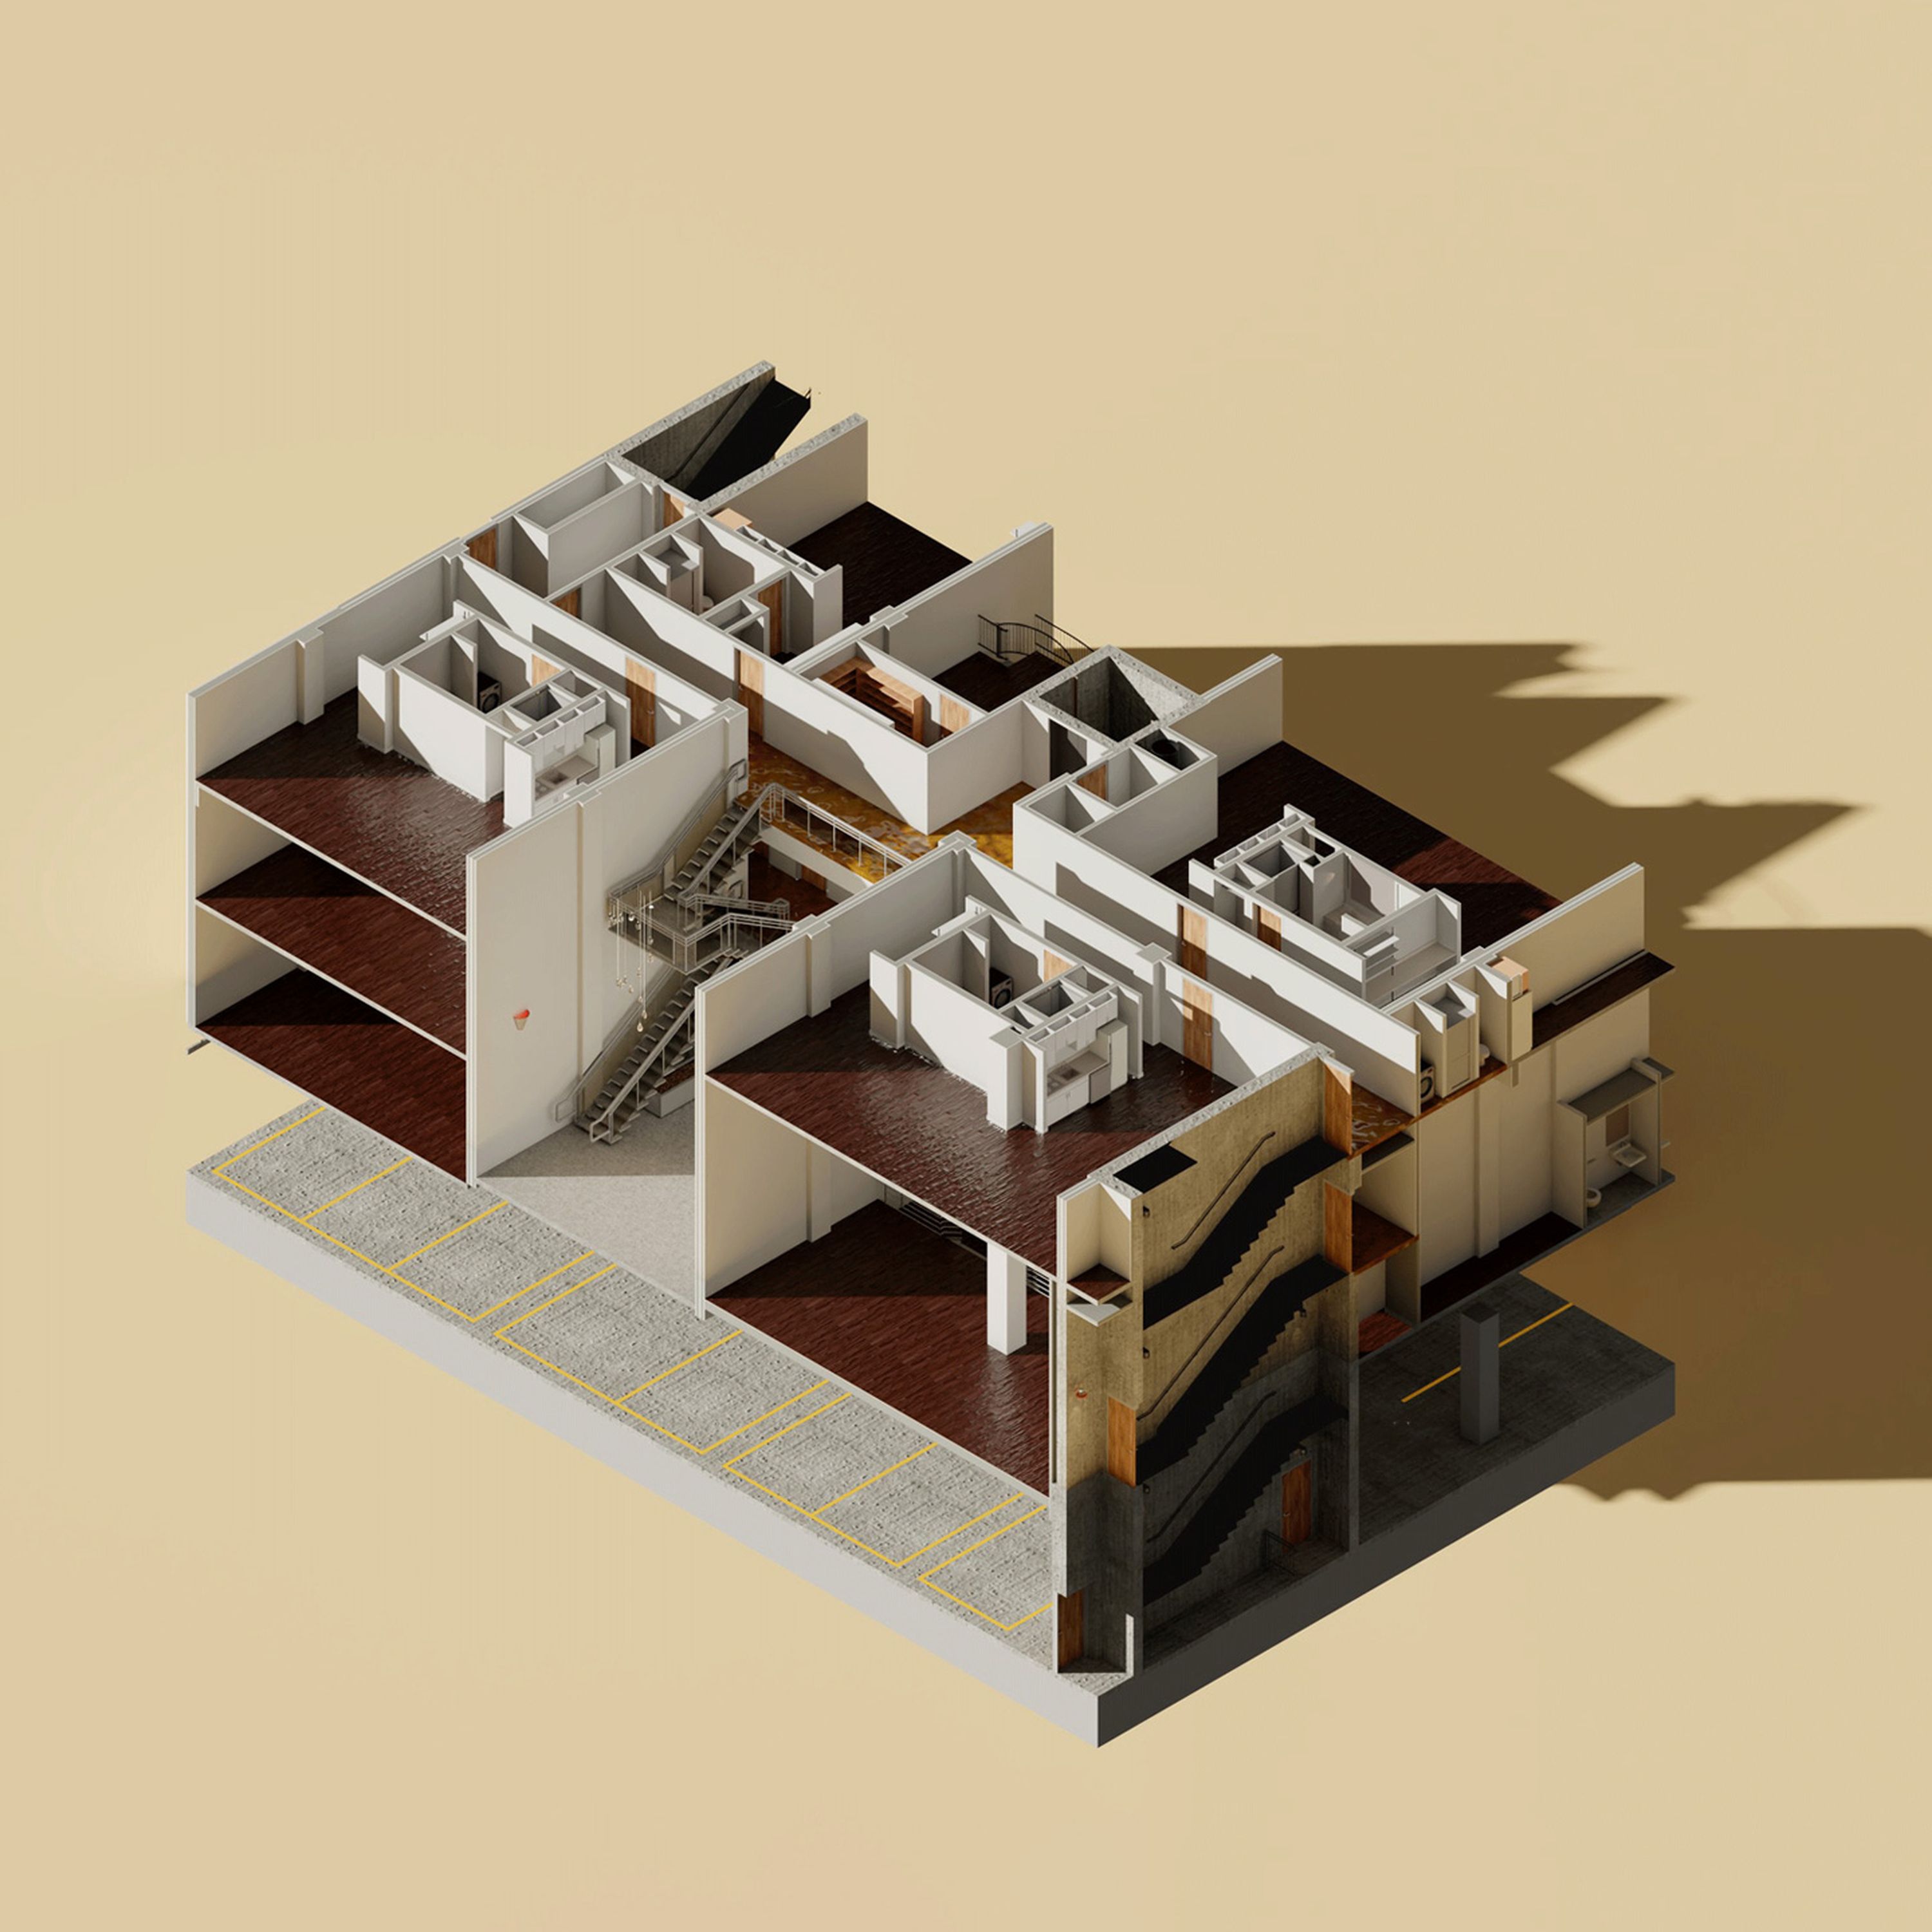
Sectioning and isolating
Get clear side-by-side section views of your model. In Revit, go to the Properties palette and check Section Box. This activates a crop box around your model that you can resize with grips. Your Lumion View viewport will stay synced with this section while you work on it.
You can also isolate any element of your model and visualize it in context using the selection box feature. In the Modify tab, select one or more elements of your model then choose the Selection Box icon in the toolbar. Revit will automatically apply a section box around your selection, so you can quickly isolate elements without manually turning on the section box first.
You can also use the Hide / Isolate controls on the View Control Bar to view any element in complete isolation, without having the section box automatically activate around your selection.
Try Lumion View for free
Get the plugin from the Autodesk App Store
Step 6
Adding artificial lights
Every design needs realistic lighting. Being able to see artificial lights illuminated is invaluable, and thanks to Lumion View’s ray-traced view, you can.
To place artificial lights in your model, click the Component button in Revit’s toolbar, then choose the light type and position it within your design.
Head to Lumion View and select the Environment tab. Toggle on Sun study, then select the time of day that best showcases your lights in action.
Step 7
Capturing sun studies
Sun studies let you quickly understand how sunlight and shadows affect your design as the time of day and seasons change.
You can easily do this in Lumion View in the Environment tab. Flick on the Override sun study toggle, then tweak the Time and Month sliders to see the lighting change in real time. You can also set the sun brightness and sky cloudiness according to your preference.
To make use of Revit’s sun settings, move the toggle to Sync sun study. In Revit, you can then open the Sun Settings panel from the View Control Bar. Apply any of the presets to see the lighting conditions immediately update in View.
Step 8
Creating quick diagrams
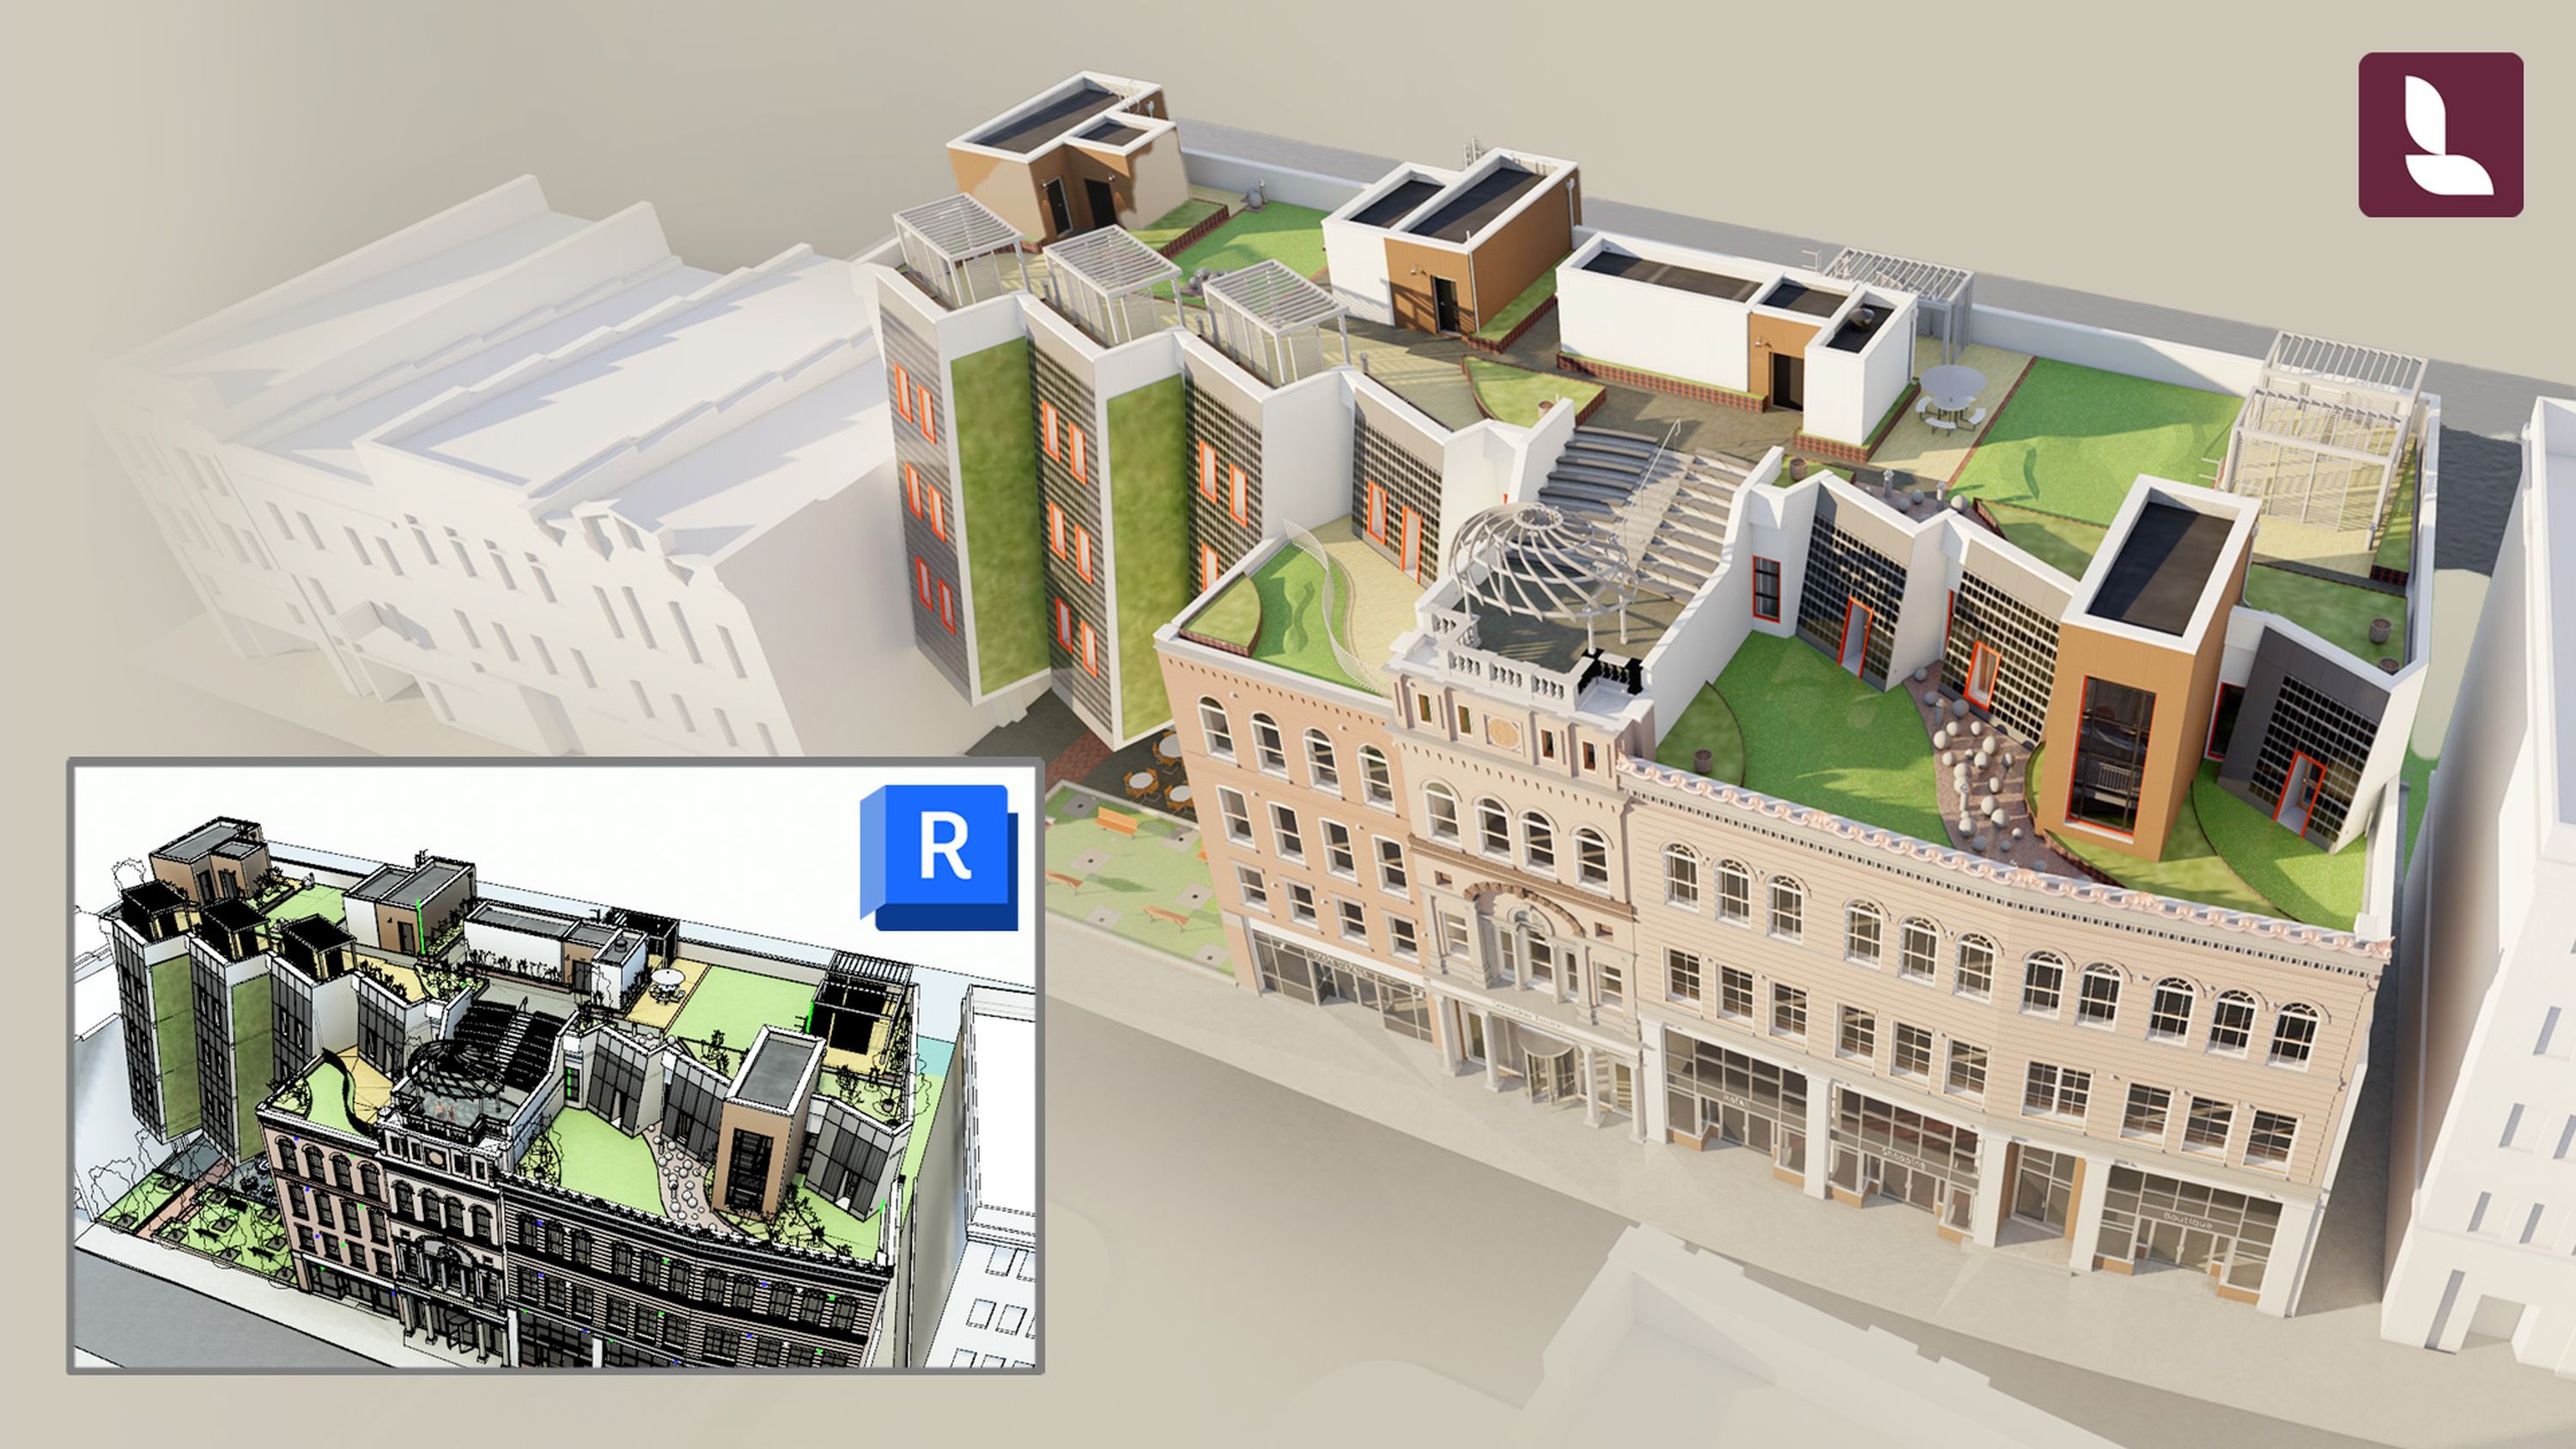
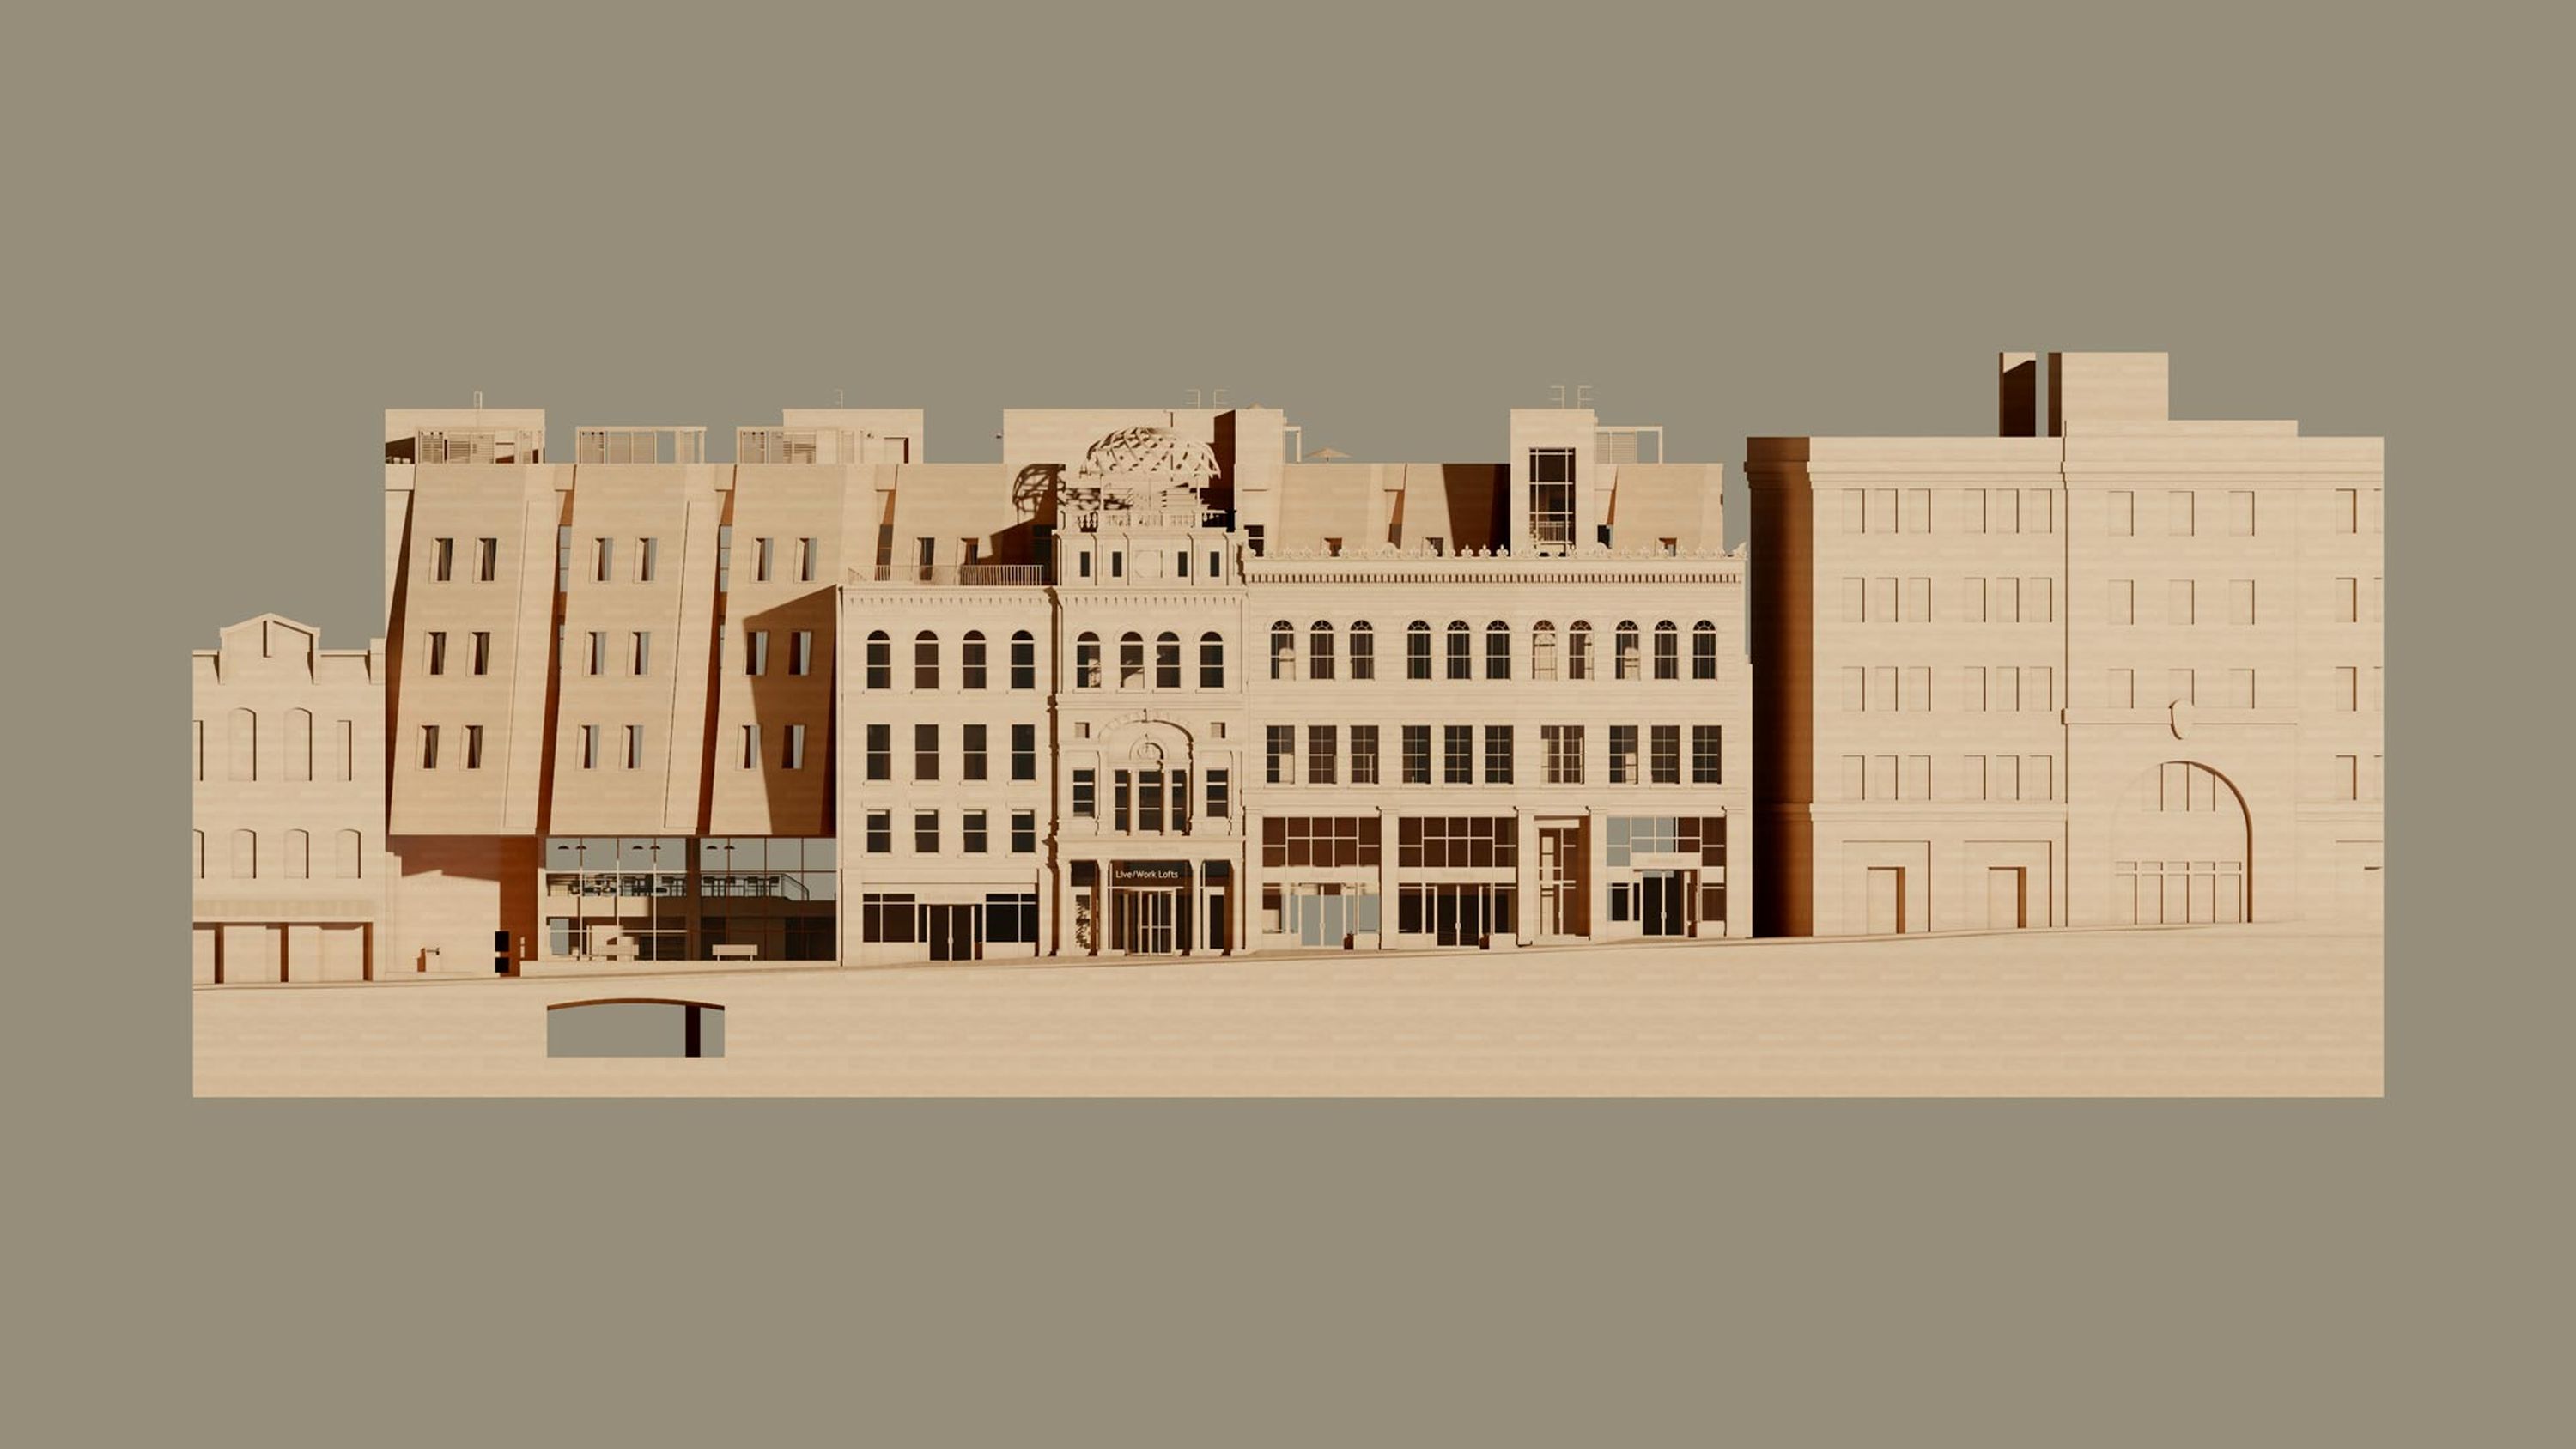
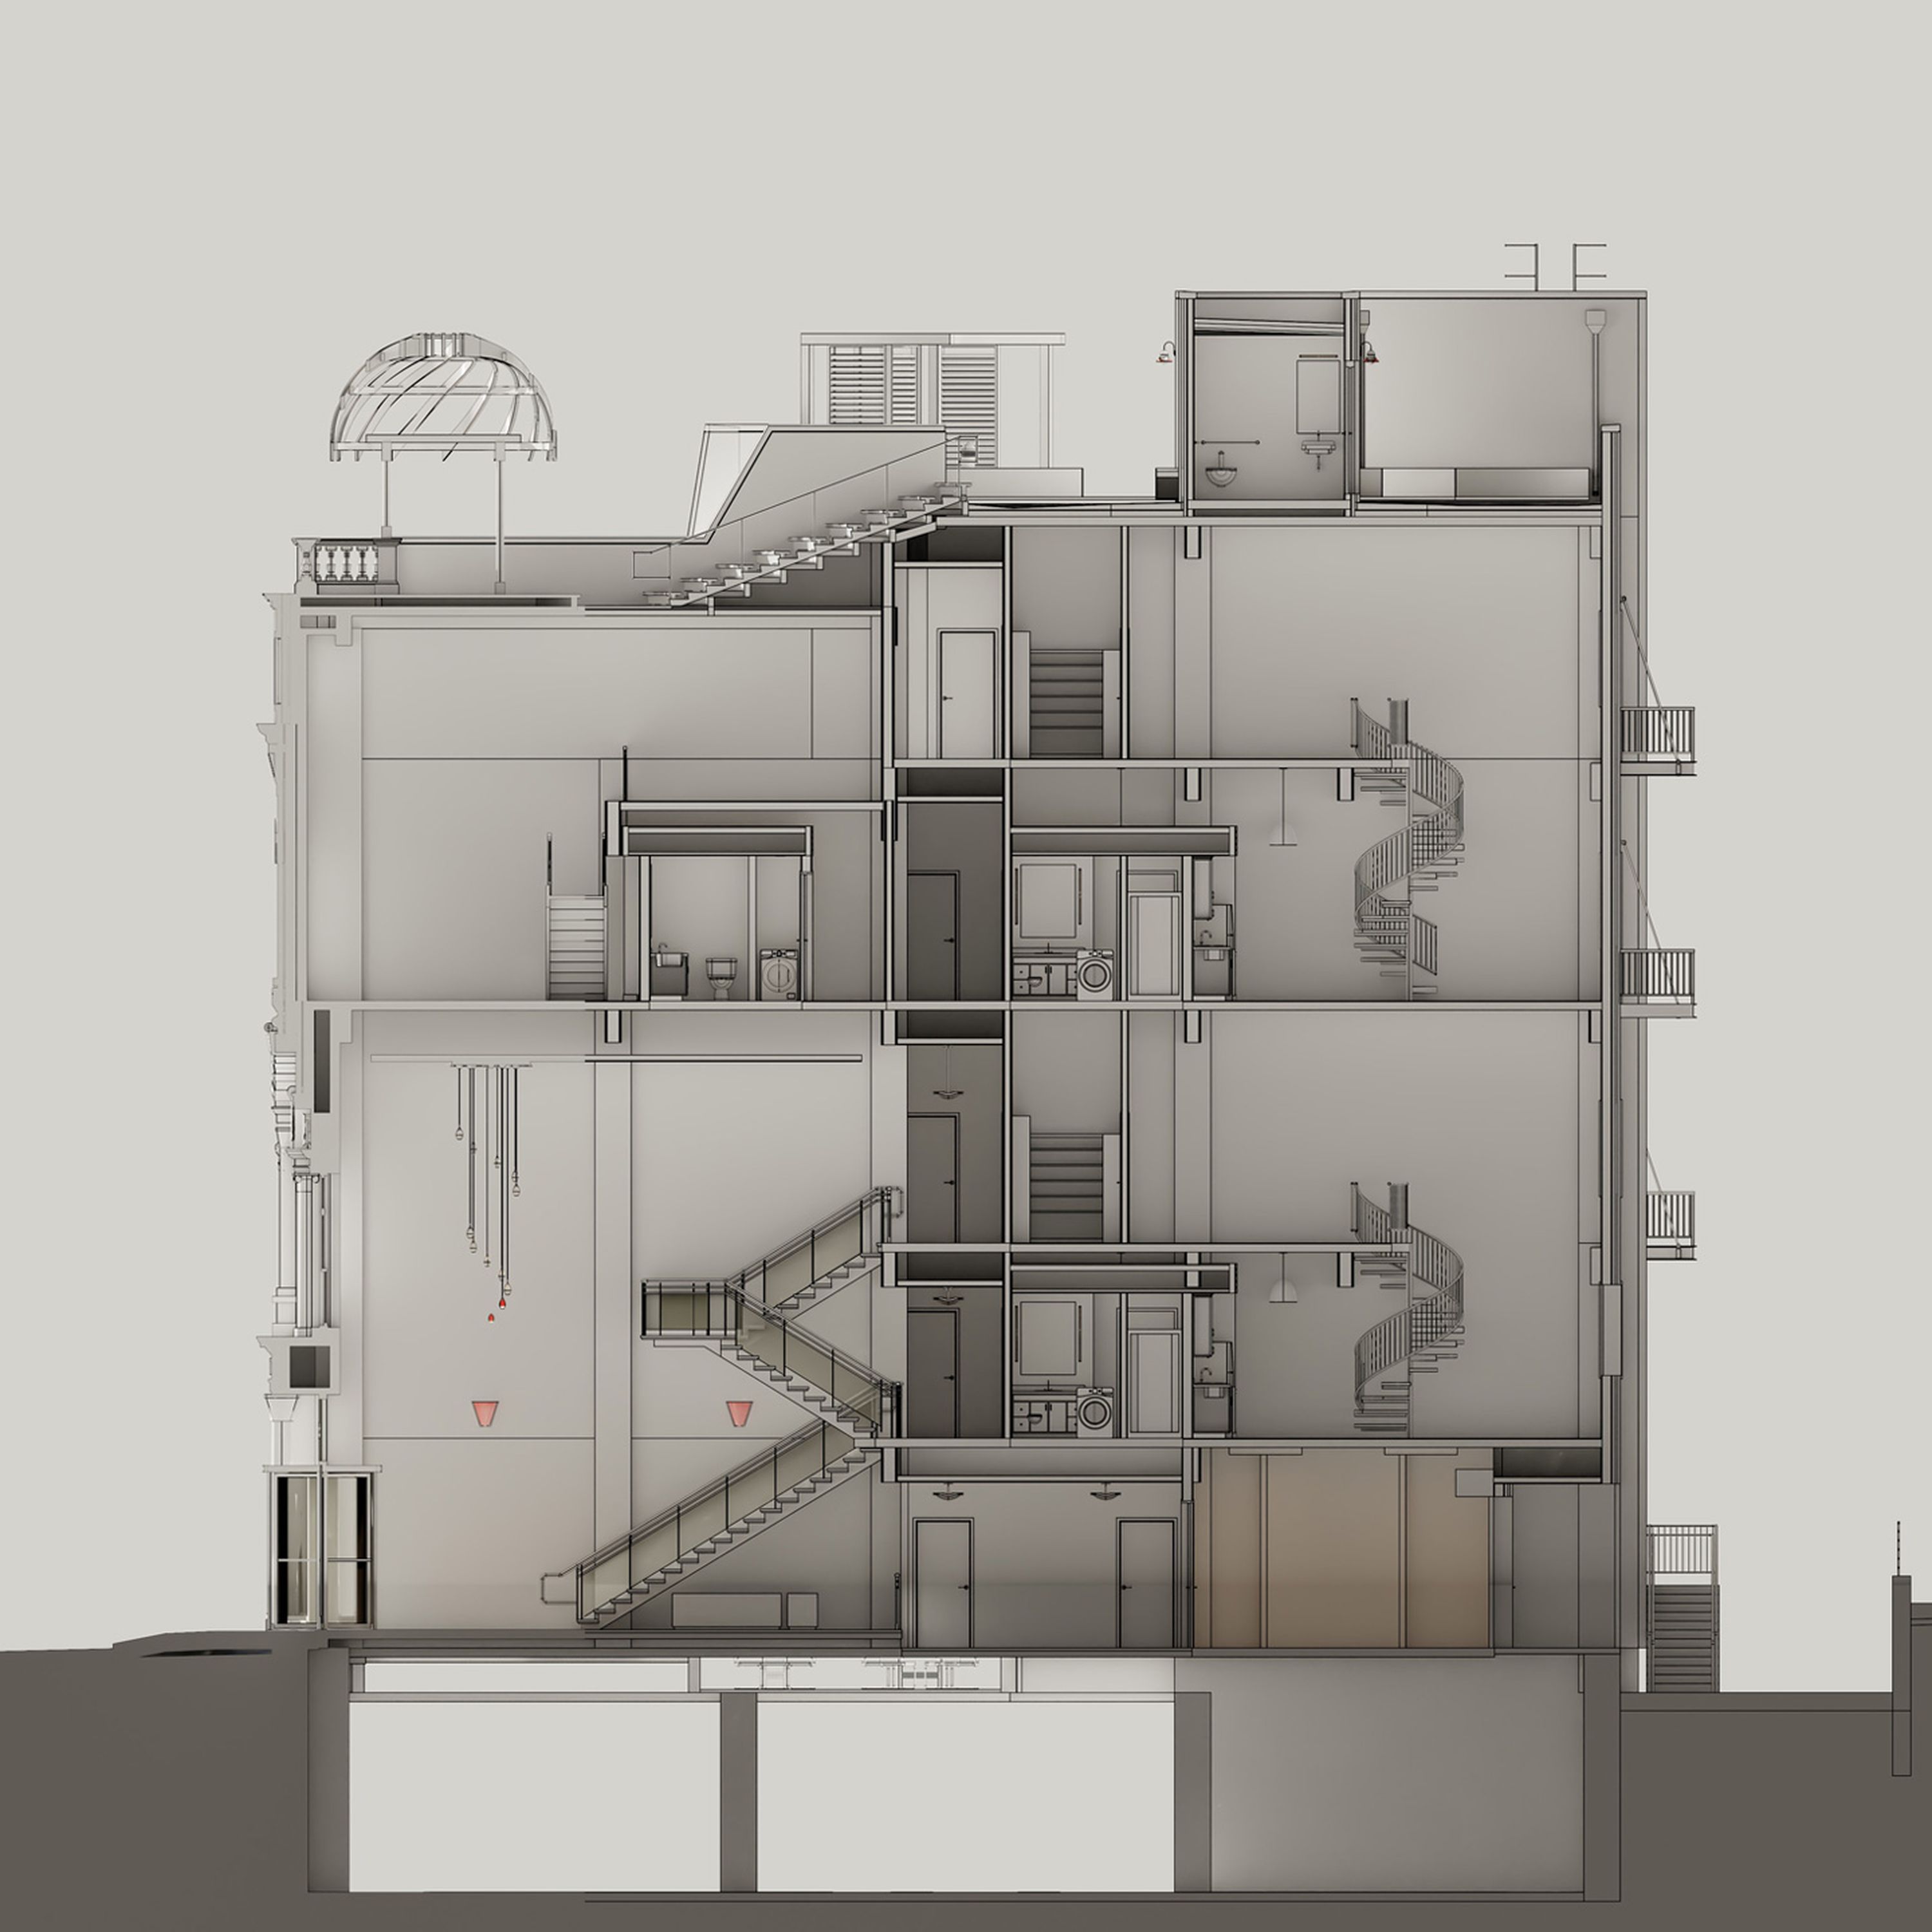
Preset styles allow for super-simple, eye-catching diagrams to be produced in an instant.
To find them, head to View’s Visual styles tab, where you’ll see a choice between Realistic and Conceptual. Realistic styles allow you to keep the quality you’re used to in the viewport, but customize your model by adding edges of a color of your choice.
Conceptual styles include Clay, Wood, Styrofoam, and Glossy. You can again customize the edges with these styles, as well as the overall color of your model. These simple, stripped-back styles are ideal for quickly communicating design ideas and creating clear, impactful presentations.
Another simple way to make your design stand out is by swapping the sky for a solid background color. Do this in the Environment tab and make your diagrams pop with your preferred shade.
Step 9
Rendering in 4K
When you’re ready to render out your view or style, go to the Render to file tab in Lumion View. Here, you’ll find options to set the resolution and aspect ratio, then render your image in high quality.
Rendering to file lets you choose a file to save it in. You can also copy the image to clipboard for quick sharing, or upload to Lumion Cloud.
Step 10
Connecting to Lumion Cloud
Uploading renders to Lumion Cloud takes seconds. Once it’s ready, you’ll see the option to open Cloud in your web browser.
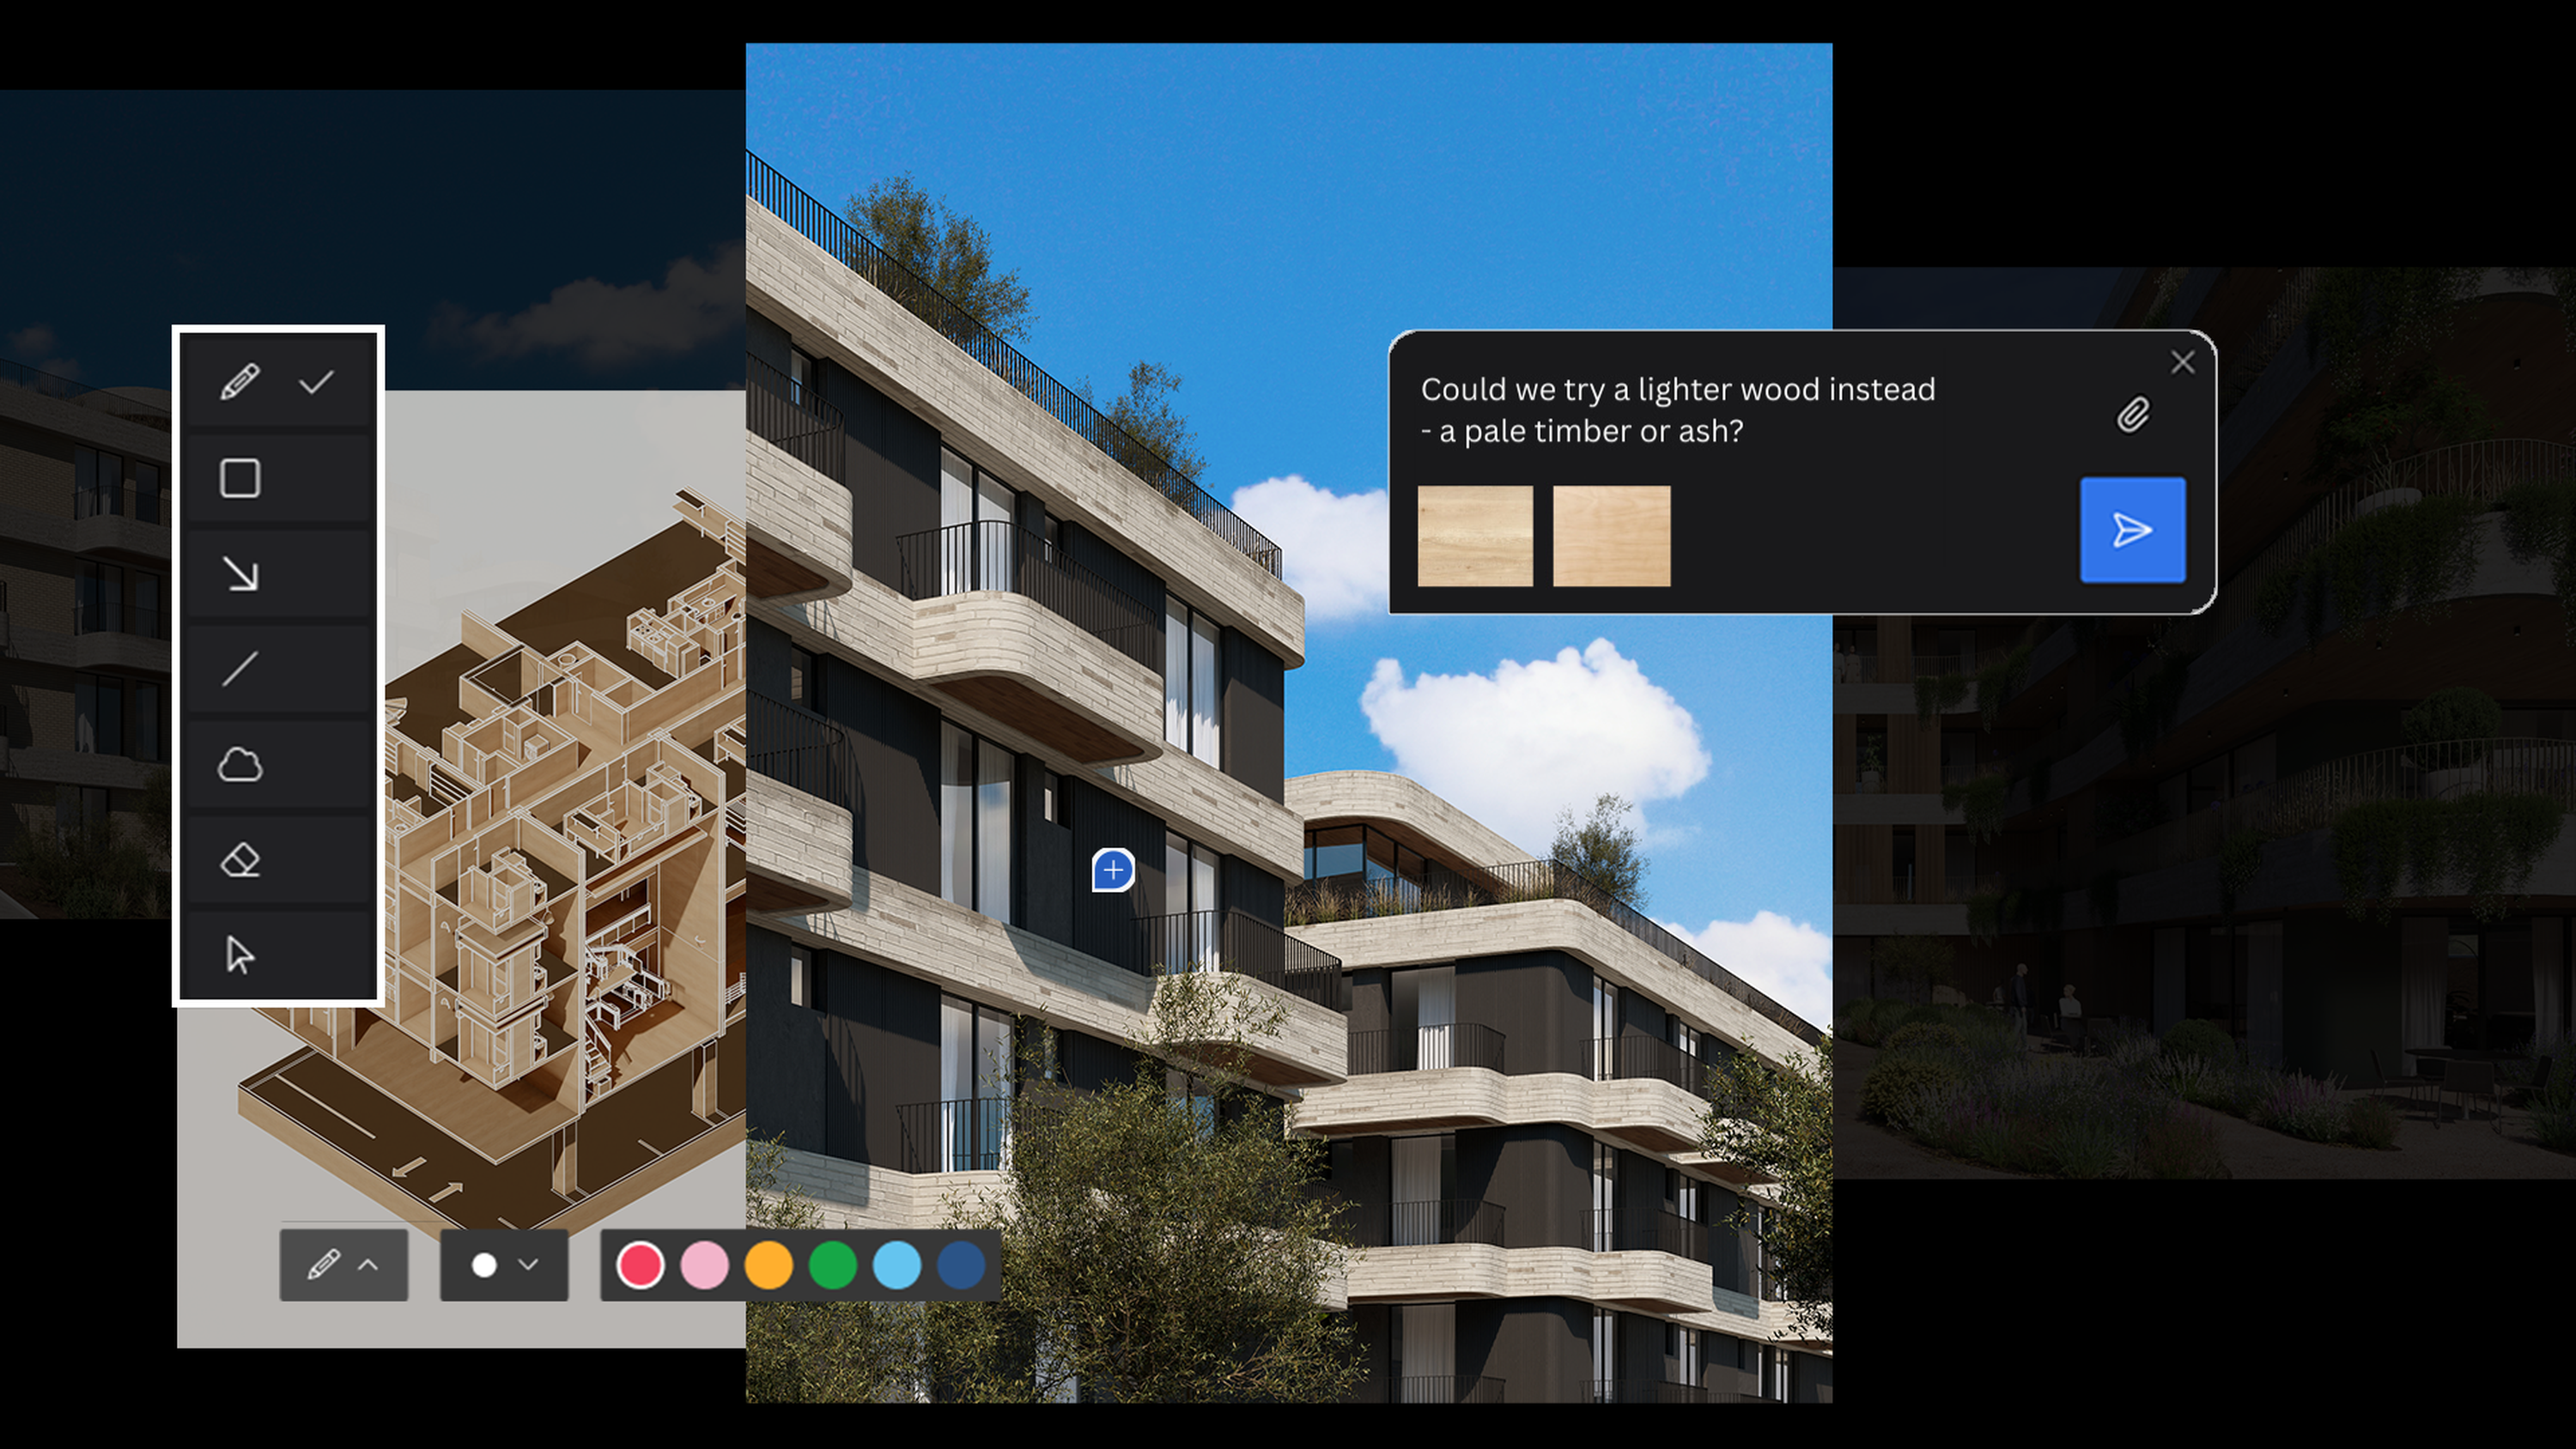
Built for streamlined sharing and collaborating, Lumion Cloud offers an easy way of exchanging feedback directly on renders—from drawing on images to leaving comments. You can also compare versions visually with handy side-by-side views and watch projects move to approval with Kanban-style flows and instant notifications.
Lumion Cloud is currently free to use during Beta. Find 5 compelling reasons to start collaborating with it today here.
Get Lumion View for Revit today
Interested in trying the plugin yourself? Lumion View for Revit is now available to download from the Autodesk App Store.
It’s also available for SketchUp, which you can get from the SketchUp Extension Warehouse.
You can get Lumion View as a standalone subscription or included with the Lumion Studio plan. Browse your options here.
Not using Autodesk Revit?
Lumion View is also available for SketchUp, and is coming to more CAD and BIM tools very soon—join the waitlist to be the first to hear about the latest integrations when they’re ready.